Doc Item Maintenance Applet
Purpose and Overview
The Doc Item Maintenance Applet serves as a centralized hub for managing and maintaining essential item information. Designed to support efficient data handling, it enables users to create and update item records, which form the foundation for transaction creation across different modules. By organizing item data into a comprehensive master record, this applet enhances operational efficiency, data accuracy, and ease of access across departments.
A short introduction to the Doc Item Maintenance Applet:
Analogy: You can think of the Doc Item Maintenance App like a Supermarket Manager’s Office.
- The Items menu is the product database where you fill out the details for every apple, cereal box, and detergent.
- Pricing Schemes are the rules you set (e.g., “Holiday Sale” or “Member Price”).
- Category Group is how you arrange the aisles (Food > Produce > Fruit).
- Import/Export is the loading dock where you bring in massive pallets of data at once rather than carrying them in one by one.
Key Features
Users can create and regularly update item information, ensuring records remain current and accurate.
Categorize items into groups, with predefined categories or create a new category based on business needs.
Enables the configuration of multiple pricing schemes for individual items, accommodating diverse pricing strategies.
Synchronize item listings across popular online marketplaces, ensuring data consistency between internal and external records.
Getting Started
To access the Doc Item Maintenance Applet, you need to log in with your credentials. Please refer to the User Guide Registration link for information on Akaun Login Onboarding.
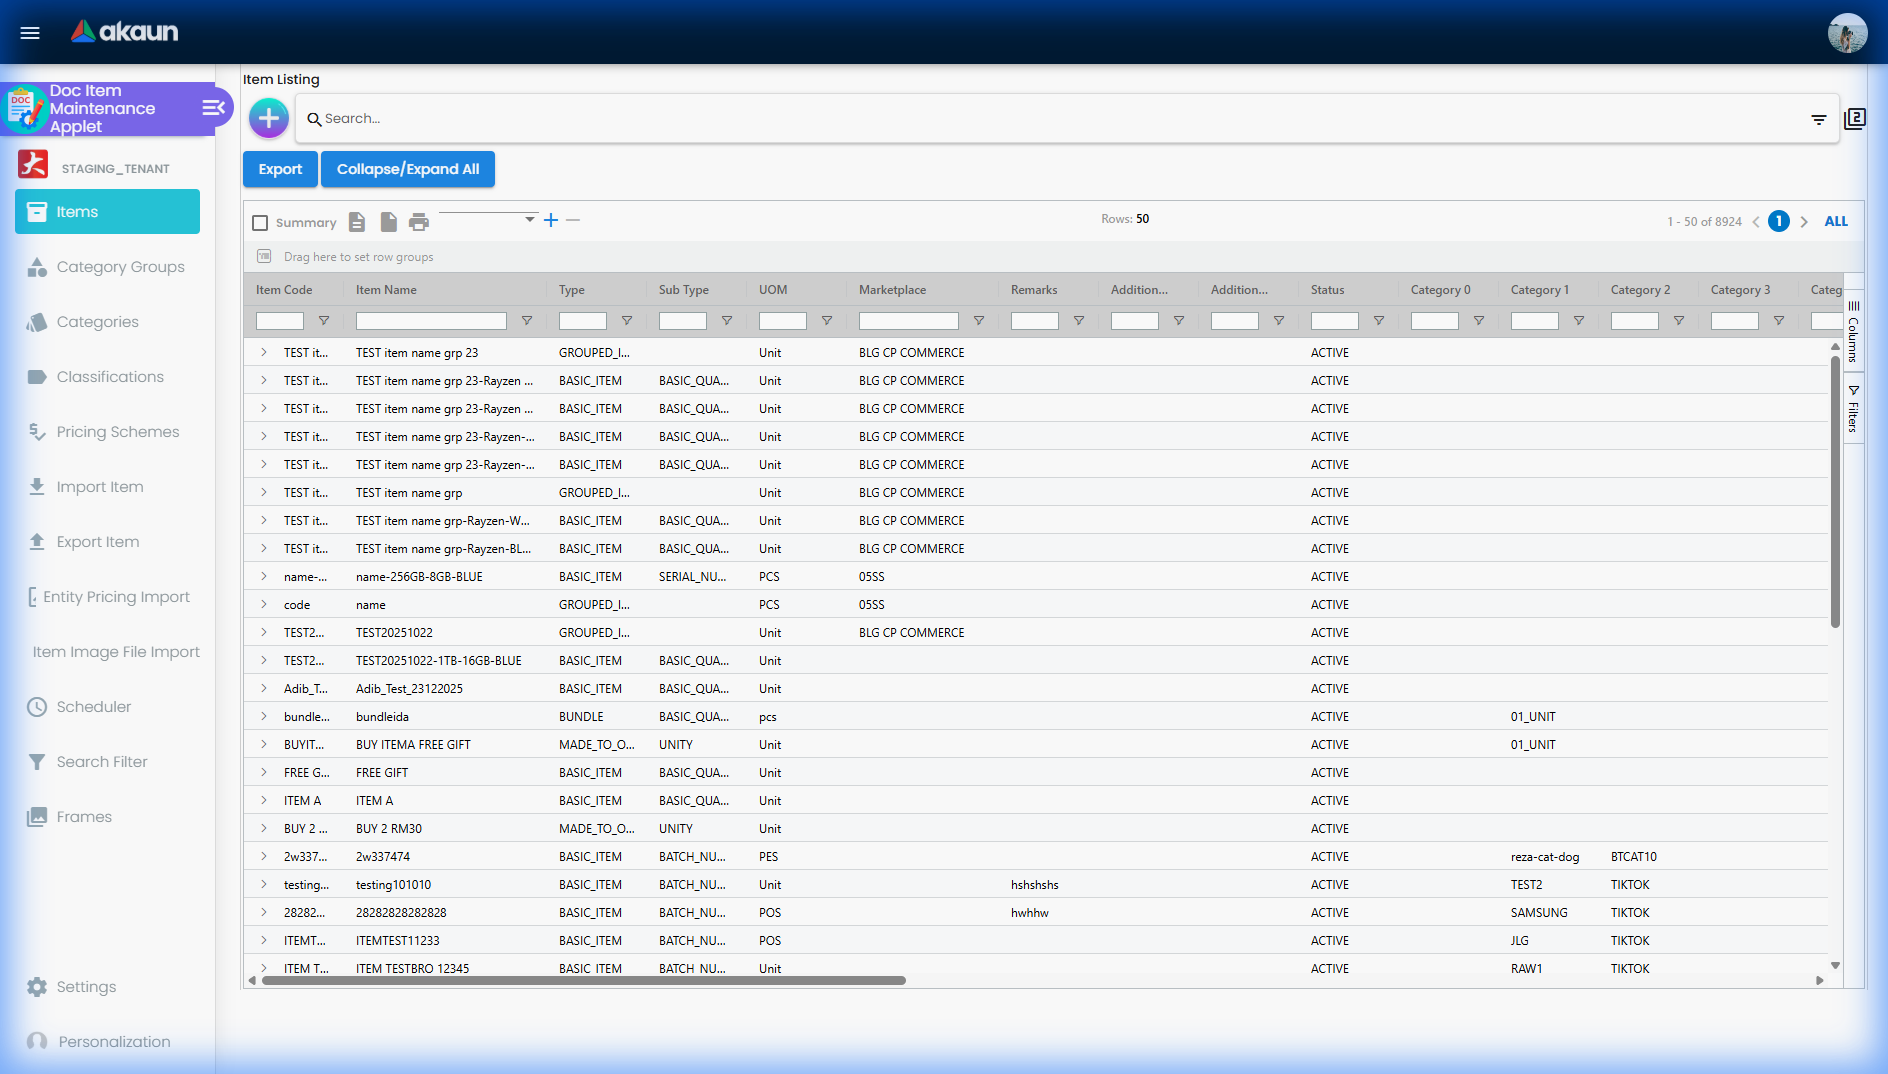
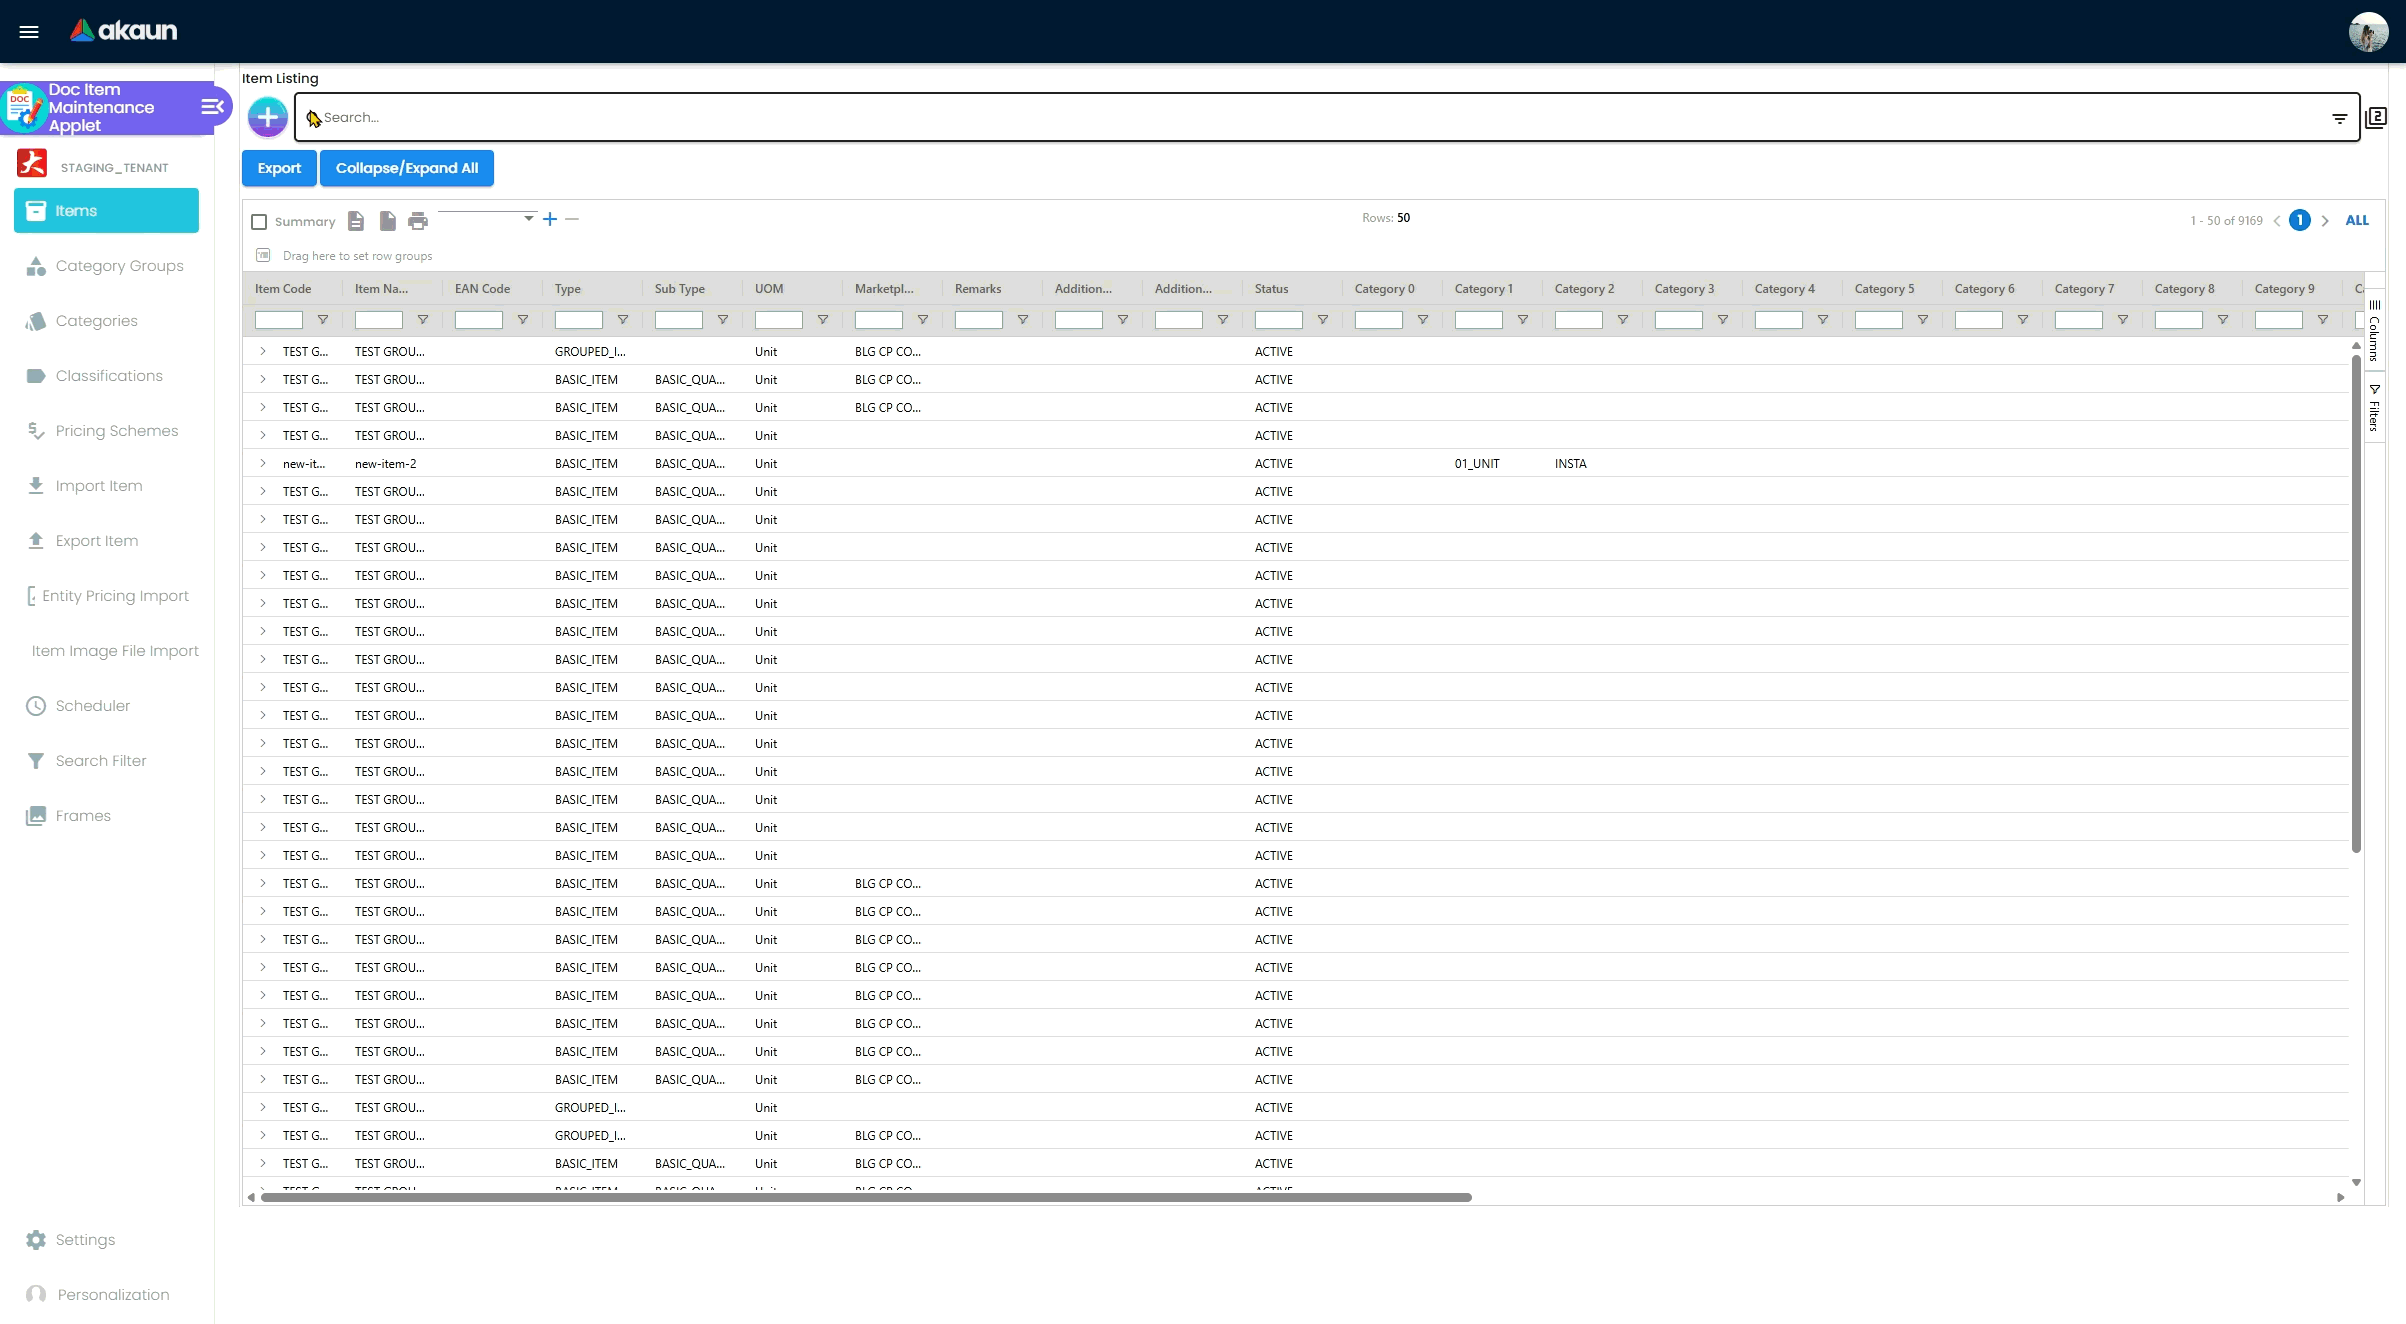
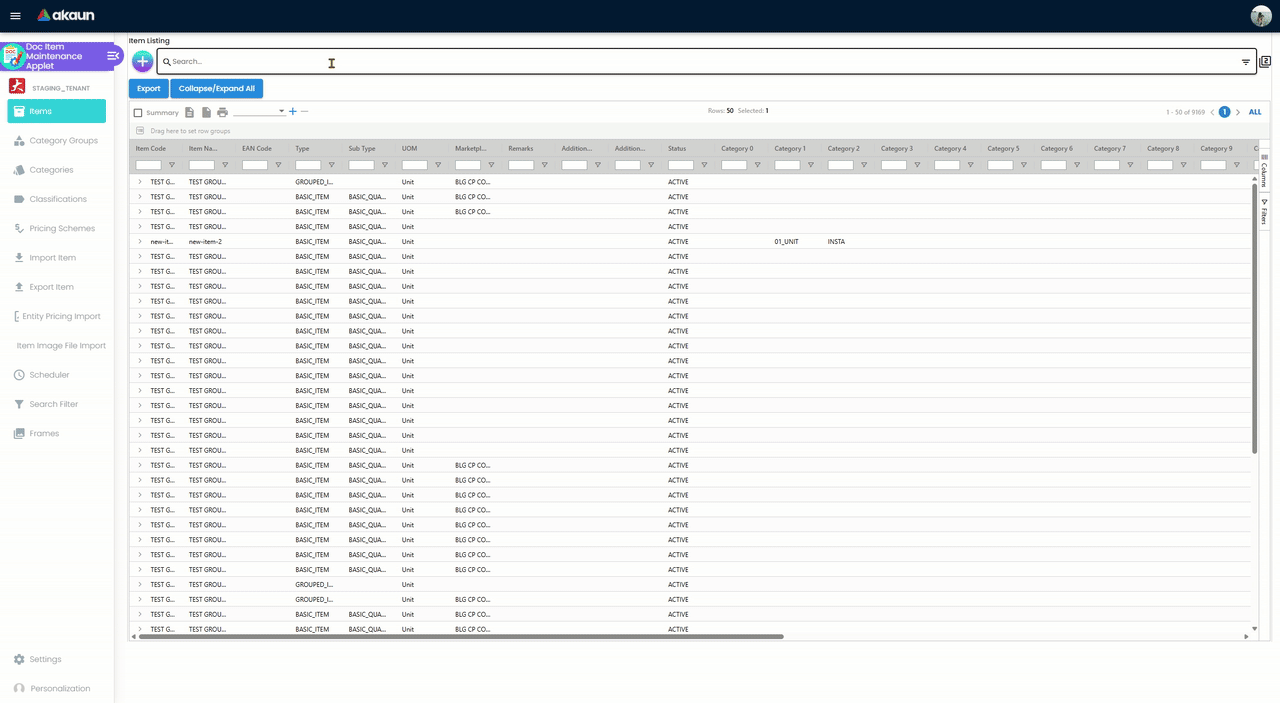
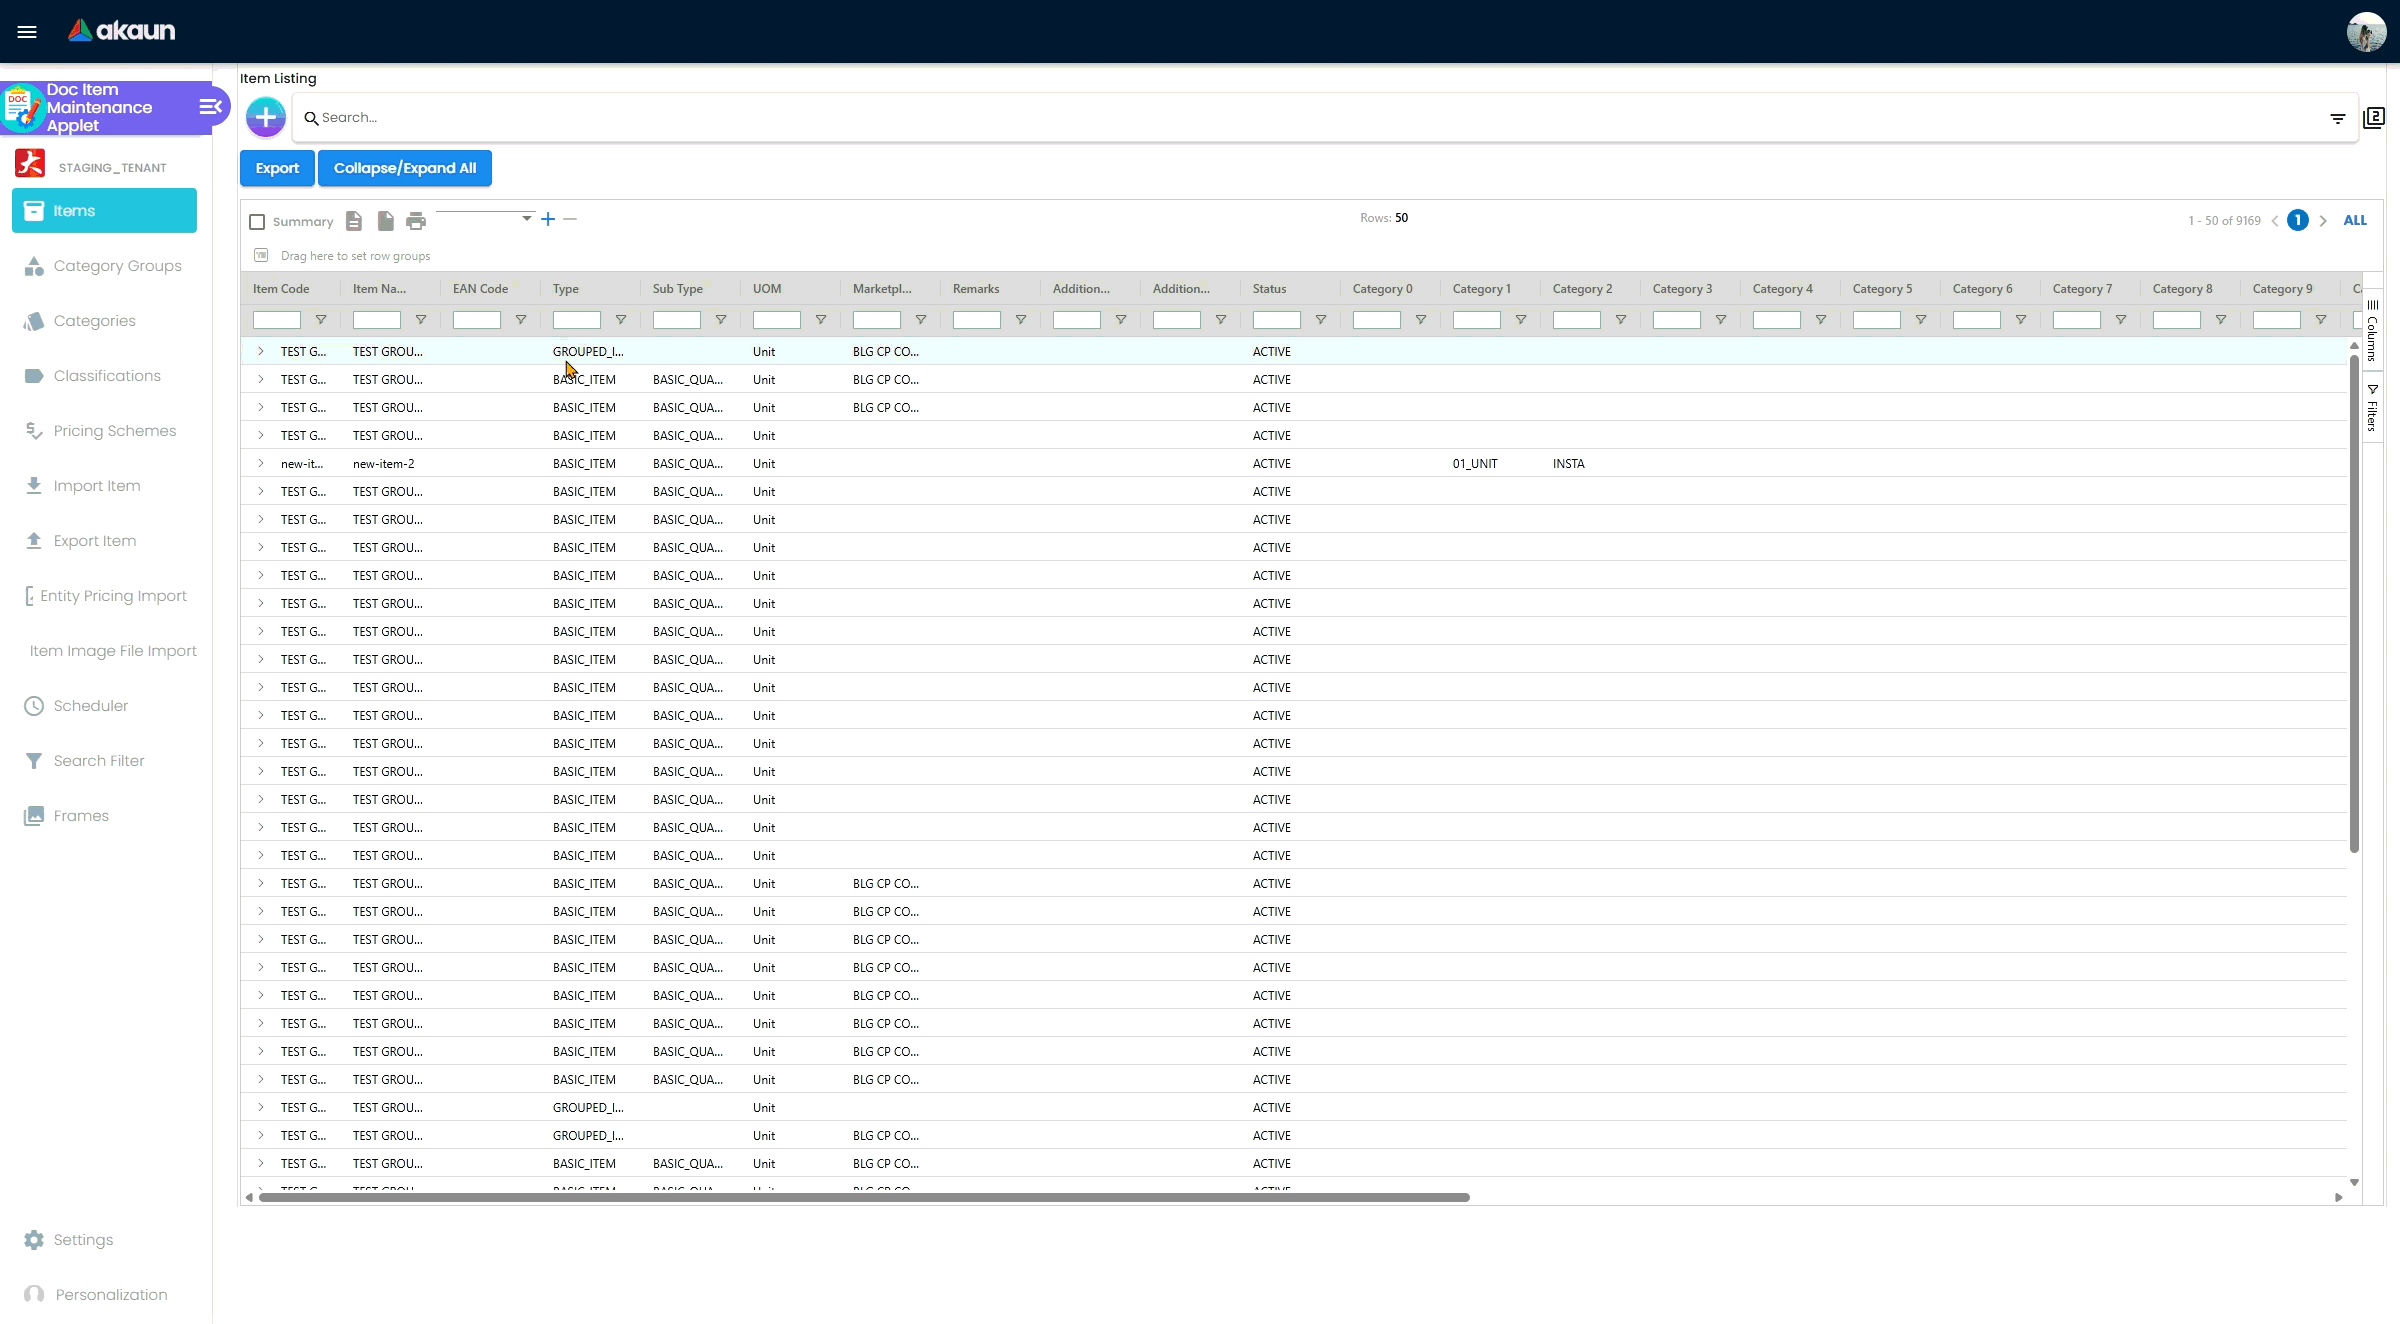
Items
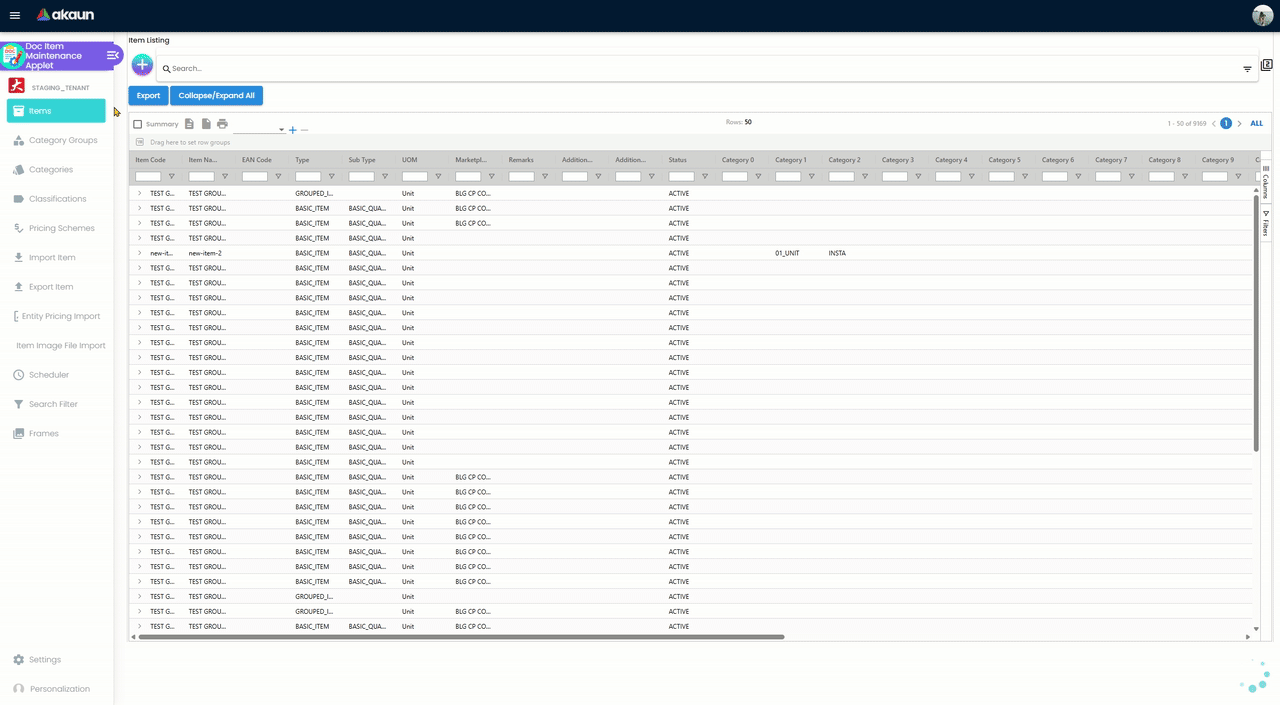
Item Listing
Note
Click the item listing to see the item information and to edit said items.
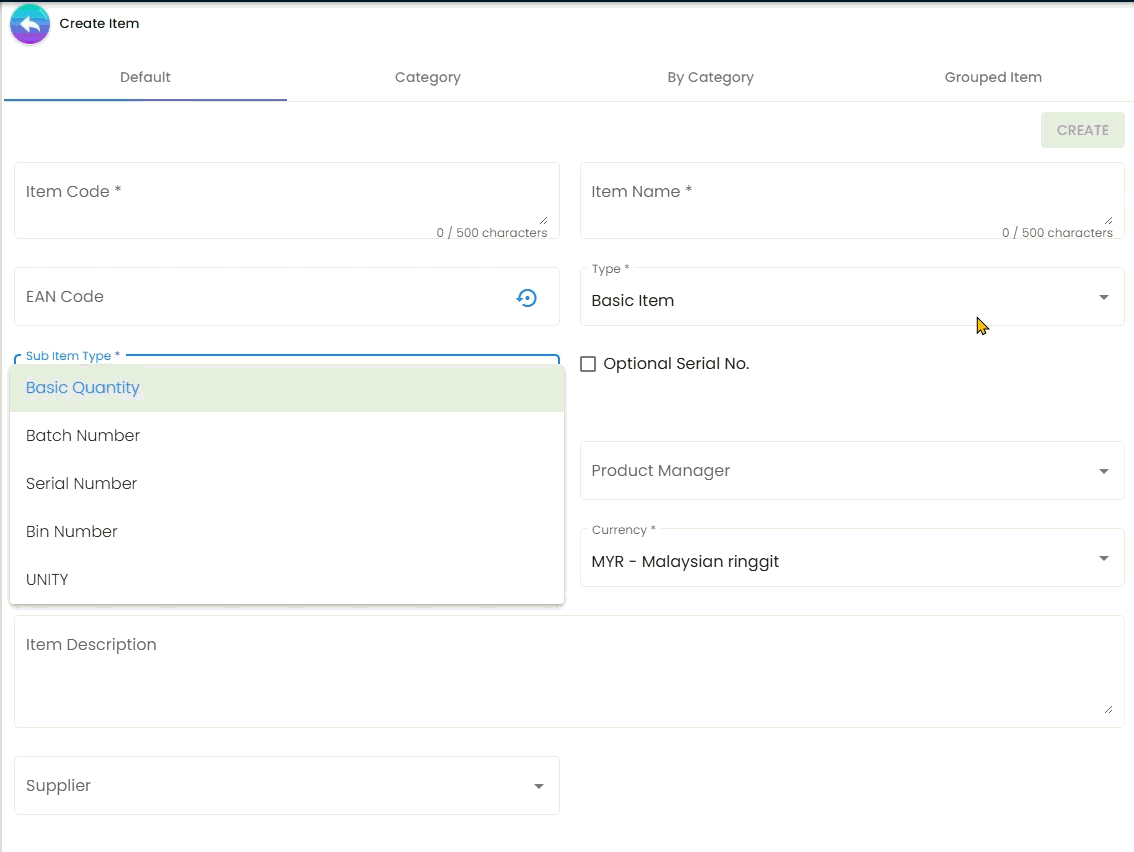
Create Items
Default Fields
Defaults have fields such as item code, item name, item type, sub-item type, base UOM, Product manager, remarks, item description, and currency.
Some things to keep in mind for the fields:
- Item Code - Unique identifier for the item, Once Item Code is created it cannot be edited
- Item Name - Item Name can be edited at any time
- Base UOM - Quantities of warehouse materials (quants) are counted using the base unit of measure (UoM).
- Item Type - Consists of many types as follows
Types of Items
Under the type of item, the user can select from the following item types. Each item type will have different information:
| Item Type | Description |
|---|---|
| Basic Item | This is the default type that is relevant to most items |
| Voucher | An item that is part of a voucher. The voucher will have a ‘Link Voucher’ option as a subtype |
| Grouped Item | An item that is part of a group of related products that share common attributes like features, use, production processes, etc. |
| Bundle | A package of two or more stand-alone products sold together for a single price. Stock is deducted from child items, not parent |
| Coupon | Used to record the Stock In and Stock Out of vouchers tied to this item. Reflected in the Voucher Management Applet |
| Service | A basic item without inventory tracking |
| Warranty | A written guarantee issued to the purchaser, promising to repair or replace if necessary within a specified period |
| GL Code | General ledger code used to record business transactions in the general ledger |
| Doc Header Adjustment | Used to group discounts in the POS applet |
| Membership | Used to define member attributes, dues payment schedule, and expiration settings |
| Made to Order (MTO) | Manufacturing process where products are assembled according to customer requirements |
| Account Code | Accounting code for financial tracking |
| Digital Goods | Non-physical products delivered electronically |
| Fixed Asset Register | Items tracked as company assets |
| Sales Contract | Contract-based sales items |
| Delivery Charger | Shipping and delivery cost items |
Sub Item Types
There are five sub-item types available:
| Sub Item Type | Description |
|---|---|
| Basic Quantity | Standard quantity tracking |
| Batch Number | Container Measure is set to 1 by default, Container Quantity can be changed by user |
| Serial Number | Container Measure and Container Quantity are both set to 1 by default |
| Bin Number | Both Container Measure and Container Quantity can be changed by user |
| Digital Goods | For non-physical products |
When a user selects any sub-item type, it will be reflected in the POS applet. The Base Quantity is calculated as the sum of Container Measure and Container Quantity.
Additional Checkboxes
- Consignment Item - Check this box if the item is a consignment item. This is important for items you hold but don’t own (e.g., items provided by a supplier that you sell on their behalf).
- Required Production - Check this box if the item requires production. This is relevant for manufacturing industries where the item needs to go through a production process before it can be sold.
- Alternate Item Code - An optional field where you can enter an alternative code for the item. This is useful when items have multiple identification codes across different systems.
Edit Items
Once the user creates an Item, it will appear in the listing. When the user wants to update the item or add more information they can click on the Item itself.
Quick Reference - Key Tabs within an Item:
- Main Detail: Includes description, barcode/EAN, and UOM.
- E-Invoice: Specific fields for MSIC codes, tax types, and classification codes required for electronic invoicing.
- Item Category (0–20): Standard flat categories for organizing items.
- Pricing Scheme: Allows you to input specific prices (min, max, promotion, before/after tax) for the schemes set up in the main menu.
- Branch/Company Linking: Used to restrict an item to a specific branch or company; if not linked, the item cannot be used for transactions in that branch.
- Manage Image: A tab to upload product images.
- Marketplace: Handles integration with Lazada, Shopee, and CP Commerce.
Main Tab
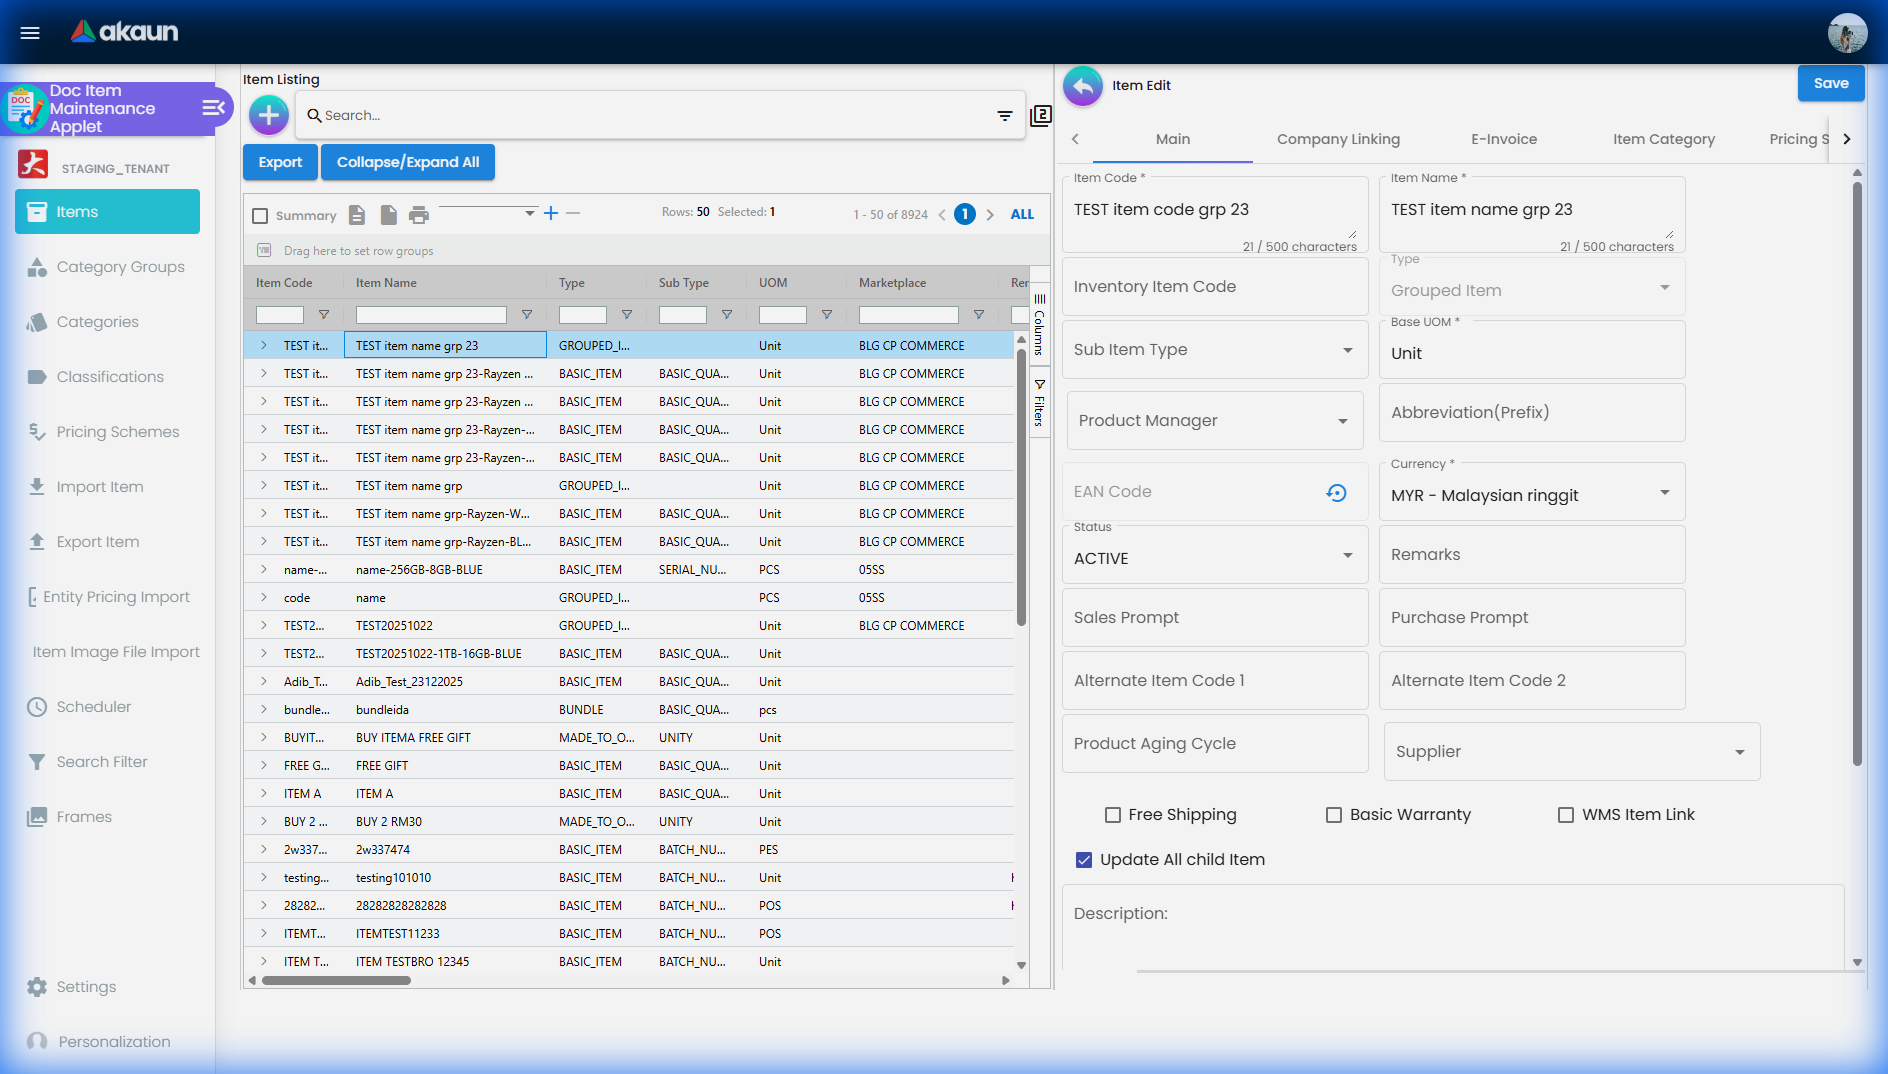
This Tab consists of general Item information such as:
- Item Name - can be updated at any time
- Item Code & Item Type - both of these fields are set in the create item, cannot be updated
- Sub Item Type - used when items are in a batch or have a serial number
- GL Code - The general ledger is an accounting document that provides a general overview of an organization’s financial transactions. An account, or general ledger (GL) code, is a number used to record business transactions in the general ledger
- Abbreviation (Prefix) - is used in the voucher applet, in order to make it easier to view a specific group of items
- EAN Code - The International Article Number is a standard describing a barcode symbology and numbering system used in global trade to identify a specific retail product type, in a specific packaging configuration, from a specific manufacturer.
- Additional Checkboxes: Here the user can also find the additional checkbox mentioned at the create item section
E-invoice Tab
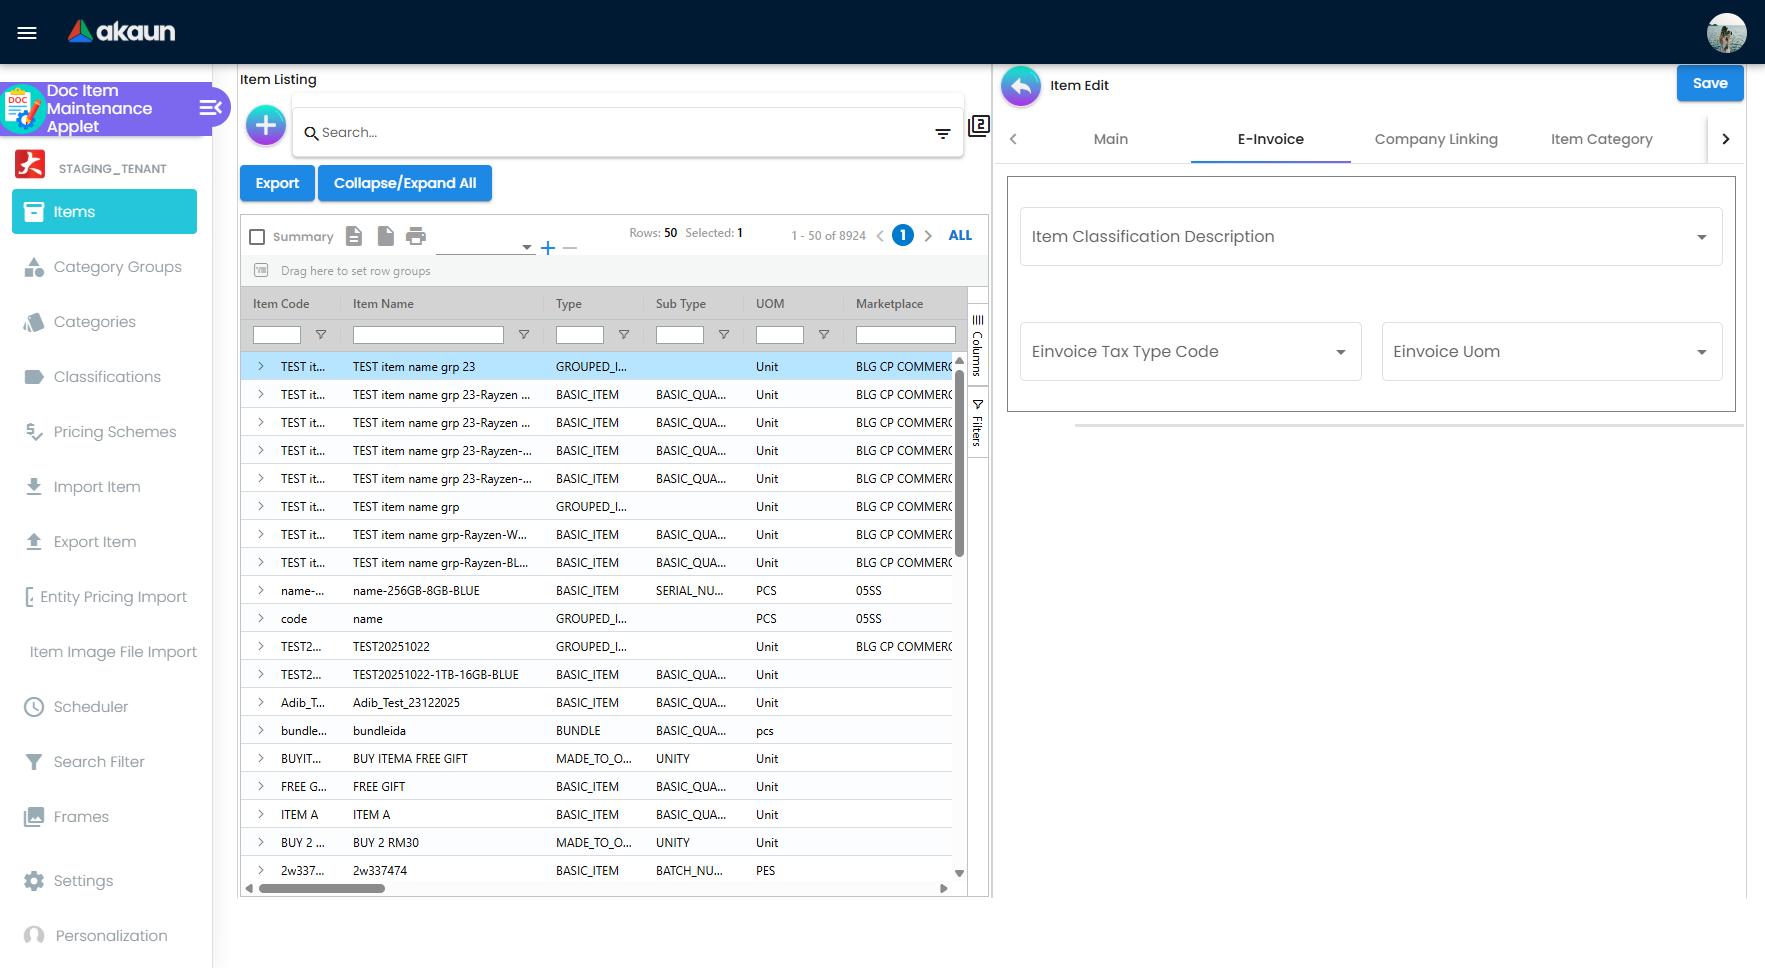
This tab is for MSIC, Tax type, and UOM. Here users can do e-invoice classification.
This can also be done under Classification in the applet menu.
Item Category
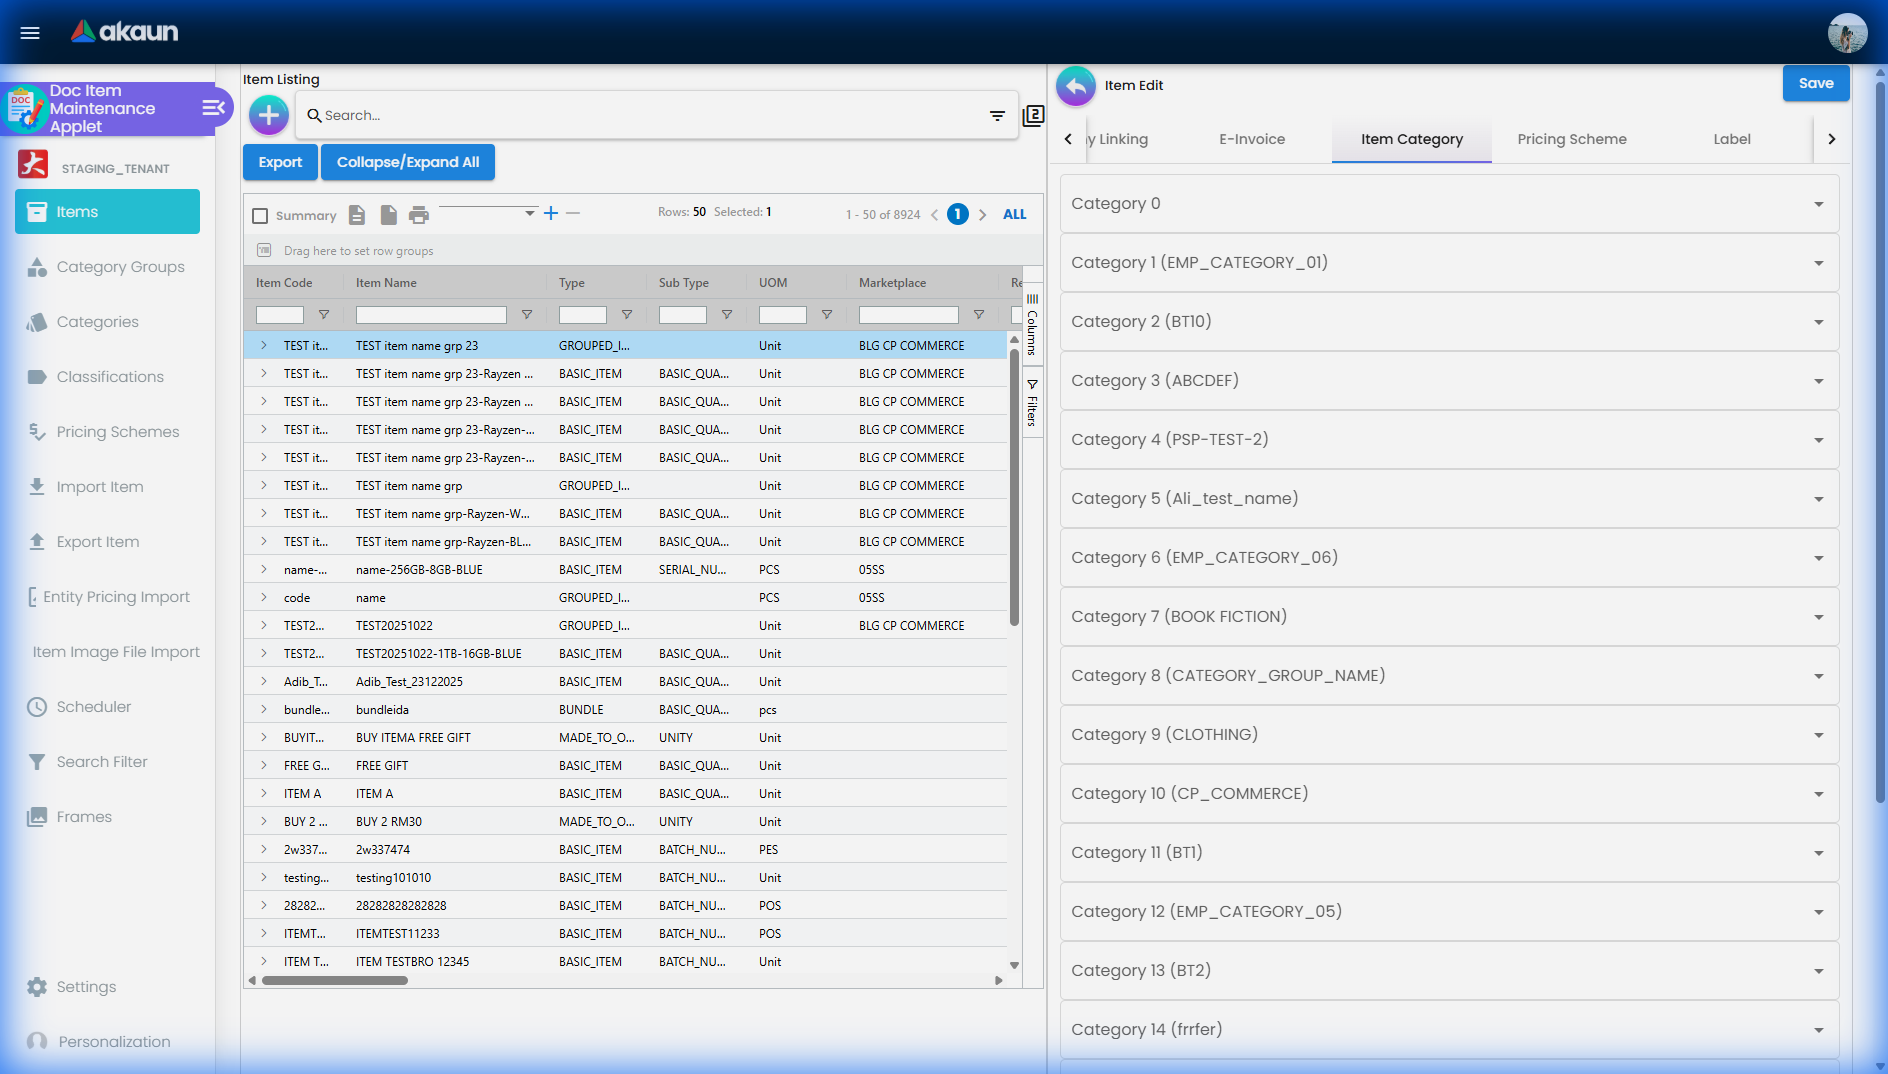
The item category tab is used to link a category to the item. Currently, have 0 - 20 categories but can add more for users upon request. Categories can be created in the “Category” module.
Tax Tab
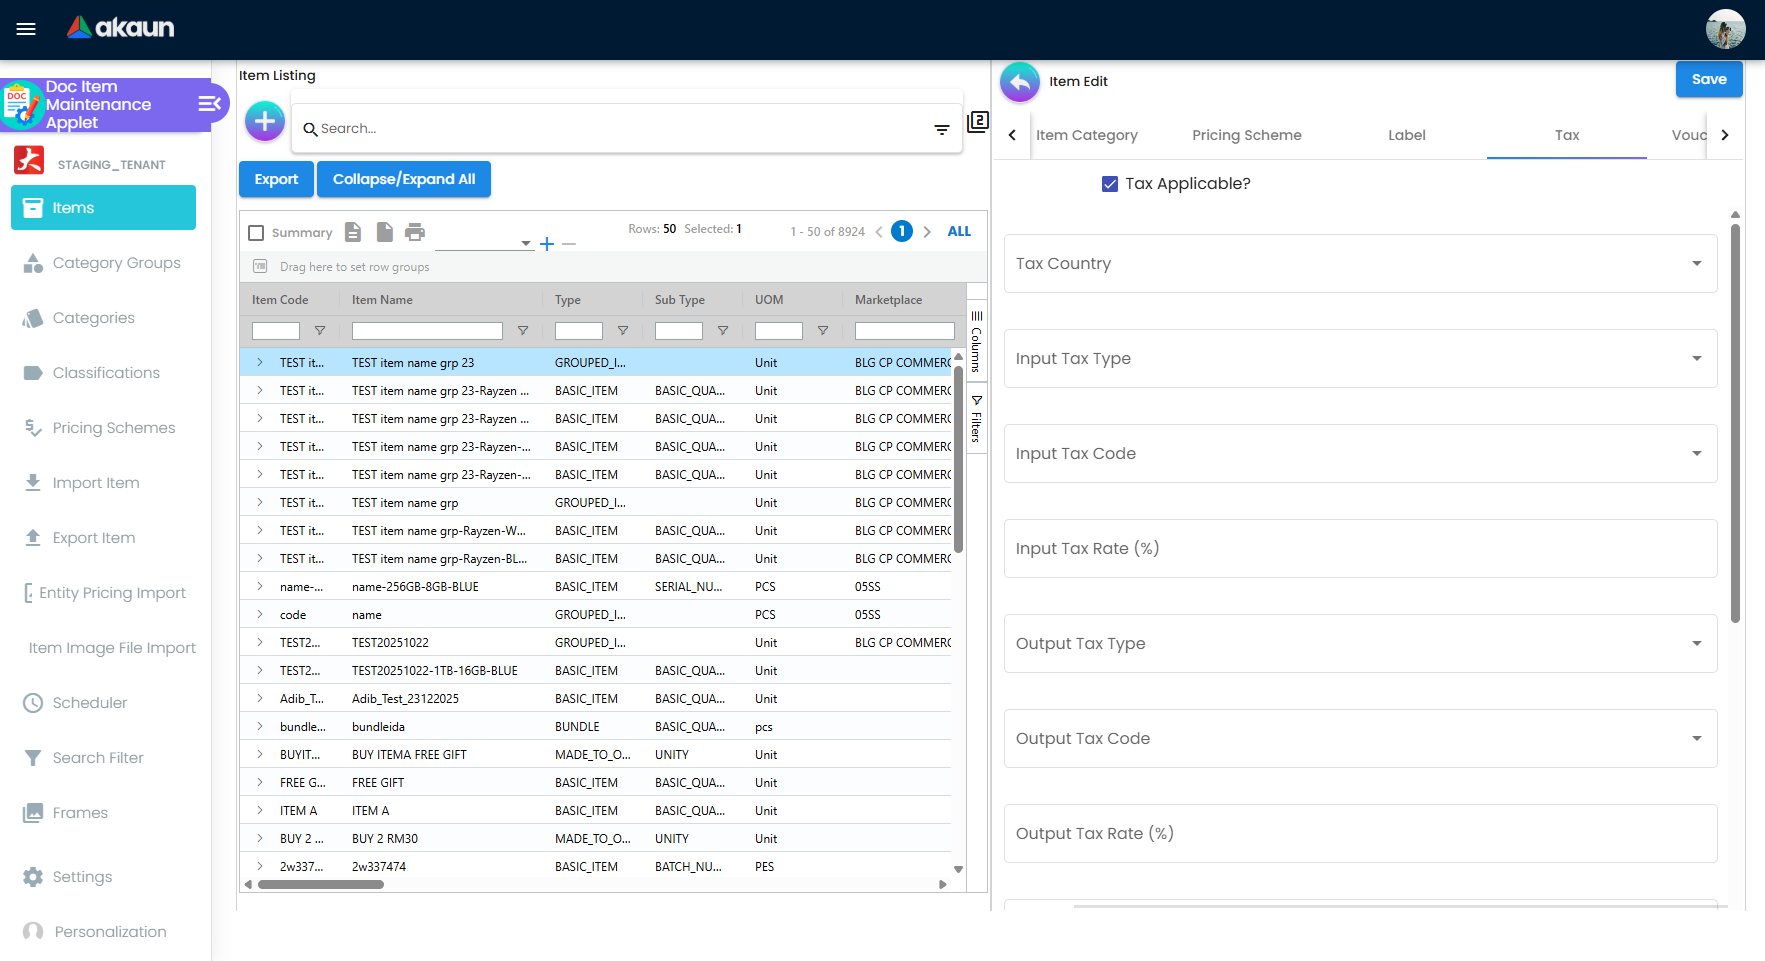
If tax is applicable the user can tick the checkbox. Once ticked the tax information will appear where the user can set the tax for the item.
Multi UOM Tab
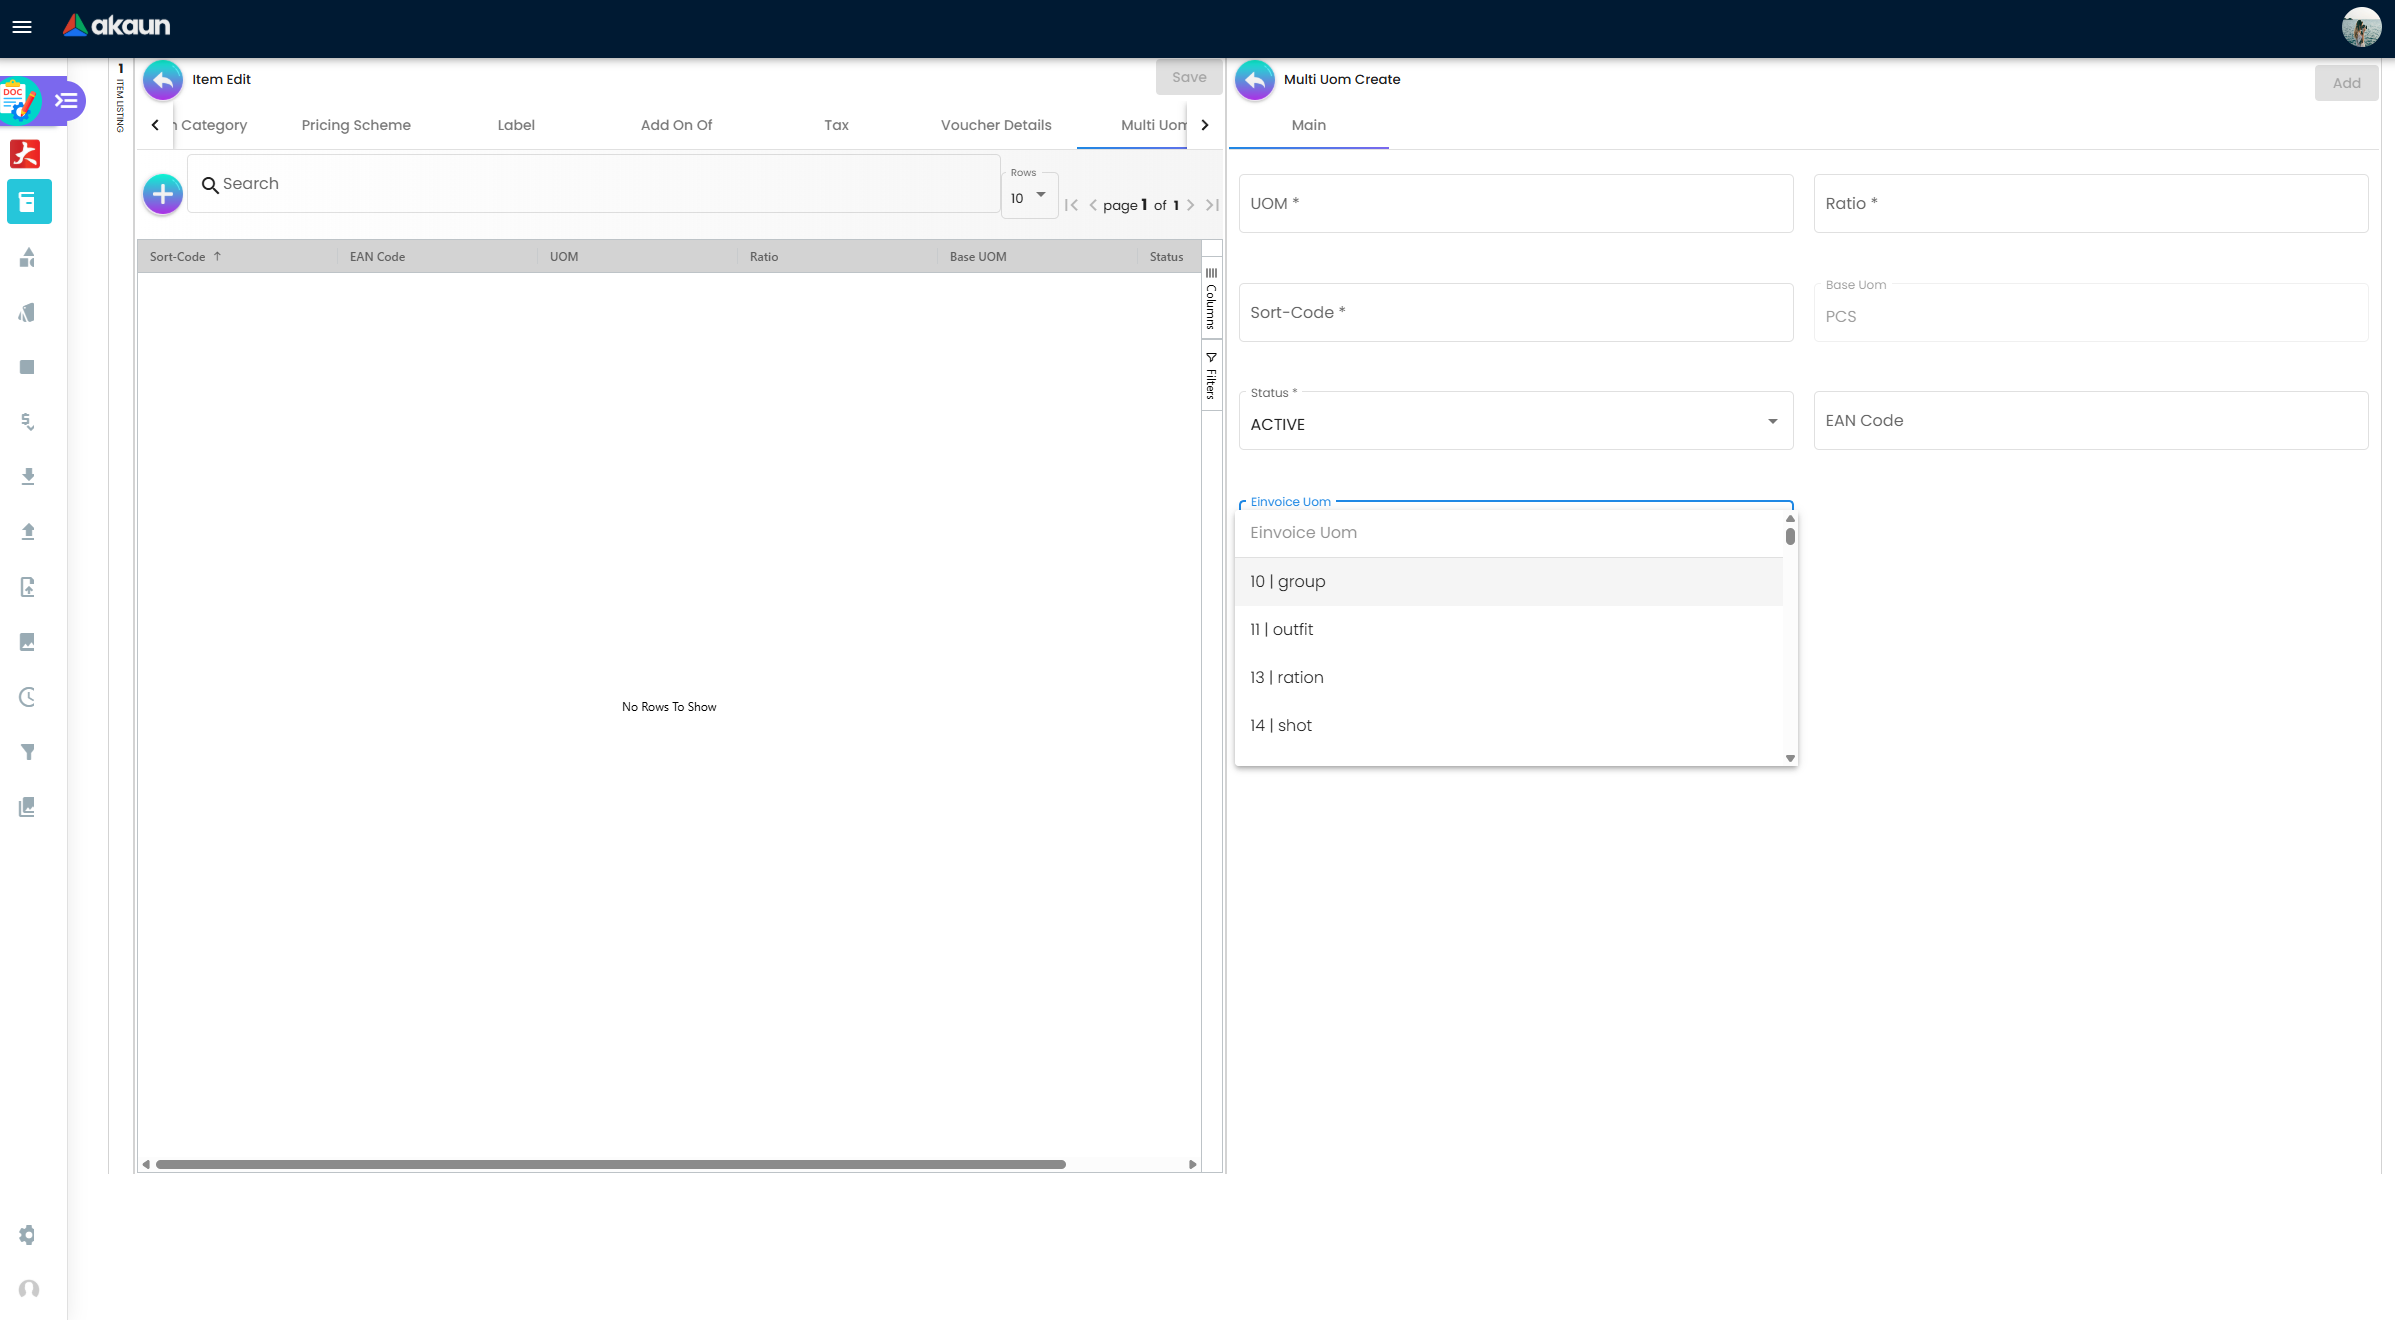
This module allows stock items with multiple units of measurement, UOM auto conversion, and multiple UOM reports that can be later used in transactional applets. If your industry uses multi uom, you can specify here. sample of Multi UOM:
- 1 Box = 12 Packs
- 1 Packs = 10 Strips
- 1 Strips = 10 Tablets
The above UOM specifics the conversion of one type of UOM to another UOM, with a specific ratio.
- UOM
- Ratio - used to specify how many items. For example:
- if base UOM is = “Bottle”, then ratio = 20 bottles
- The number 20 specifies the number of the items
- Status
- Base UOM - unable to edit. Users may edit it in the Main Details Tab
- Sort-Code - The sort code helps identify the hierarchy of the UOM from the smallest to largest starting from 001. For example, pill would be 001 followed by the carton which would be 002 and finally box which would be 003.
- EAN Code - The barcode/scan code for this specific UOM. Each UOM can have its own unique barcode for scanning purposes.
- E-Invoice UOM - The E-Invoicing compliant UOM code (for Malaysia E-Invoicing requirements). Select from the standardized list of UOM codes.
For example:
- a. pill = 001
- b. carton = 002
- c. box = 003
Branch Linking
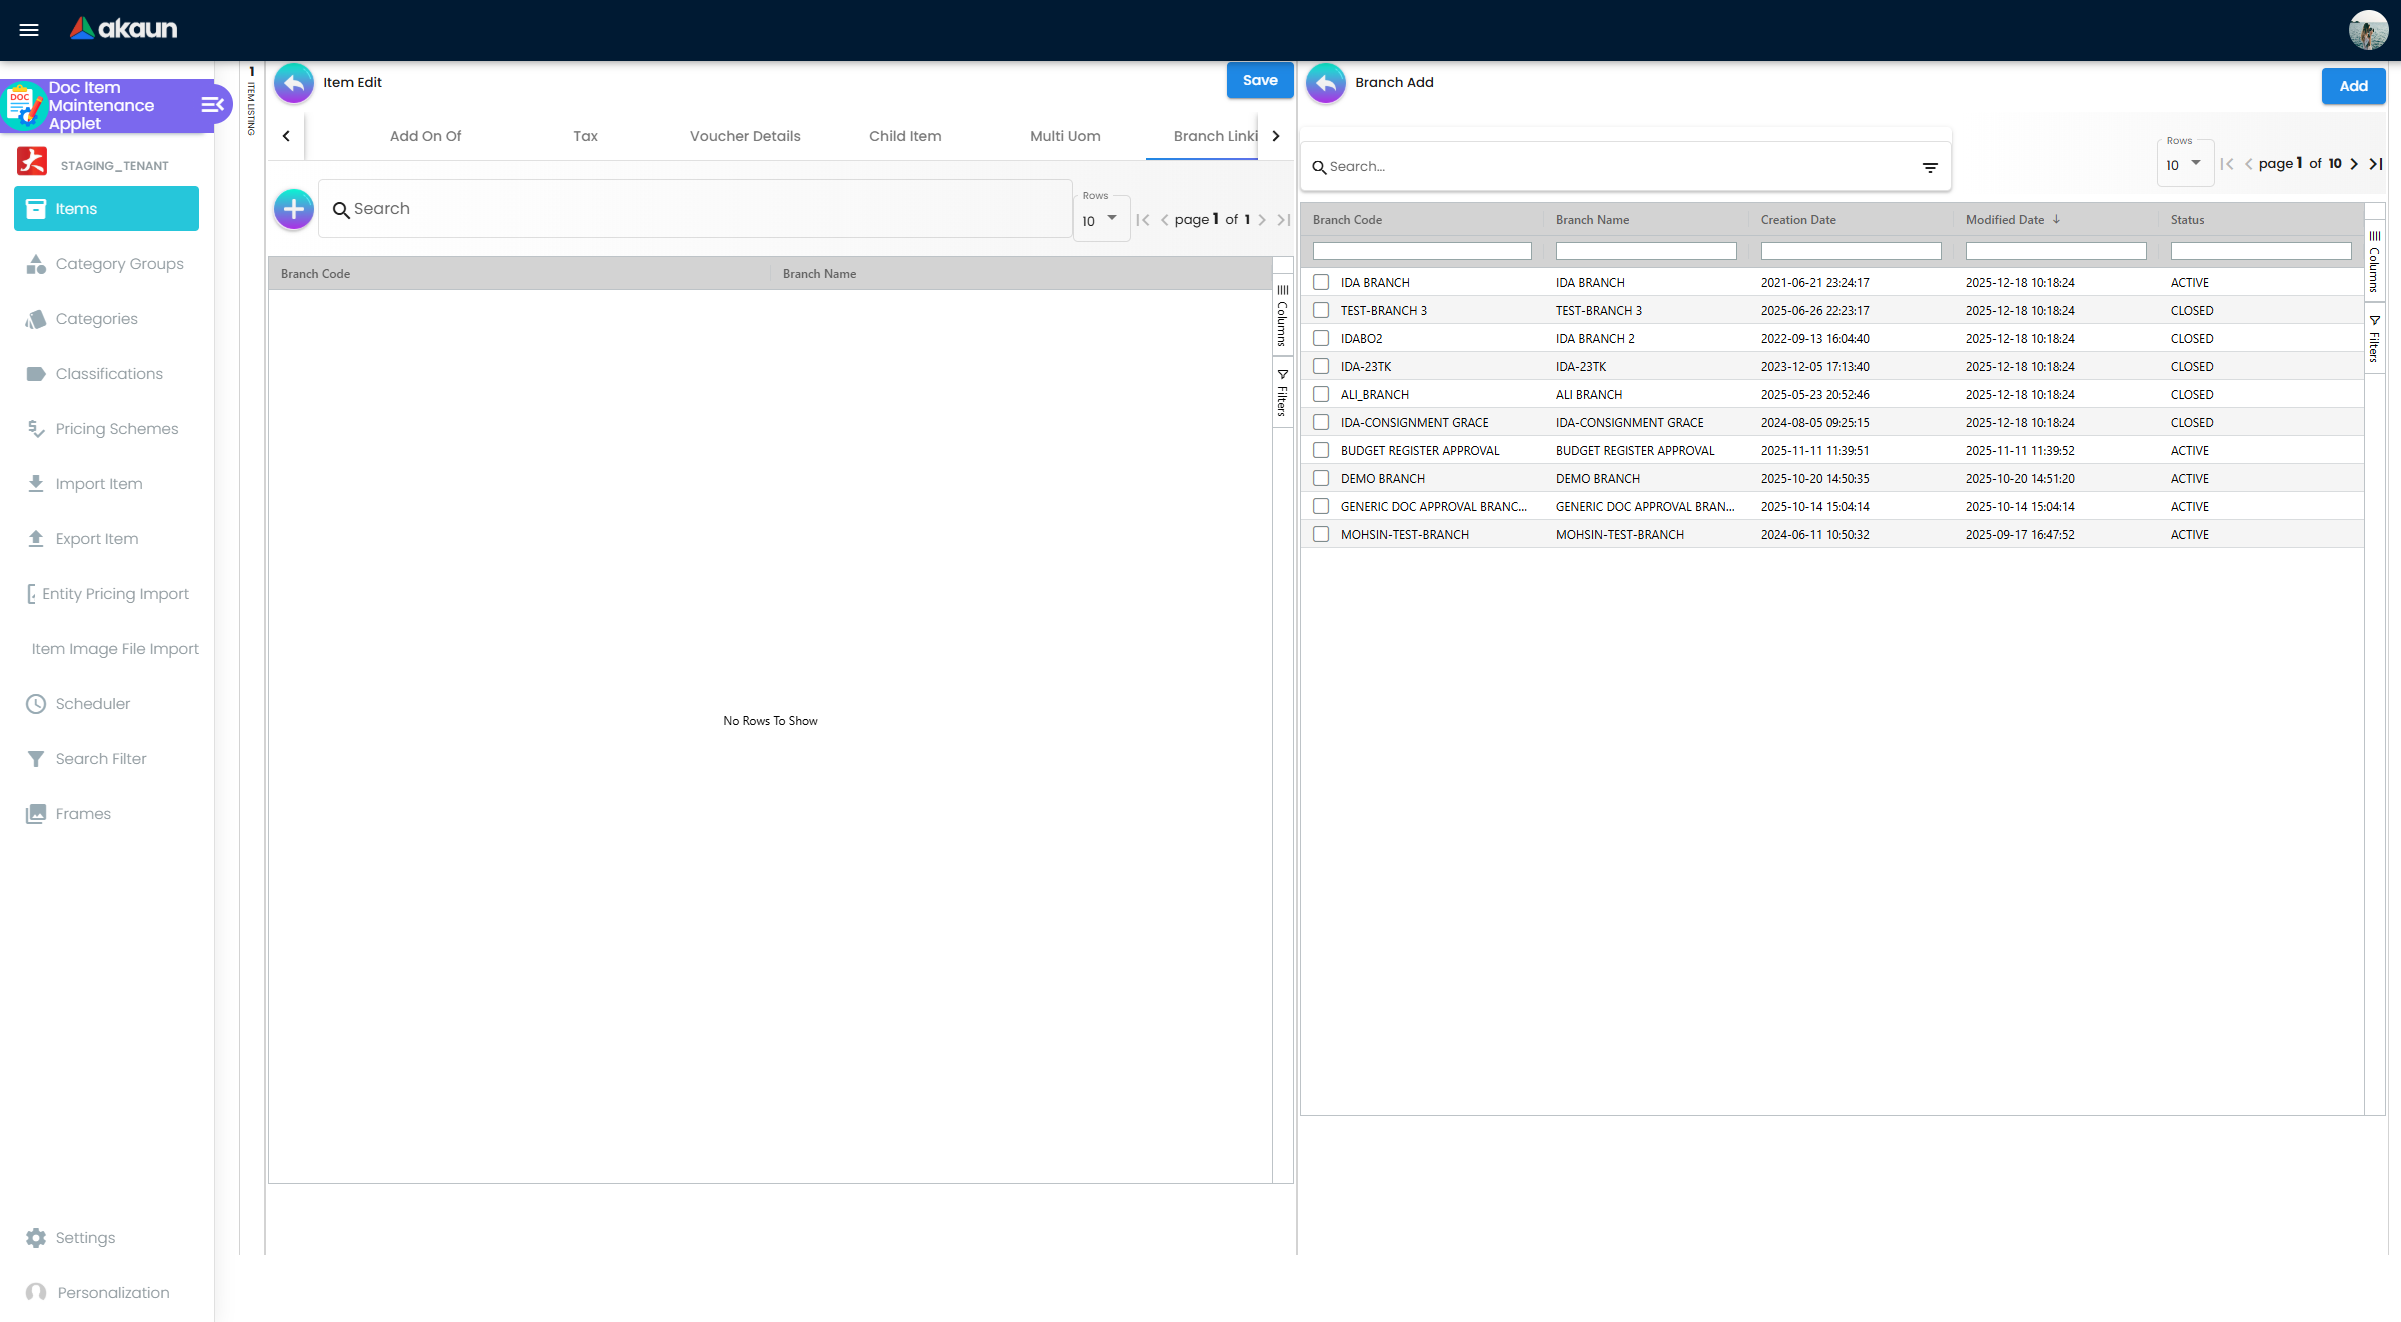
Specify item by branch and company by linking it to them here. This tab is used to link specific branches. This function will be used in all transactional applets. for example, if a user links branches A and B then only these respective branches will be able to see the selected item in the POS applet. Branches can be created in the Organization applet.
Company Linking
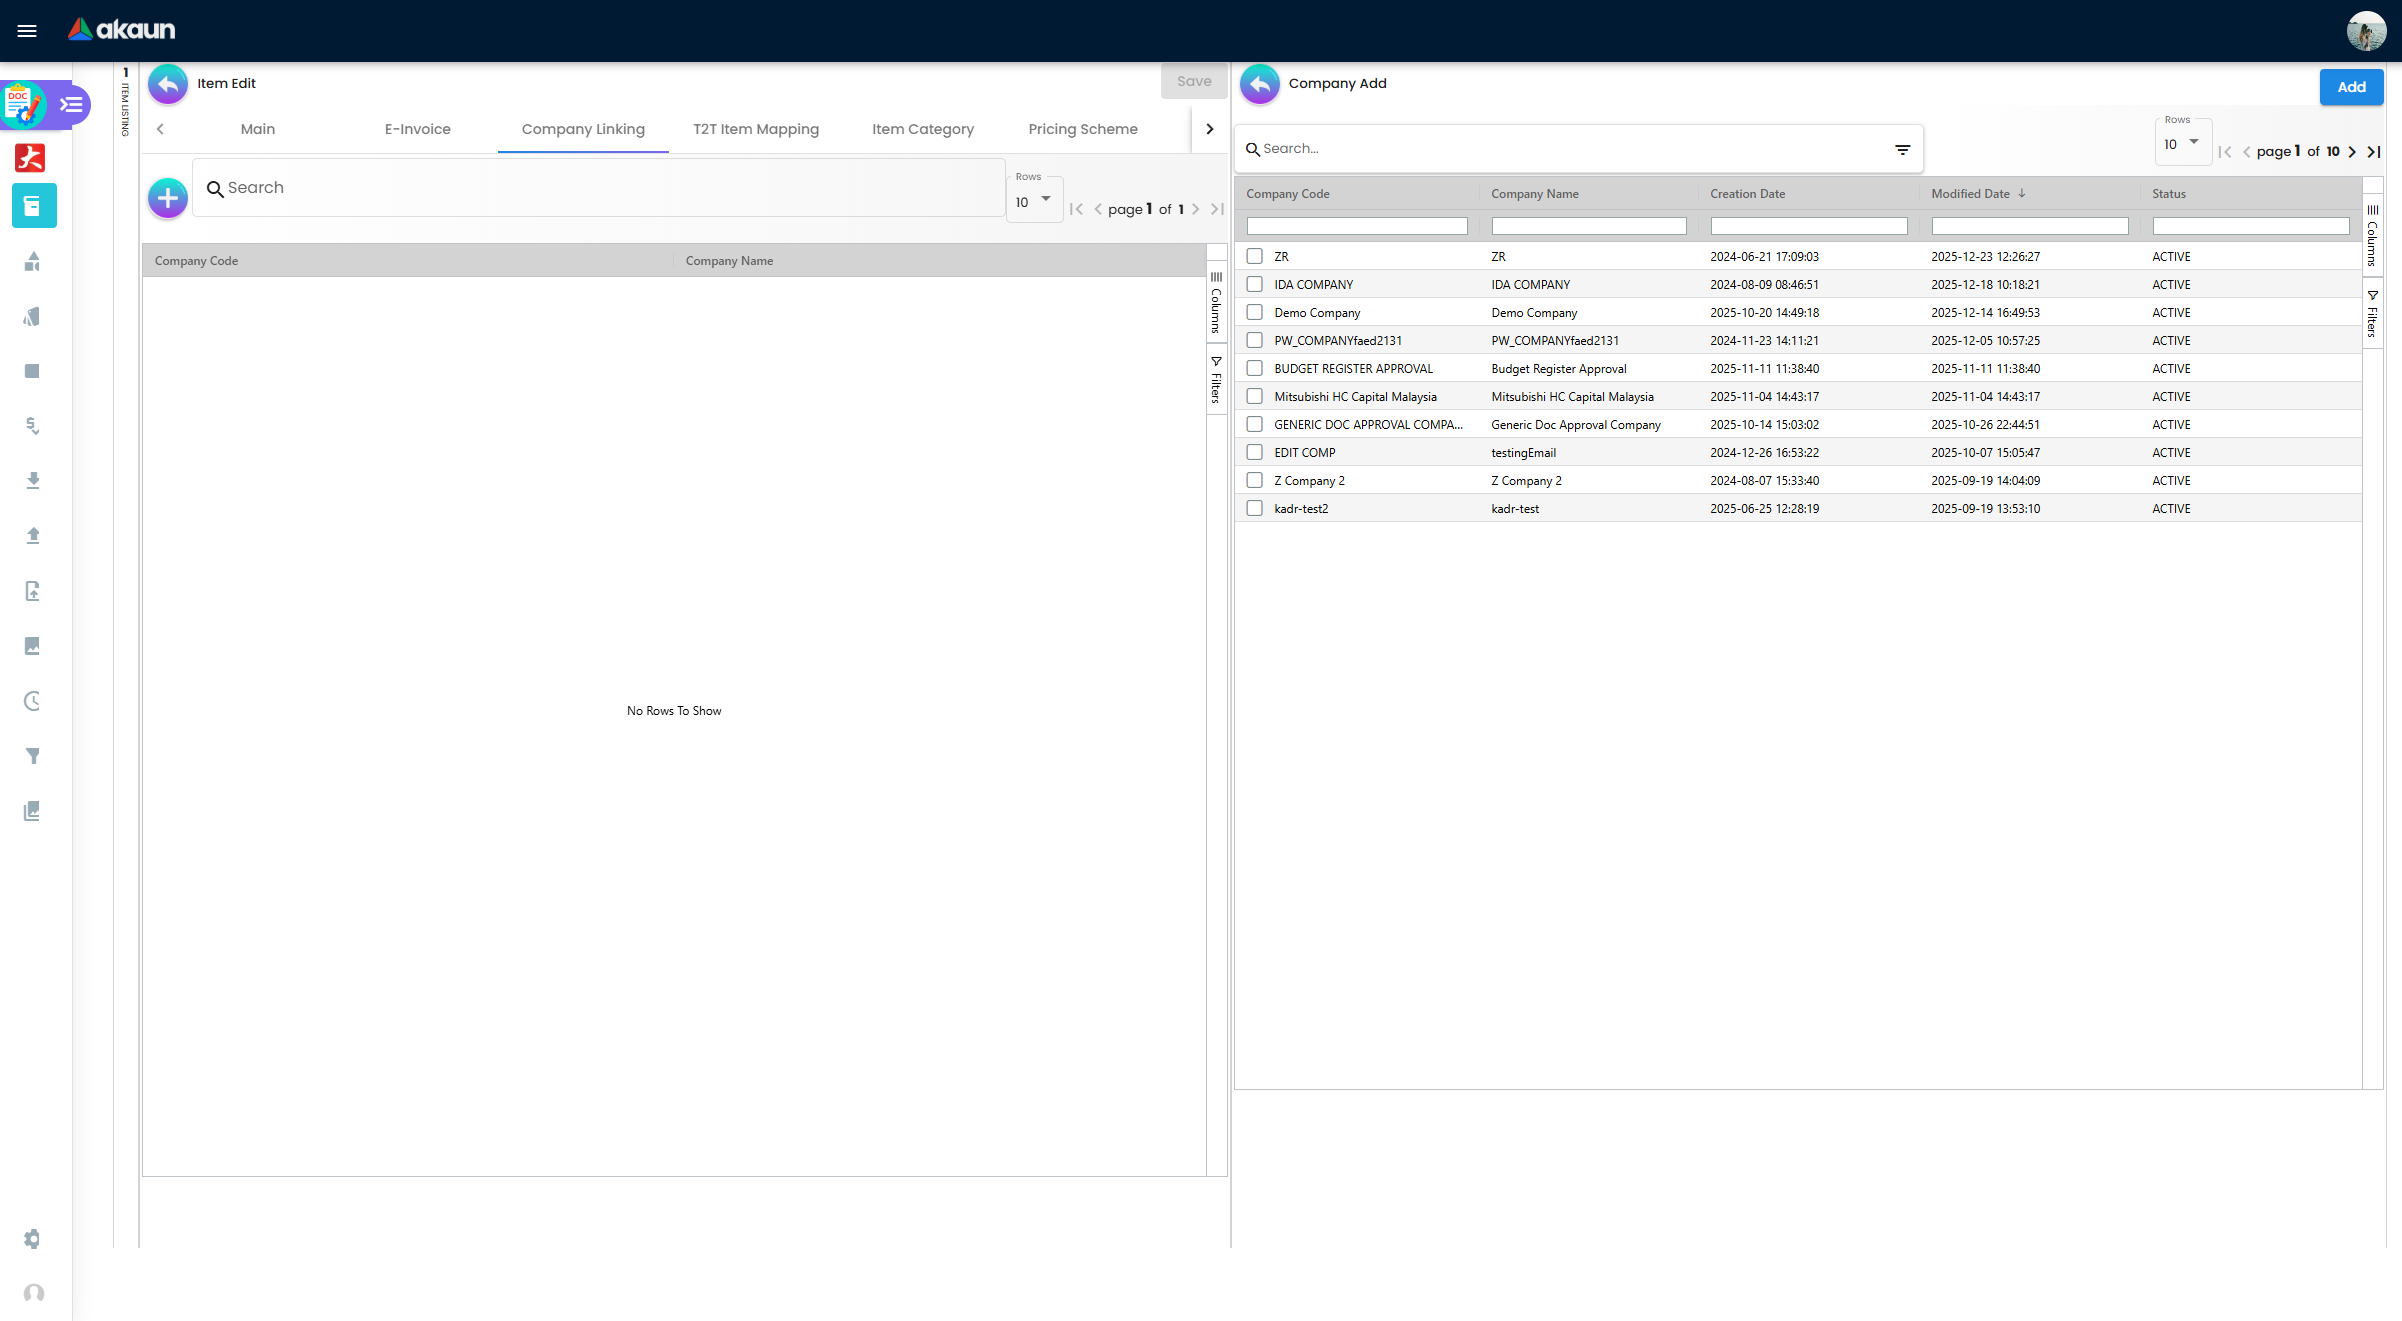
Specify item by branch and company by linking it to them here. Companies can be created in the Organization applet. When linking a company the item will be visible for all branches that are under the chosen Company.
PNS Settlement Method Tab
The PNS Settlement Method module is used to link the Product to the PNS (Products and Services) Settlement Method.
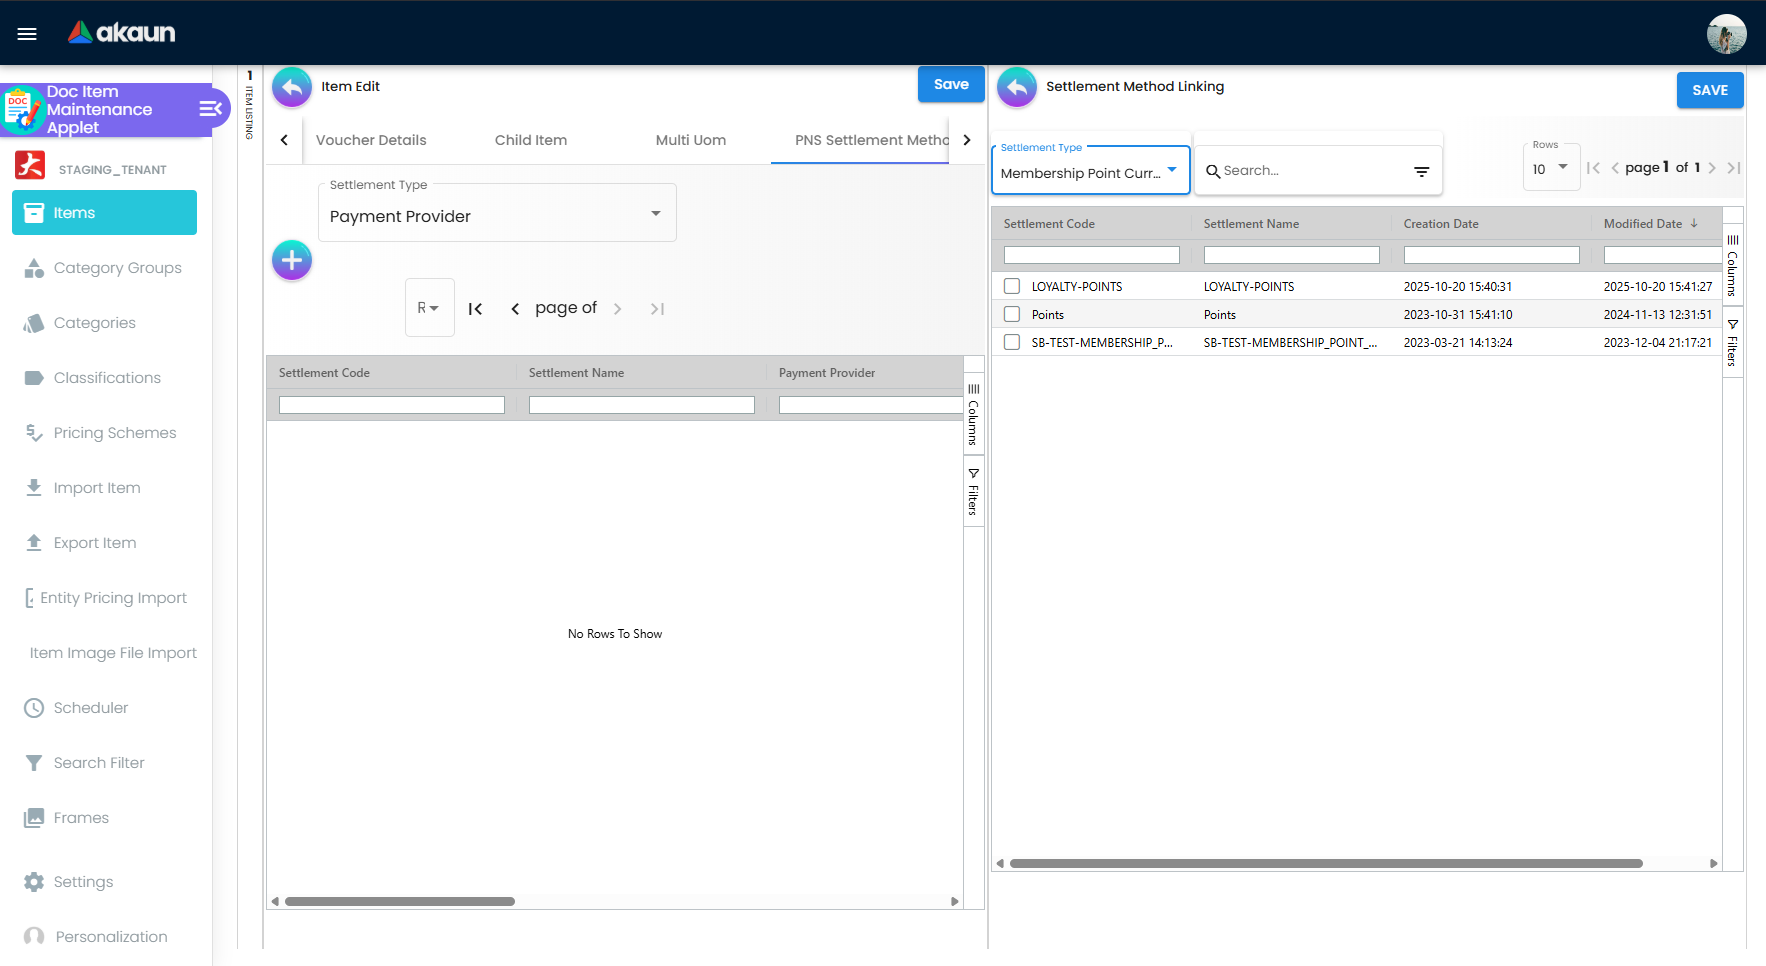
There is a dropdown list, where the user selects the Settlement Type:
- Payment Provider
- Membership Point Currency
Pricing Scheme
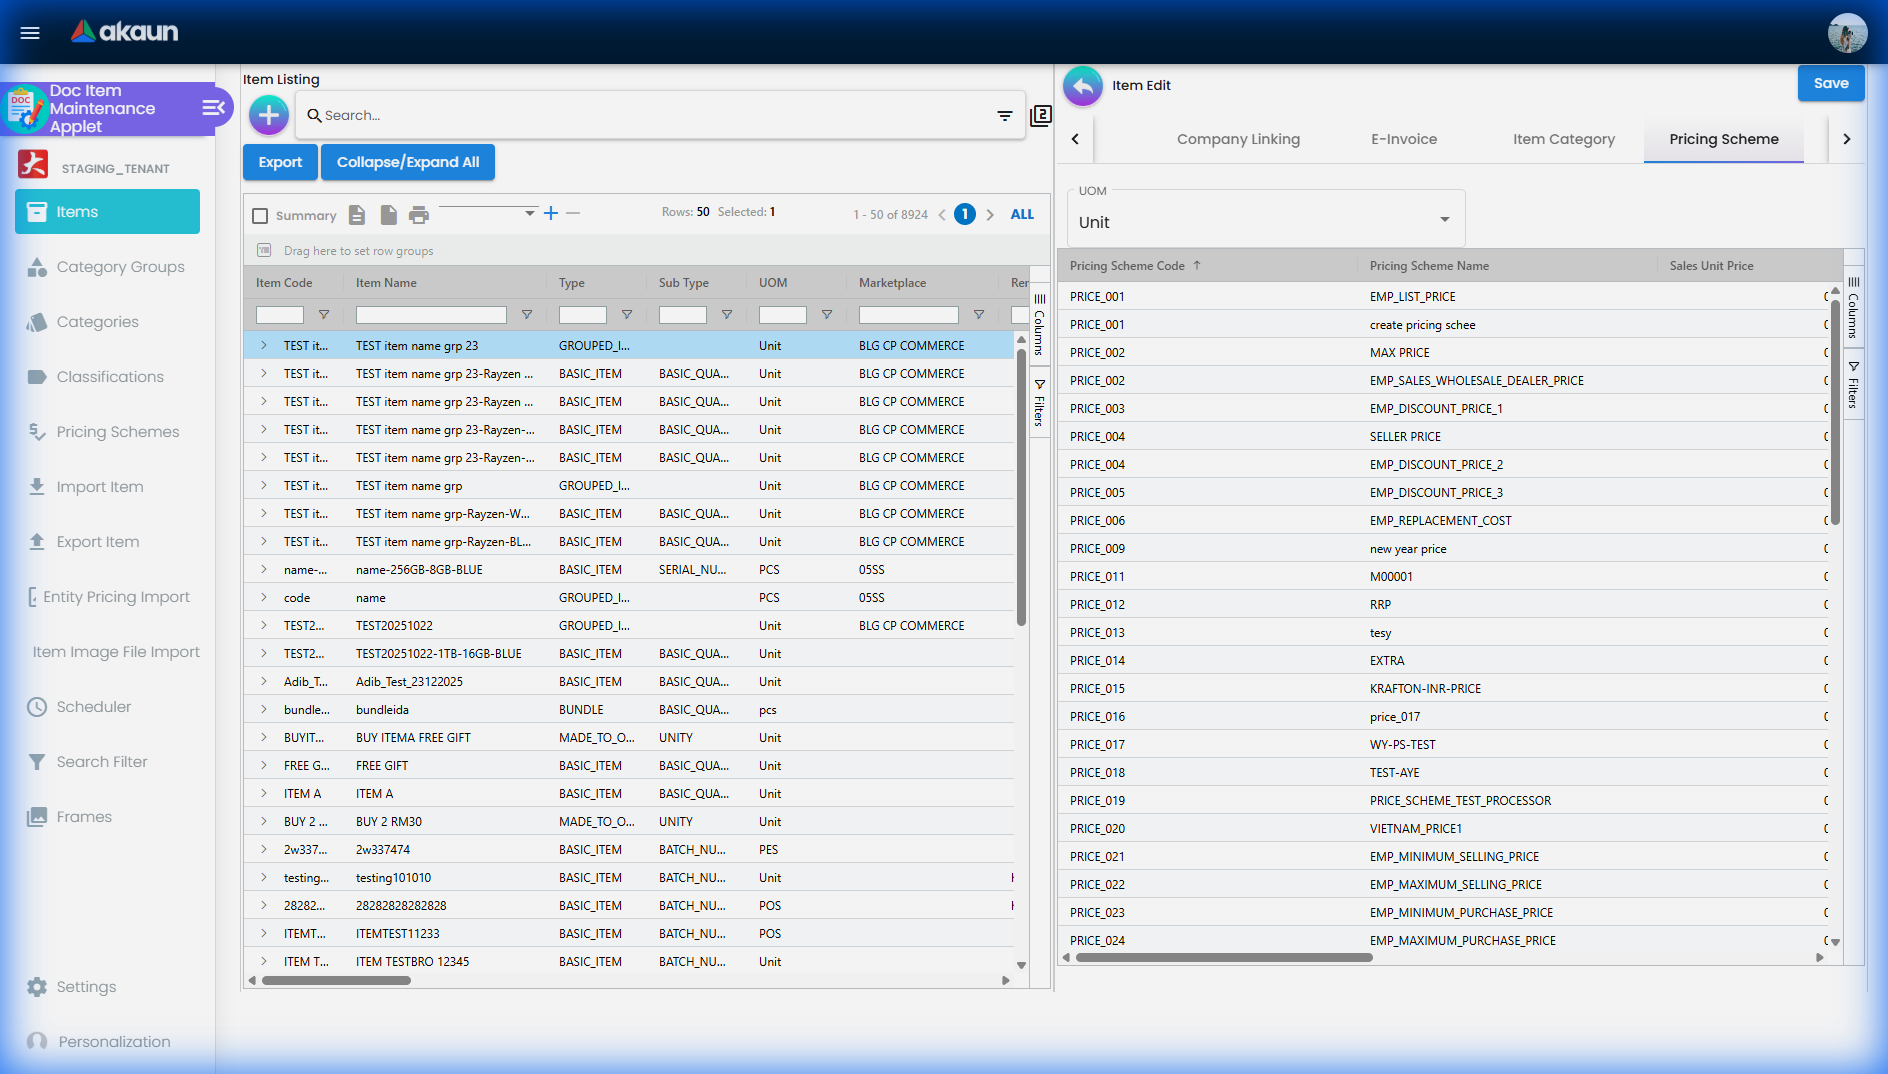
This tab is used to specify and set the prices of items. The Pricing Scheme template is added in the PRICING SCHEME module, in this tab users can add a unit price for existing pricing scheme templates. Once added this information can be used in transactional applets.
Manage Image Tab
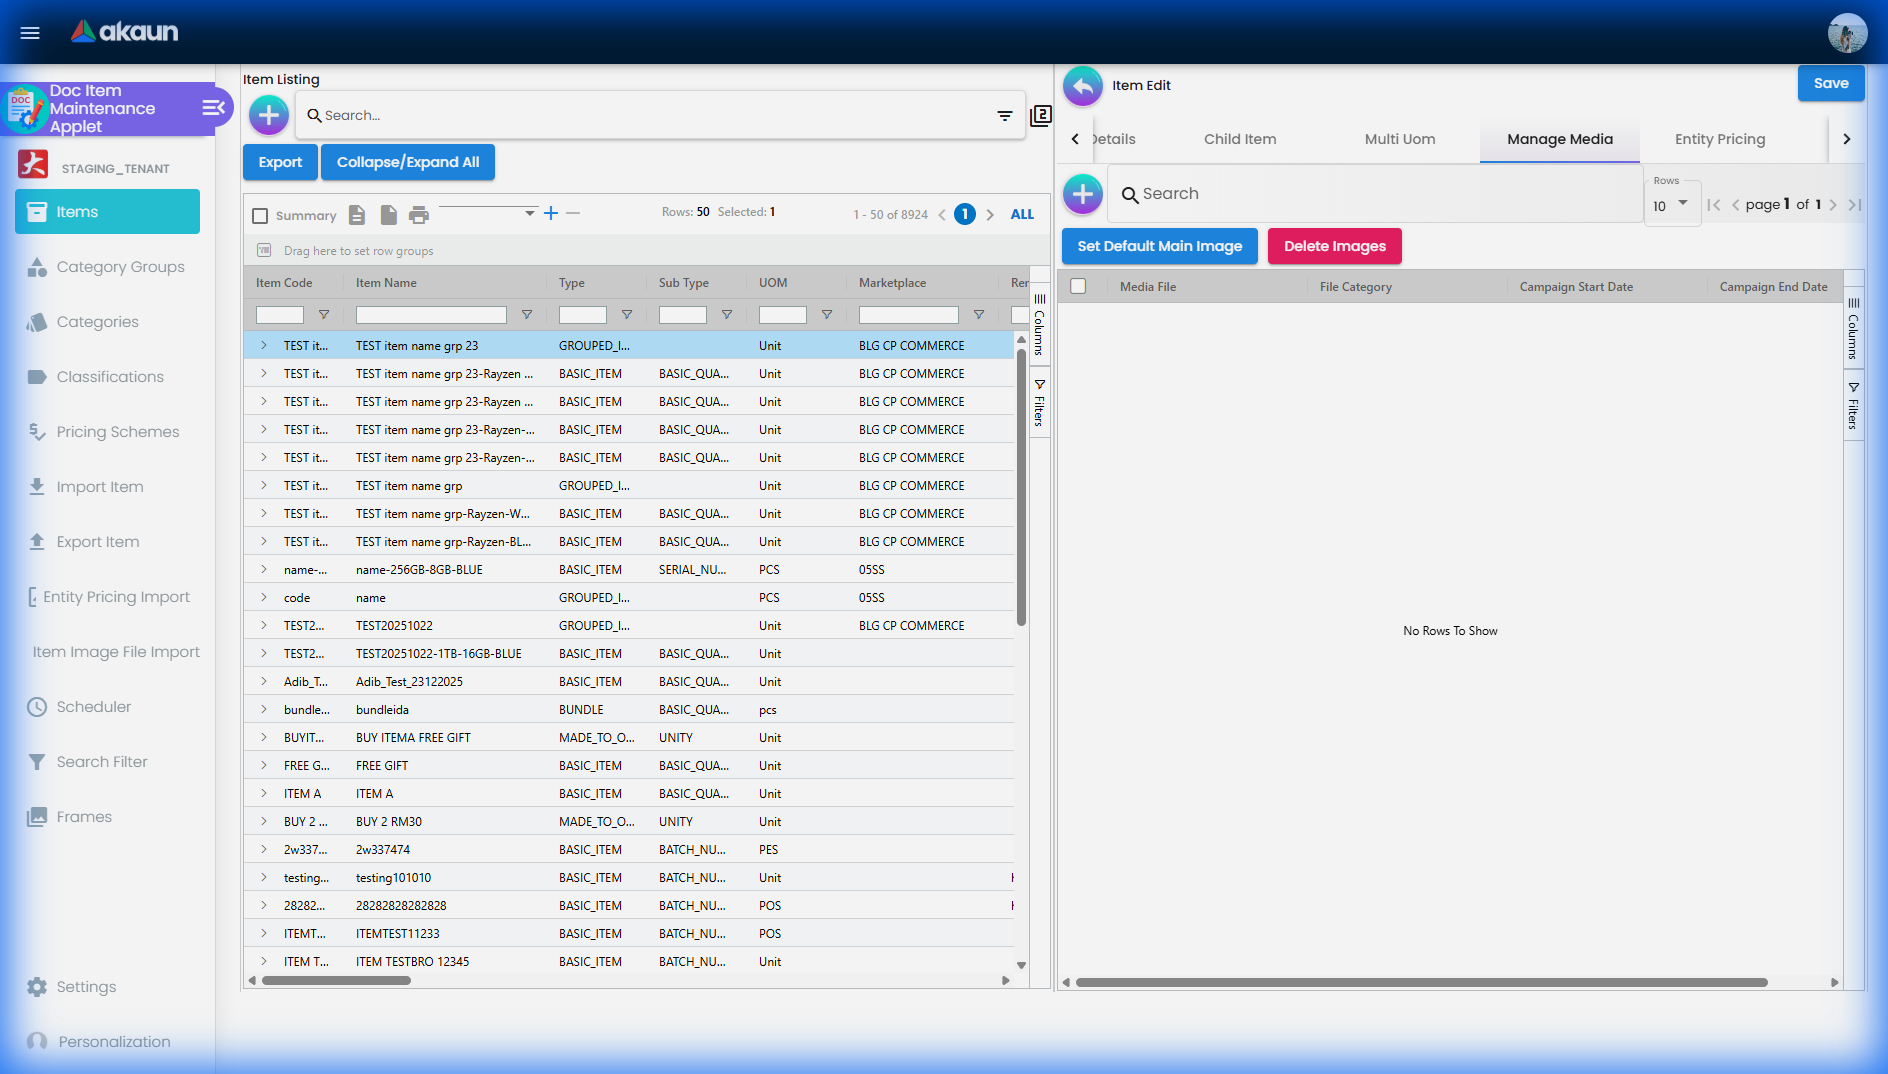
Images may also be used in the Ecomsync applet, CP Commerce applet, and transactional applets such as POS and GRN. However, the date is only for user reference and is not meant to perform any actions.
Image type is based on ecommerce requirements. There are three image types such as:
Main Image - the image that is supposed to be displayed in the marketplace. Setting the Image type is only for the user’s reference and a library.
Promotional Image - when there are certain promotions, some users might need to use special images related to the promotion, it will replace the main image.
Additional images
As an illustration:
- Item = Samsung Phone
- Main Image = the image of a Samsung phone
- Promotional Image = a themed image (based on the occasion) of a Samsung phone eg. Christmas sale
- Additional images = images of Samsung phone in different angles, the box, or additional items inside the box
Entity Pricing
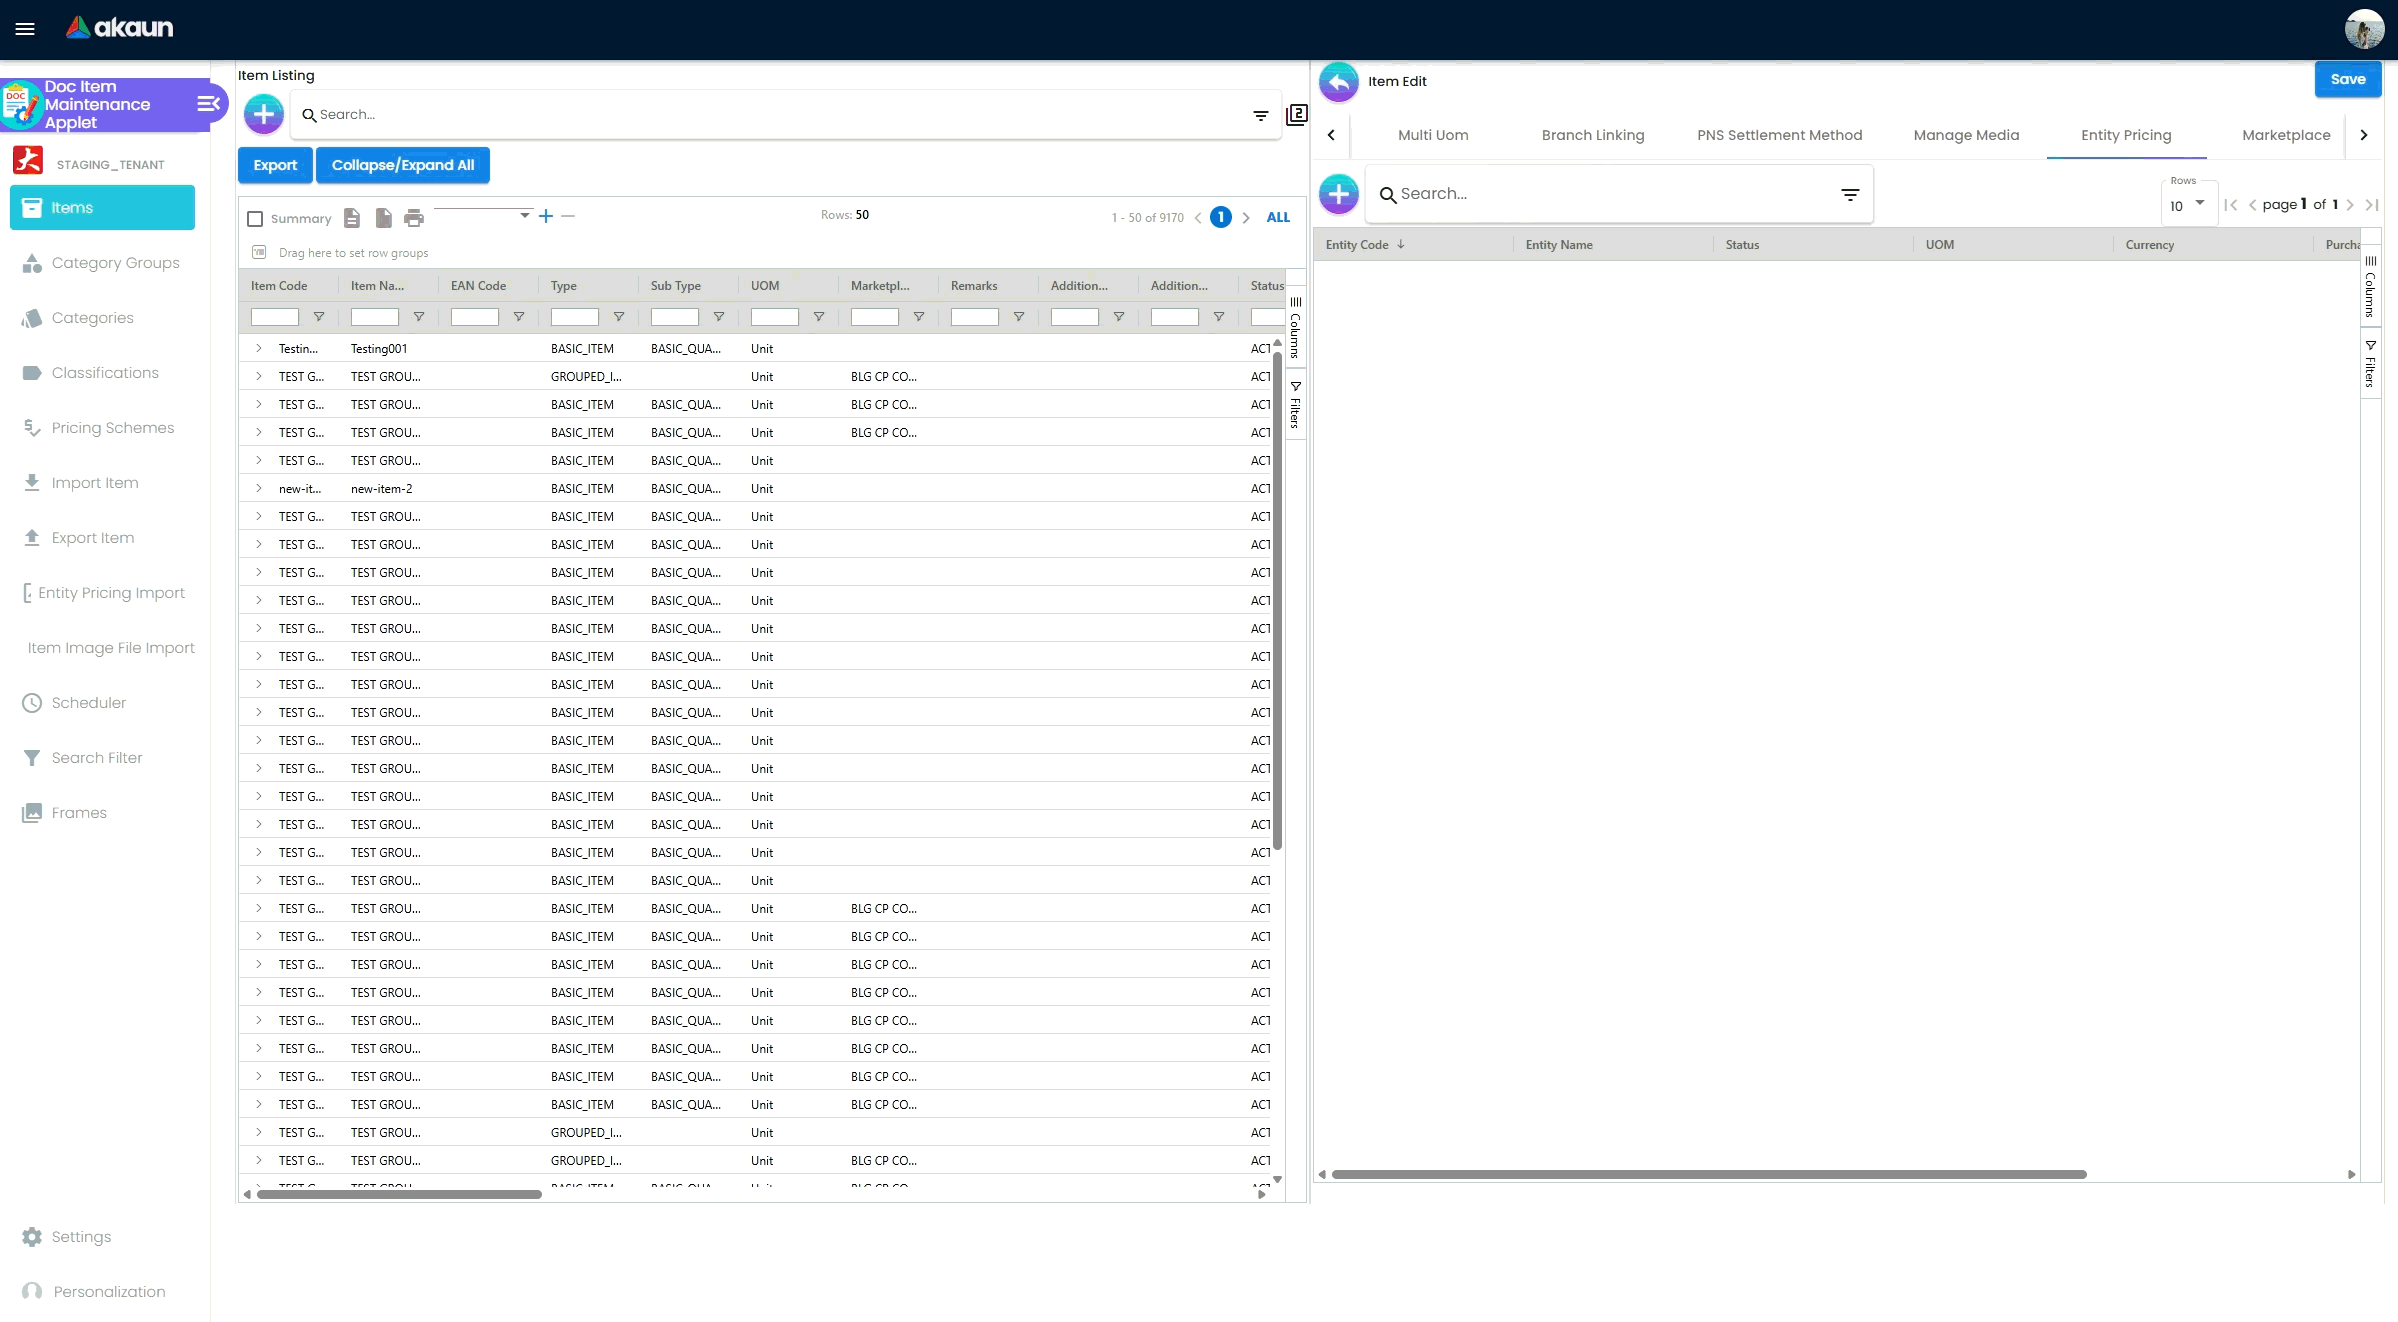
Entity Pricing module is used to set the price for the Product depending on the Entity. If you have a specific price for a specific item that has multiple suppliers, you can set it here. For instance: A single product’s price is individual for different Entities.
Select the Entity type from the advanced search. There are three types of Entity to select:
- Customer
- Supplier
- Employee
After selecting the Entity, click on the Item and it will automatically leads the user to the previous page filled in with the Entity Code and Entity Name. In this page user set the price for selected Entity.
T2T Item Mapping Tab
What is Tenant-to-Tenant (T2T)?
In this system, a Tenant is essentially a company/organization that uses the same ERP platform. Think of it like multiple companies sharing the same software system, but each has their own separate data.
T2T (Tenant-to-Tenant) is a feature that allows two different companies/tenants to link their data together so they can do business with each other seamlessly.
Why T2T Mapping is Needed
Imagine this scenario:
| Your Company (Tenant A) | Your Supplier (Tenant B) |
|---|---|
| You call an item: “Widget-001” | They call the same item: “PROD-ABC-123” |
| Your item name: “Blue Steel Widget” | Their item name: “Premium Widget Blue” |
The Problem: When Tenant B sends you a Purchase Order or Invoice, their system says “PROD-ABC-123”, but your system doesn’t recognize it!
The Solution: T2T Item Mapping links these two items together, so the system knows:
“When Tenant B says ‘PROD-ABC-123’, it means our ‘Widget-001’”
Understanding the Tabs
| Tab Name | Purpose |
|---|---|
| Host Tenant | Map YOUR item to a HOST tenant’s item (the tenant you’re connecting TO) |
| Guest Tenant Item Mapping | View items that GUEST tenants have mapped to YOUR item (read-only) |
| Guest Tenant Permission Listing | Manage which GUEST tenants have permission to map items to your tenant |
Host Tenant Tab
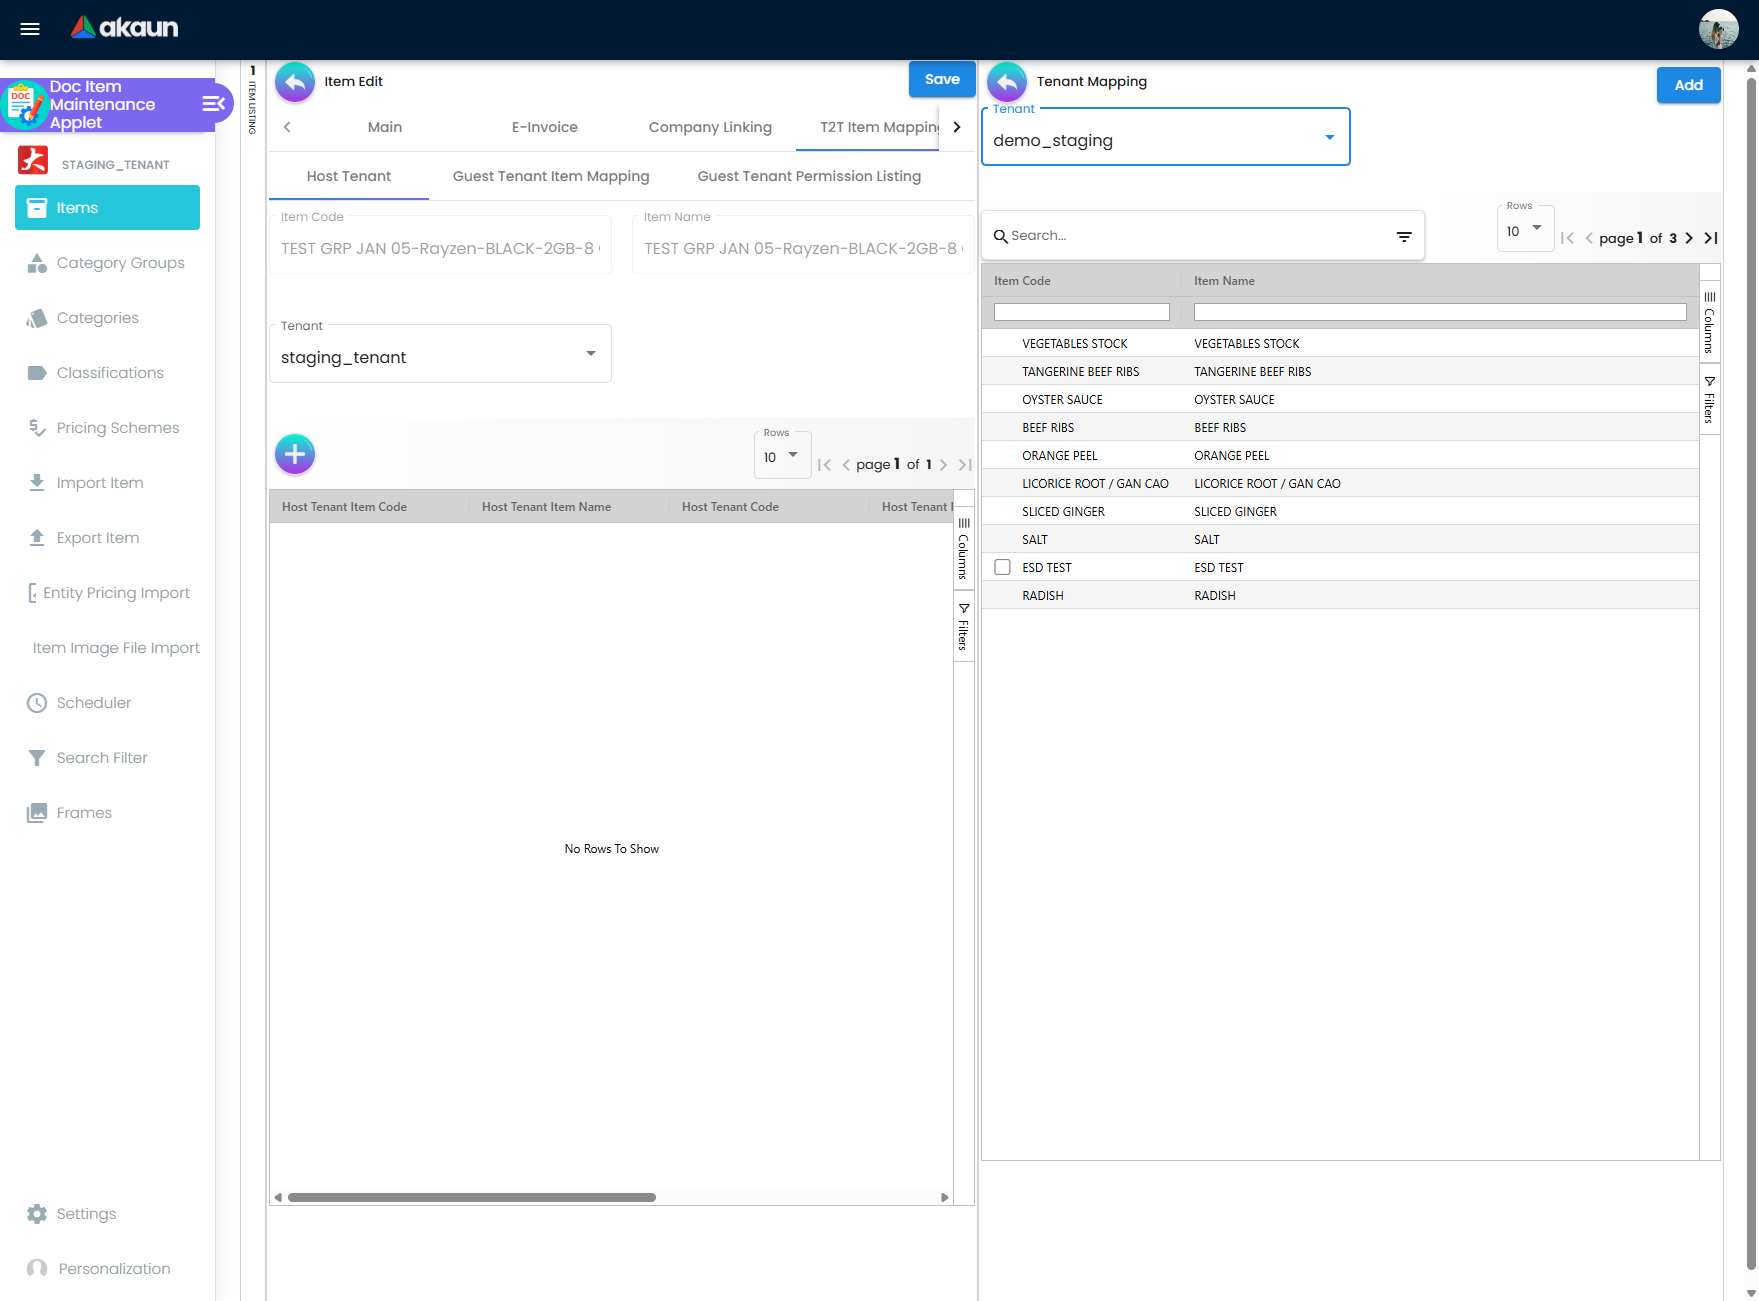
Purpose: Map your current item to an item in a HOST tenant (a tenant you do business with)
- Shows your Item Code and Item Name (read-only)
- Has a Tenant dropdown to select which host tenant to view/map
- Lists existing item mappings for the selected tenant
- Columns: Host Tenant Item Code, Host Tenant Item Name, Host Tenant Code, Host Tenant Name, Created Date, Status
- Click “+” to create a new mapping between your item and the selected tenant’s item
Guest Tenant Item Mapping Tab
Purpose: View which guest tenants have mapped THEIR items to YOUR current item (read-only)
- Shows items from OTHER tenants that have been linked to your item
- Columns: Guest Tenant Item Code, Guest Tenant Item Name, Guest Tenant Code, Guest Tenant Name
- This is a view-only listing - you can’t add/edit from here
Guest Tenant Permission Listing Tab
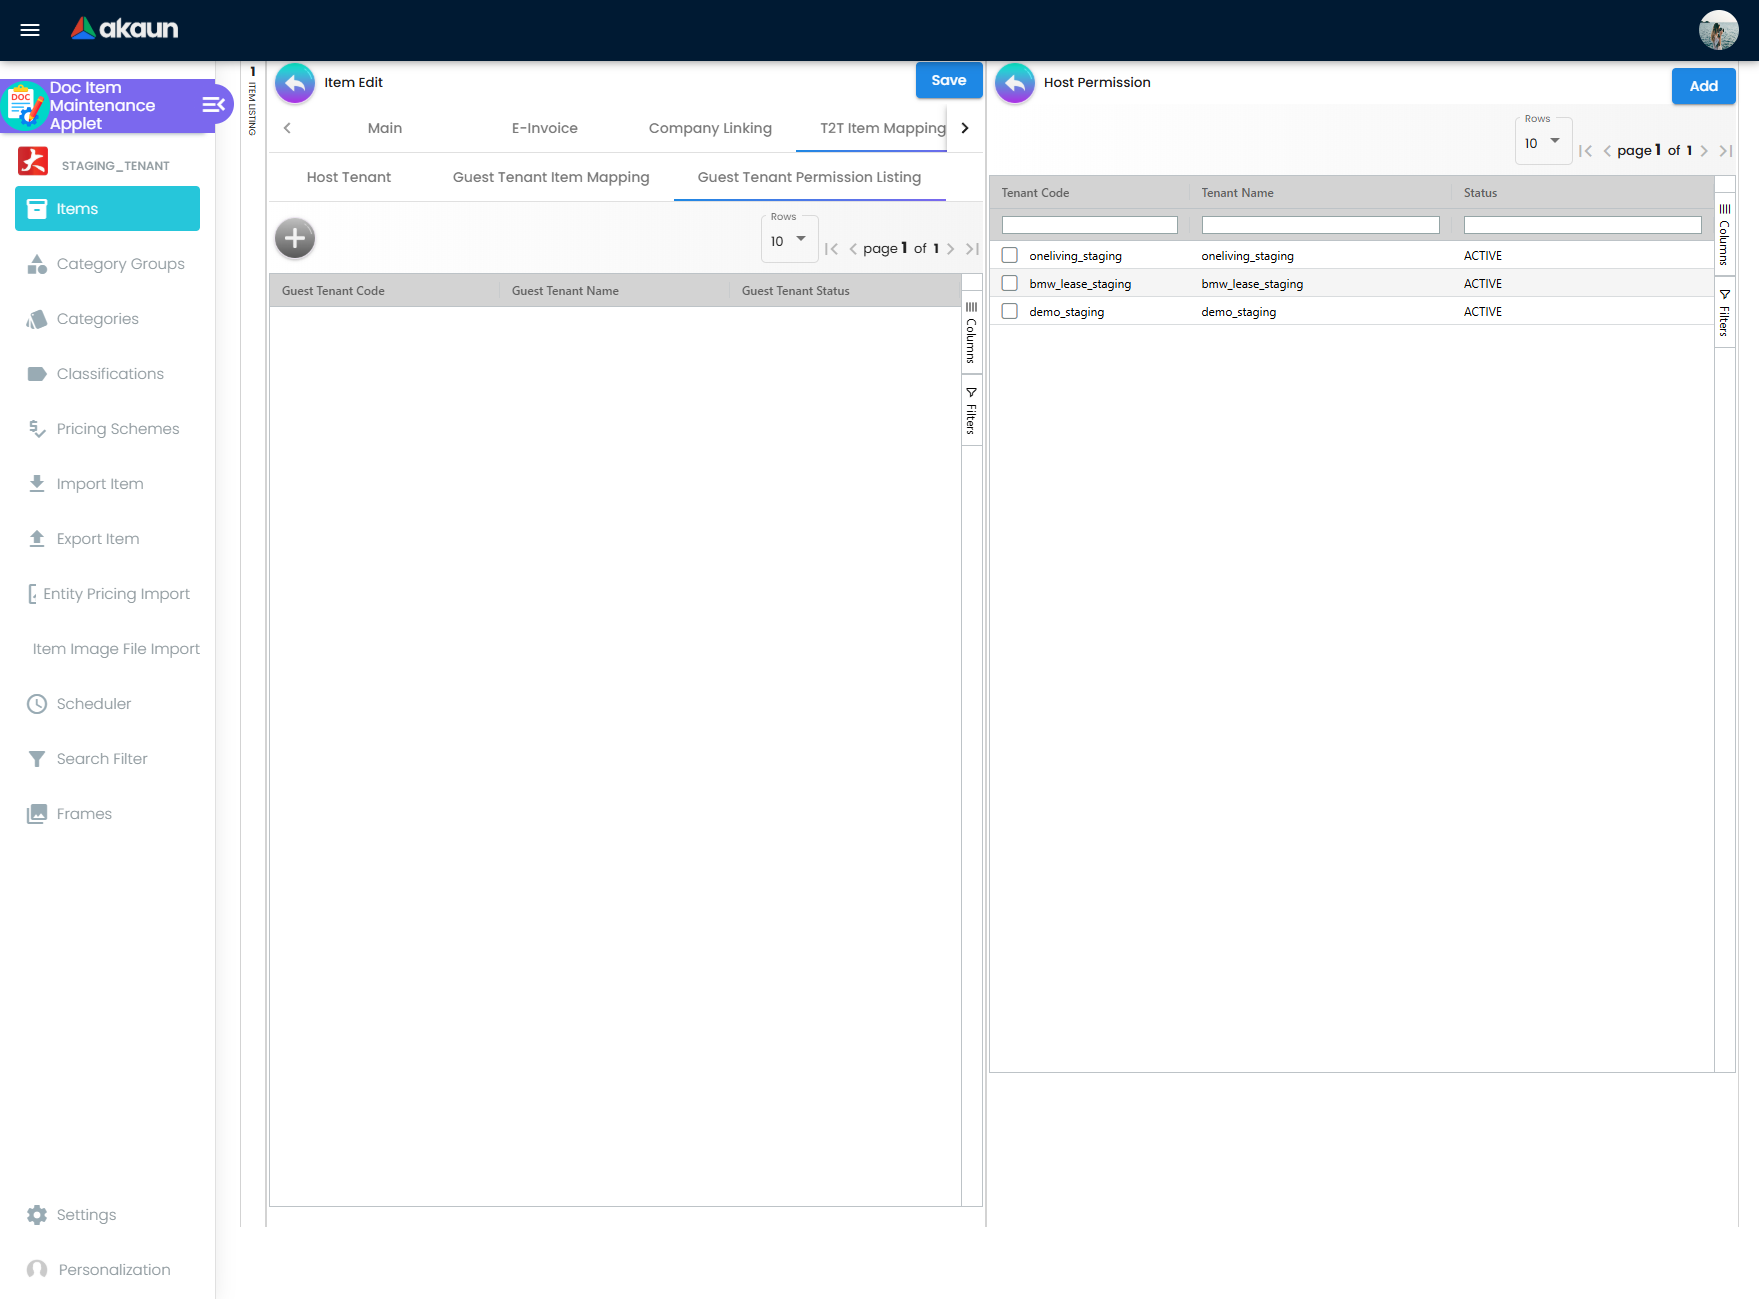
Purpose: Manage which guest tenants have permission to map items to YOUR tenant’s items
- Lists tenants that have been granted permission (Guest Tenant Code, Guest Tenant Name, Status)
- Click “+” to add new tenant permissions
- Click on a row to view/edit the permission
To add tenant permission:
- Click the “+” button
- Shows a list of tenants (from T2T Admin permissions)
- Select one or more tenants
- Click “Add” to grant them permission
Marketplace Tab
The Marketplace Tab is used to list the products on multiple marketplaces. This tab is to link your doc items to your Lazada Shopee or any e-commerce site. It is mainly used for Marketplaces such as Lazada, Shopee, and CP-Commerce. So the user can sell one product in various stores.
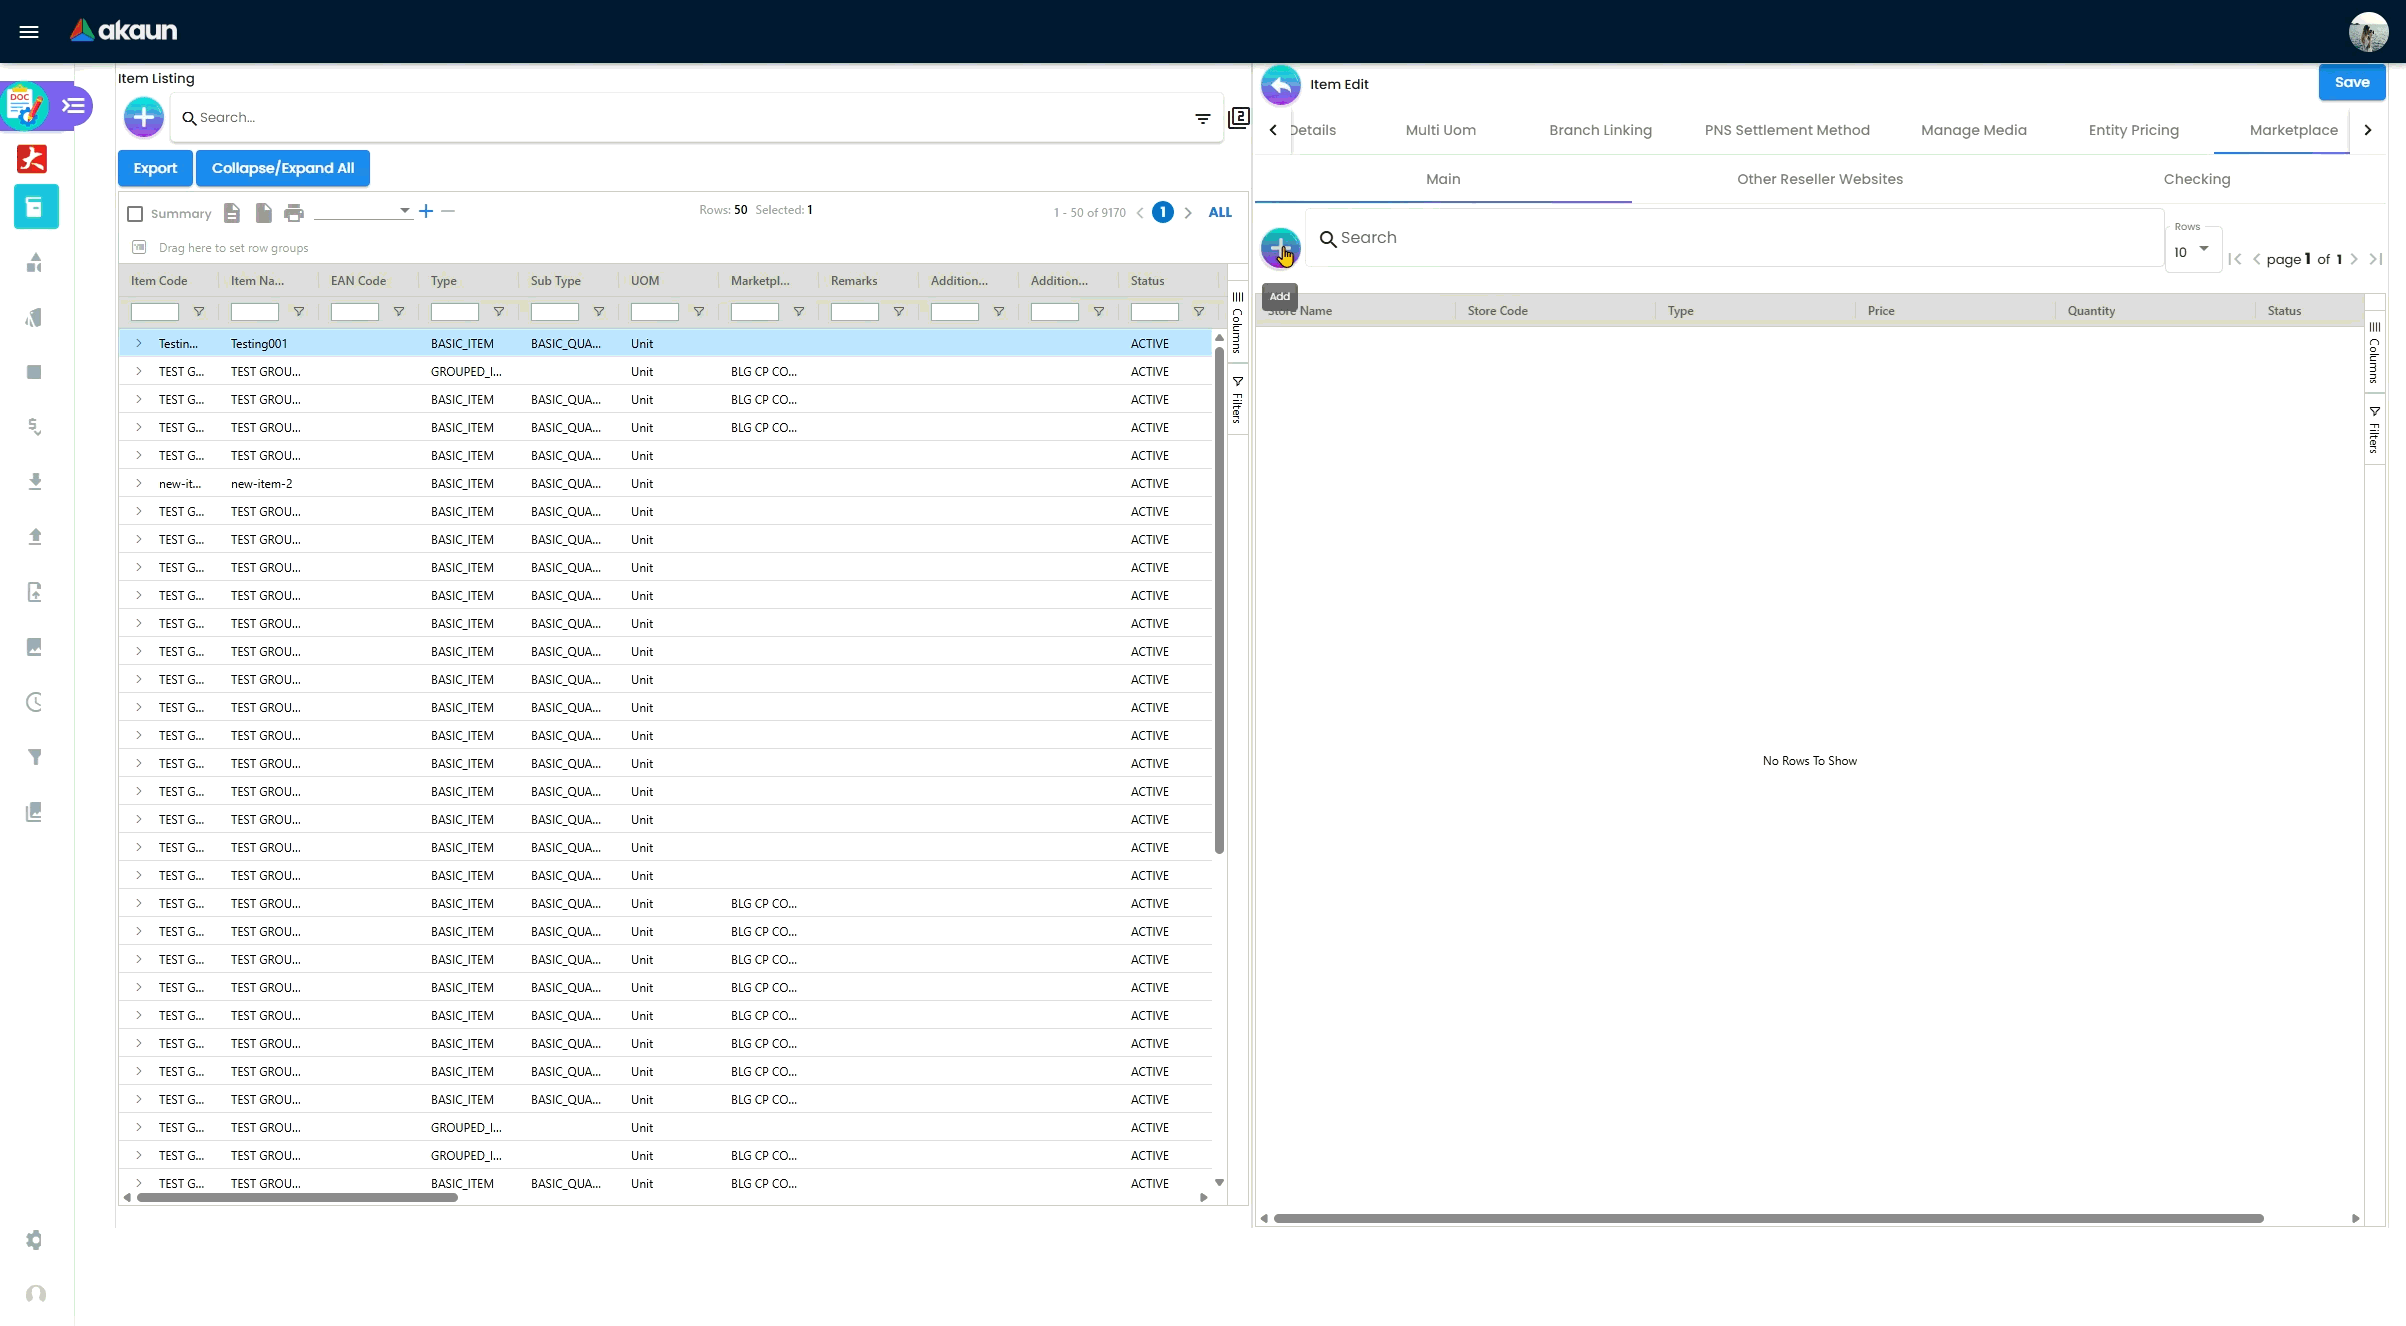
Marketplace tab includes three more tabs to do all the configurations:
Main - Users select and add the Stores
Other Resellers Tab - This tab is used if there are resellers who are distributing your products and selling them in other different Marketplaces. Fill in the URL of the Marketplace they use.
Checking - The checking Tab is for the reports shown from the Ecomsync applet.
Other Tabs:
Here are some other tabs that are in the edit item tab with a short introduction of what the user can do within:
- Label Tab - The Label tab allows you to assign category labels to items
- Dimension Details Tab - To fill in Product dimensions. Here the user can set the Height, Length, Width, Weight of the item.
- Stock Availability Tab - This tab is to link your Marketplace stock balance. Stock availability tabs allow users to check whether the products are available in-store.
- Bundle Config - Applicable for the Bundle Item type
- Child Item - Applicable for the Grouped Item type.
- Voucher Details - This is Applicable for the voucher item type only.
- Stock Card - This is for Stock balance for the Basic Item type.
- Attribute Set Tab - Attribute sets can be defined as a list of attributes where all the characteristics of a product are demonstrated.
- Pages Tab - When the user clickss on the plus button, it will create a Post with a Draft status and an untitled post. Users should click the created post to edit the status and the name of the post.
- Reviews Tab - The review tab allows the User or an Admin to configure reviews, settings, and votes for an itemℹ️Note: Attributes, Pages, and Reviews tab is mostly used in E-Commerce Modules.
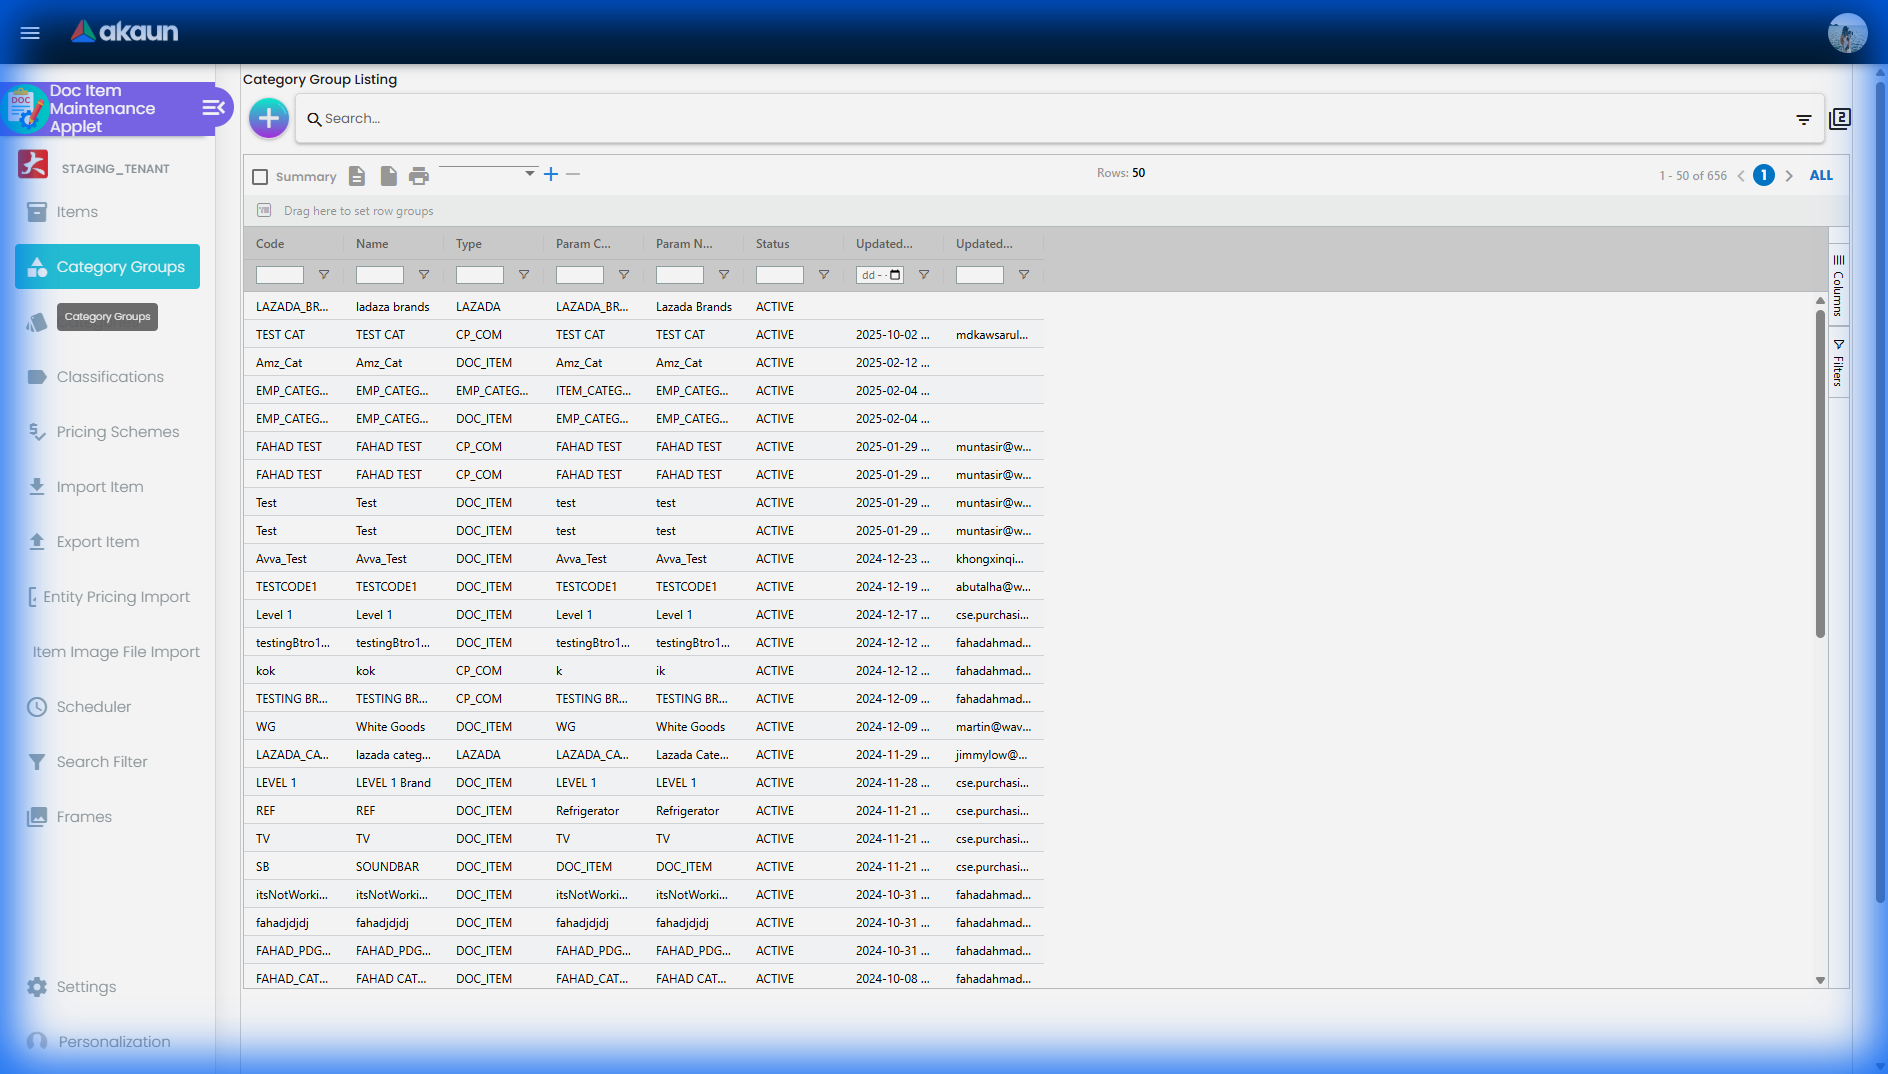
Category Groups
Under category group, user can create and edit the categories and specify the category group’s category. When u create an item under the Item menu, You specify their category.
Understanding Category Groups
Creation and Management: Users can access the Category Group via the app’s menu. In this section, you can create a category group and specify the categories that belong under that group.
Purpose: The main goal of this feature is to establish a structure so that when a user creates a new item, they can link that item to a specific category.
Example: You can create a category group for “books,” which then allows you to view and manage specific sub-categories under that broader book category.
Configuration: If you do not need to utilize this specific categorization feature, you can go to the application settings and hide the Category Group tab entirely.
Create Category Group
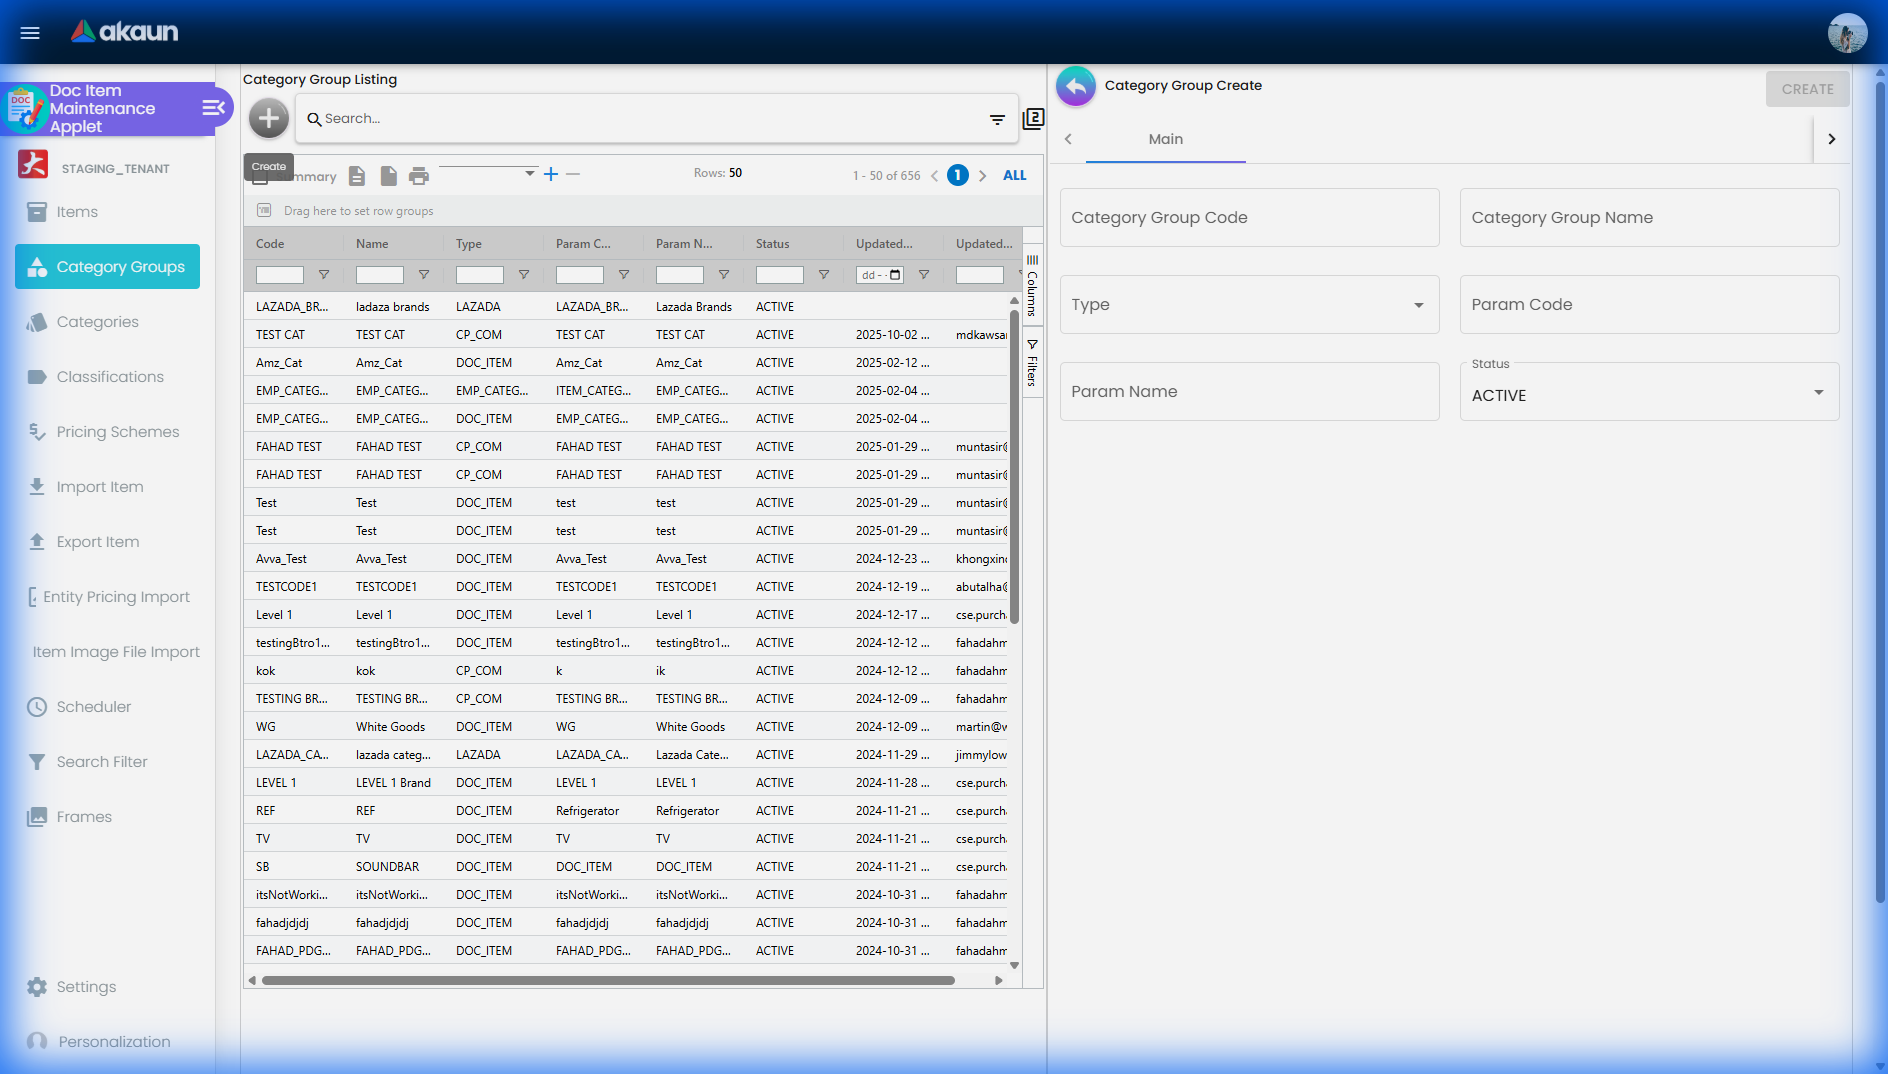
These are the fields in the main tab to fill in (all fields are mandatory to be filled):
- Category Group Code
- Category Group Name
- Type - The type of category group (dropdown selection either CP_COM or DOC_ITEM)
- Param Code
- Param Name
- Status
Edit Category Group
To edit existing category groups users click on any of the specific category groups in the listing. Once clicked it will open a second container with Category Group details.
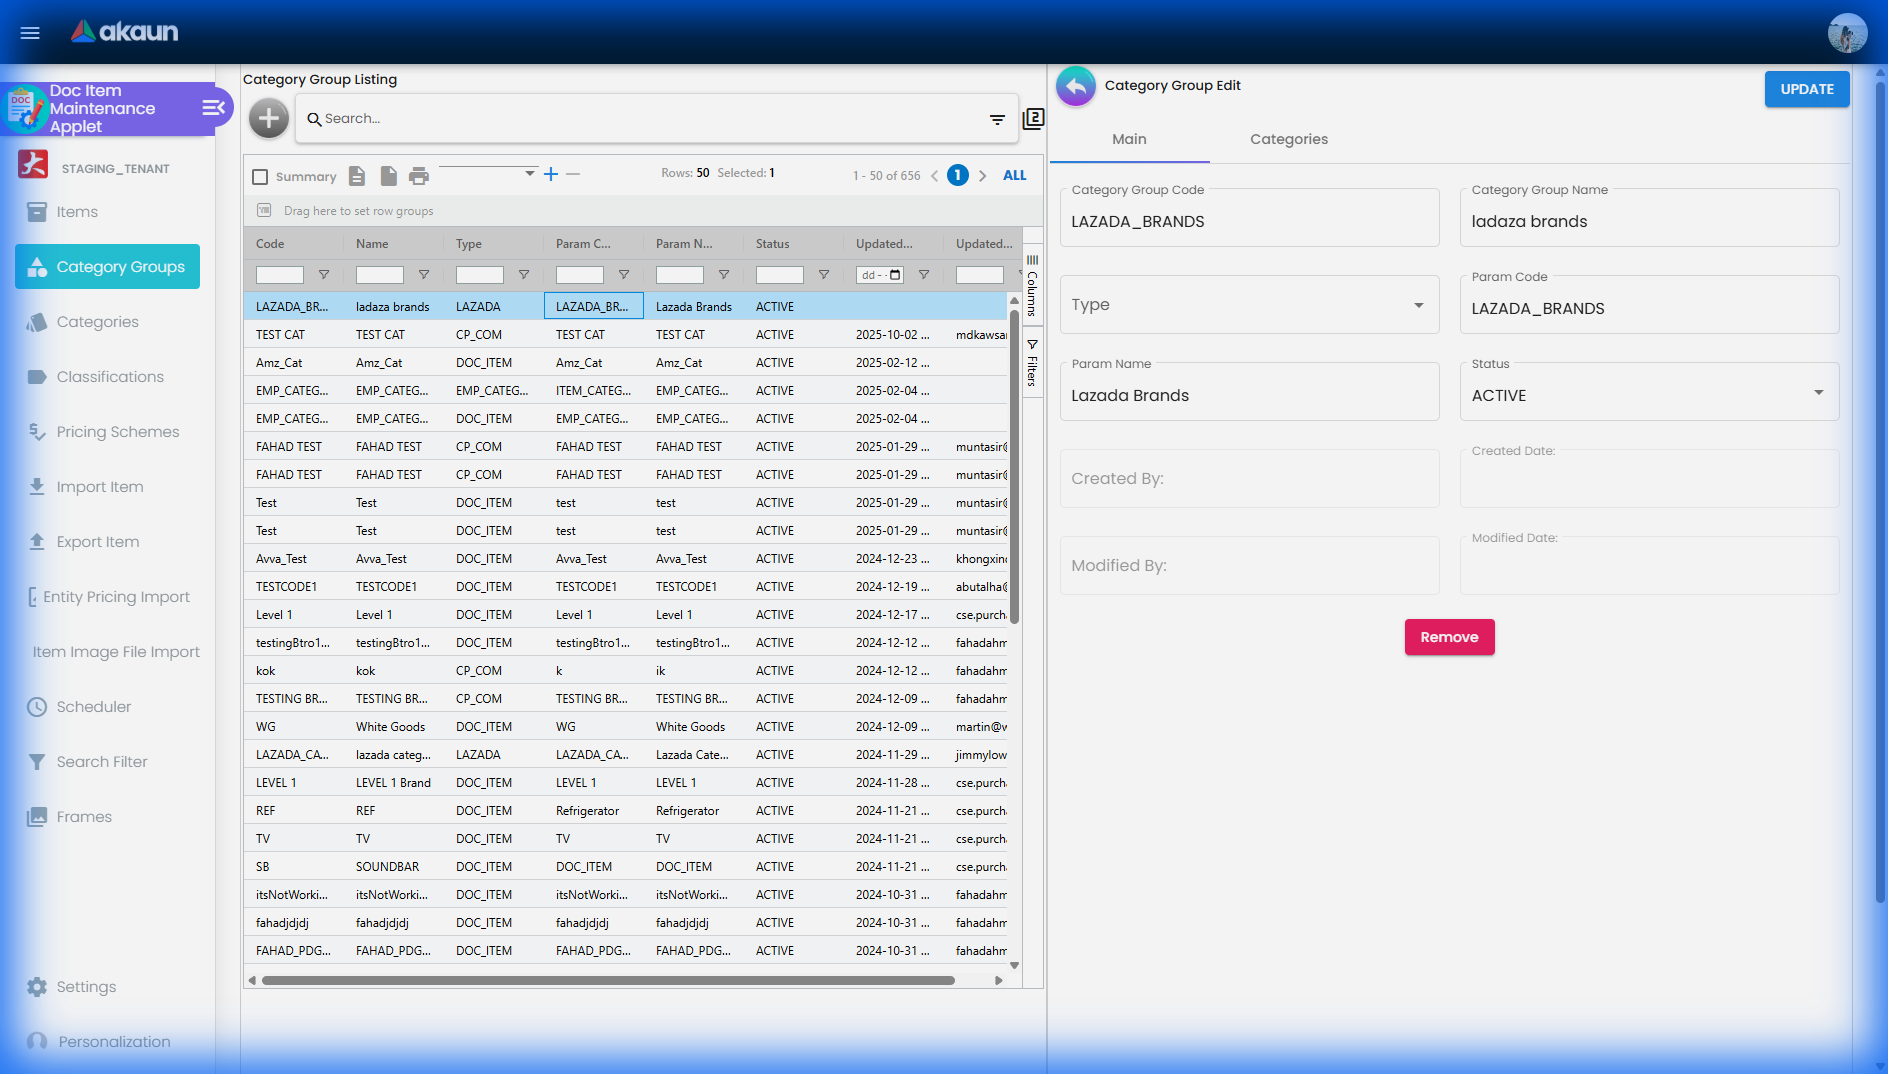
There are two tabs when editing Category Group which are:
Main Tab
This tab shows the information on the category that was filled up when creating the category. Users edit or delete the Category Group in this tab.
Categories Tab
Lists all categories linked to this group. From here you can:
- View linked categories in a nested grid
- Add new categories to the group
- Edit or remove existing category links
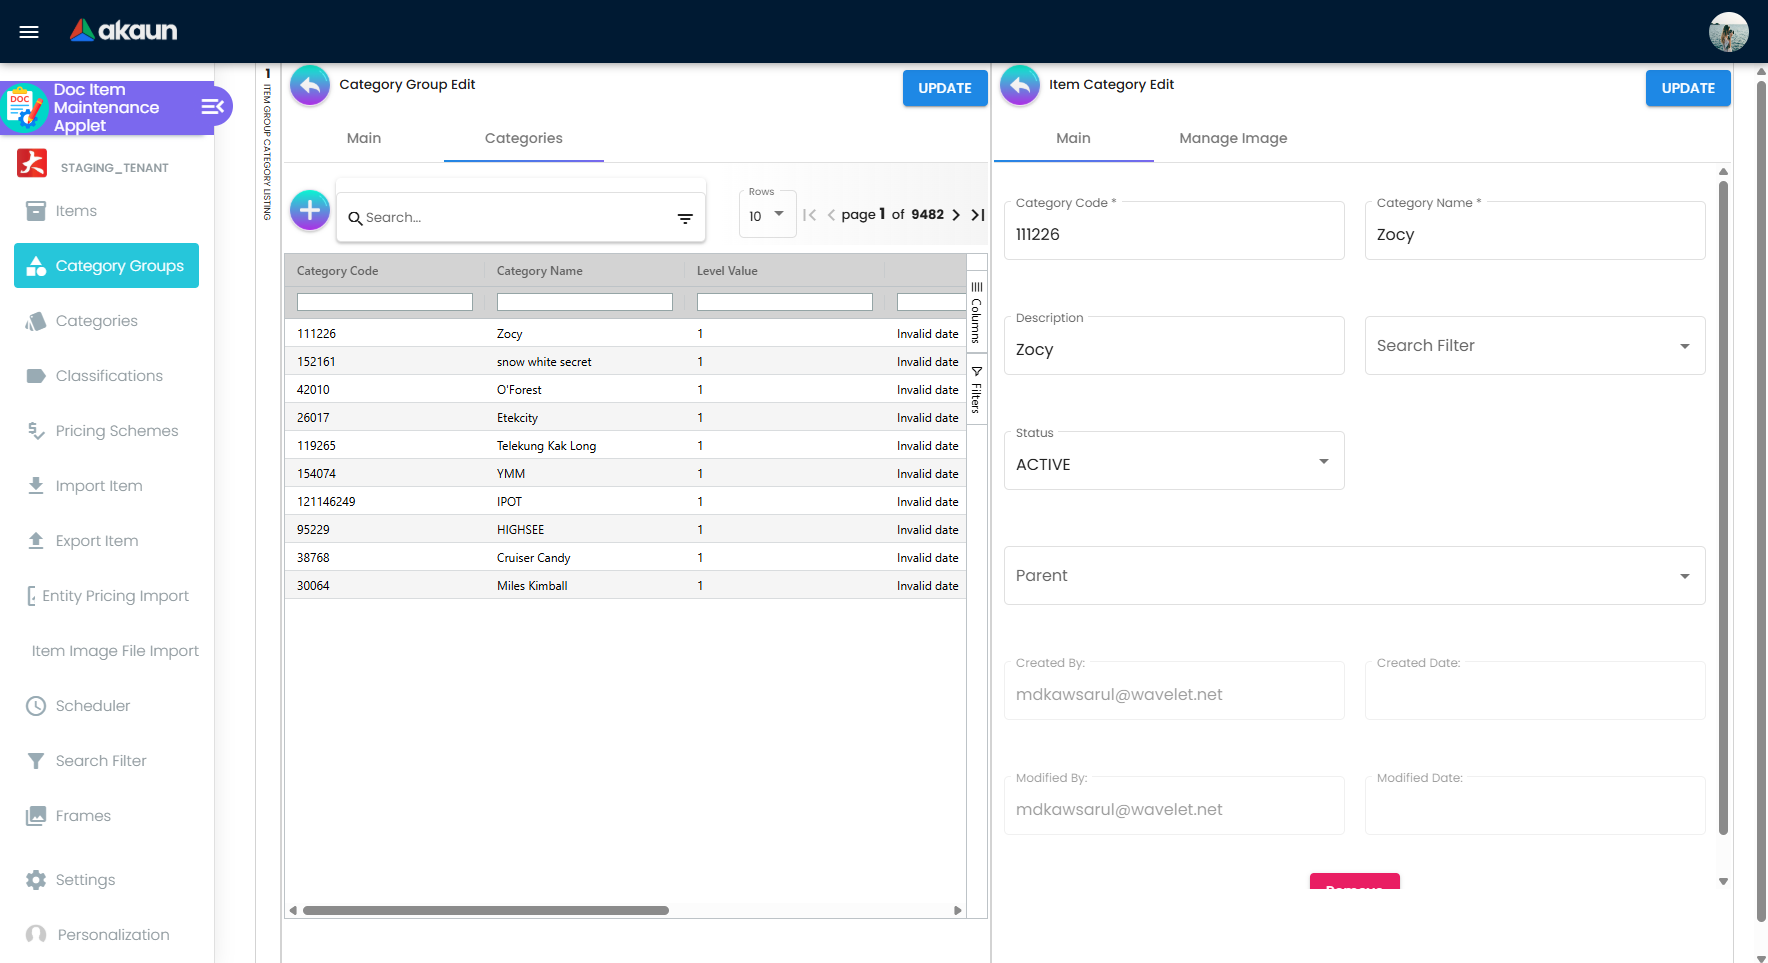
Category images can be managed in the Manage Image sub-tab when editing individual categories.
Categories
The category module is used to create categories, as well as nest categories that can be linked to an Item in the Item Maintenance Module.
Create Category
Category will make it easier for users to search specific groups of items either in Doc Item Maintenance or in transactional applets.
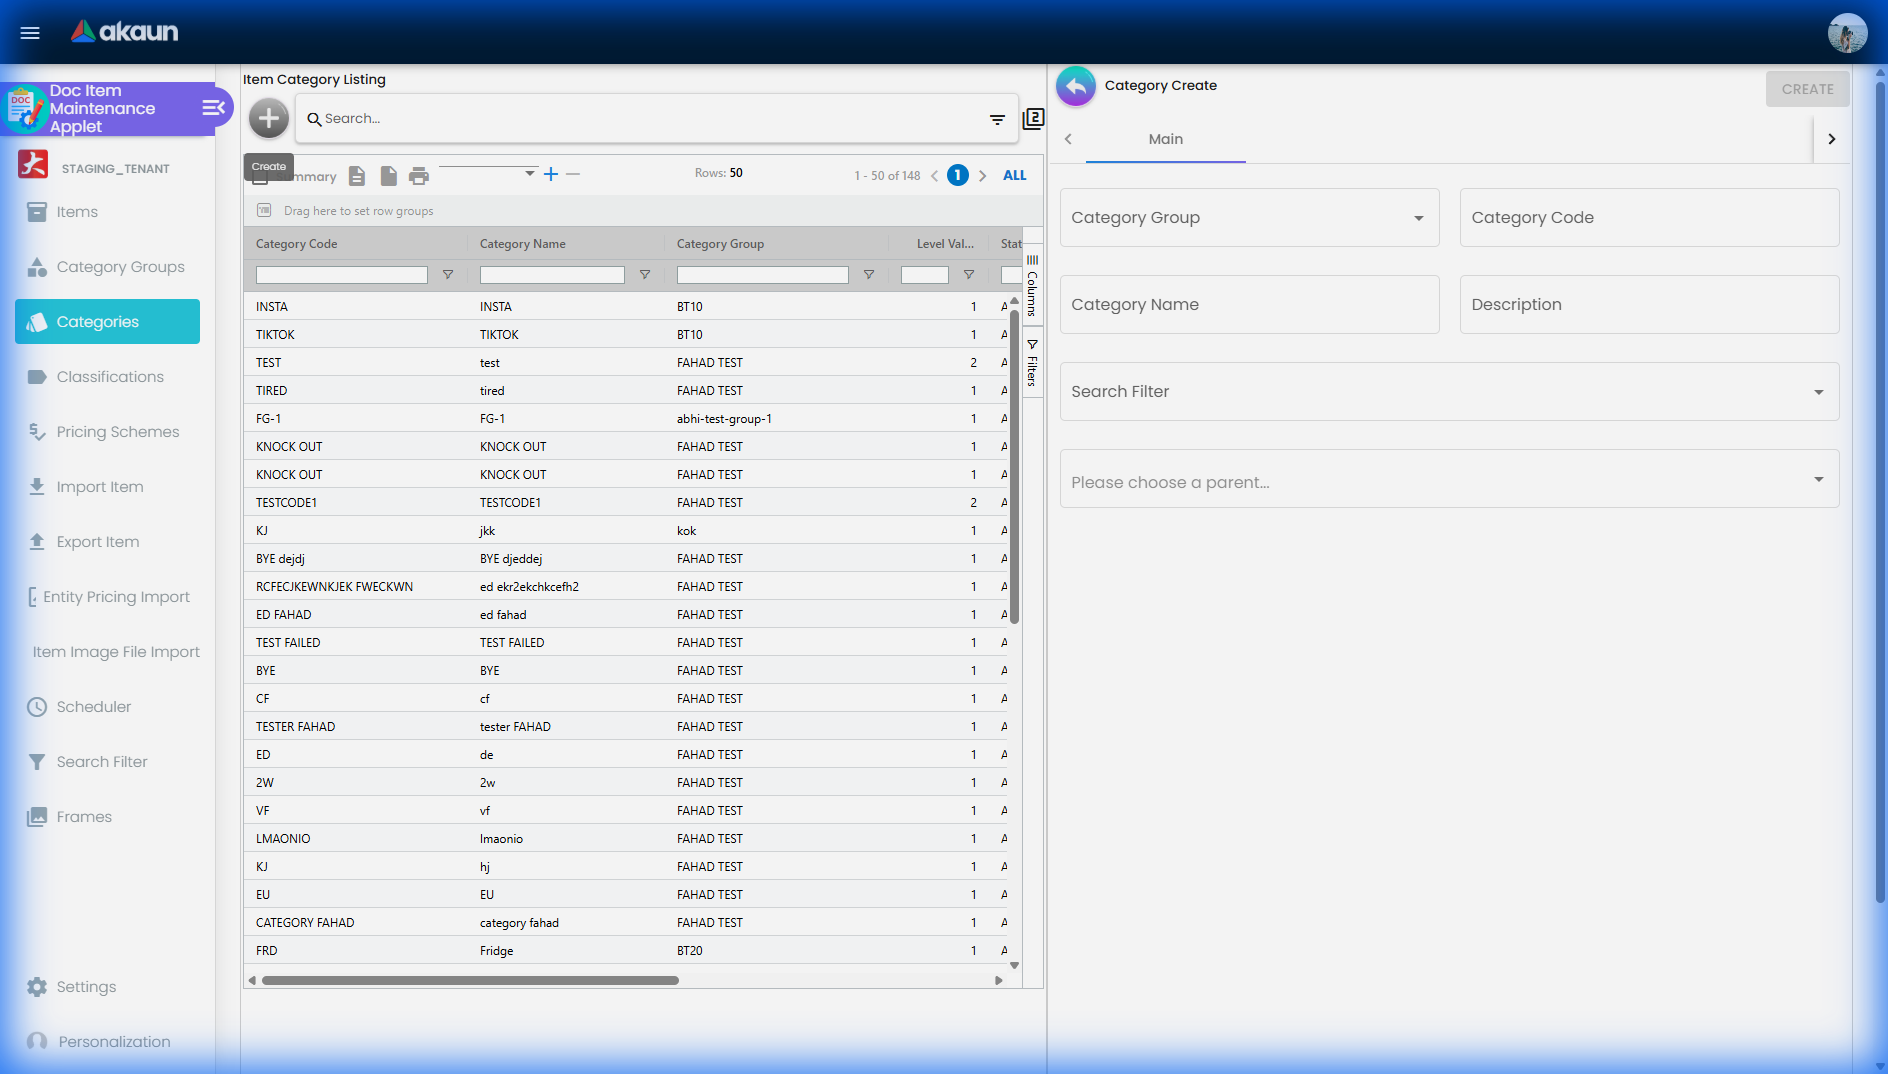
The Create Category panel includes the following fields:
- Category Group - Select the parent category group from a dropdown list
- Category Code - Mandatory
- Category Name - Mandatory
- Description - Optional
- Search Filter - Link a search filter for e-commerce filtering (optional)
- Parent Category - it is when a single category can be associated with multiple categories. Can be adjusted.
Example of nested category:
- Main category = Smartphones
- Nested Category = iPhone
Edit Category
When a user wants to edit existing categories they may click on any of the specific categories in the listing. Once clicked it will open a second container with Category details.
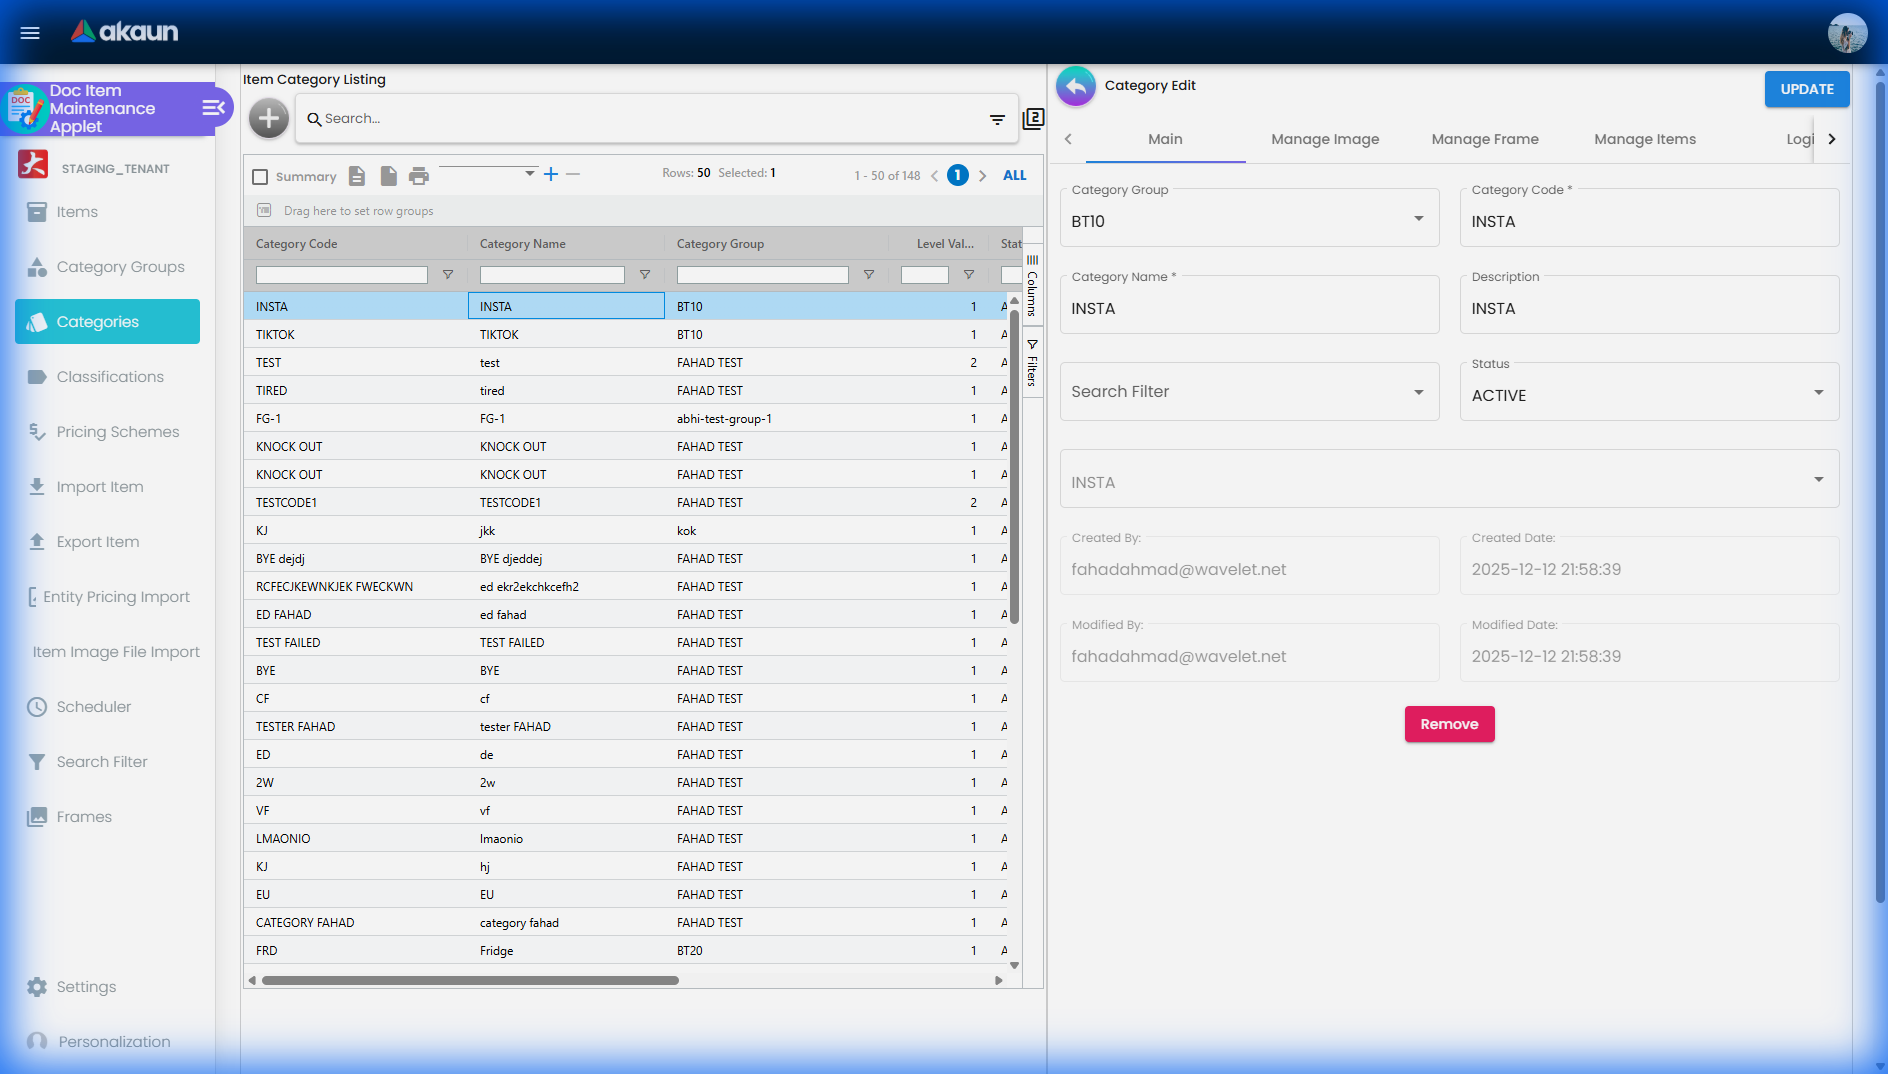
The Edit panel contains multiple tabs:
Main Tab
- Category Name - Editable (required)
- Category Code - Editable (required)
- Description - Editable (optional)
- Status
- Parent Category
Manage Image Tab
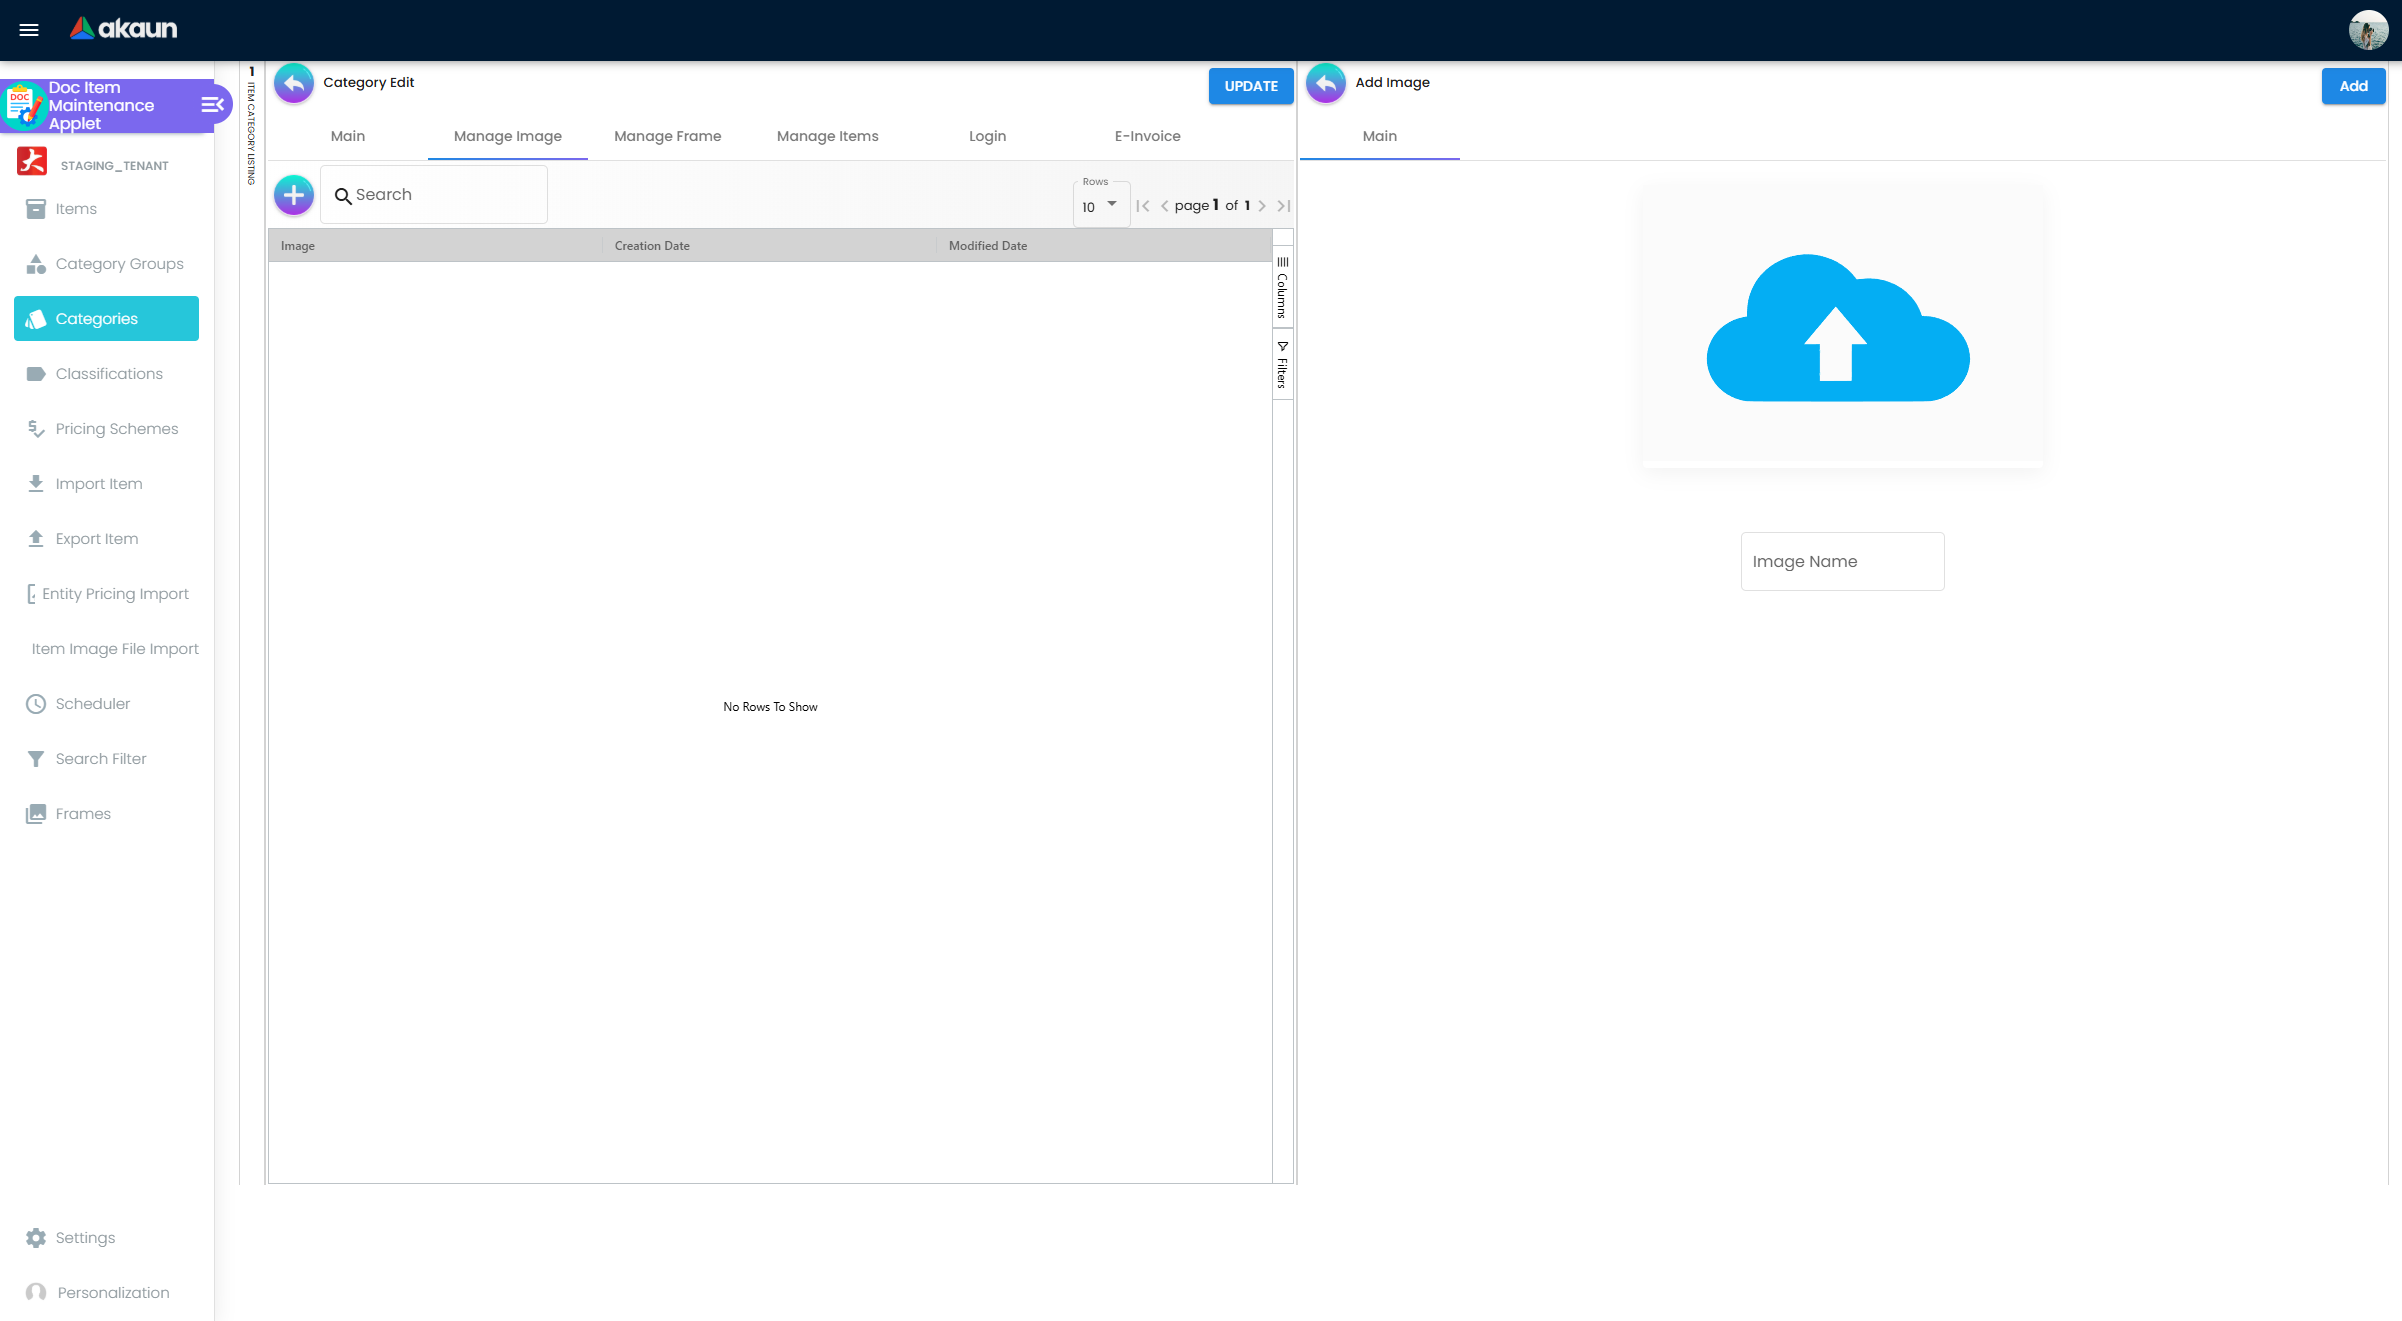
Upload category images for display in CP Commerce. These images appear when customers browse product categories on the storefront.
Other Tabs
Here are the other tabs in the Category Edit panel with a short introduction of their use:
Manage Item Tab - Users can use the Manage Item Tab in the Doc Item Maintenance applet to upload relevant category items. Upon clicking on categories, the user will be shown all relevant products under said categories.
Login Tab - Enter a valid email address and verify it. Then set the status of the email address to be active. Users can update their mail status or delete it.
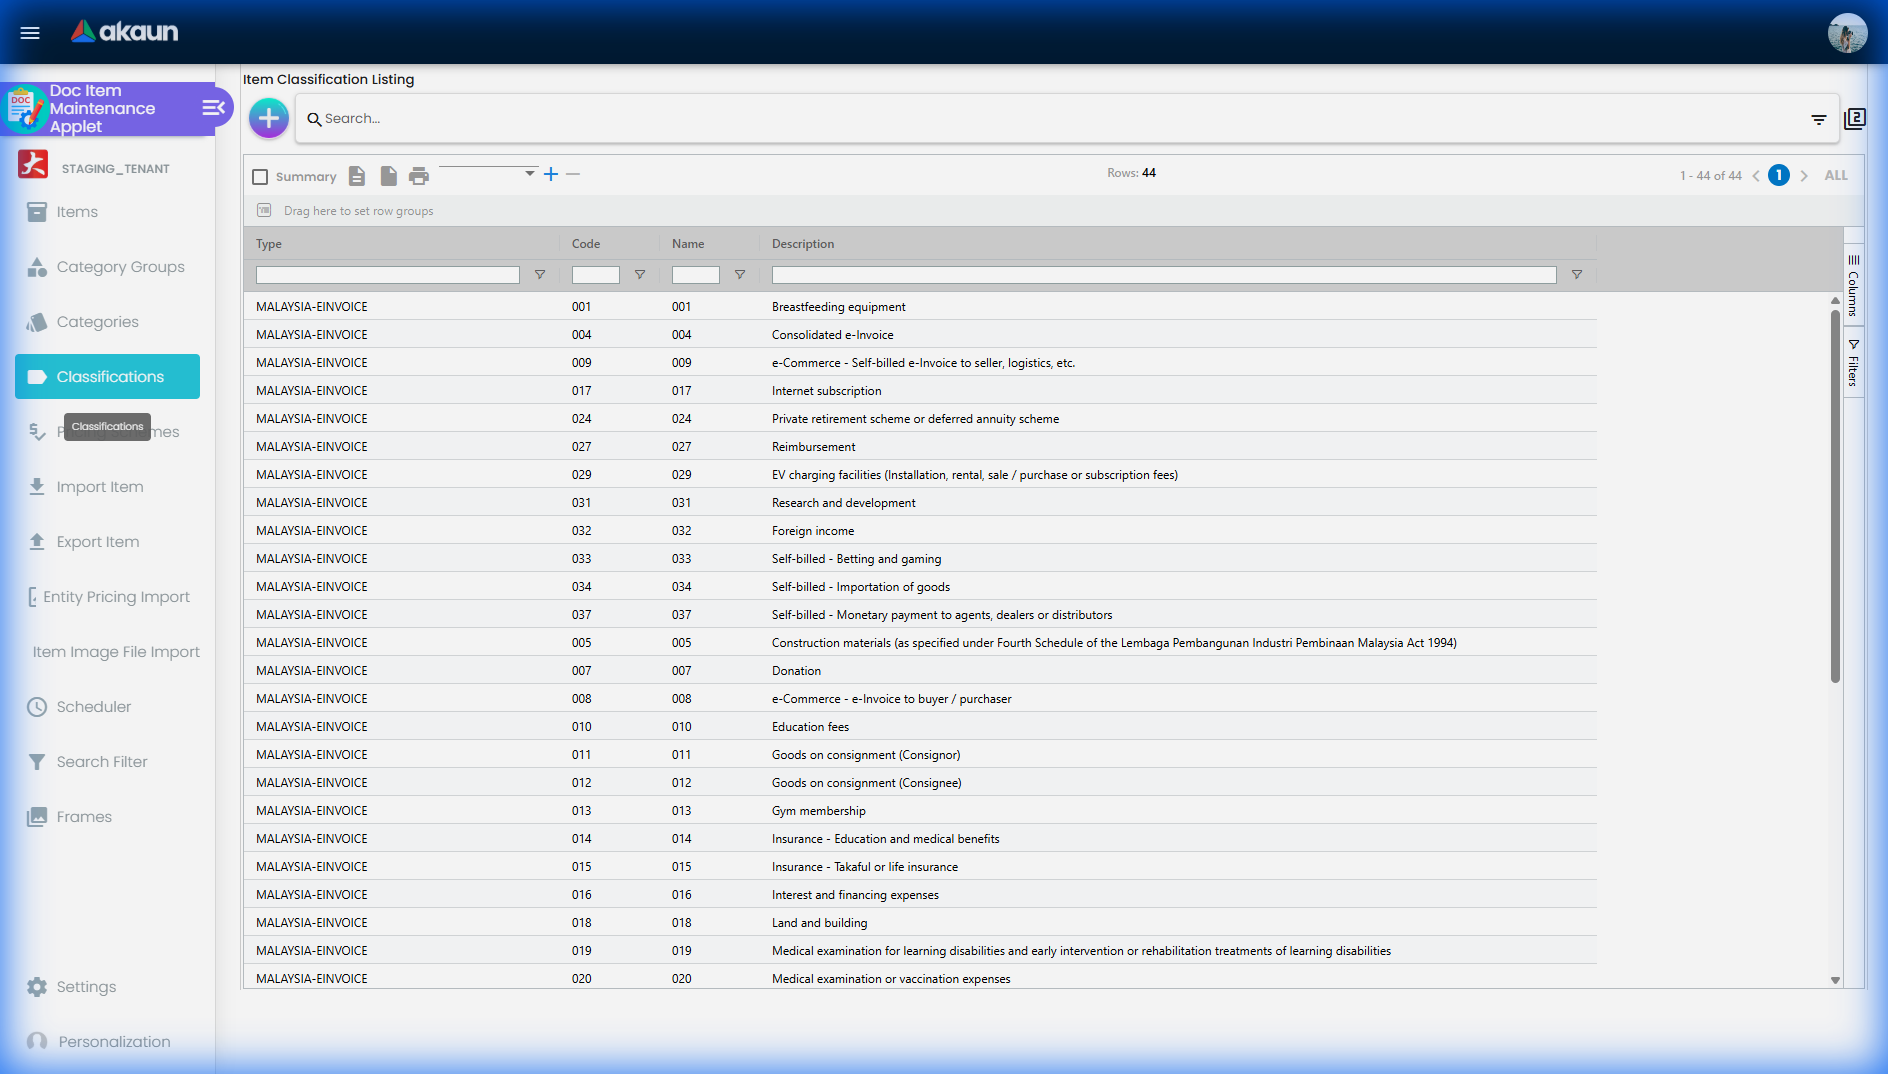
Classifications
The Classifications menu is related to E-Invoicing and pulls data directly from LHDN (Inland Revenue Board of Malaysia).
Pricing Scheme
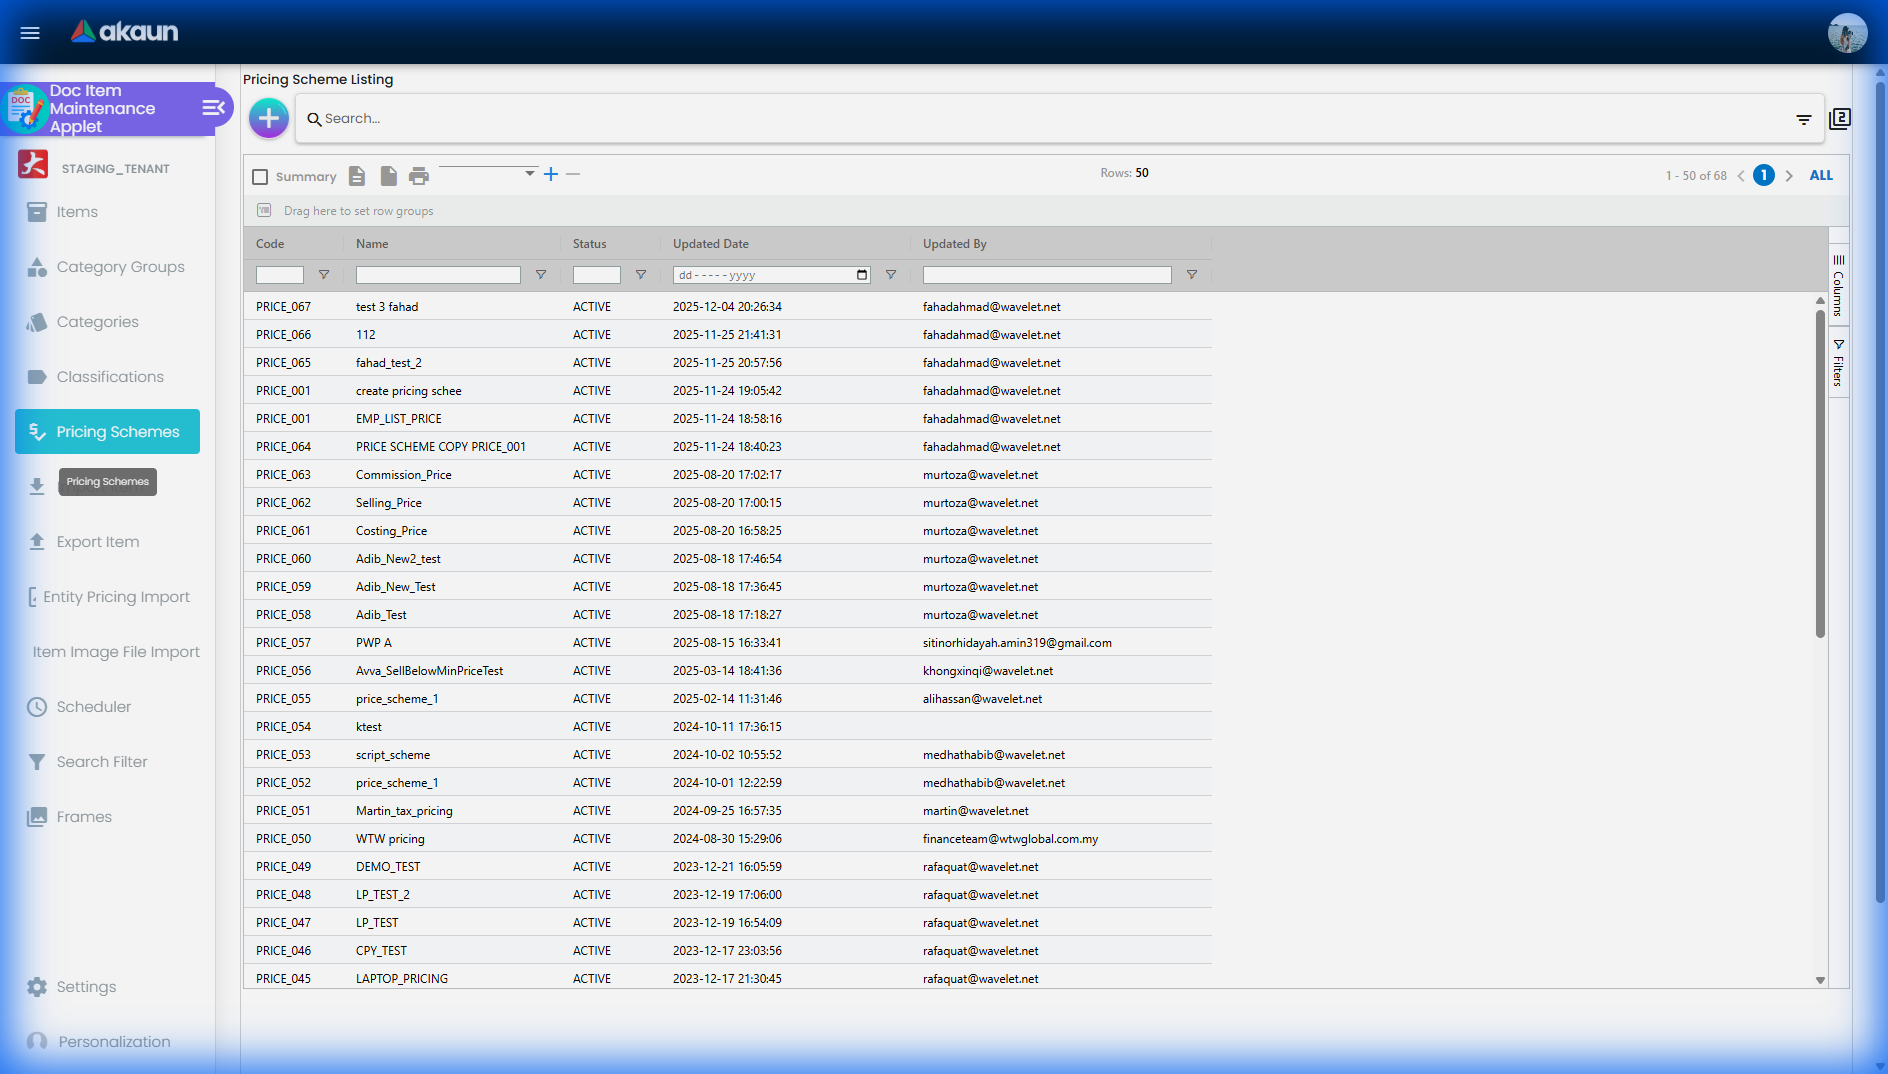
Once a user clicks on the pricing scheme module it will land on the pricing scheme listing page. The module is used to create the template for pricing that can be also used in transactional applets such as POS, GRN, etc. In this module you can only create the template/scheme, the price can be added later for each specific item in the “Item Maintenance” module.
Pricing Scheme Create
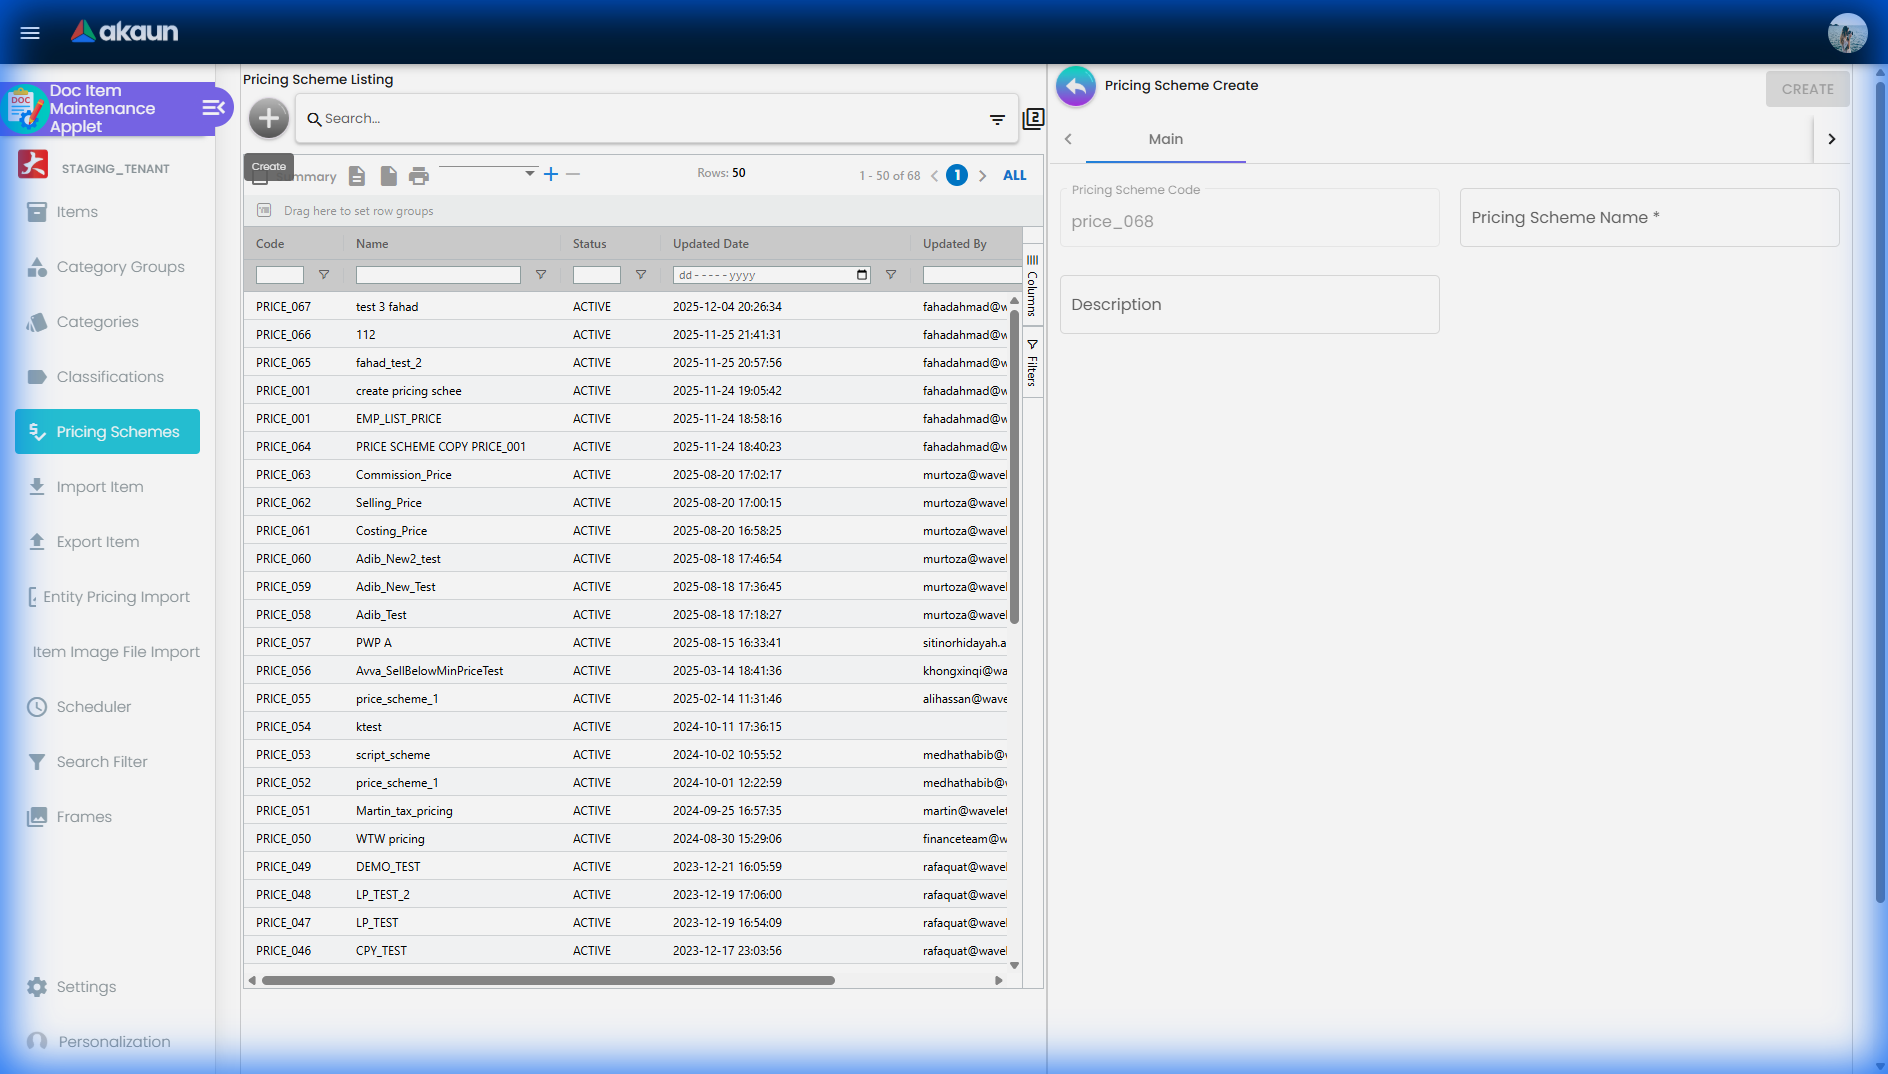
The Create Pricing Scheme panel includes:
- Pricing Scheme Code - Auto-generated unique identifier by the system
- Pricing Scheme Name - Descriptive name for the pricing scheme (mandatory)
- Description - Additional details about the pricing scheme (optional)
Pricing Scheme Edit
If the user wishes to edit the Pricing Scheme they can click on a specific pricing scheme in the listing, once clicked it will redirect to the second container where the user can edit the remaining information.
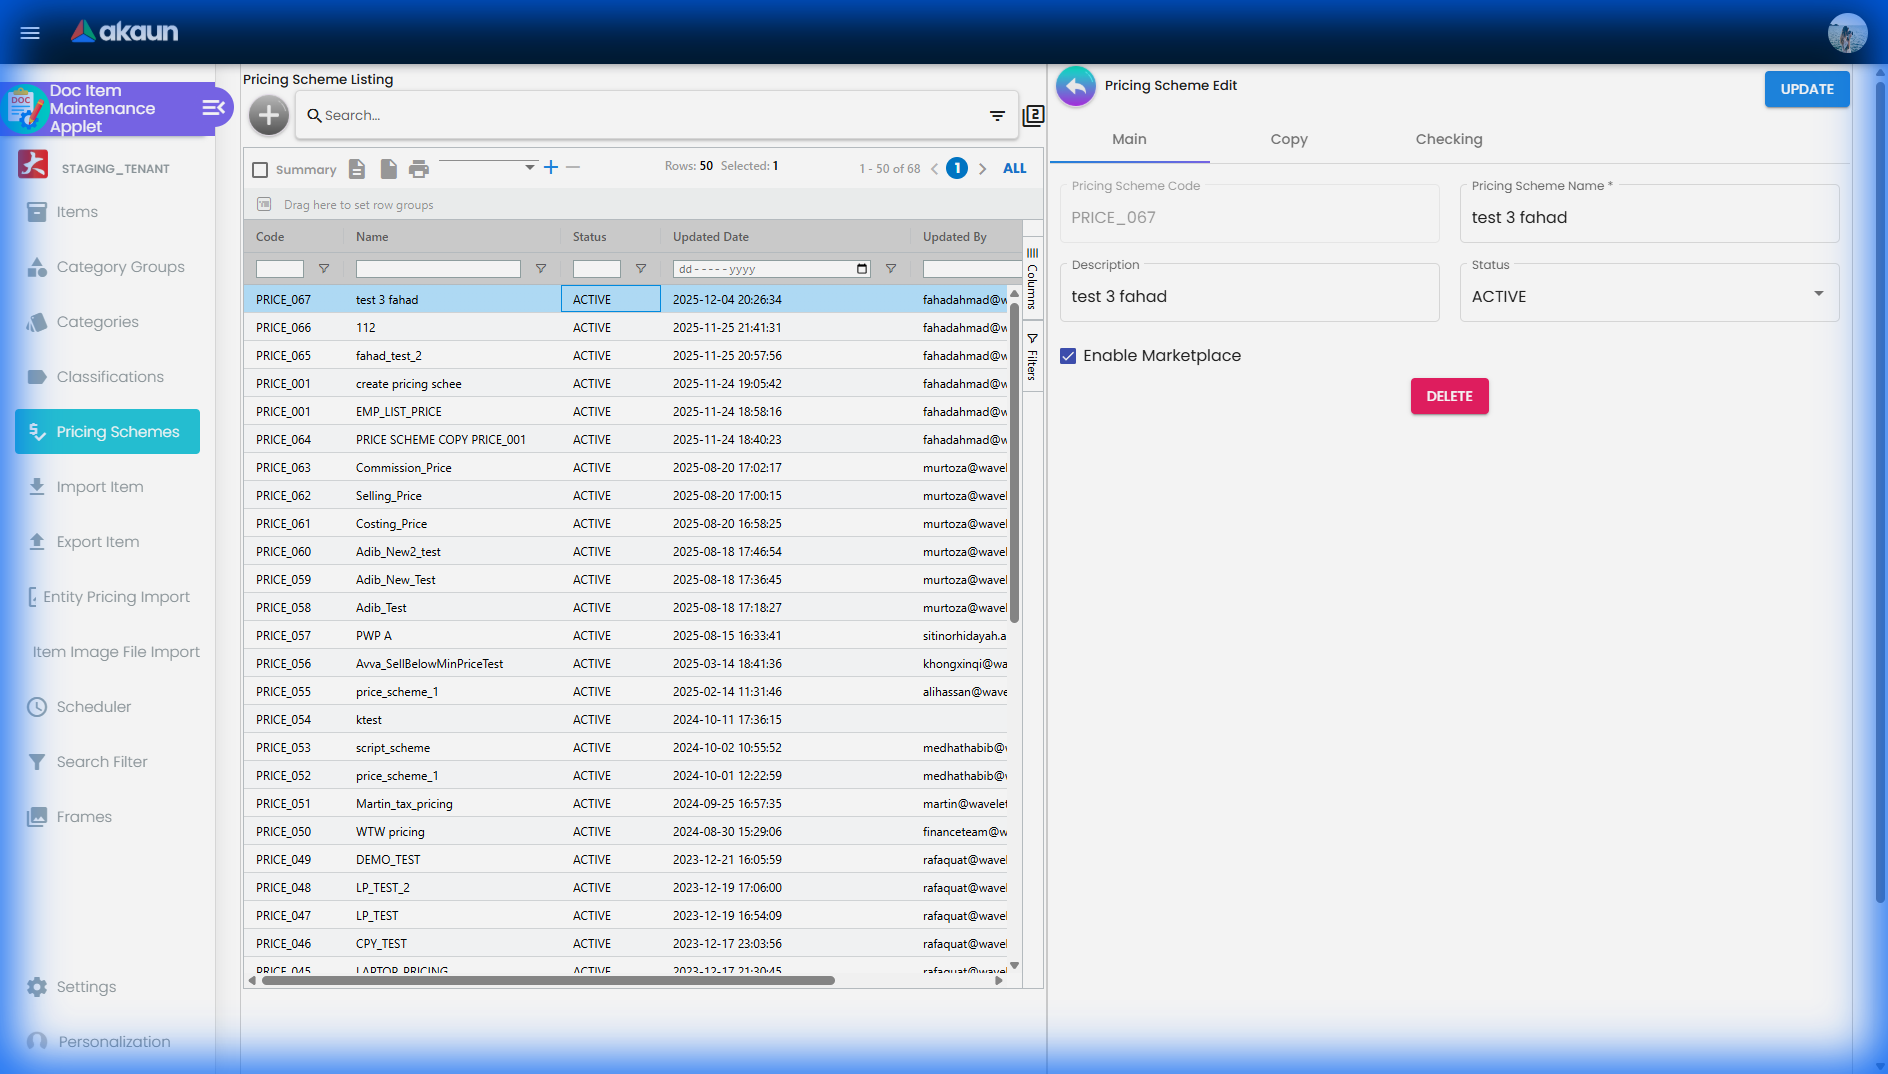
The Edit panel contains these tabs:
- Main Tab - allows the user to edit and delete the pricing scheme details with the exception of Pricing Scheme Code.
- Copy Tab - Duplicate pricing from an existing scheme. Select a source scheme from the dropdown and apply it to items, with optional amendments.
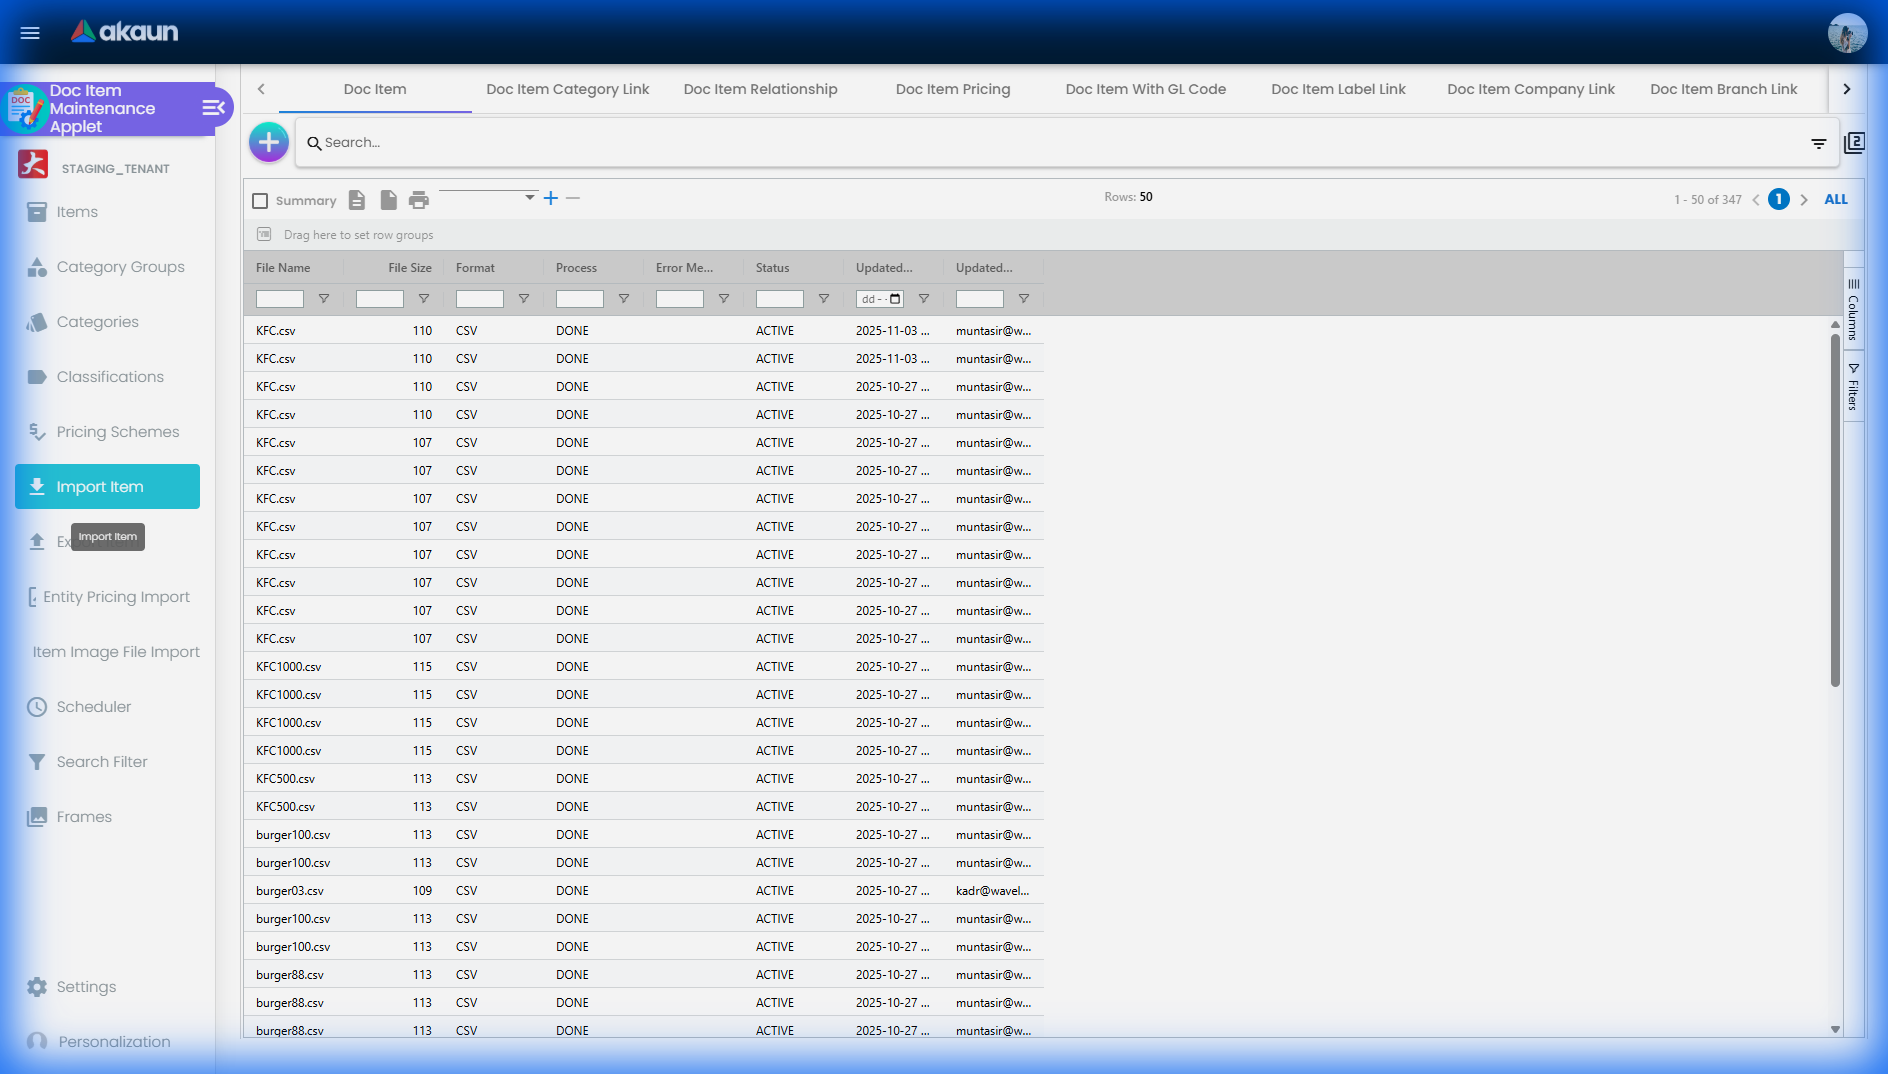
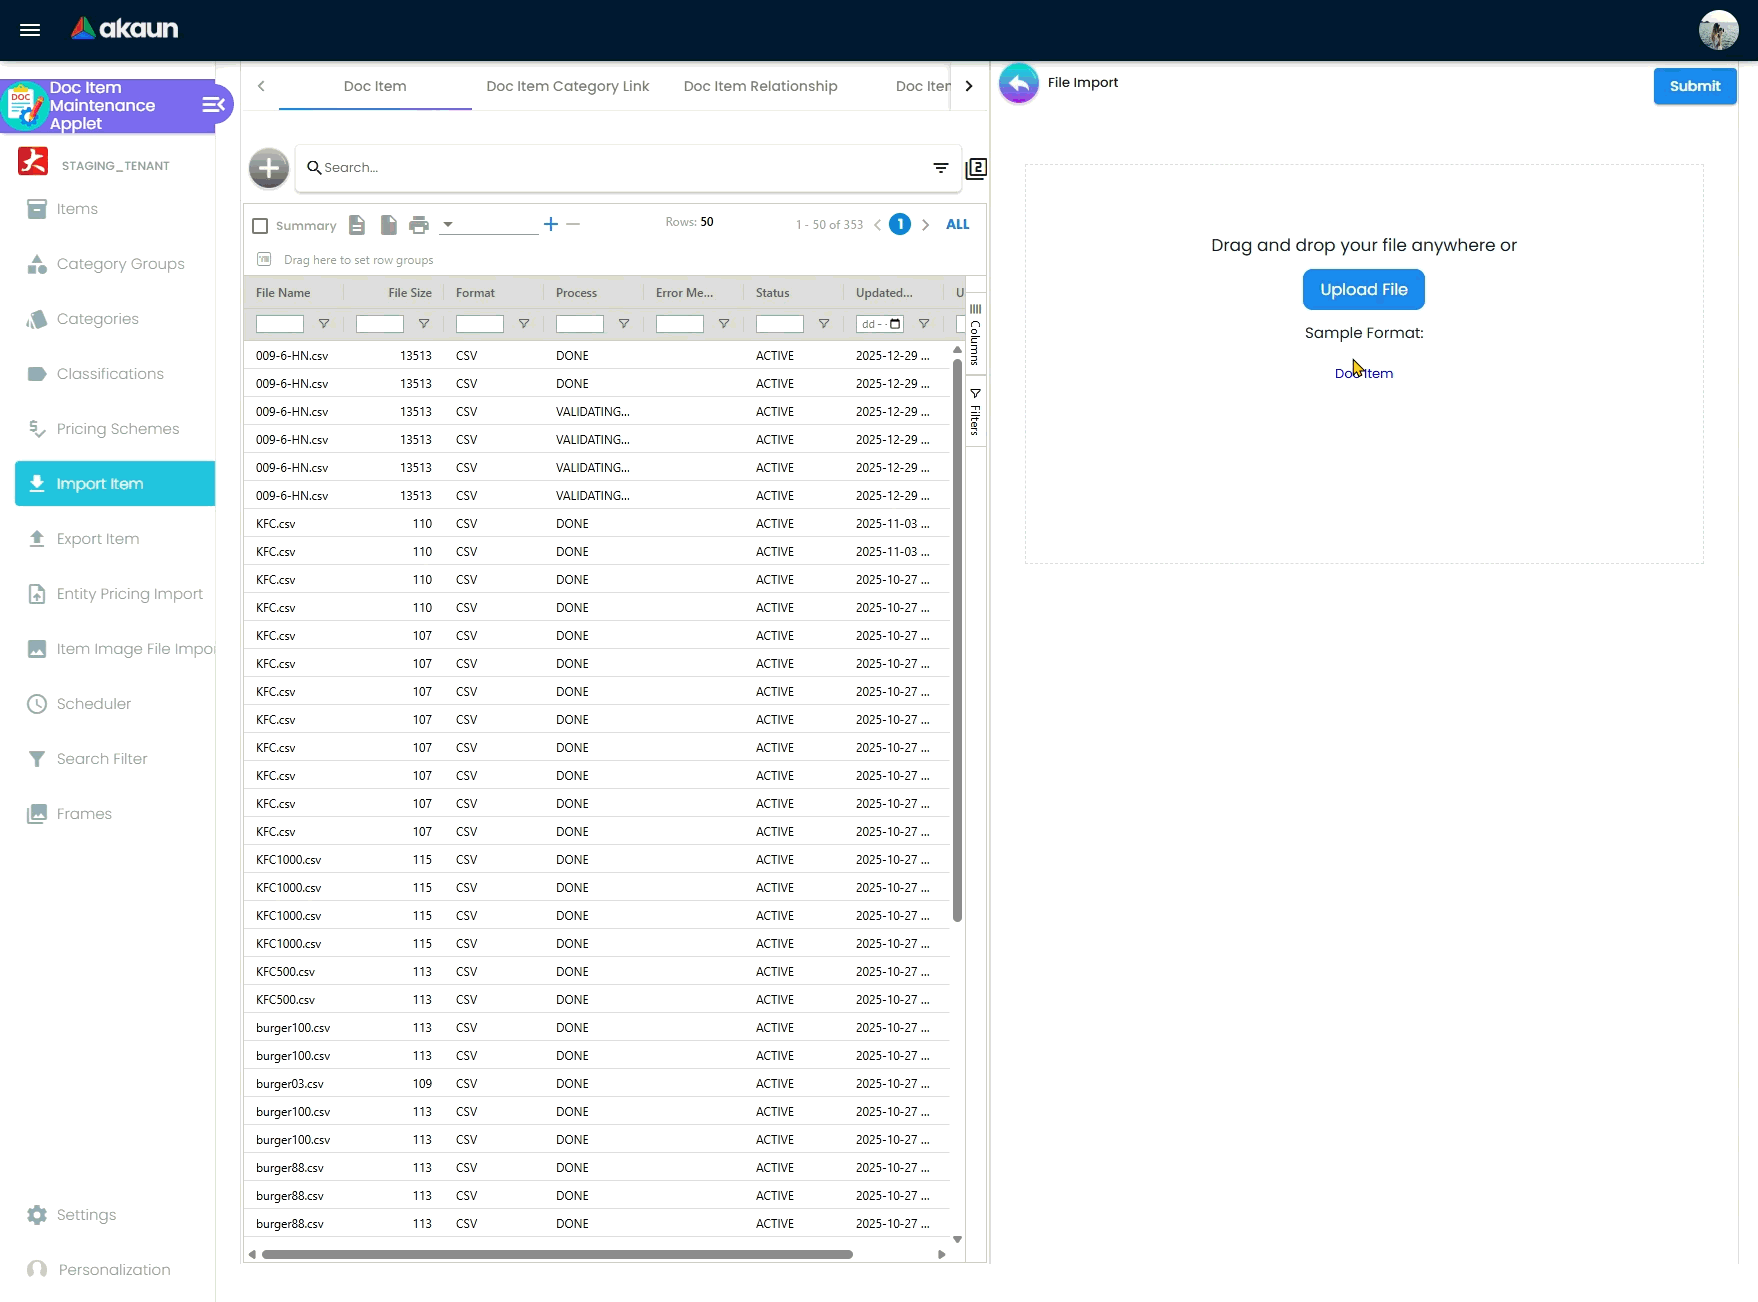
Import Item
Import the item to the applet by clicking on the plus and selecting Upload. Choose from the doc item to upload. Additionally, select the source fields and target fields for the doc item, then click export to set the fields. Finally, upload the item.
Import Templates
Available templates for different import scenarios:
| Template | Use Case |
|---|---|
| Doc Item | Standard item creation |
| Doc Item Category Link | Link items to categories |
| Doc Item Relationship | Group/bundle item relationships |
| Doc Item Pricing | Bulk pricing data upload |
| Doc Item With GL Code | Items with Account Code type |
| Doc Item Label Link | Item label associations |
| Doc Item Company Link | Company-level item linking |
| Doc Item Branch Link | Branch-level item linking |
| Doc Item Category | Category data import |
Every templates have different columns required for importing to know what are the required column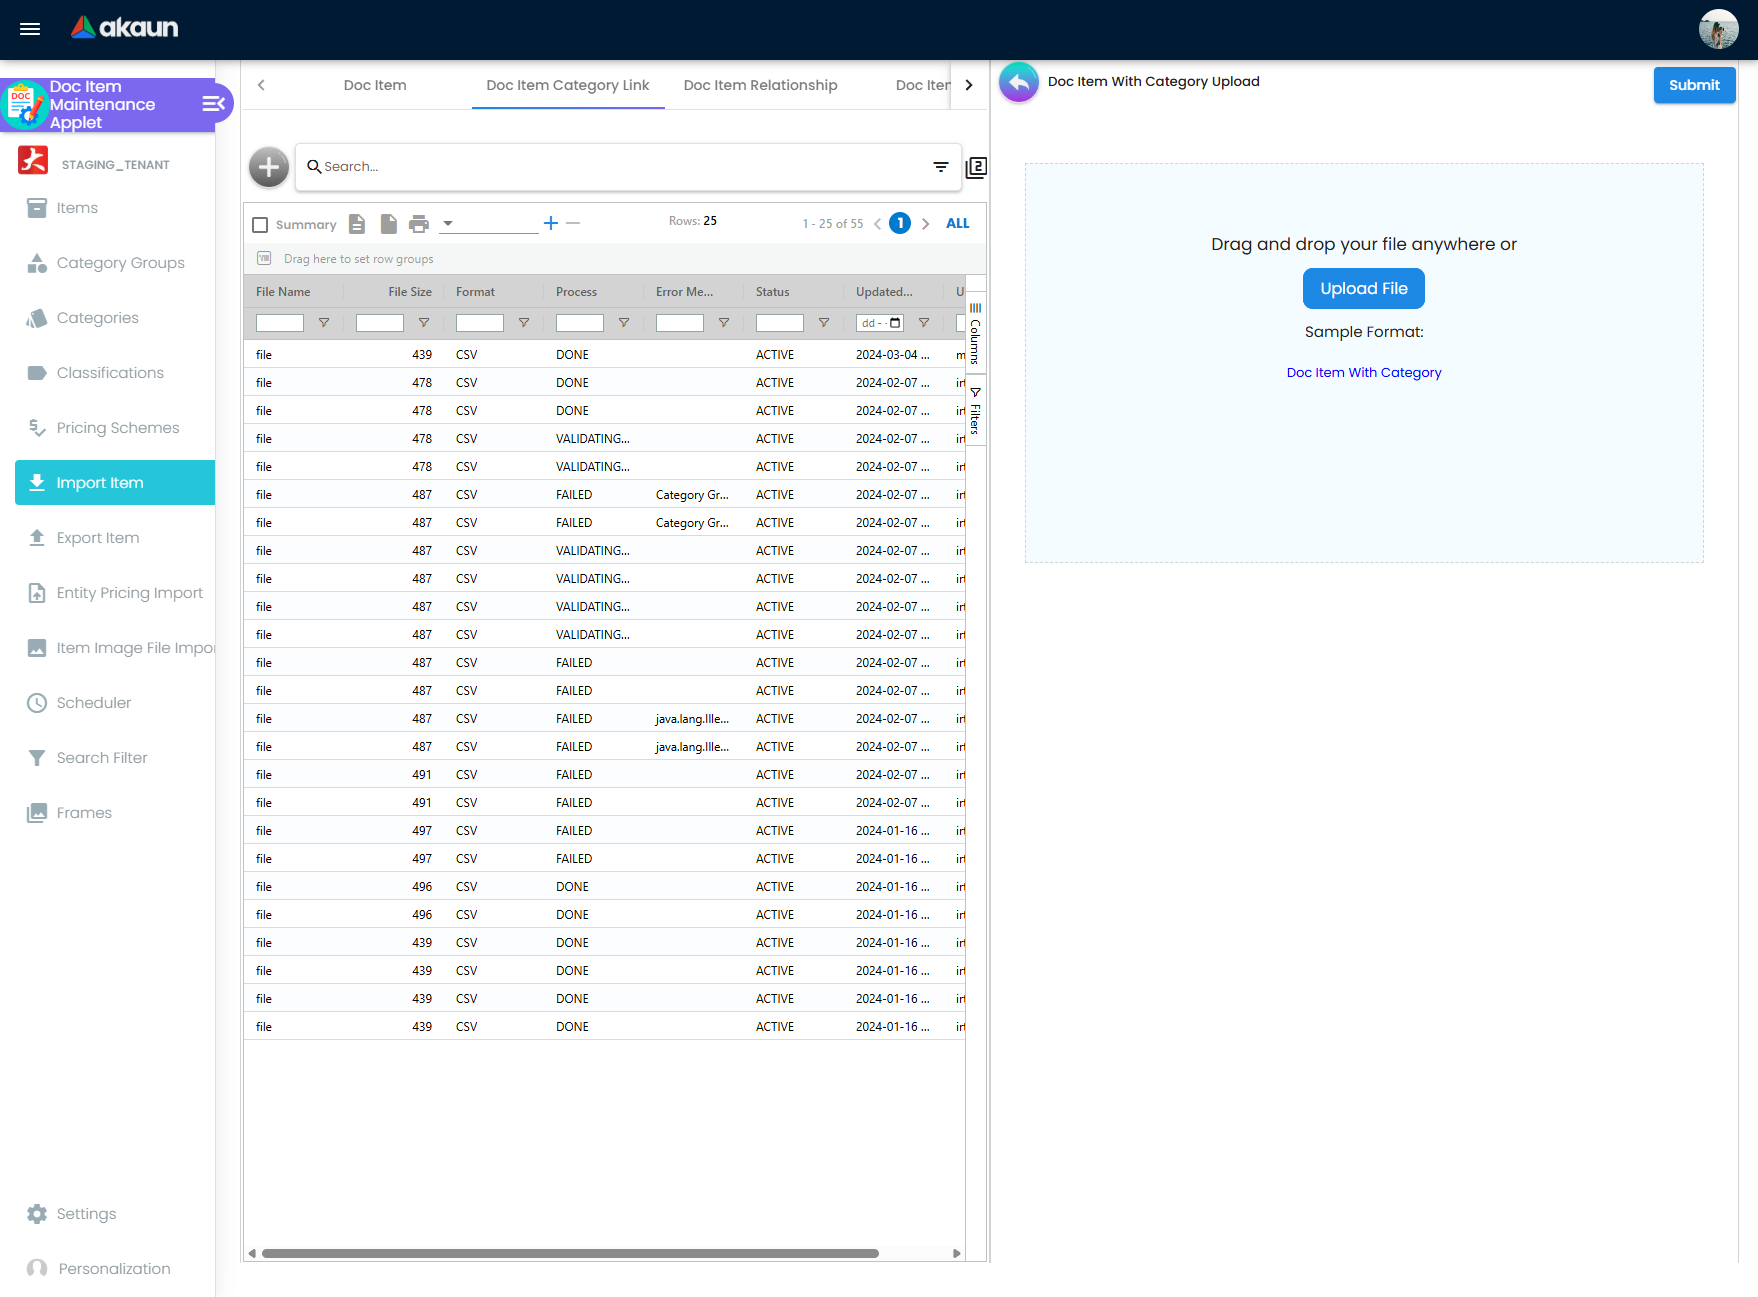
Customizable Import Template (Doc Item Only)
Instead of downloading a massive template with 50+ columns, you can select exactly what fields you need:
| User Scenario | Example Fields Selected |
|---|---|
| Basic import | ITEM_CODE, ITEM_NAME, BASE_UOM, STATUS |
| Full import | ITEM_CODE, ITEM_NAME, BASE_UOM, STATUS, EAN_CODE, CURRENCY, all TAX fields |
| Pricing focus | ITEM_CODE, ITEM_NAME, BASE_UOM, CURRENCY, pricing-related fields |
This feature is available only for the Doc Item template type - other import templates (Category Link, Pricing, etc.) use fixed column formats.
Import Process
- Select the file type/template
- For Doc Item: Use the configurable dialog to select which fields to include in your template
- Download the template CSV (with your selected fields or all fields for other templates)
- Fill in your product details in the CSV
- Save as .csv format
- Upload via the Upload File button or drag-and-drop
Uploaded files appear in the listing below and can be managed or deleted from the File Import Edit page.
Related Applets - Doc Item Maintenance
The Doc Item Maintenance applet can import Lines from the following Applets:
- Tax Configuration Applet
- Chart of Accounts Applet
- Organisation Applet
- Stock Availability Applet
The information in Doc Item Maintenance applet, is used by which applets:
- Ecomsync Applet
- Internal Sales Order Applet
- Delivery Order Applet
- Internal Purchase Order Applet
- Process Maintenance Applet
- Beauty POS Applet
- POS General Applet
- Internal Job Order Applet
- CellLabs- QR Code Management Applet
- Internal Packing Order Applet
- UCC - Unified Contact Centre Applet
Export Item
If the user wants to export the item, several templates are available to choose from, which include:
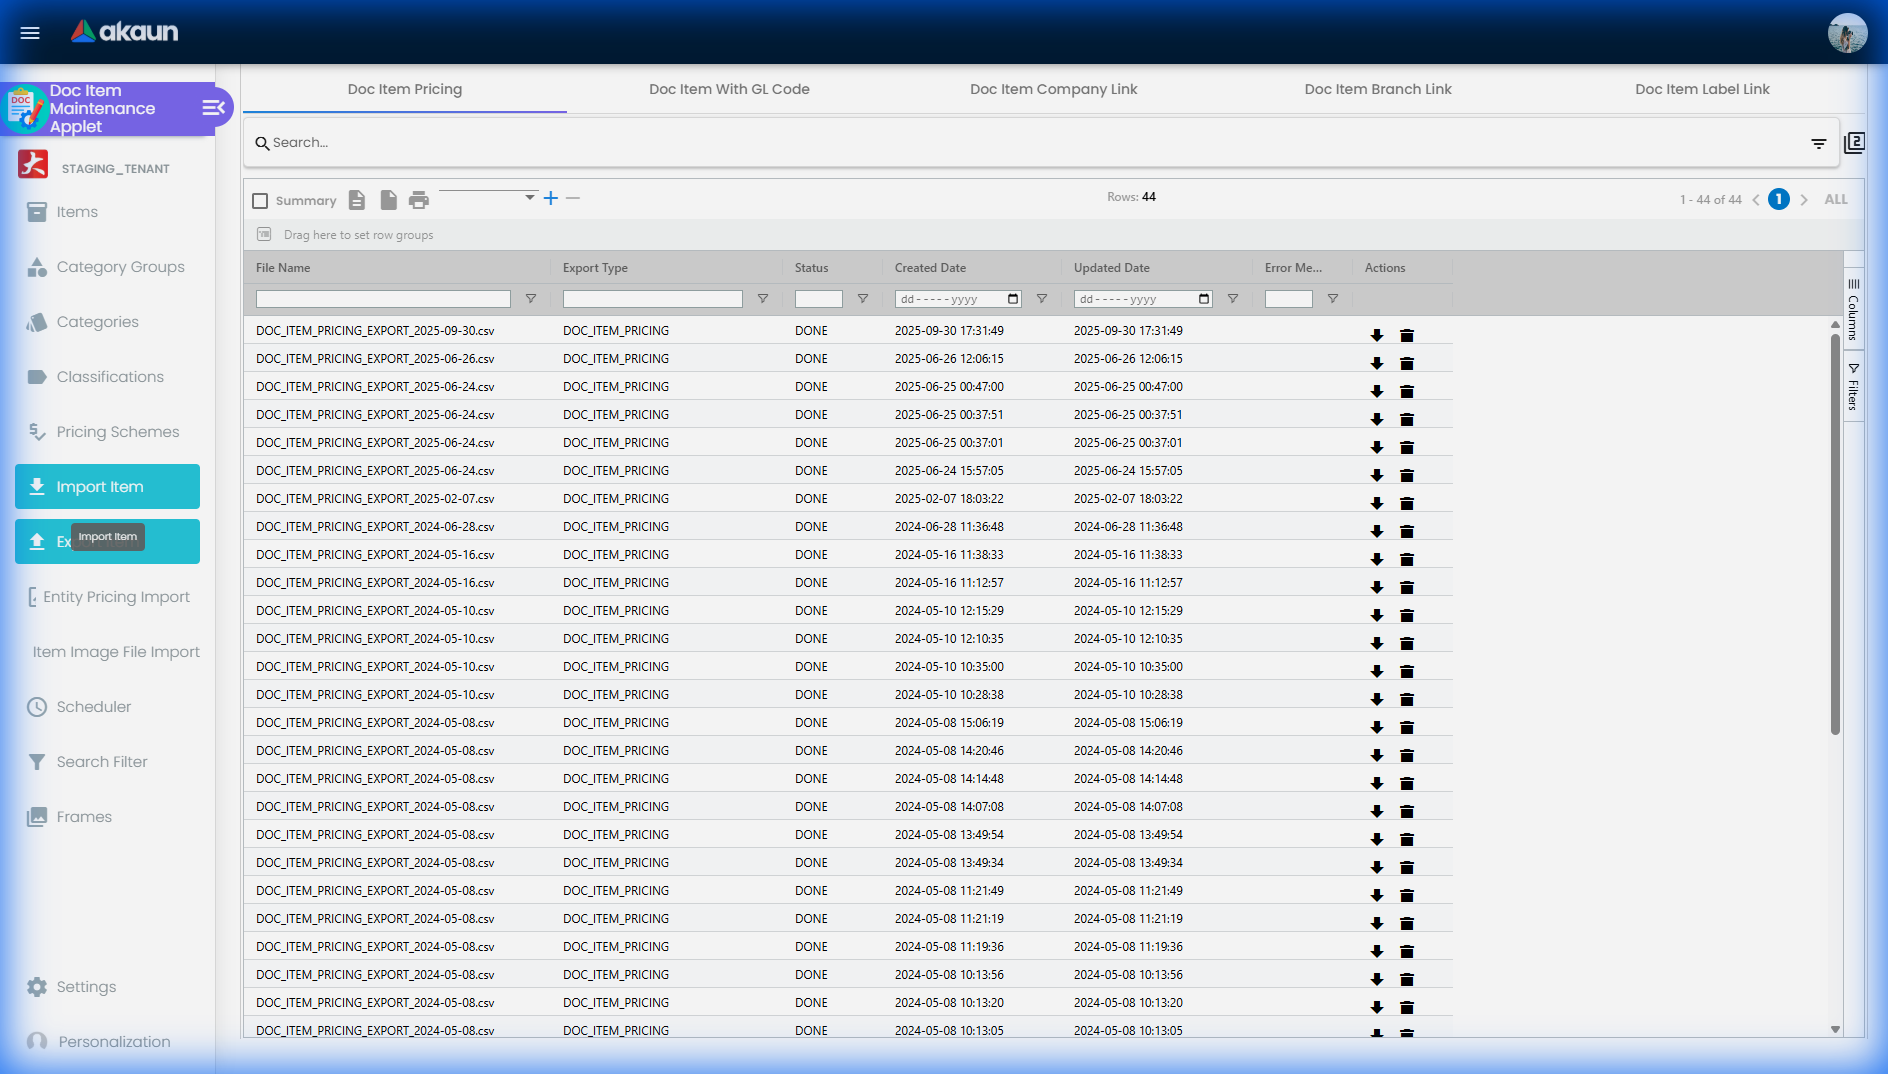
Export Templates
Each export type has a fixed column set - all relevant columns for that export type are included automatically:
| Template | Data Exported |
|---|---|
| Doc Item Pricing | Item pricing across schemes |
| Doc Item With GL Code | Items with GL/Account codes |
| Doc Item Company Link | Company linking data |
| Doc Item Branch Link | Branch linking data |
| Doc Item Label Link | Label associations |
Export Filtering vs Column Selection
| What You CAN Do | What You CANNOT Do |
|---|---|
| ✅ Filter BY criteria (pricing scheme, item status, categories) | ❌ Pick specific columns to include in export |
| ✅ Choose which export template/type to use | ❌ Customize the column set for an export type |
| ✅ Export only items matching your filter criteria | ❌ Exclude specific columns from the export |
Select a template, configure the filter options to narrow down which items to export, and download the resulting file containing all columns for that export type.
Scheduler
Create
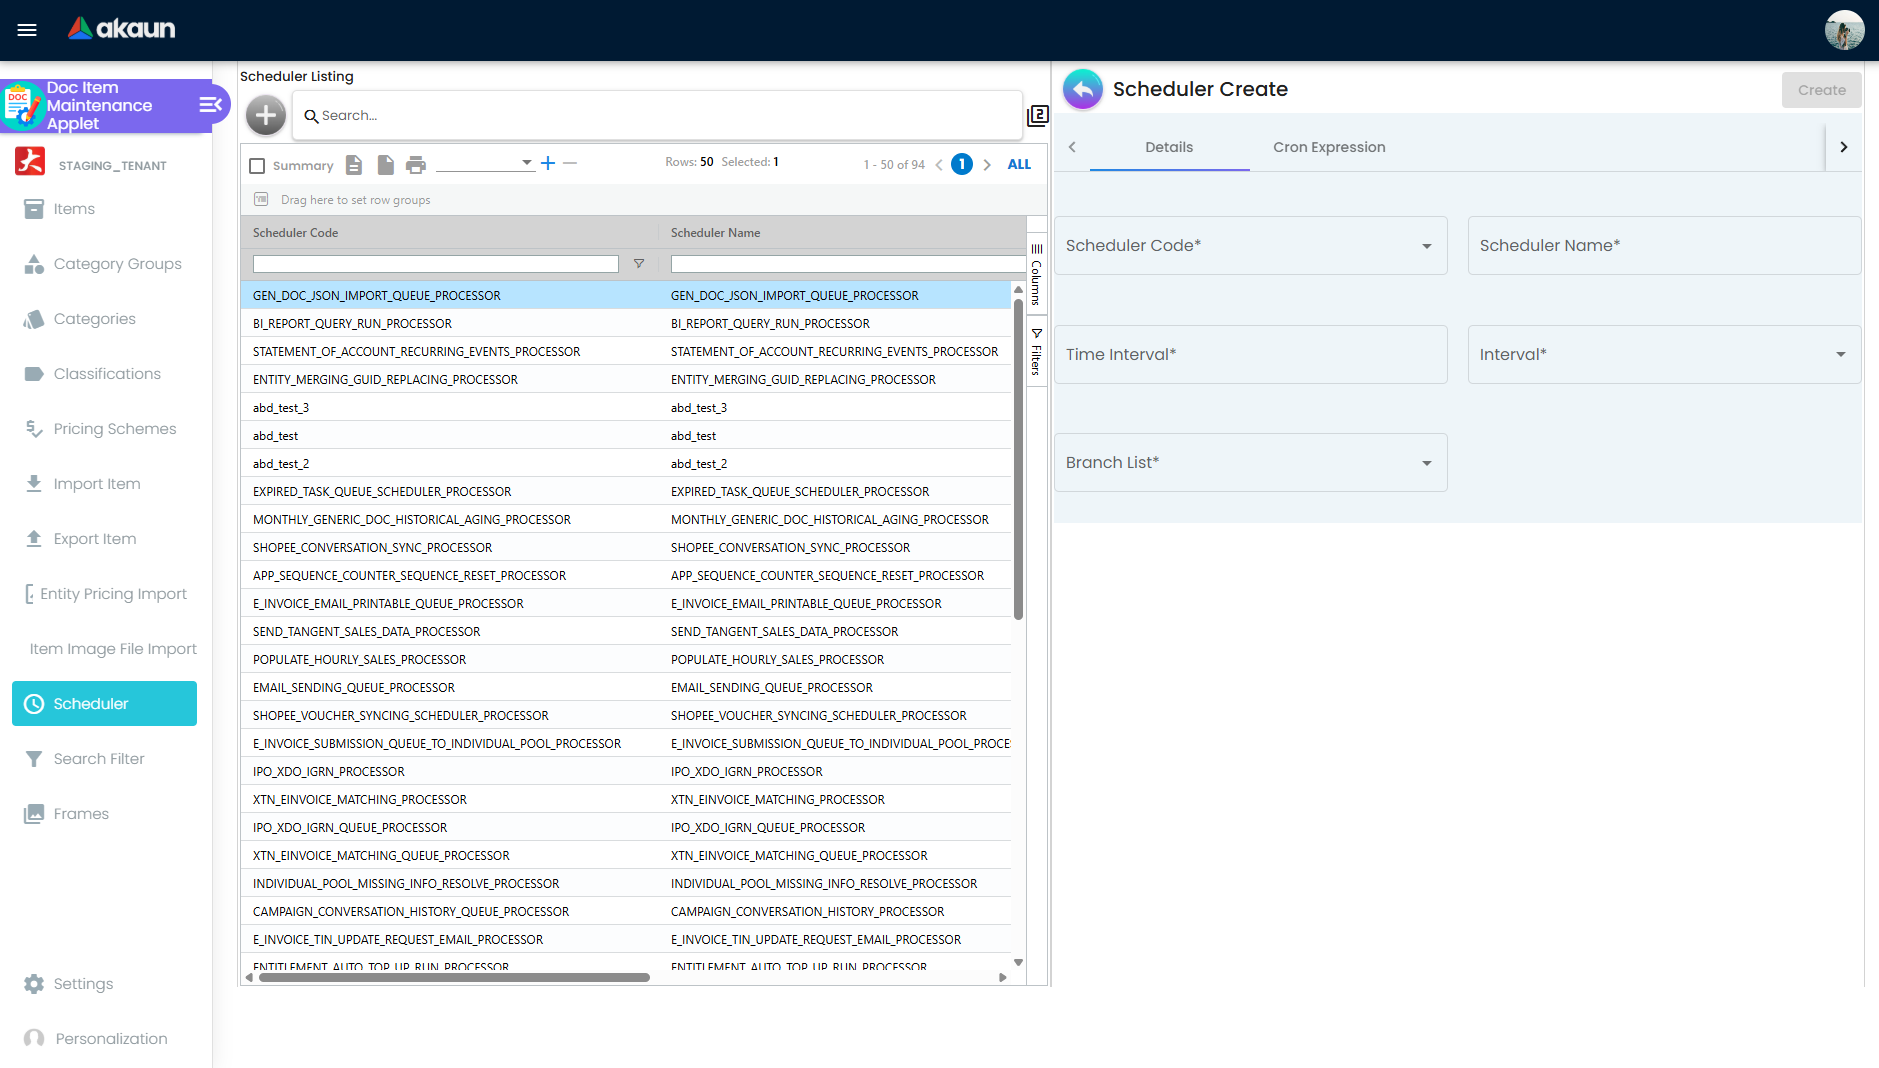
- Scheduler Code
- Scheduler Name
- Time Interval
- Interval
- Branch List
Cron Expression tab
It enables users to schedule tasks to run periodically at a specified date and time.
To edit or remove Scheduler, select the specific scheduler you want and it will lead you to the second page where u can implement your changes.
Search Filter
Search Filters allow you to create customizable filter configurations that can be used in e-commerce platforms like CP-Commerce. These filters help customers narrow down product searches based on specific attributes or categories.
Search Filter Listing
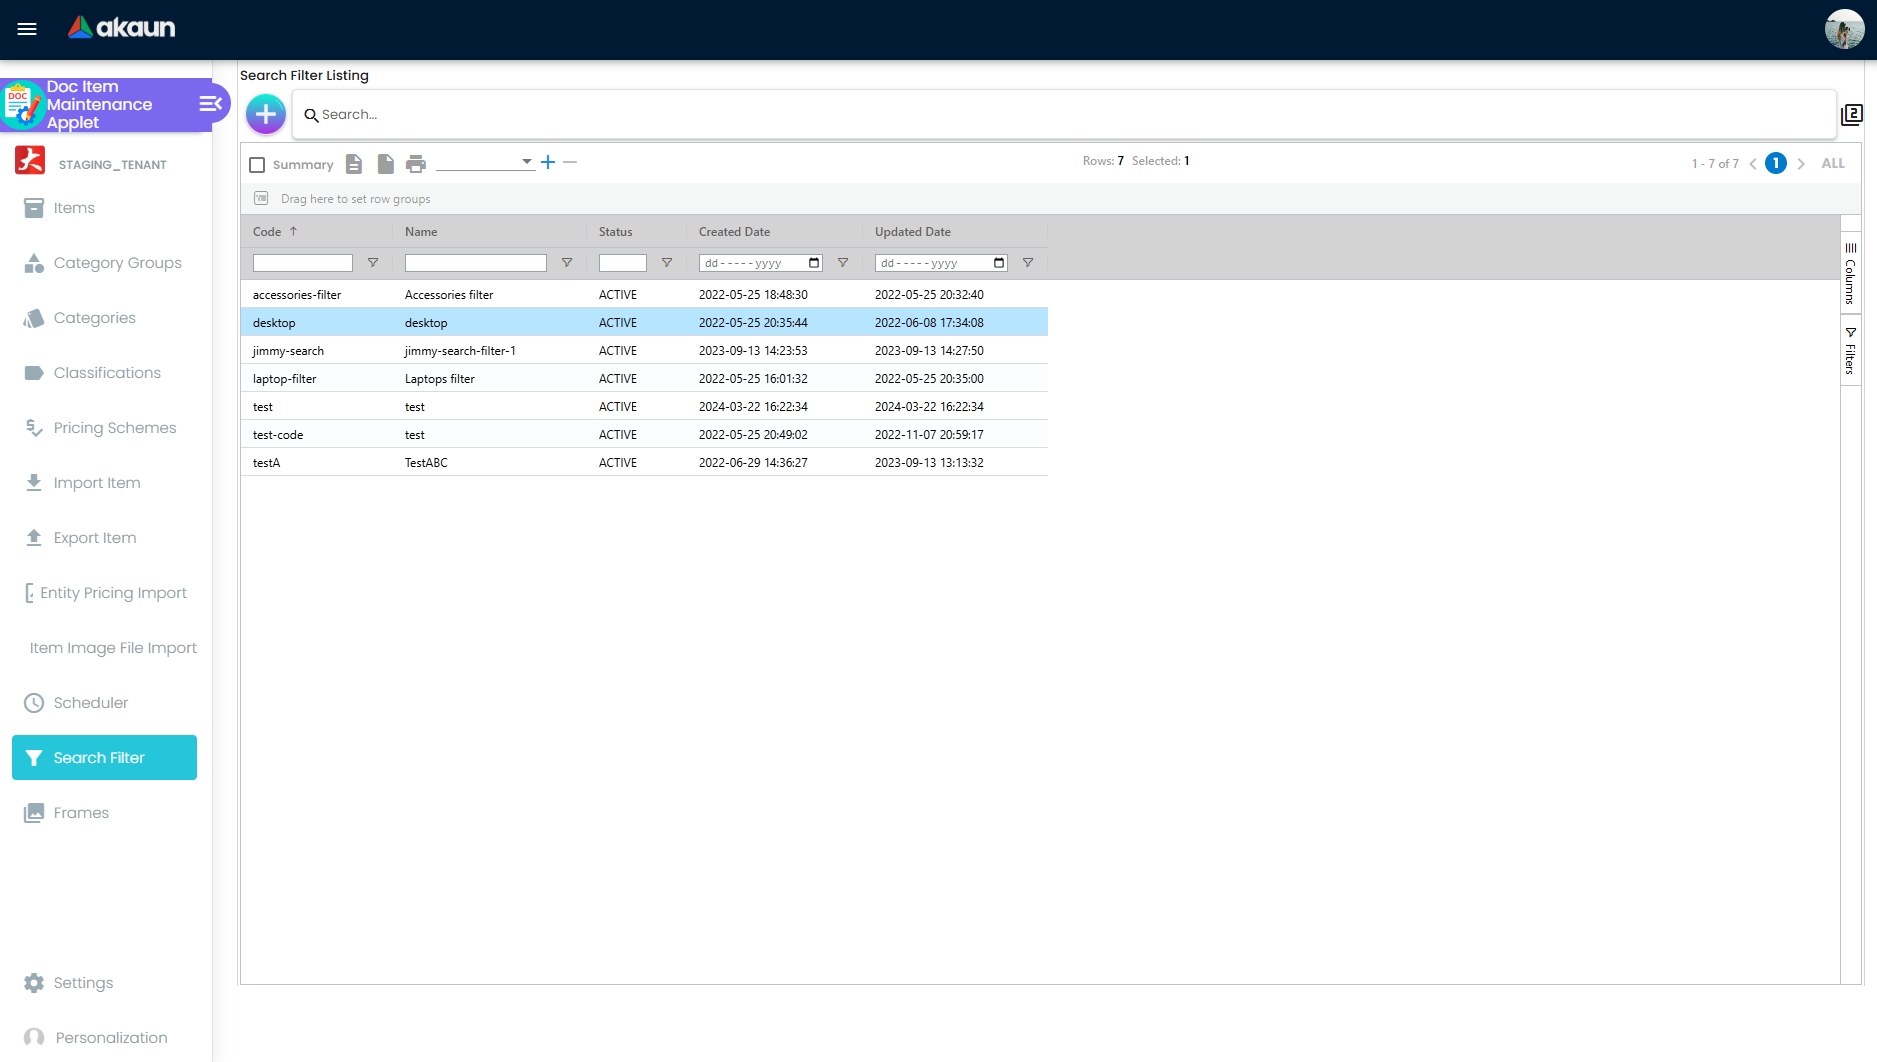
The toolbar provides options to export the list to PDF or XLS formats, and includes a search bar for quick filtering.
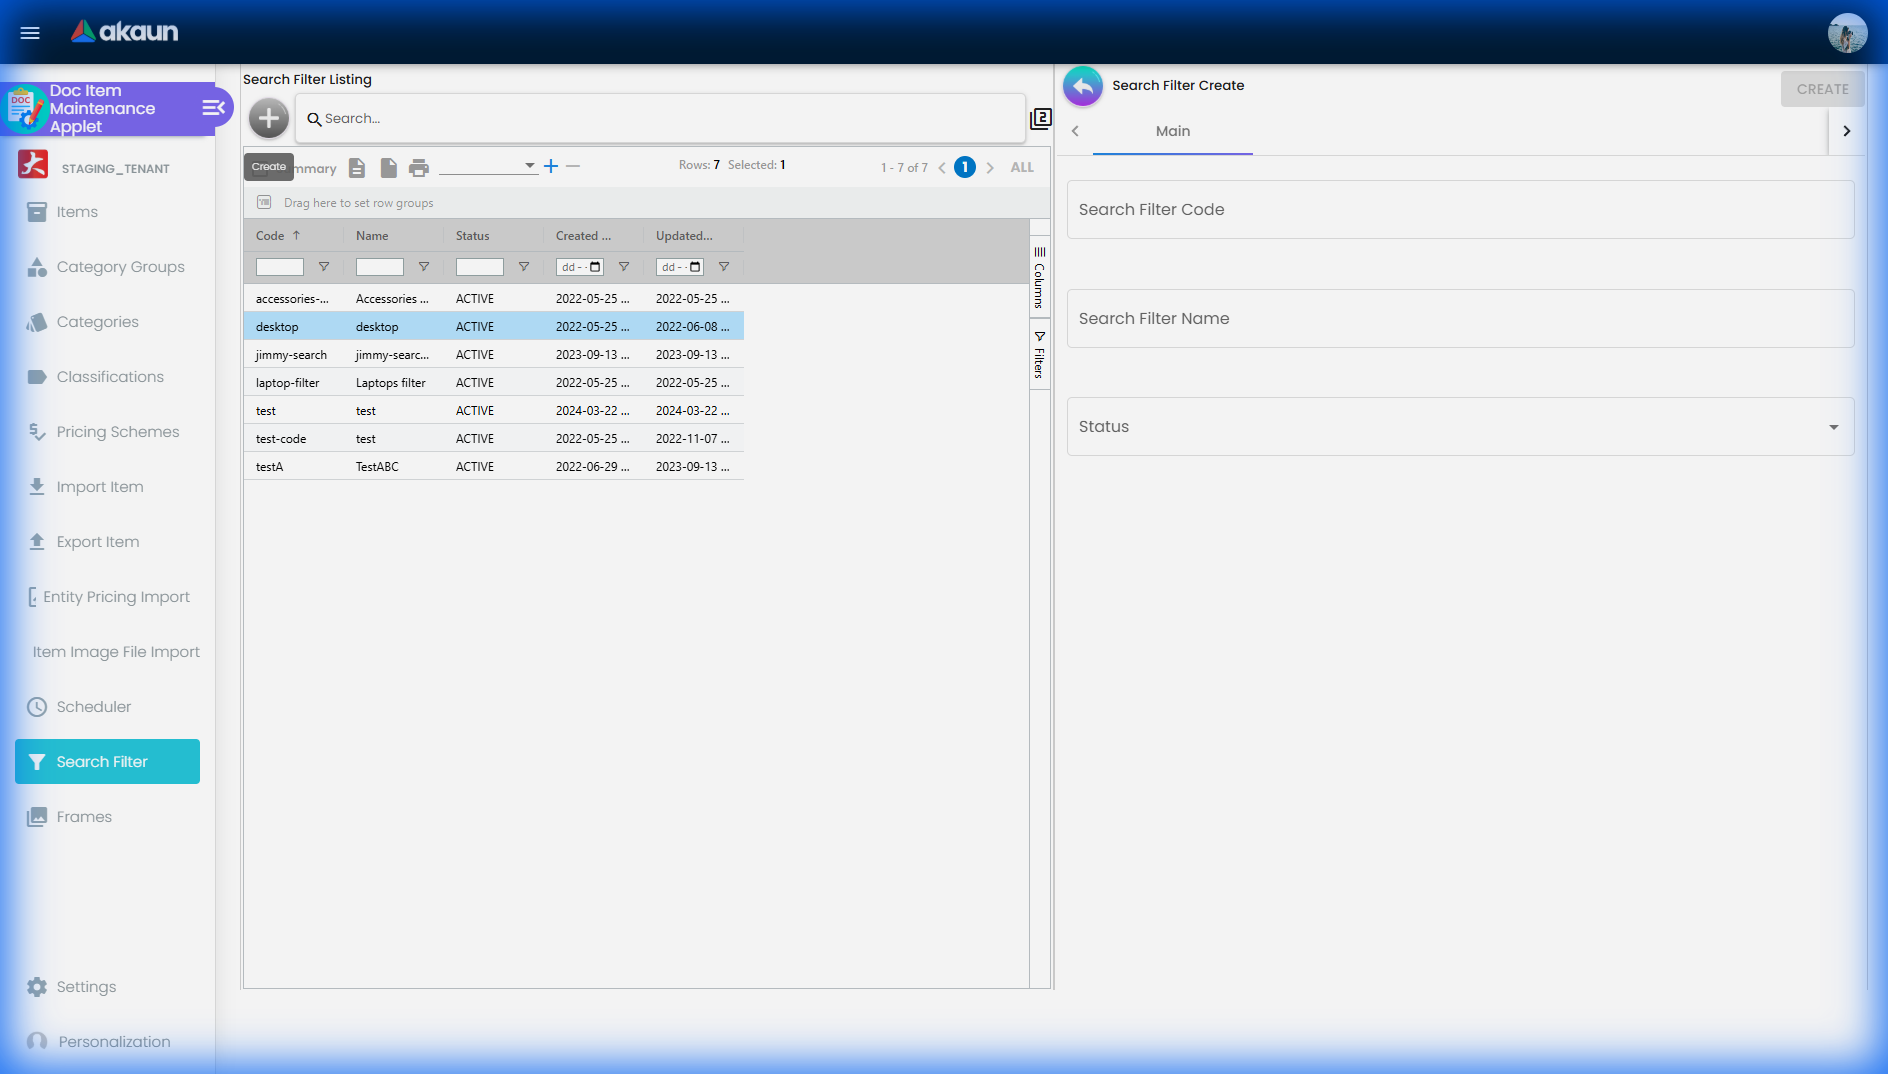
Create Search Filter
Edit Search Filter
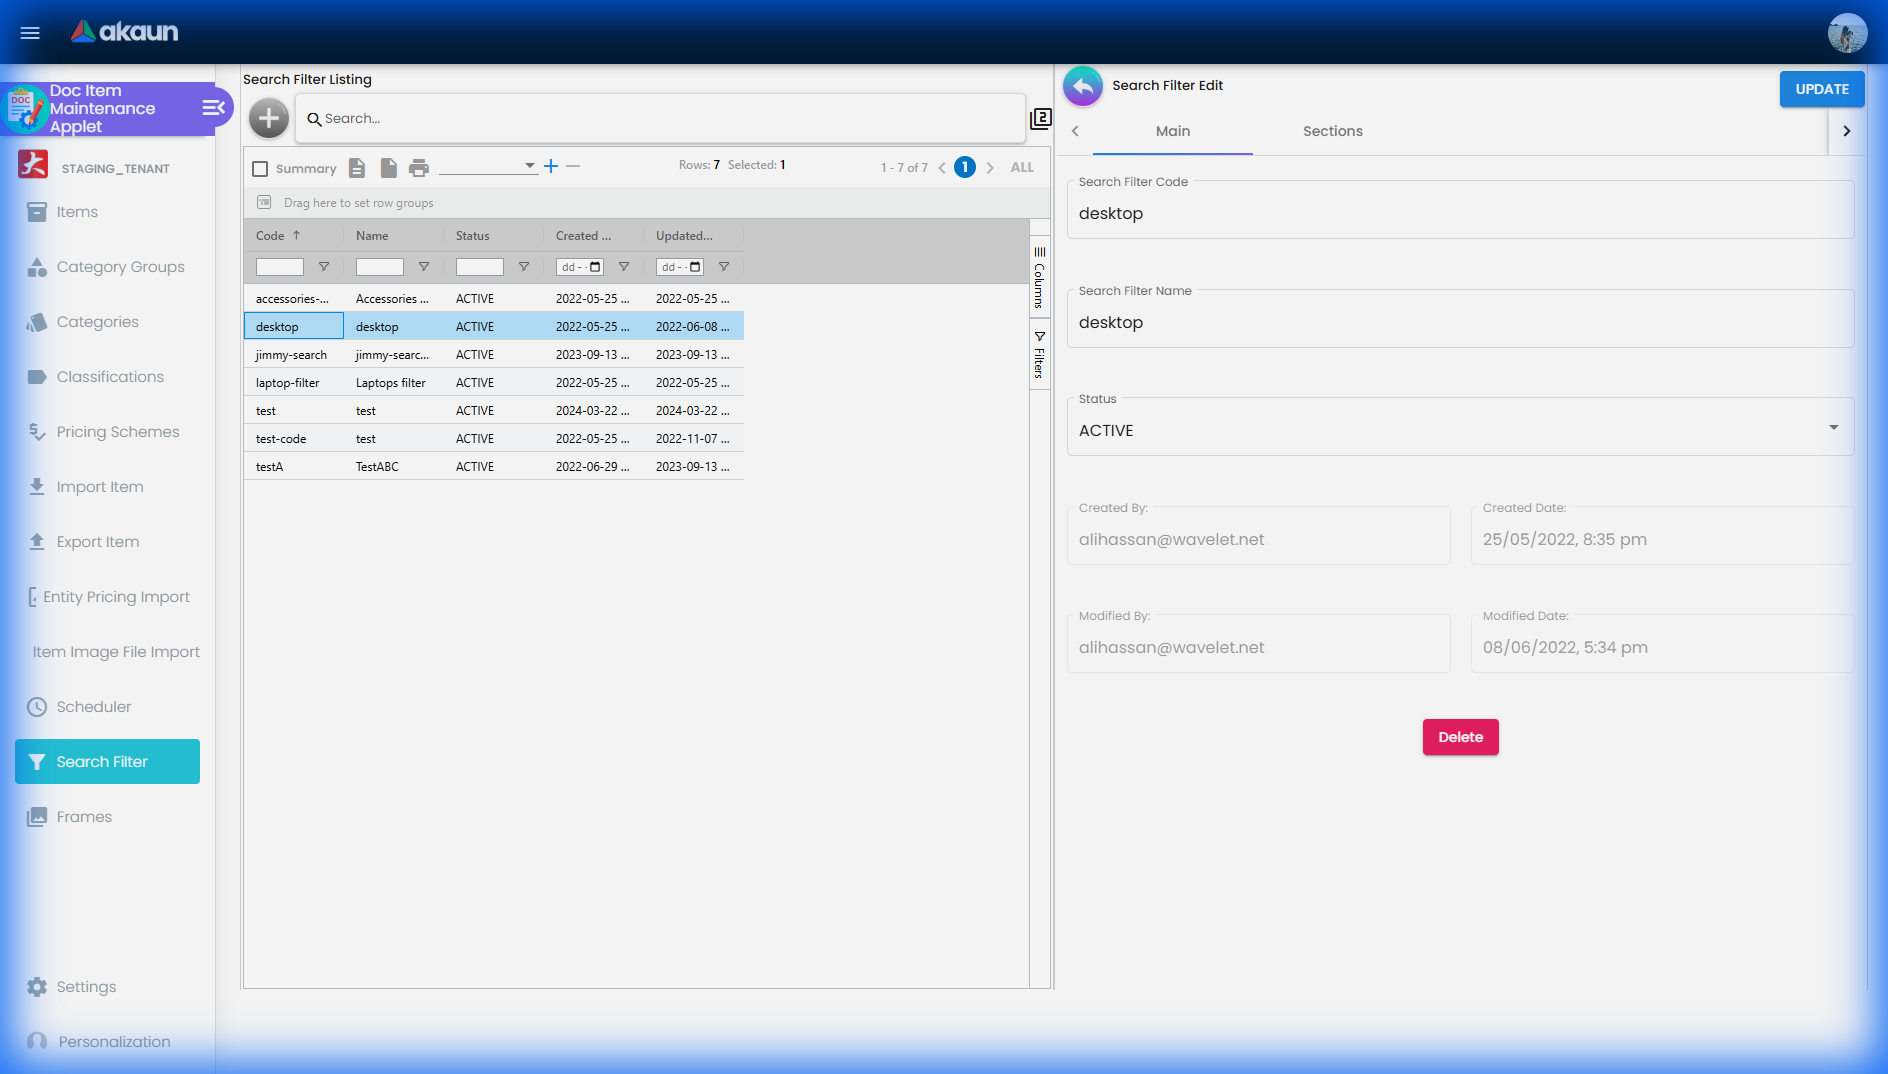
Click on any existing search filter in the listing to open the Edit panel. This panel displays the same fields as the Create panel. Updates can be saved, or the filter can be deleted from this panel.
Sections Tab
Each search filter can have multiple sections that define the filter options displayed in CP-Commerce.
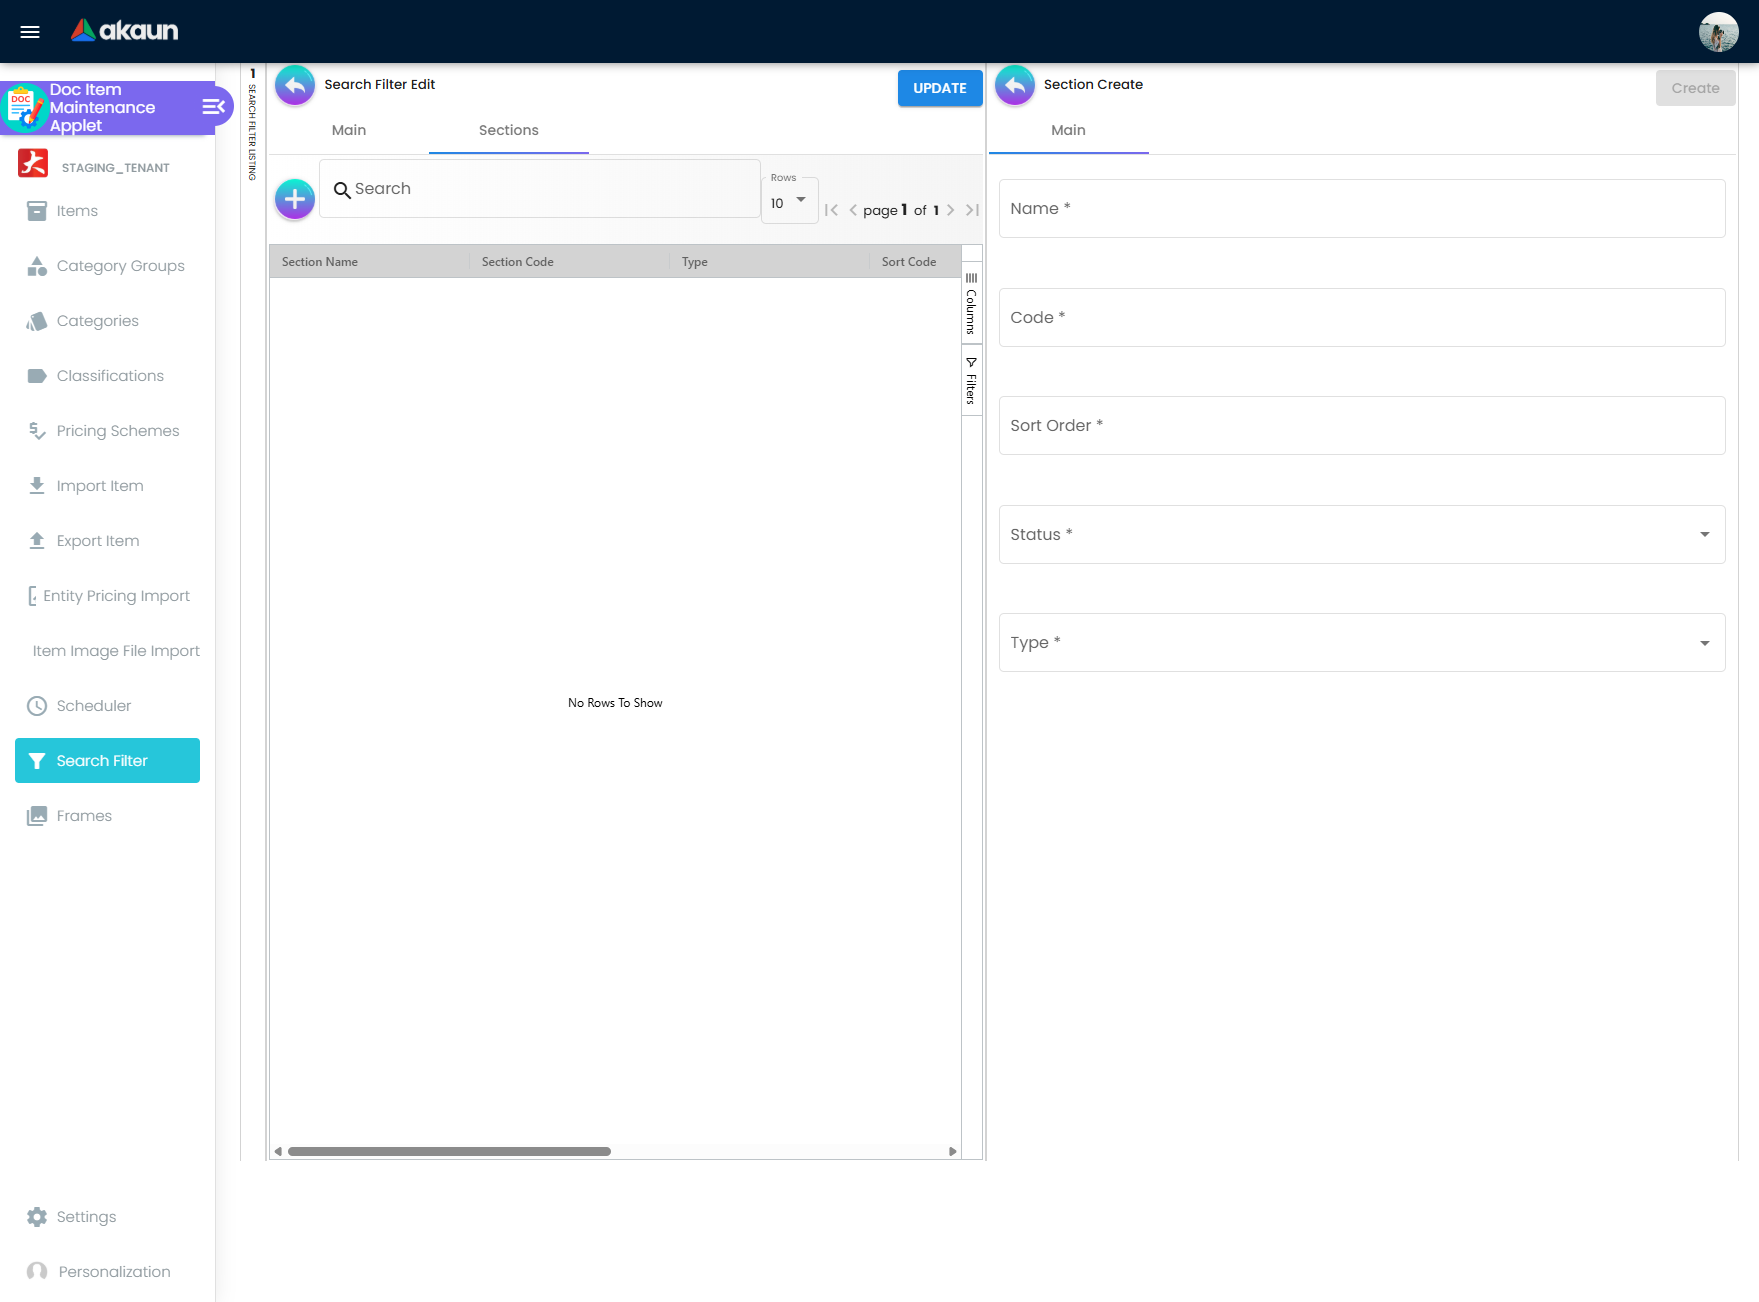
Section Types
The unique value of Search Filter is the Section Types - these define what users can filter by:
| Type | What It Filters |
|---|---|
| ATTRIBUTE | Filter items by a specific attribute (e.g., Brand, Color, Size) |
| PRICE | Filter items by price range |
| RATING | Filter items by rating score |
| POINT_CURRENCY | Filter items by membership point currency |
| STOCK_AVAILABILITY | Filter by in-stock/out-of-stock status |
| POINT_REDEEM | Filter items by redeemable points |
Each section can be linked to item attributes, allowing customers to filter products based on those attributes.
Application Settings
The Application Settings menu provides personalization and configuration options for the Doc Item Maintenance Applet.
Hiding Tabs
You can configure the app to hide specific tabs (like CP Commerce or Category Group) if they are not relevant to your business. This helps streamline the interface and focus only on the features you need.
Listing Defaults
You can set default views for your item listing page, including:
- Default columns to display
- Default sorting options
- Pagination preferences
Best Practices
Item Creation
- Fill only essential information in CREATE section to prevent data loss
- Use EDIT section to add detailed information after initial creation
- Maintain consistent naming conventions for item codes
- Regularly update item information to ensure accuracy
Category Management
- Organize items using appropriate categories
- Use nested categories for better organization
- Keep category structure simple and logical
- Update category images for better visual reference
Pricing Management
- Create pricing scheme templates before adding prices
- Use entity pricing for customer/supplier-specific pricing
- Regularly review and update pricing
- Test pricing in POS before going live
Marketplace Integration
- Ensure accurate item information before syncing
- Use appropriate main and promotional images
- Keep stock availability updated
- Monitor marketplace listings regularly
Support Resources
For additional assistance:
- Item setup guide
- Category configuration documentation
- Pricing scheme tutorials
- Import/export templates
- Best practices documentation