E-Mandate Applet
Purpose and Overview
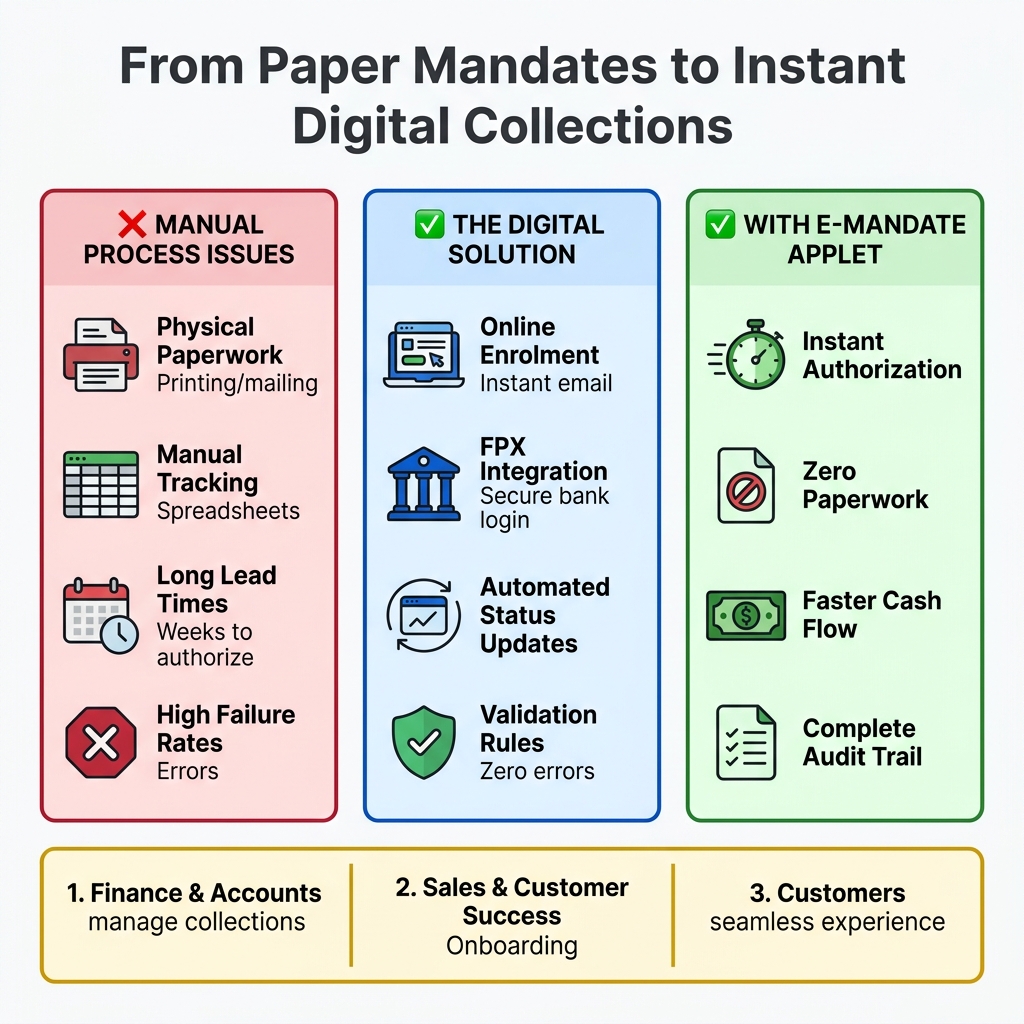
The E-Mandate Applet is a specialized tool designed to automate the process of obtaining and managing Direct Debit authorizations from customers via the FPX framework.
Where This Applet Fits
| Upstream (Required First) | This Applet | Downstream (Next Steps) |
|---|---|---|
| Customer Maintenance | E-Mandate Applet | Collection Applet |
| Bank Configuration | Create and Manage Mandates | Automated Recurring Payments |
Problems This Applet Solves
- Manual Paperwork: Eliminates the need for physical forms and wet-ink signatures.
- Slow Onboarding: Replaces weeks of manual bank processing with instant online authorization.
- Tracking Errors: Replaces manual spreadsheets with a real-time digital audit trail of all mandate statuses.
Before You Begin
Ensure the following requirements are met before using the applet:
Required Master Data
- Customers: Customers must be registered in the Customer Maintenance Applet with valid email addresses.
- Banks: Supported FPX banks must be configured in the system.
Required Permissions
- Mandate Creator: Ability to access the
createmodule and initiate requests. - Mandate Admin: Ability to access
settings,update, andterminatemodules.
Initial Configuration
- Field Settings: Set mandatory customer fields (e.g., ID Number, Phone).
- Webhooks: Ensure FPX notification webhooks are active to receive status updates.
Who Uses This Applet?
| Role | Main Responsibility |
|---|---|
| Finance Team | Manage collection amounts, frequencies, and reconcile successful authorizations. |
| Sales/Account Managers | Initiate new mandate requests during customer onboarding. |
| Customers | Securely authorize the mandate through their personal bank portal. |
Key Features Overview
Quick Start
For Staff: Initiate a New E-Mandate
Goal: Create a mandate request and send it to a customer for authorization.
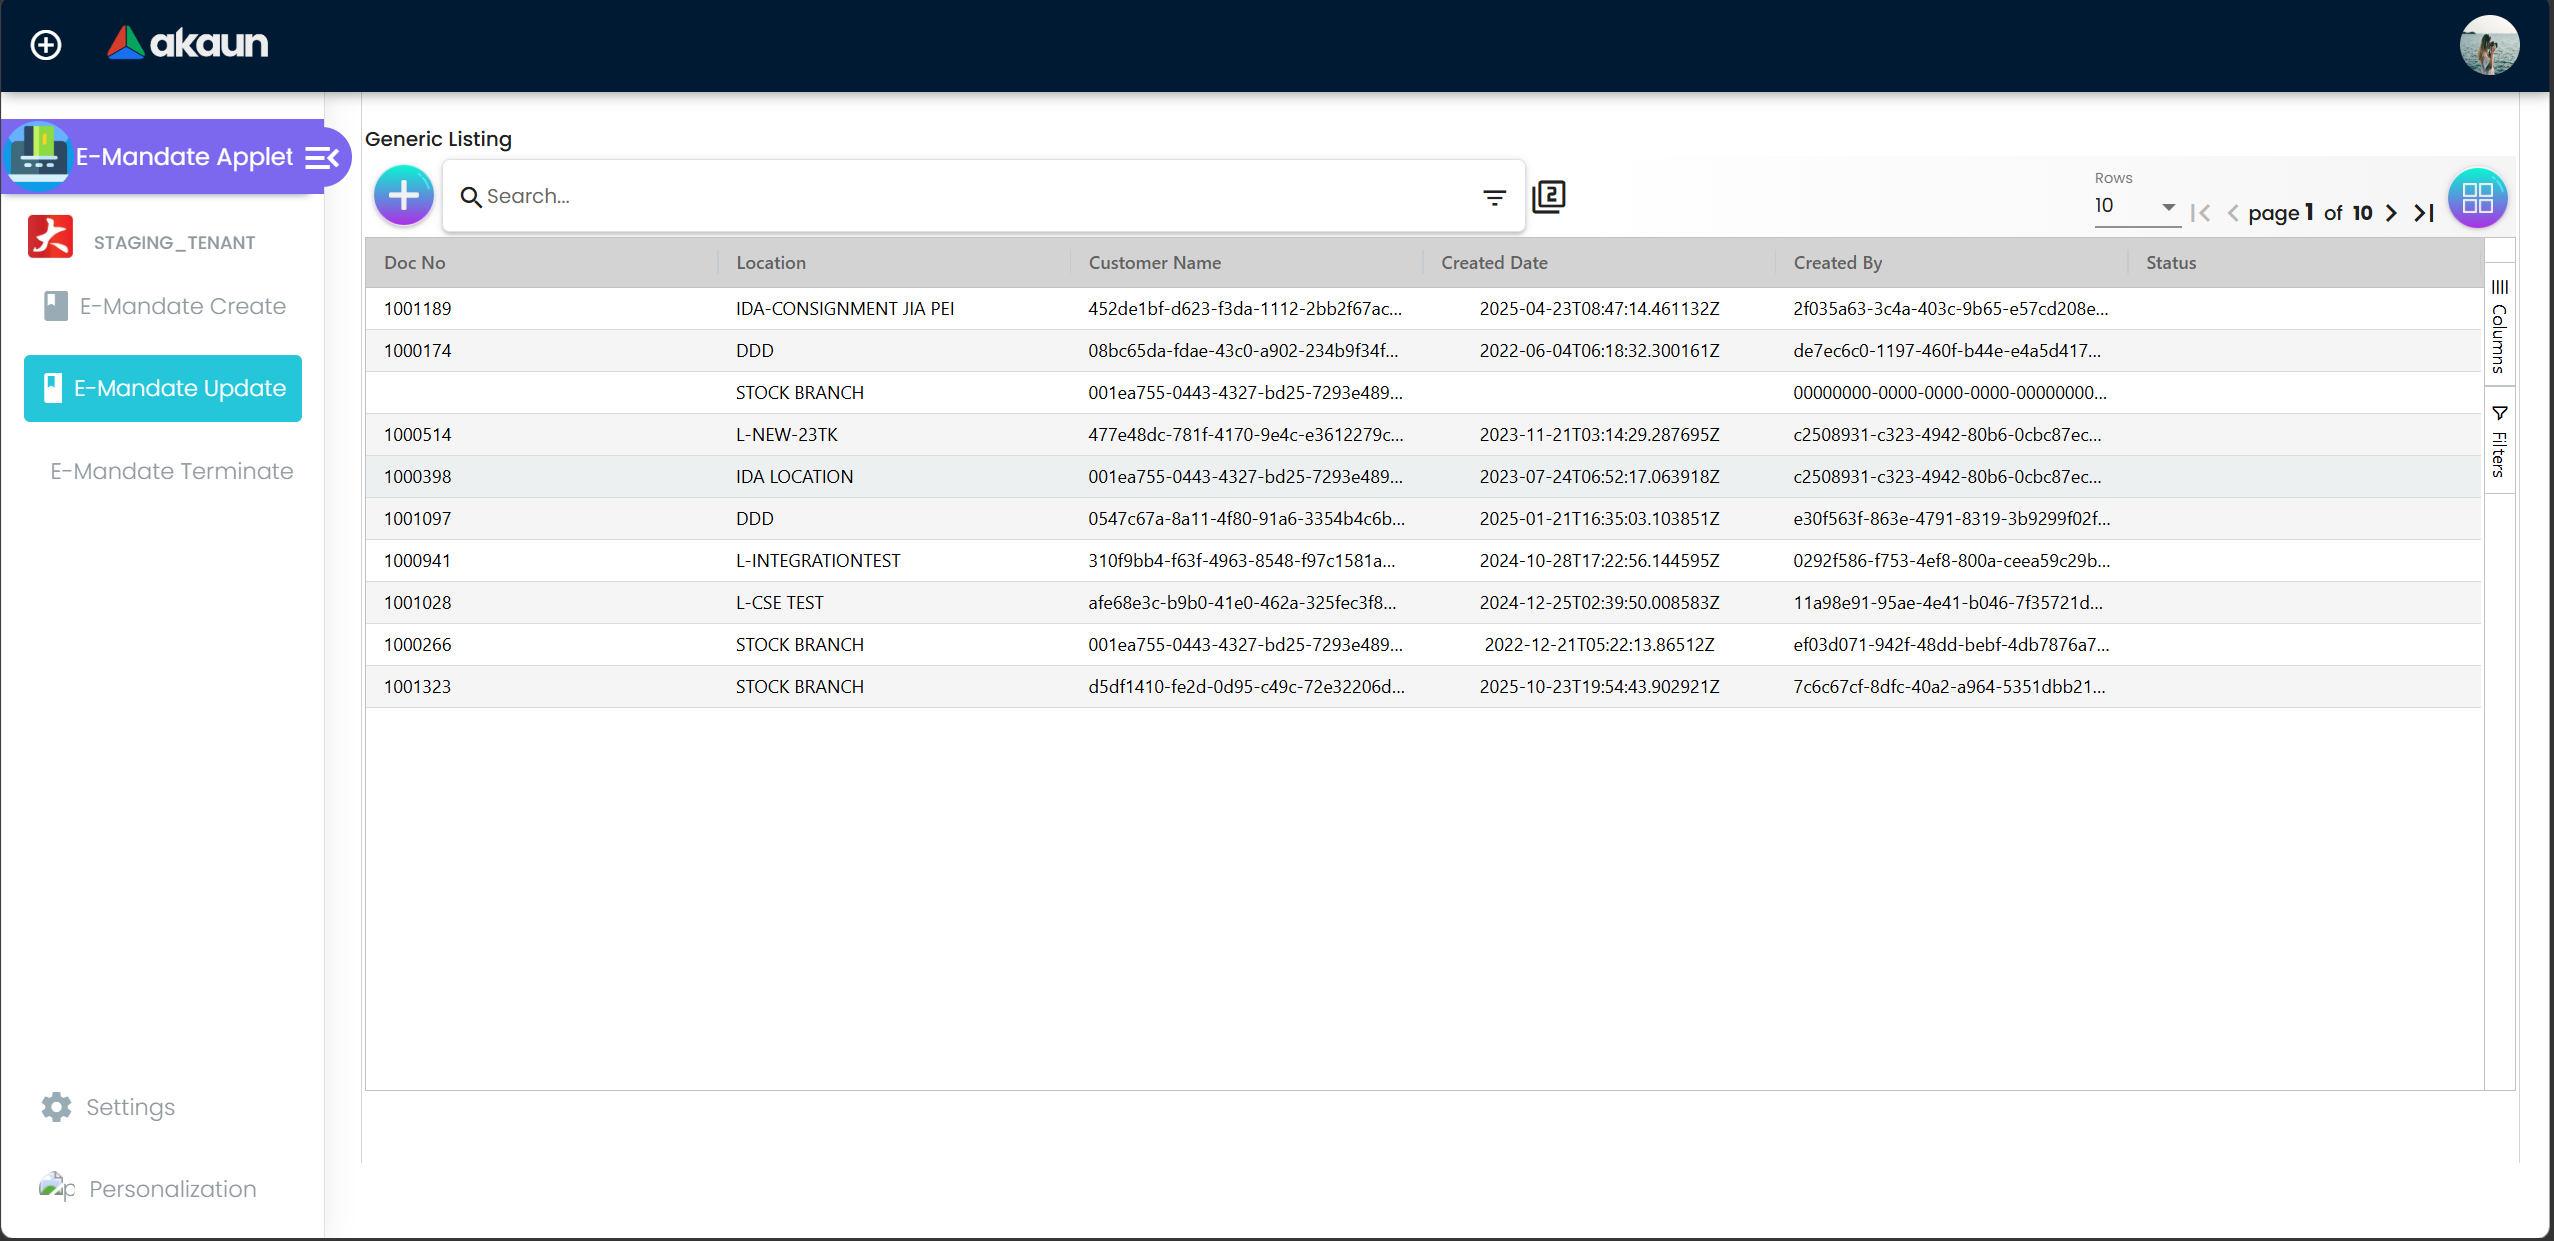
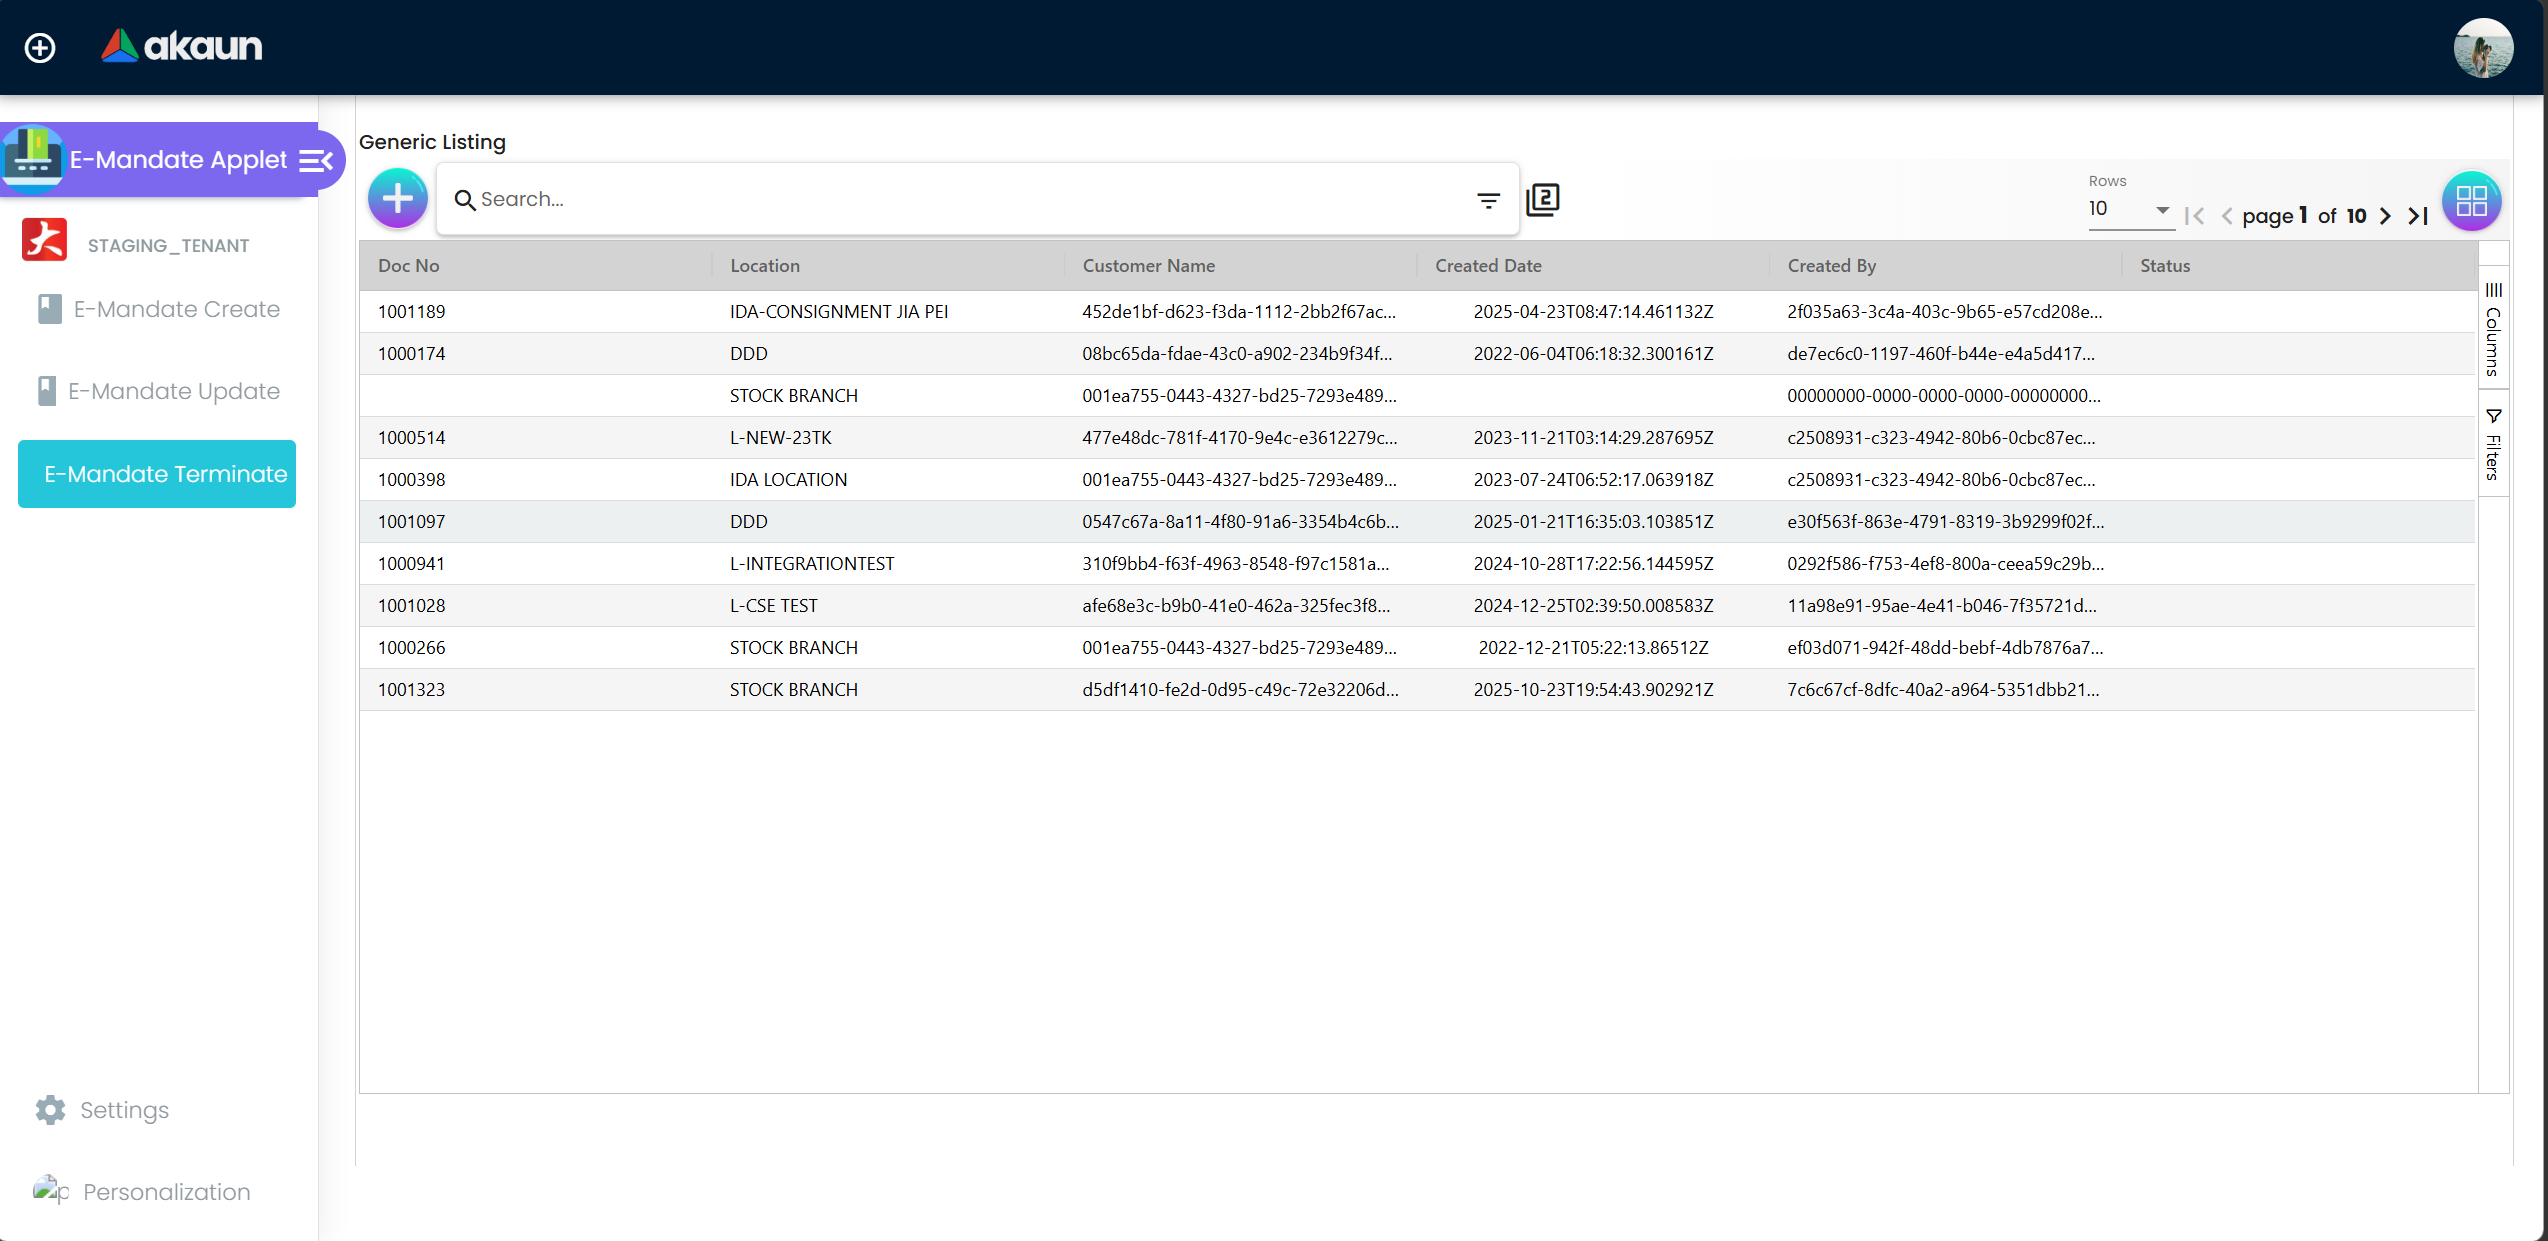
- Navigate: Go to the E-Mandate Applet and click the Create tab (shown as Example Applet in some menus).
- Customer Details:
- Reference Number: Enter the unique identifier (e.g., Invoice #).
- Name/Email: Enter the payer’s contact information. These are Required for the authorization link.
- Bank Information:
- Bank: Select the customer’s bank from the searchable list.
- Signatory: Choose Single Signatory for retail accounts or Multiple Signatories for corporate accounts.
- Collection Rules:
- Max Amount per Transaction: Set the maximum limit for each auto-collection (e.g., MYR 500.00).
- Frequency: Choose how often to collect (e.g., Monthly).
- Save & Email: Click Save & Email. The customer will immediately receive a secure link to authorize the mandate via their bank.
What Happens Next?
- The mandate status enters PENDING.
- The customer receives an email with the authorization link.
- Once authorized, the status automatically switches to ACTIVE.
Status Reference Table
Every mandate follows a specific lifecycle:
| Status | Meaning | User Impact |
|---|---|---|
| PENDING | Request sent to customer. | Cannot collect funds yet. Waiting for bank authorization. |
| ACTIVE | Successfully authorized by the bank. | Ready for collection. Recurring payments will proceed. |
| REJECTED | Bank or customer declined request. | Authorization failed. Check ID number and resubmit. |
| TERMINATED | Mandate cancelled by staff or customer. | No further collections will occur. |
| EXPIRED | Mandate date has passed. | Mandate is no longer valid for collections. |
Field Reference (Create Screen)
| Field | Purpose | How to Fill It In |
|---|---|---|
| Reference Number | Links mandate to a specific bill. | Required. Enter Invoice ID or Account ID. |
| ID Type/Number | Used by the bank to verify identity. | Required. Enter NRIC or Business Reg No. |
| Max Amount | Safety limit for collections. | Required. Enter the upper limit (e.g., 1000.00). |
| Frequency | Sets the billing cycle. | Required. Select from dropdown (Monthly/Weekly). |
| Expiry Date | When the authorization ends. | Optional. Leave blank for indefinite mandates. |
Managing Mandate Lifecycle
Updating a Mandate
Role: Finance / Admin Use the Update screen to change the maximum amount or frequency of an existing mandate. Note: Increasing the amount often triggers a requirement for customer re-authorization.
Terminating a Mandate
Role: Finance / Admin Use the Terminate screen to stop all future collections for a customer (e.g., after a subscription cancellation).
Configuration and Settings
Field Settings
(Settings > Field Settings)
Staff can customize which fields are mandatory on the creation form. Always ensure Email and ID Number are enabled to prevent bank rejections.
Feature Visibility
(Settings > Feature Visibility)
Admins can hide the Terminate or Update modules from specific teams to prevent unauthorized cancellations.
If Something Is Wrong (Troubleshooting)
| Symptom | Likely Cause | What To Do |
|---|---|---|
| SAVE & EMAIL button is disabled. | Missing mandatory fields. | Ensure Name, Email, and ID Number are filled. |
| Bank does not appear in list. | Bank not supported by FPX. | Verify if the bank is a participating FPX member. |
| Status stuck in PENDING. | Customer hasn’t authorized. | Resend the authorization link or follow up with the customer. |
| Request REJECTED by bank. | ID mismatch or invalid account. | Verify the customer’s NRIC/Reg No matches their bank record. |
FAQ
1. What is the minimum I must complete before SAVE & EMAIL?
You must enter the Reference Number, Customer Name, Email, ID Number, Bank, Max Amount, and Frequency.
2. What happens after the customer authorizes?
The mandate status in BigLedger updates to ACTIVE in real-time, allowing you to start collections immediately.
3. Can I edit a mandate after it is ACTIVE?
Yes, but changing the Max Amount or Frequency typically requires the customer to log in to their bank and re-authorize the new terms.
4. Why is the CREATE button disabled?
This is usually due to a missing mandatory field. Check that the Bank Selection and Signatory Type are selected.
5. Can I do a partial collection?
The mandate allows up to the maximum amount. You can collect any amount less than or equal to the Max Amount per Transaction.
6. What is the difference between Single and Multiple Signatories?
Select Single for retail users. Select Multiple for corporate accounts that require more than one person to approve bank transactions.
7. How long does authorization take?
Once the customer logs into their bank, authorization is instant. The system reflects this status within minutes.
8. What happens if a collection fails due to insufficient funds?
The mandate remains ACTIVE, but the specific transaction will be logged as failed. You can retry the collection later.
Glossary
- FPX: Financial Process Exchange; the national payment gateway used for Direct Debit in Malaysia.
- Mandate: A formal authorization given by a customer to a merchant to collect funds from their bank account.
- Direct Debit (DD): A payment method where the merchant initiates the withdrawal of funds from the customer’s account.
- Signatory: The person(s) authorized to sign or approve transactions on a bank account.
- Reference Number: A unique ID used to track a specific mandate request.