Purchase Invoice (Internal)
Purpose and Overview
The Purchase Invoice (Internal) applet streamlines the process of managing your supplier bills. It ensures you know exactly who you are paying, what products or services you purchased, and that the invoiced amount matches what was originally ordered and received.
Video Overview
Watch the video tutorial below for a complete walkthrough of the Internal Purchase Invoice Applet, including manual creation, GRN knock-off, and E-Invoice submission:
Key Features Overview
Who Benefits from This Applet?
Accounts Payable (AP) & Finance:
- Easily create invoices that automatically pull data from received goods (eliminating manual entry).
- Centralize all payments and offsets (Contras) directly on the invoice.
- Automatically sync eligible transactions to the MyInvois portal (Self-Billed E-Invoices).
Procurement & Warehouse:
- Ensure what gets paid matches exactly what was received.
- Maintain a clear audit trail linking original Purchase Orders to final invoices.
Intercompany Teams:
- Seamlessly track internal branch transfers through dedicated inbound and outbound queues.
Administrators:
- Customize which tabs are visible to keep the screen clean.
- Configure approval workflows and set defaults for specific branches or users.
What Problems Does This Solve?
The Standard Invoice Problem: Traditional accounts payable involves re-typing data from delivery orders into the accounting system. This leads to:
- Mismatched quantities between what was received and what is billed.
- Duplicate payments for the same items.
- A disconnected audit trail when trying to find the original Purchase Order.
The Applet Solution:
- Automated Matching (Knock-off) - Pull invoice lines straight from the Goods Received Note (GRN) with a single click.
- Unified Workspace - Handle the invoice, payment, and tax compliance (E-Invoice status) all on one screen.
- Traceability - Instantly see the history of a transaction from order to payment.
Key Concepts
The “Golden Framework” of Purchase Invoices
To effectively manage your invoices, it helps to understand the main components and how they link together in the system:
| Aspect | What It Means | Where You Do It |
|---|---|---|
| Who you are paying | The Supplier or Vendor sending the bill. | Account Tab |
| What you are paying for | The specific products, services, and taxes being billed. | Line Items Tab |
| Proof of receipt | Matching the invoice to a delivery or order to ensure validity. | KO For (Knock-off) Tab |
| How you settle it | Recording cash, bank transfers, or offsetting against existing deposits. | Payment & Contra Tabs |
| Compliance | Ensuring the document meets local tax portal requirements. | E-Invoice Tab |
Quick Reference Cards
Common Daily Tasks
Task: Create an invoice from a Goods Received Note (GRN)
-> Click + -> Go to KO For tab (KO stands for Knock-off — where you link your invoice to a source document like a GRN or PO) -> Select GRN -> Click Knock-off -> Click Create.
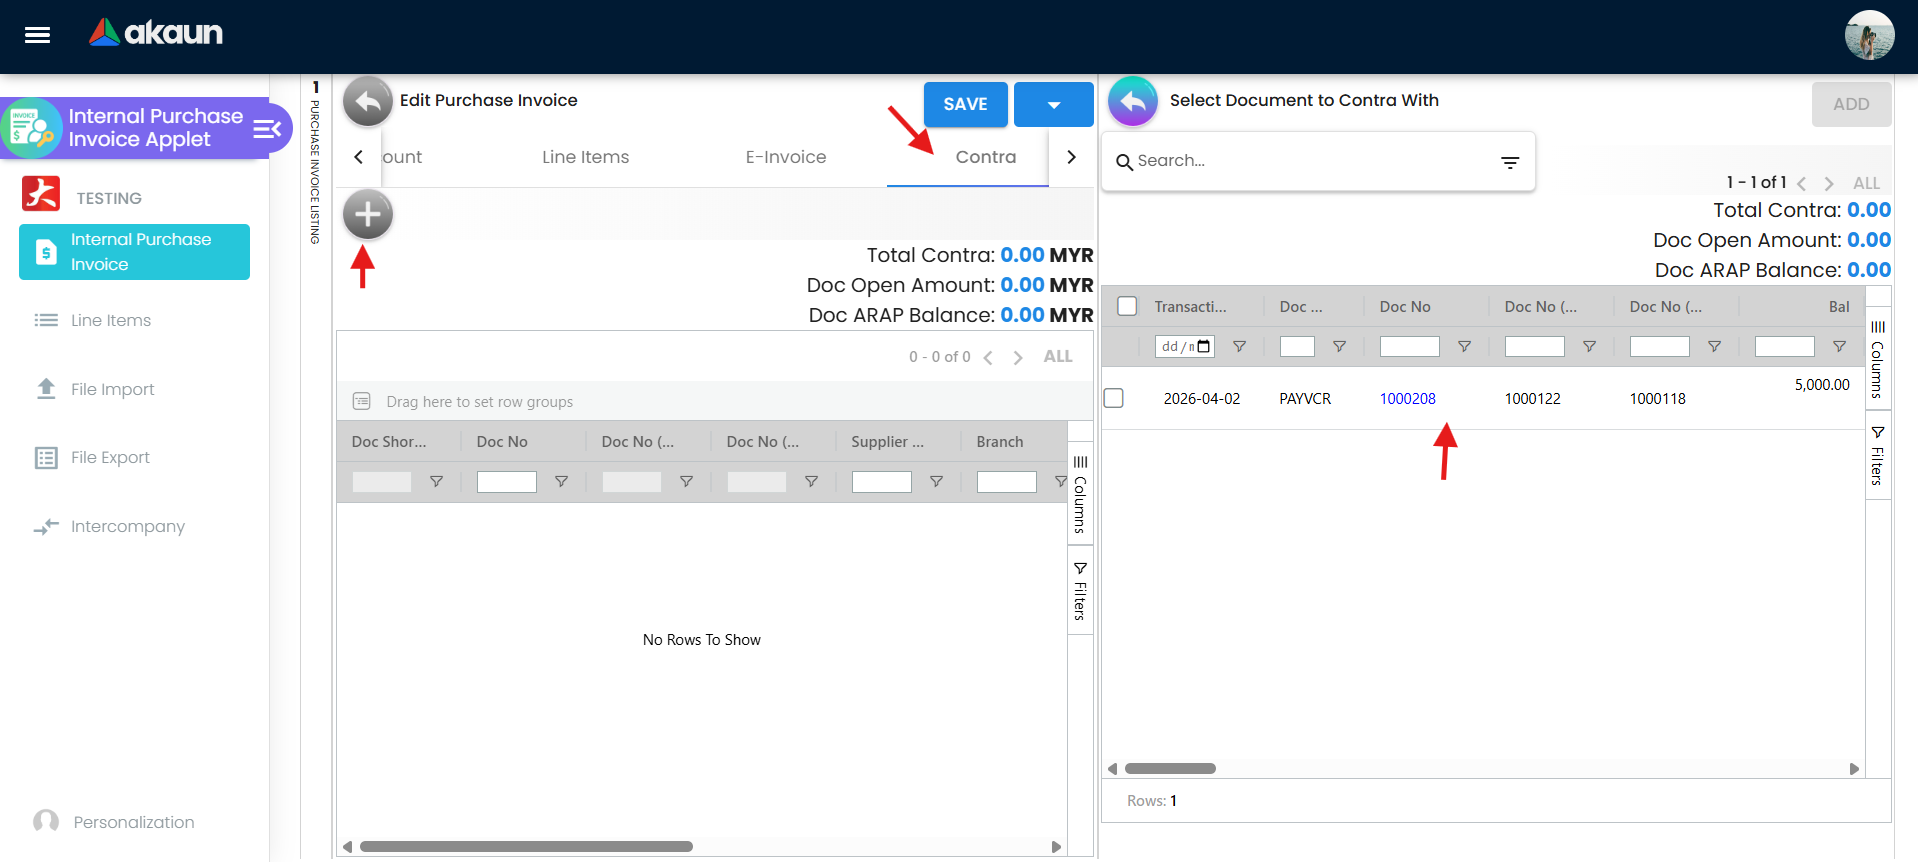
Task: Offset an invoice with an existing deposit
-> Open Invoice -> Go to Contra tab -> Click + -> Select the existing Payment Voucher or Deposit -> Save.
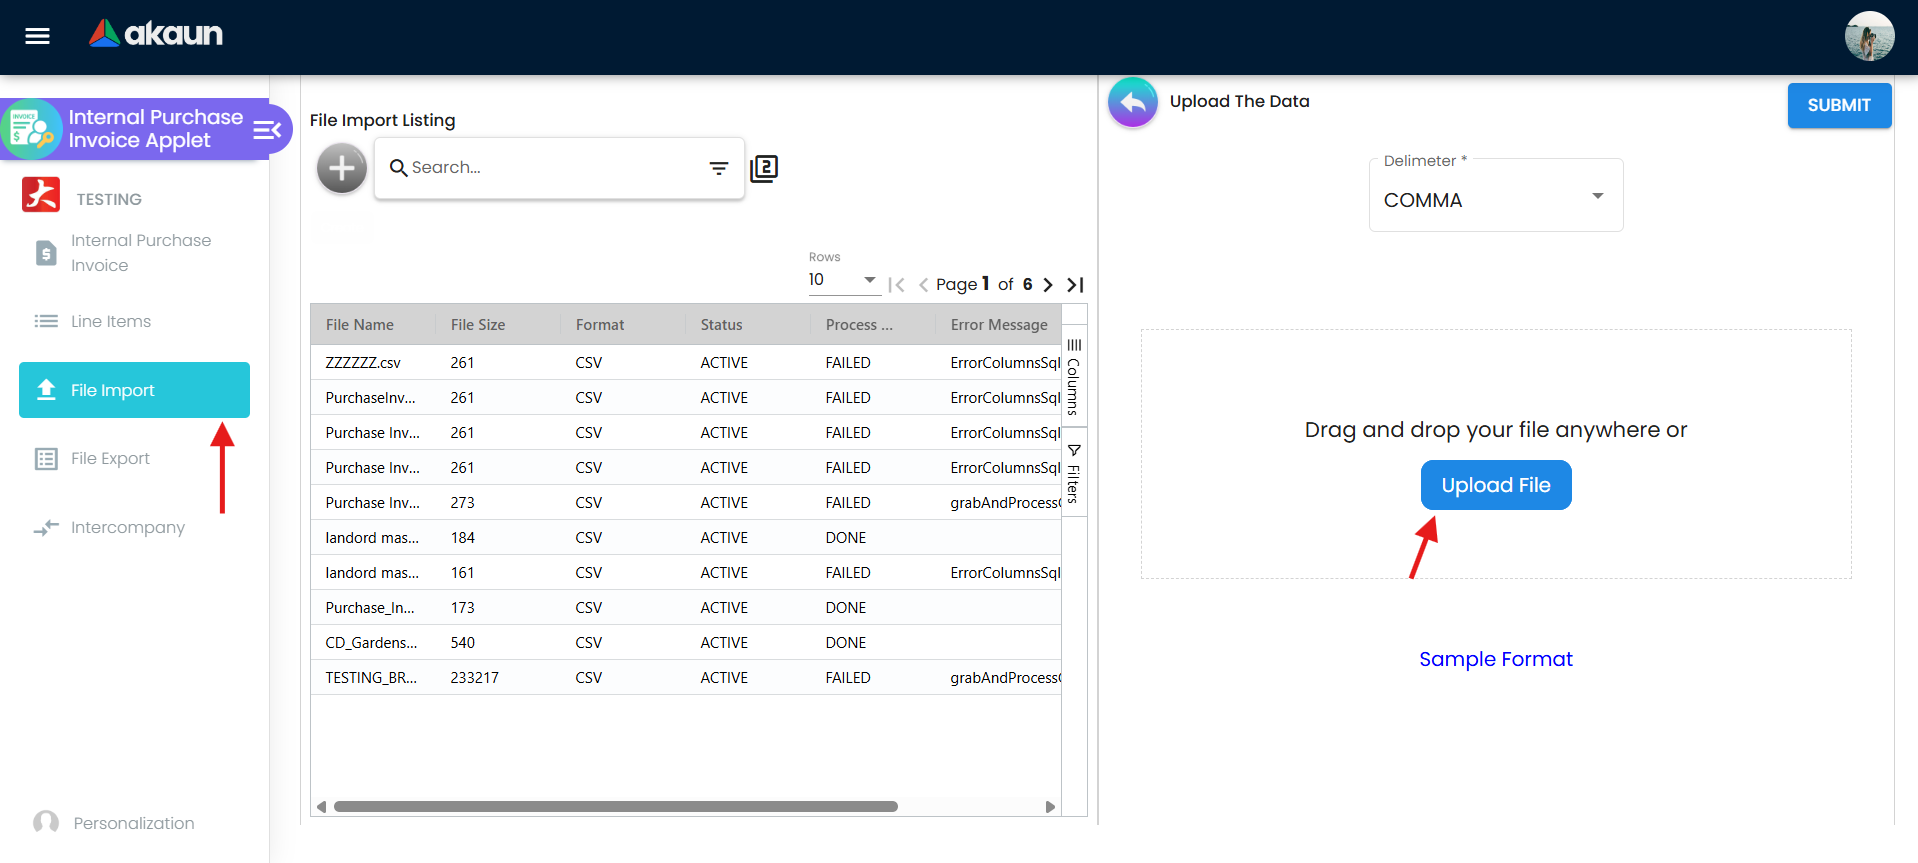
Task: Upload multiple invoices from an Excel template
-> Go to File Import menu -> Download template -> Fill data -> Click + in File Import -> Upload File.
Navigation & Workspaces
The Purchase Invoice applet is divided into four main workspaces accessible from the left-hand menu:
- Purchase Invoice: The main workspace where you create, edit, and view individual invoices.
- Line Items: A dedicated grid view showing all individual items across all invoices. Useful for adjusting item quantities, analyzing unit prices, and applying taxes across multiple lines quickly.
- File Import: A workspace dedicated to bulk-uploading invoices via CSV/Excel and resolving data validation errors before importing.
- File Export: A reporting view where you can export your purchase invoice listings into bulk printable or spreadsheet formats.
Quick Start Guide
Get up and running with the most common invoice workflows.
For AP Clerks: Create an Invoice Directly
Use this method if you are creating an invoice that does not have an existing purchase order or system receipt.
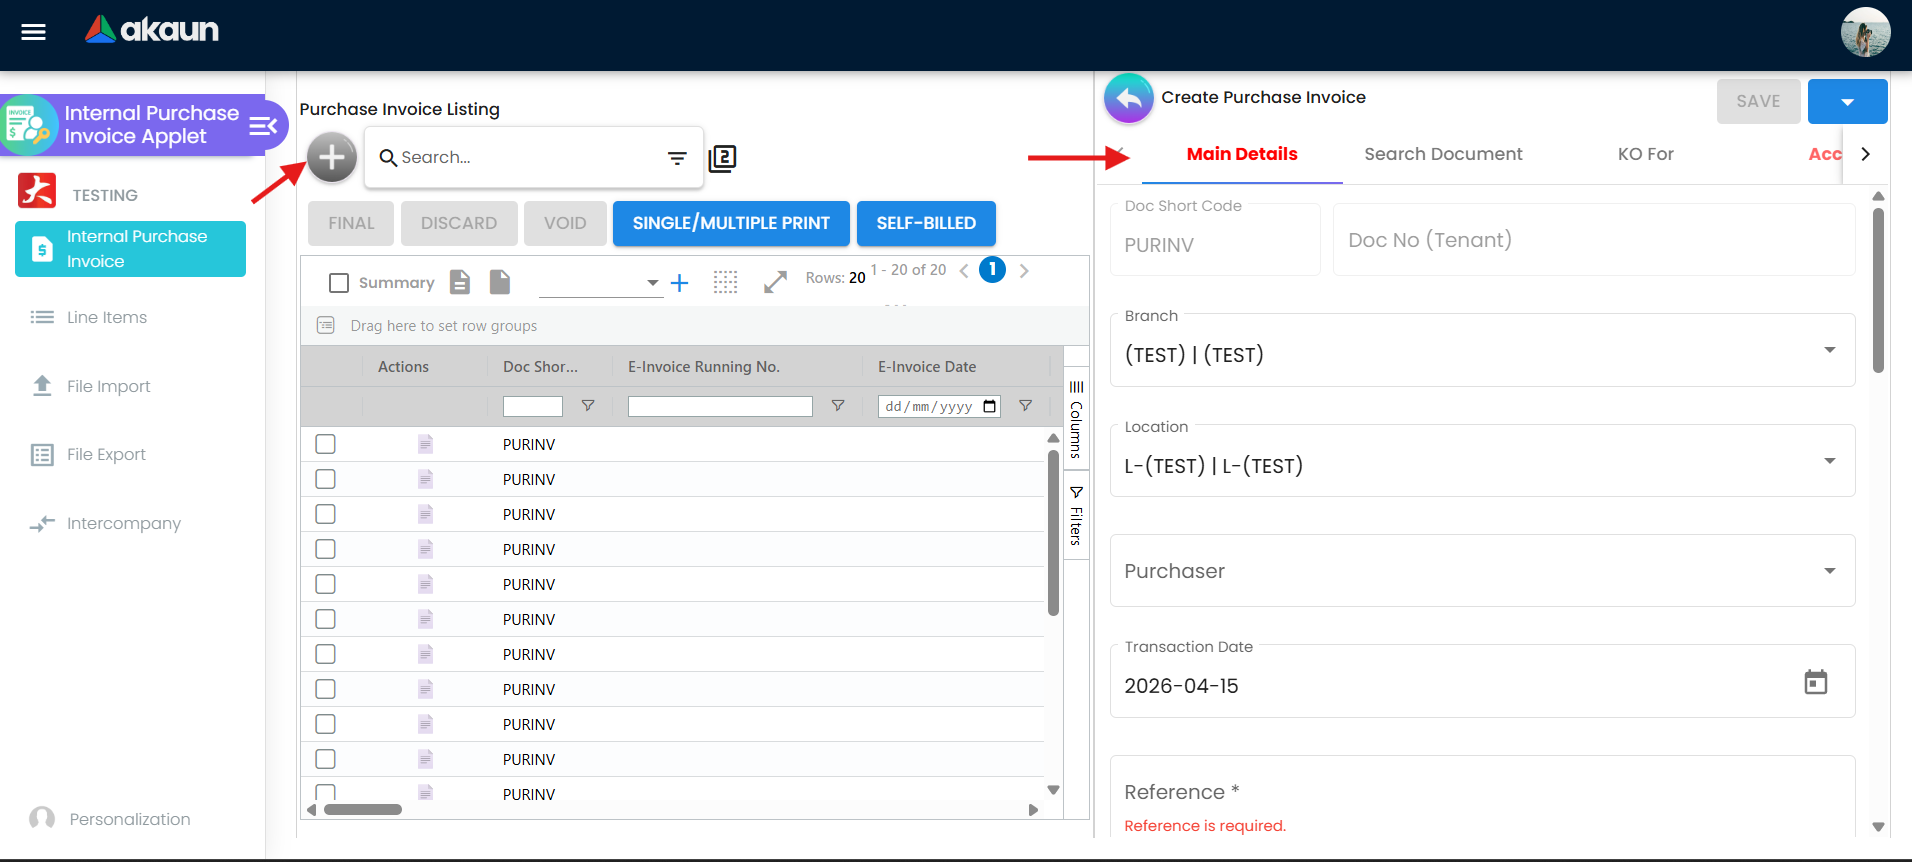
- Navigate: Go to the Purchase Invoice menu and click "+" (Add New).
- Main Details:
- Select your Branch and Location.
- Set the Transaction Date.
- Choose the Currency (changing to a foreign currency will automatically fetch the latest exchange rate).
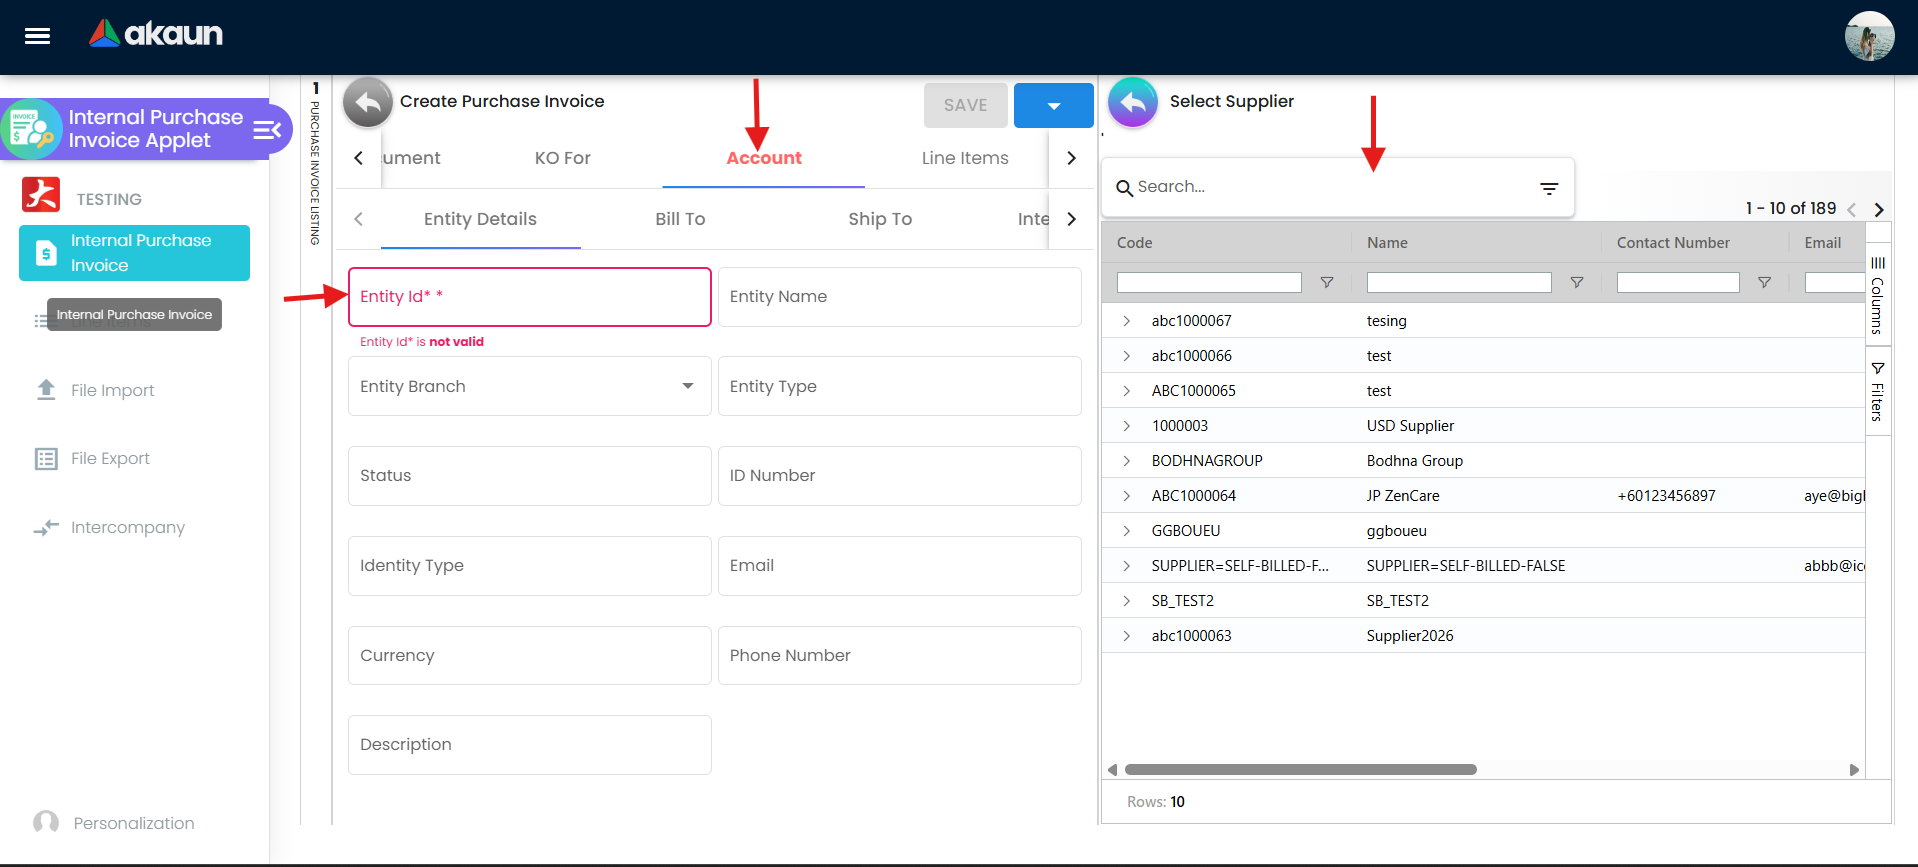
- Select Supplier: Go to the Account tab and select the supplier from the list. (If they don’t exist, use the toggle switch to easily create a new supplier profile directly from this screen).
- Add Lines: Move to the Line Items tab. Click "+" to add the products or services you are being billed for. You can adjust the quantity, unit price, and apply relevant taxes in this grid.
- Save & Finalize: Click Create to save the document in draft — SAVE does not post to journal or inventory. Once verified, click FINAL to post the invoice (journal entries and line quantities into stock) and lock it for payment processing.
For AP Clerks: The Fast Way (Creating from a GRN)
This is the recommended method. Instead of typing everything from scratch, you “Knock-off” (KO) an existing Goods Received Note (GRN). This copies all supplier details and items instantly.
- Navigate: Click "+" (Add New) from the main listing.
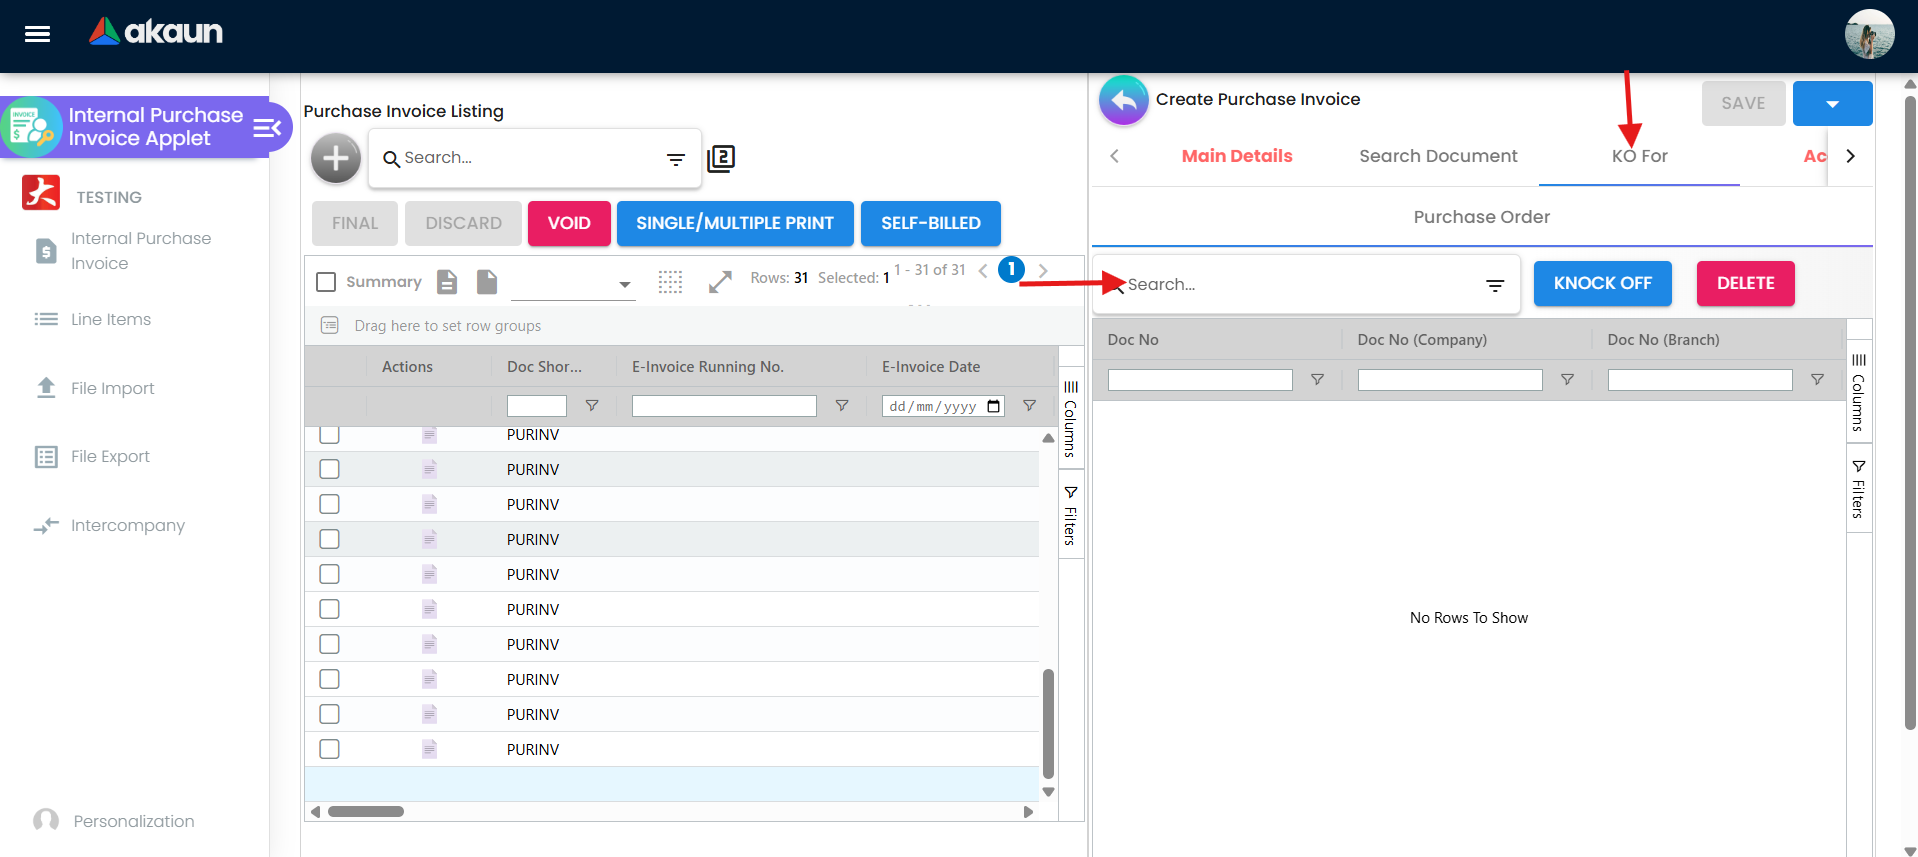
- Start the Knock-Off: Instead of going to the Account tab, go straight to the KO For tab.
- Select Source: Search for and select the specific Purchase GRN you want to bill.Prerequisite: The source document (e.g., GRN) must be fully approved and finalized before it will appear in this search list. If you cannot find your GRN, check its status in the GRN applet.
- Auto-Populate: Click Knock-off. The system will automatically construct the entire invoice using the data from the GRN.
- Review & Create: Check the items to ensure they match the physical bill from the supplier, then click Create.
- Finalize: Click FINAL to post the supplier bill to journal and commit the knocked-off quantities against the GRN. Stock was already posted when the GRN was finalized, so the invoice does not move stock again.
For Finance Teams: Handling Self-Billed E-Invoices
When you generate a Purchase Invoice on behalf of your supplier, it acts as a “Self-Billed” E-Invoice.
Automatic Self-Billing: If you edit a Supplier’s profile and set “E-Invoice Self-Bill” to True, every invoice created for them will automatically be marked as Self-Billed.
On-Demand Self-Billing: If the supplier defaults are not set, open your Purchase Invoice, click the Self-Bill button at the top, and the system will flag the document.
Tracking the Submission:
- Once finalized, the invoice goes to the My E-invoice Portal Applet. You must navigate there to monitor the LHDN submission status, check for validation errors, and download the final generated PDF with the validation QR code.
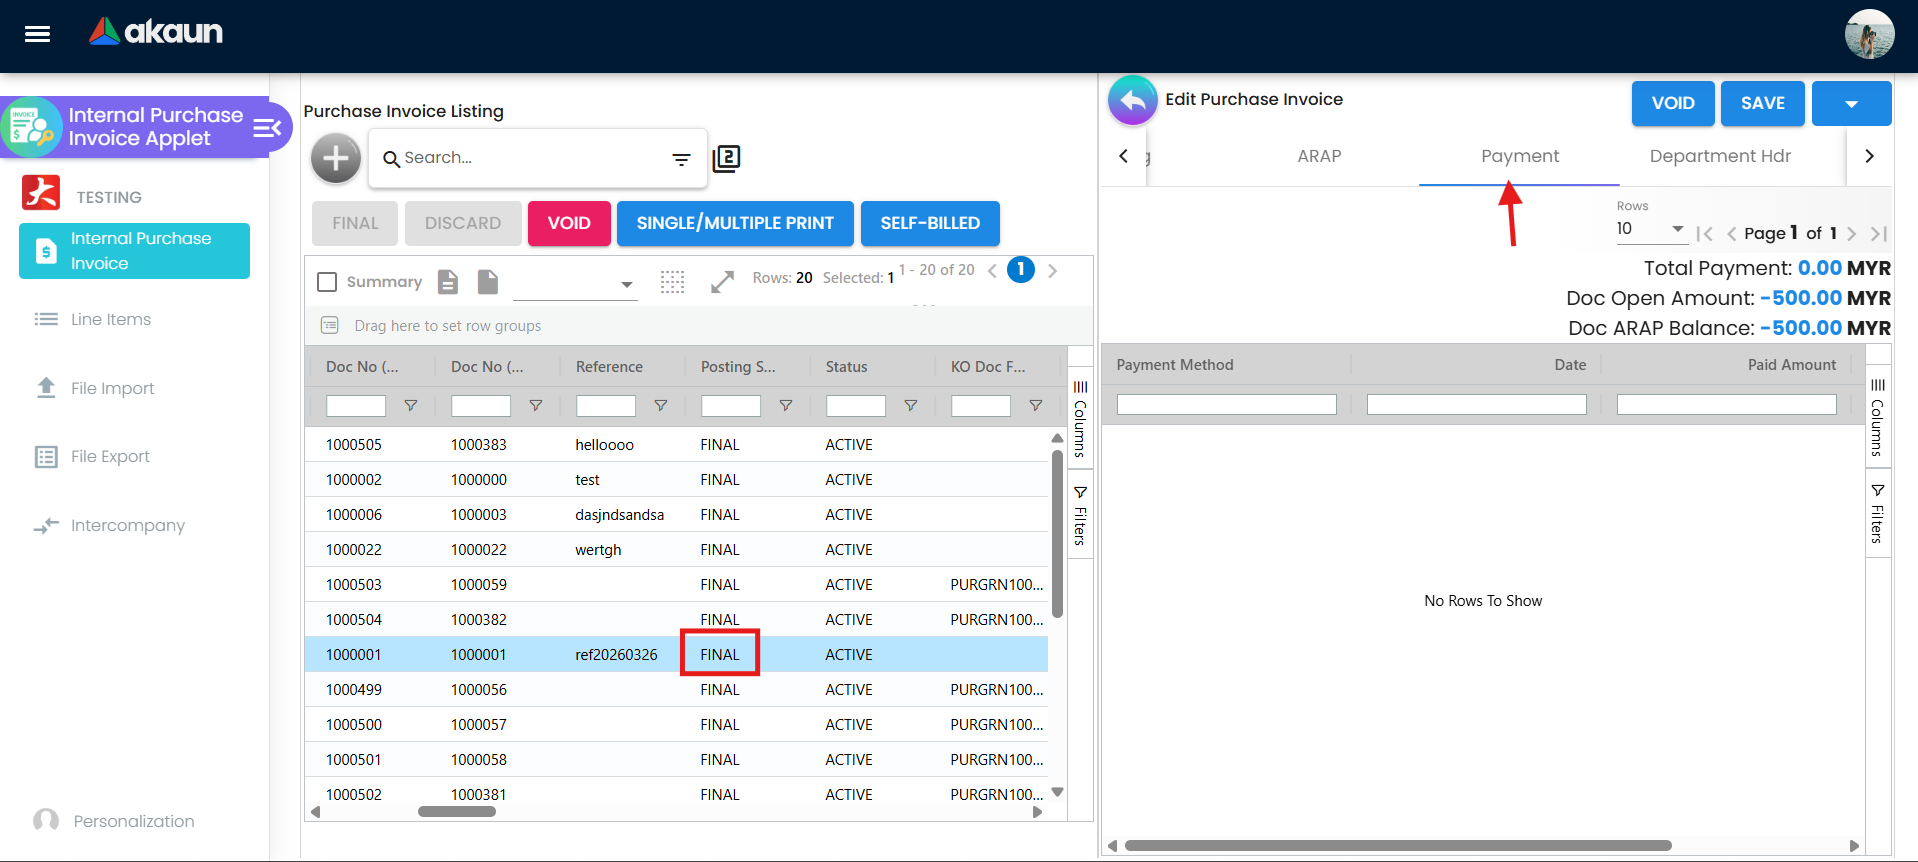
For AP Clerks: Recording a Payment
Once an invoice is finalized, it’s time to record the settlement. There are two ways to settle a bill: Payment (new cash/bank transfer out) or Contra (offsetting against an existing deposit).
- Navigate: Open the finalized Purchase Invoice.
- Choose Method:
- If you are making a new payment, go to the Payment tab.
- If you are offsetting against an existing deposit or overpayment, go to the Contra tab.
- Record Payment:
- Under the Payment tab, click "+" to add a new line.
- Select your Payment Method (e.g., Bank Transfer, Cheque, Cash).
- Enter the exact amount paid.
- Click Save to complete the settlement. The Outstanding Balance on the invoice will automatically update.
Advanced Workflows
Processing Bulk Invoices With File Import
If you have a large volume of bills from suppliers, typing them in individually is inefficient. Use the File Import workspace instead.
- Download the file import CSV or Excel template from the File Import screen.
- Ensure data formatting is exact (e.g., Dates must be exactly in
YYYY-MM-DDformat, and Item Codes/Supplier Codes must match the system records exactly to prevent validation errors). - Click Add New (+) and upload your spreadsheet.
- The system runs an automated Helper Checking validation on upload. If any rows fail (e.g., an Item Code does not exist), the list of errors will show on the screen.
- Click on the error lines to use the Helper Checking Edit Form to quickly correct rows directly from the browser without needing to modify and re-upload the spreadsheet.
- Once all errors are cleared, process the import to finalize the invoices into the system en masse.
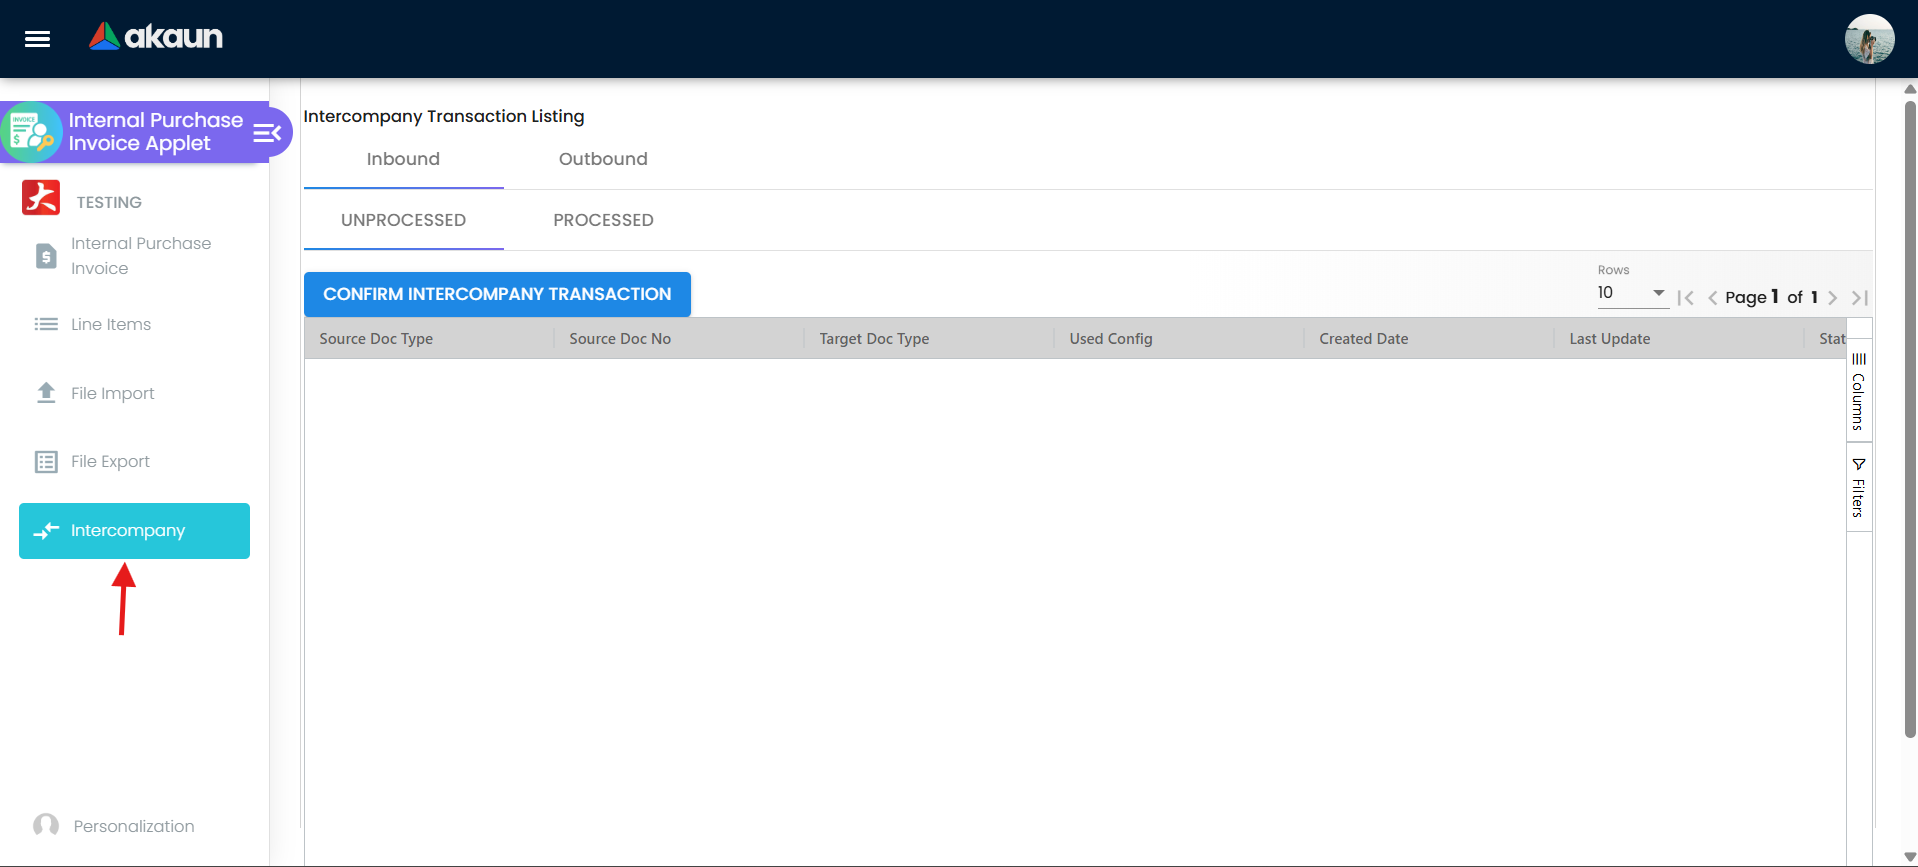
Intercompany Transactions
If your organization has multiple branches or sister companies configured within the same tenant, you can bill internally using the built-in Intercompany Transaction mechanics. This bypasses the typical “Account payable to external vendor” flow.
- Navigate to the Intercompany Transaction menu.
- Select your sending branch and receiving branch.
- Proceed just like a standard invoice. The system will automatically map the double-entry accounting to ensure both sides of the intercompany transaction are properly booked automatically without extra journal postings.
Tab-by-Tab Breakdown (The Edit Screen)
When you open an existing invoice, you will see a variety of tabs. Here is what they do:
Main Details
Contains the header info, dates, Delivery Branch/Location (can be hidden), Purchaser, Credit Terms/Limits for the supplier, External Document References (such as Delivery Orders or quotations), and foreign exchange auto-rates.
Search Document
Used only when the invoice is in a TEMP (Draft) status. This tab has sub-sections for Search Purchase Order, Search Purchase GRN, and Search Purchase Invoice so you can easily reference historical documents while building your current invoice.
E-Invoice
Your dashboard for tax portal submissions and error checking (MyInvois Processing, Failures, etc).
Account
The profile, billing, and shipping address of the supplier. You can switch to “Create” mode to quickly add a new supplier directly from this screen.
Line Items
A spreadsheet-like grid where you can add rows, adjust quantities, toggle tax inclusiveness, and override unit prices for the specific items you bought.
KO For (Knock-off)
A dedicated workspace to search and import existing approved records. It features two sub-tabs: Purchase GRN and Purchase Order allowing you to automatically pull in the exact items without re-typing them.
Delivery Details
This tab tracks shipping info, delivery address changes, and consignment parameters distinct from the supplier’s billing account.
AR AP (Outstanding Balance)
Quickly check the financial health of the invoice. It shows read-only fields for Product & Services, Settlement, Contra, and Outstanding.
- How to use this: A fully paid invoice will display a
0.00Outstanding balance. If the balance is higher than expected, it tells you a payment or contra offset was missed.
Payment
Add or view cash and bank transfers made against this invoice.
Department Header
Tag the invoice with a Dimension, Profit Center, or Project for management reporting.
Posting
View posting status after FINAL — whether journal, inventory, tax, and other entries completed successfully. It shows status indicators for Journal Posting, Inventory Posting, Membership Points Posting, Cashbook Posting, and Tax Posting. For the actual debit/credit and quantity rows, use the Trace Document tab (Journal Txn / Inv Txn).
Contra
Use this tab if your company has an existing prepayment or deposit from this supplier. Instead of making a fresh bank payment, you can deduct the invoice amount from that deposit here.
Doc Link
Directly link a related system file to this invoice that is outside of the standard workflow (such as associating an arbitrary internal memo, a support ticket, or a related sales order).
Attachment
Upload digital copies of physical receipts or supplier PDFs.
Export
Export the invoice to a predefined printable format.
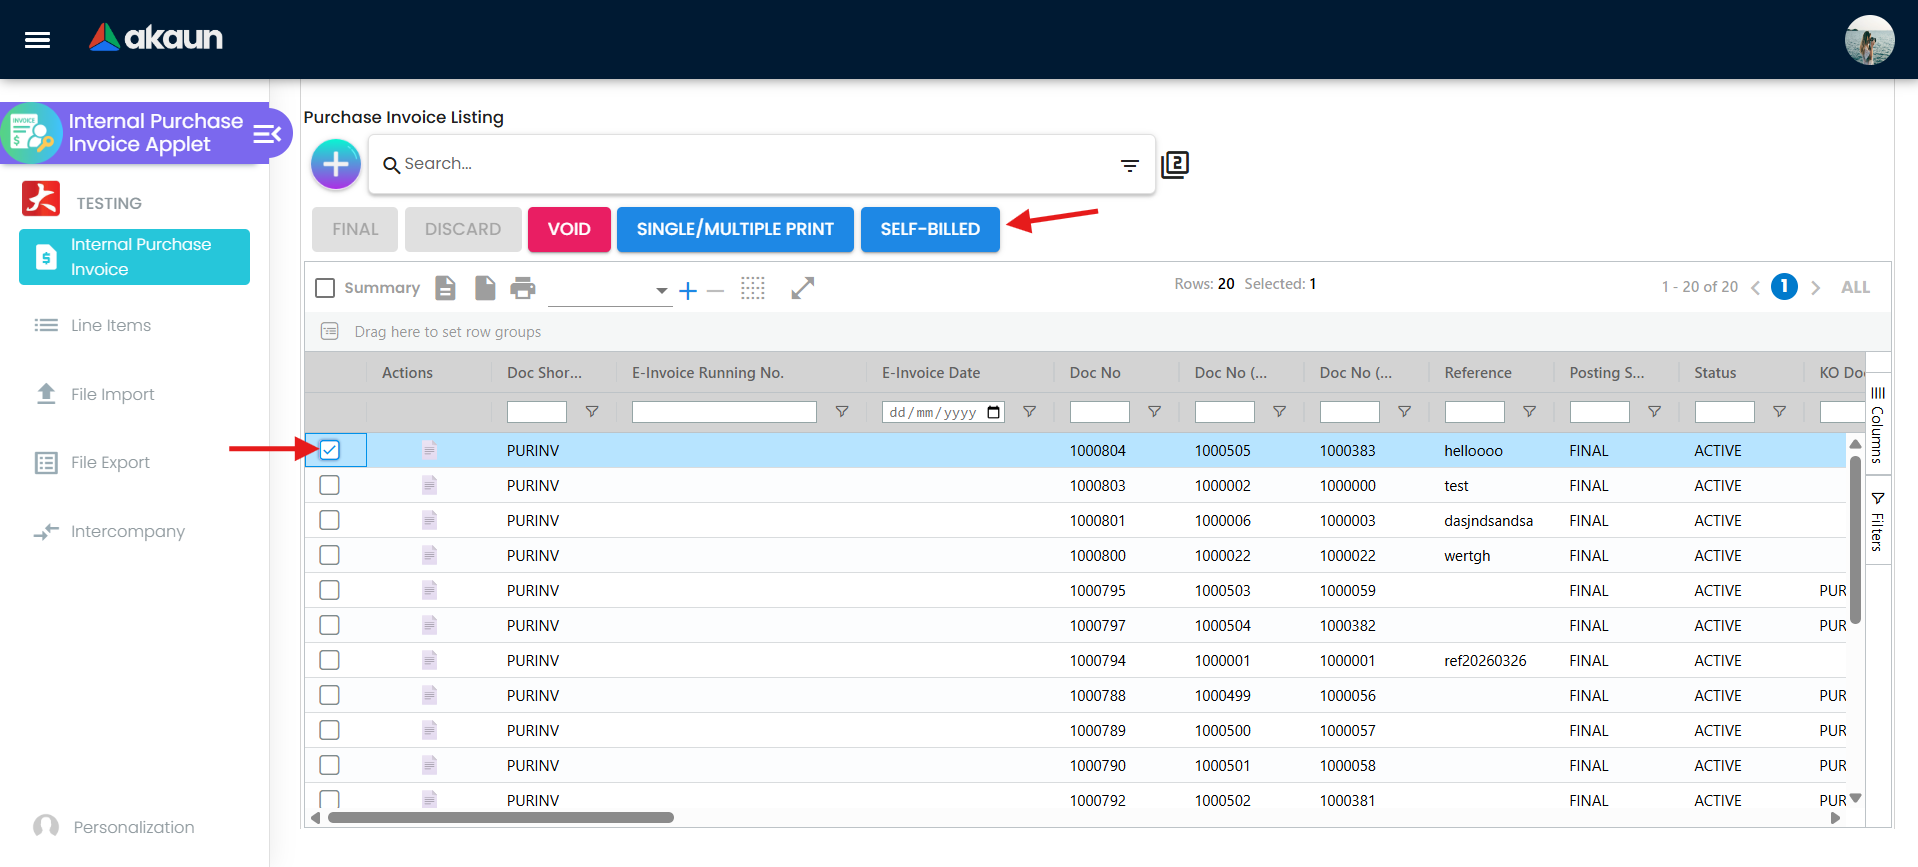
Understanding The Top Action Buttons
Once an invoice is created, you will notice a row of action buttons along the top of the document. Here is what they do:
- SAVE: Saves draft changes only. Does not post to journal or inventory.
- FINAL: Posts and locks the document. Creates journal entries (supplier payable, purchase, tax). If created from a GRN knock-off, it also commits billed quantities and clears the GRN accrual — stock was already received on the GRN. If created directly without a GRN, it also posts inventory quantities. Verify on the Posting and Trace Document tabs. Once finalized, the invoice cannot be edited and is ready for payment or E-Invoice submission.
- VOID: Cancels a document that has already been finalized. Only users with specific permissions can do this.
- DISCARD: Deletes a draft document (a document in
TEMPstatus) permanently before it affects your accounting or inventory. - SELF-BILLED: Directly triggers this invoice to be submitted to the MyInvois tax portal as a Self-Billed invoice. Useful if the supplier does not automatically default to self-billing.
- BASE: Toggles the financial values displayed on the screen into your company’s Base Currency. This is incredibly helpful when viewing a foreign currency invoice, as it instantly shows you the converted equivalent without leaving the page. For example, if you entered a USD invoice and your base currency is MYR, clicking BASE shows you the MYR equivalent at the exchange rate recorded on the invoice — without leaving the page.
- SINGLE / MULTI PRINT: Generates a printable PDF of the invoice. “Single” prints just the current document, while “Multi” lets you combine multiple records into a continuous print job.
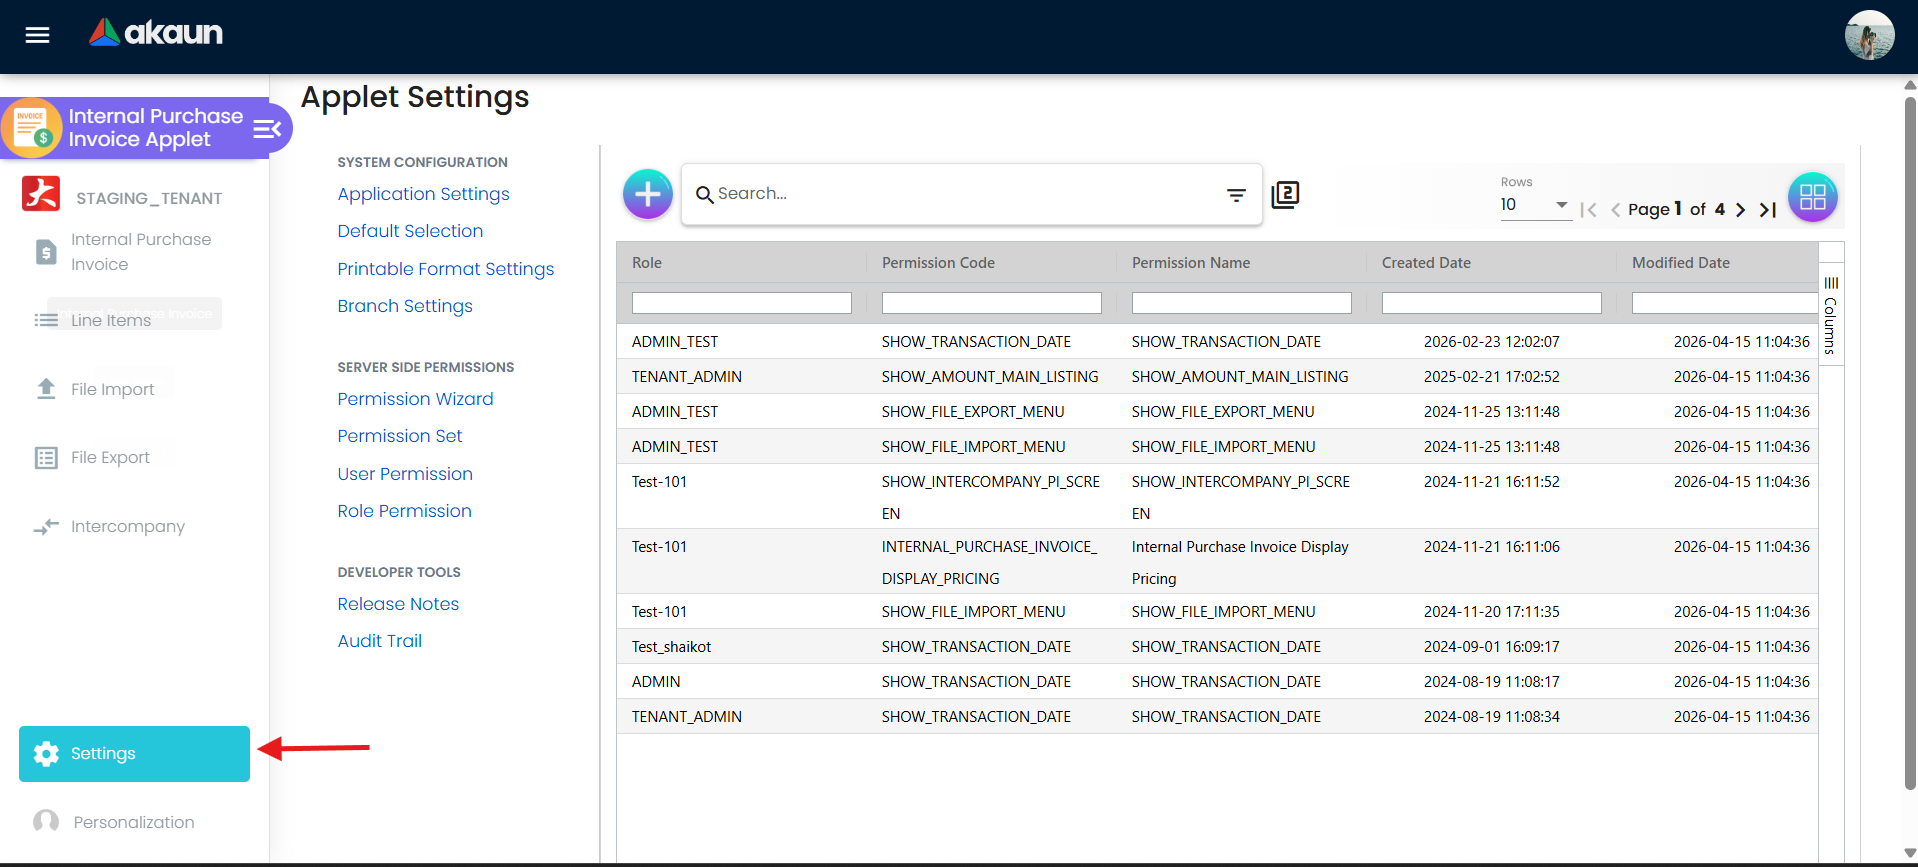
System Configuration & Personalization
Customizing Your View (Administrators)
If your screen feels cluttered with tabs you don’t use, you can turn them off to simplify the system for your team. You can also change the layout itself!
- Go to Settings > Application Settings.
- Locate the “Feature Visibility” controls.
- Toggle off unused tabs (e.g., Hide Delivery Details, Hide Attachments, etc.).
- Explore Vertical UI: Toggle this to ON. This changes the traditional horizontal tab approach into an infinitely scrolling vertical layout, so you don’t have to constantly click tab headers to see different sections.
FAQ
What if I cannot find the “FINAL” or “VOID” button?
These actions are controlled by roles. If you don’t see them, check with your administrator to ensure you have the correct permission sets.
Why is the E-Invoice tab empty?
The E-Invoice tab will remain empty during standard creation until a supplier is selected and the document is pushed through the workflow.
Can I offset an invoice if I haven’t received a payment voucher yet?
No. If there are no existing deposits or payment vouchers linked to this supplier, the Contra list will be empty.
What happens if I make a mistake on a finalized invoice?
Once FINAL, lines cannot be edited. Depending on your business policy, you must request the document be VOIDED to recreate it correctly, or you must process a separate Purchase Credit Note to reverse the liability.
Why can’t I find my receipt or order in the “KO For” tab?
The source document (like a Goods Received Note or Purchase Order) must be approved and finalized before it appears for knock-off. Additionally, ensure the document has not already been fully knocked-off and billed on a different invoice!
My Bulk File Import failed with row errors. Do I have to fix my spreadsheet and re-upload?
No! Click on the failed rows on the screen and use the Helper Checking Edit Form. You can correct issues—like fixing a misspelled Item Code or adjusting a date—directly in the browser and then finalize the import.
I forgot to set a supplier to default to “Self-Billed” before creating their invoice. What do I do?
Simply open your Draft/TEMP invoice and click the SELF-BILLED button in the top action bar. This will manually force the document into the self-billing tax workflow for the My E-Invoice Portal Applet.
How do I quickly see the total of a foreign currency invoice in our local reporting base?
Click the BASE button at the top of the invoice screen. It will instantly recalculate and display the values in your company’s local base currency without navigating to another applet. For example, if you entered a USD invoice and your base currency is MYR, clicking BASE shows you the MYR equivalent at the exchange rate recorded on the invoice — without leaving the page.
Why can’t I finalize my document?
If the FINAL button fails or is preventing you from completing the invoice, it is typically because:
- Missing Information: Mandatory fields, like the Supplier Invoice No or dates, are blank.
- Amounts Don’t Balance: The total invoice amount you entered does not match the sum of the individual line items.
- Knock-Off Mismatch: The invoice is tied to a source document (like a GRN) and the quantities or knocking amounts do not equal what was received.
- Tax Discrepancies: The tax calculations or rounding adjustments are inaccurate. Ensure all red error indicators on the screen are resolved.
What does FINAL post?
Journal entries always. Inventory quantities only if the invoice was created directly (no GRN). GRN-based invoices commit knock-off qty and clear the GRN accrual without moving stock again.