Internal Purchase GRN Supplier Access Applet
Purpose and Overview
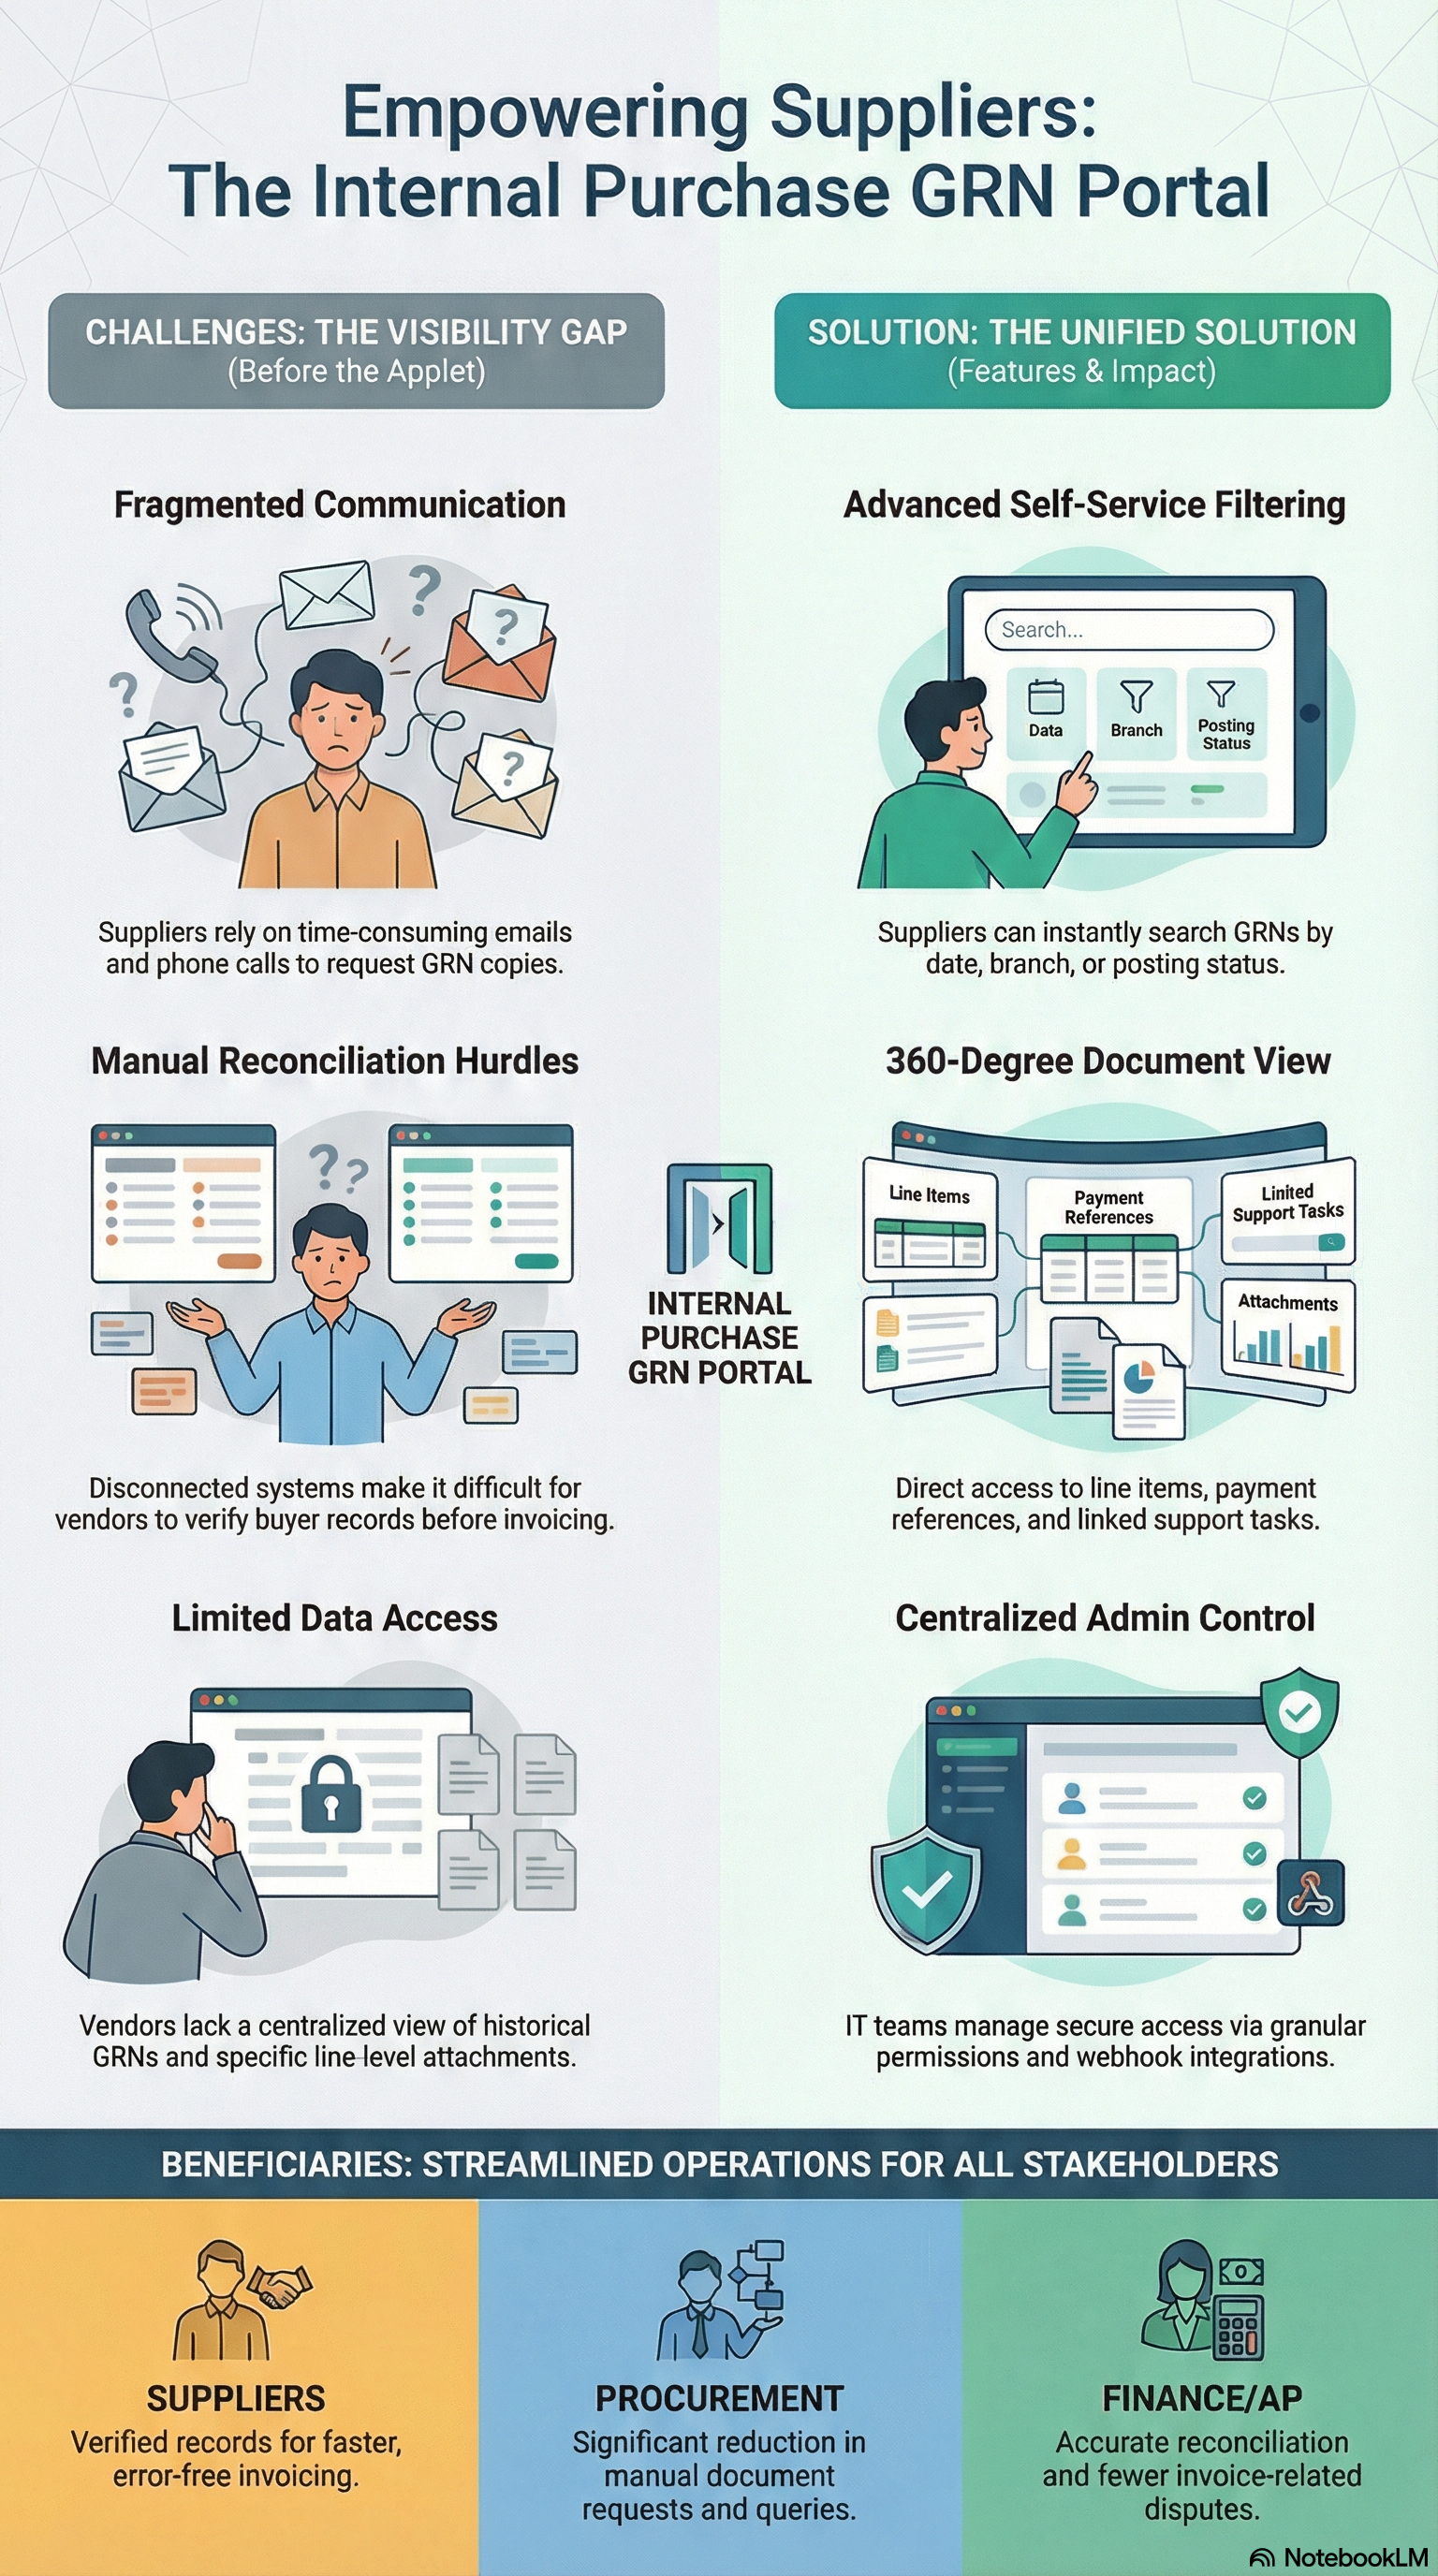
The Internal Purchase GRN Supplier Access Applet gives suppliers a dedicated portal to view and access Internal Purchase Goods Received Notes (GRNs) issued by the buying organization. Suppliers can see which GRNs reference them, inspect line-level details, view attachments and payments, and drill into linked issues—all in read-only mode tailored for vendor users.
Key Features Overview
Who Benefits from This Applet?
Suppliers & Vendor Users:
- View all GRNs where they are the supplier
- See line items, quantities, prices, and totals
- Access attachments and payment information
- Track linked issues (e.g. tasks or tickets) per line
Procurement & Buyer Teams:
- Reduce “where is my GRN?” queries from suppliers
- Single place for suppliers to self-serve GRN visibility
- Clear audit trail of what the supplier can see
Finance & Accounts Payable:
- Suppliers can verify GRN details before invoicing
- Fewer disputes from mismatched quantities or amounts
- Aligned document visibility for reconciliation
IT & System Admins:
- Centralized supplier access control via permissions
- Configurable default selections and printable formats
- Feature visibility and webhook integration
What Problems Does This Solve?
The Supplier Visibility Problem:
Without a dedicated portal, suppliers often:
- Request GRN copies via email or phone
- Lack a single place to see all GRNs issued to them
- Cannot easily check line-level details or attachments
- Struggle to reconcile their records with buyer records
The Internal Purchase GRN Supplier Access Solution:
- GRN listing — Filter by supplier, branch, purchaser, dates, and posting status
- Document view — Main details, account, lines, payment, department, contra, doc link, attachments, and export
- Line items view — Flat list of all GRN line items with search and drill-down
- Issue links — View linked issues/tasks per line item (details, comments, worklog, subtasks, etc.)
- Settings & personalization — Default branch/location, field settings, printable formats, permissions
Key Features Overview
Key Concepts
Understanding GRN and Supplier Access
| Aspect | Component | Practical Example |
|---|---|---|
| Who is viewing? | Supplier / vendor user | Supplier ABC logs in and sees only GRNs where they are the supplier |
| What is being viewed? | Internal Purchase GRN & line items | GRN document with header (branch, purchaser, dates) and lines (item, qty, price, tax, amount) |
| How is it accessed? | Listing, view, line items, issue links | Search → open GRN → open line → open issue link |
Document Type
The applet works with documents of type Internal Purchase Goods Received Note (INTERNAL_PURCHASE_GOODS_RECEIVED_NOTE). The main Purchase GRN listing shows only GRNs with posting status FINAL (i.e. completed/finalized documents). Draft, void, or discarded GRNs are not shown in the listing.
Main Navigation
Sidebar
├── Purchase GRN        → GRN listing (default)
├── Line Items          → Flat line items listing
├── Settings            → Default selection, field settings, printable format, webhook, feature visibility, permissions
└── Personalization     → Default selection, sidebar
Quick Start Guide
Get up and running quickly with these essential workflows.
For Suppliers: View Your GRNs
Goal: Find and open a GRN in a few steps.
- Navigate: Go to Purchase GRN from the sidebar (default landing).
- Search (optional):
- Click the search or filter icon above the grid to open Advanced Search.
- Filter by Supplier, Branch, Purchaser, Posting Status, Transaction Date, Created Date, Updated Date, or other criteria (GL dimensions, segments, profit centers, projects).
- Alternatively, use the grid’s floating filters directly on column headers (e.g. Purchase GRN No, Branch, Purchaser Name, Created by).
- Open a GRN: Click a row in the grid to open View Purchase GRN.
- Explore tabs: Use Main Details, Account, Lines, Payment, Department Hdr, Contra, Doc Link, Attachments, and Export as needed.
- Drill to a line: In the Lines tab, click a line row to open View Line Item; from there open View Issue for any linked issues/tasks.
- Return: Use the Back button (top left of the view) to return to the listing.
What you see in the listing: Purchase GRN No, Branch, Purchaser Name, Updated Date, Created Date, Transaction Date, Created by.
What happens next? Once a GRN is open, you can verify quantities and amounts, open attachments, export for your records, or drill into line-level issue links. Use Back to return to the list and open another GRN.
Pro Tip: Use Advanced Search with a Transaction Date or Created Date range to focus on recent GRNs (e.g. last month).
For Suppliers: Work with Line Items
Goal: See all GRN line items in one list or from a specific GRN.
Option A – From a GRN:
- Open a GRN from Purchase GRN (click a row in the listing).
- Go to the Lines tab.
- View each line: Item Code, Item Name, UOM, Qty, Unit Price, SST/VAT/GST, Txn Amount.
- Click a line row to open View Line Item; from there, open View Issue for linked issues if available.
- Use Back to return to the GRN view or the listing.
Option B – Line Items page (flat list across all GRNs):
- Go to Line Items from the sidebar.
- You see Supplier Purchase GRN Line Items Listing — all line items you can access, across all GRNs.
- Use the search/filter area to filter by Purchase GRN No., Item Code, Item Name, or Txn Amt (range).
- Click a row to open View Line Items (line detail).
- From the line view, open Line Item View Issue to see linked issues (details, comments, worklog, subtasks).
- Use Back to return to the line items list or the previous view.
For Admins: Initial Setup
Goal: Make the applet ready for supplier users.
Step 1: Default Selection (Settings > Default Selection)
- Set default Branch and Location used when opening the applet.
Step 2: Field Settings (Settings > Field Settings)
- Configure which fields are visible/editable (as applicable) for the applet.
Step 3: Printable Format Settings (Settings > Printable Format Settings)
- Define print/export layouts for GRN documents (e.g. headers, footers, fields to include).
Step 4: Feature Visibility & Permissions
- Feature Visibility (
Settings > Feature Visibility): Control which features are visible to which users. - Permissions (
Settings > Client-side Permission Listing, Permission Set, User/Team/Role Permission Listing): Restrict access by role or user so only intended supplier users see the applet and data.
Step 5: Webhook (Settings > Webhook) (if used)
- Configure outbound webhooks for events (e.g. GRN finalized) for integration with supplier systems.
Step 6: Test
- Log in as a supplier user and confirm they only see their GRNs and line items, and that tabs and drill-downs work as expected.
Ongoing: Review Feature Visibility and Permissions when onboarding new supplier users or when changing which GRNs a supplier can see.
New to the applet?
- Suppliers should start with Purchase GRN to see their GRNs, then open one and explore Lines and Attachments.
- Use Line Items when you need a flat list across GRNs (e.g. by item code or amount).
- Admins should review Configuration & Settings below for detailed setup.
Purchase GRN Listing
The main landing view shows GRNs the logged-in supplier is allowed to see (typically those where they are the supplier), with server-side pagination and optional advanced search.
Columns (typical):
- Purchase GRN No
- Branch
- Purchaser Name
- Updated Date
- Created Date
- Transaction Date
- Created by
Advanced search criteria (examples): Supplier, Branch, Purchaser, Posting Status (e.g. DRAFT, FINAL, VOID, DISCARDED), Status (ACTIVE, DELETED), Transaction Date, Created Date, Updated Date, Doc Reference Date, Order By, GL Dimensions, Segments, Profit Centers, Projects.
The listing shows only GRNs with posting status FINAL. Draft, void, or discarded documents do not appear.
View Purchase GRN Details
After opening a GRN from the listing, you see View Purchase GRN with a Back button (top left) and these tabs. All details are read-only; suppliers cannot edit the document.
| Tab | Purpose |
|---|---|
| Main Details | Branch, Location, Purchaser, Transaction Date, Credit Terms, Reference, Remarks, Permit No, Currency, Tracking ID (read-only). |
| Account | Account-level information linked to the GRN. |
| Lines | Line items: Item Code, Item Name, UOM, Qty, Unit Price, SST/VAT/GST, Txn Amount. Click a line to open View Line Item. |
| Payment | Payment-related lines or references. |
| Department Hdr | Department/segment/dimension/profit center/project at header level. |
| Contra | Contra listing (e.g. offset or linked documents). |
| Doc Link | Linked document references. |
| Attachments | Attached files; open View Attachment for full view. |
| Export | Export options for the GRN. |
Navigation: Back returns to the listing. From Lines, you can go to View Line Item and then to View Issue for linked issues.
Line Items — Supplier View
The Line Items route shows Supplier Purchase GRN Line Items Listing: a flat list of all GRN line items the supplier can access.
Use it to:
- See every line across multiple GRNs in one grid.
- Search by Purchase GRN No., Item Code, Item Name, or Txn Amount (range).
- Open View Line Items for a selected line, then Line Item View Issue for linked issues (details, comments, worklog, subtasks, etc.).
Line items are filtered to document type Internal Purchase Goods Received Note and ACTIVE status. Within a GRN’s Lines tab, only active purchase lines (transaction type PNS) are shown.
Line Item View and Issue Links
View Line Item shows a single GRN line in detail. From here you can open View Issue (or Line Item View Issue from the Line Items page) to see:
- Issue details (e.g. issue type, number, summary, description)
- Comments and activity
- Worklog
- Subtasks and linked issues
- Attachments and planning data (if configured)
This ties GRN lines to external issue/task tracking (e.g. project or support tickets) for traceability.
Configuration & Settings
Access Settings from the sidebar to configure behavior and access.
Default Selection (Settings > Default Selection)
- Branch: Default branch when the applet loads.
- Location: Default location.
These values are stored in applet extension parameters (e.g. APPLET_SETTINGS with DEFAULT_BRANCH, DEFAULT_LOCATION) and are used to pre-fill or scope the views for all users of the applet. Useful when most supplier users work with a single branch or location.
Field Settings (Settings > Field Settings)
Control which fields are shown or editable in the applet (field-level configuration).
Printable Format Settings (Settings > Printable Format Settings)
Define one or more formats for printing/exporting GRN documents (layout, header/footer, fields). Use for supplier-facing or internal PDF/print output.
Webhook (Settings > Webhook)
Configure outbound webhooks so external systems (e.g. supplier portals) can be notified on applet events.
Feature Visibility (Settings > Feature Visibility)
Control which features or menu items are visible to which users or roles, so you can limit supplier users to GRN and Line Items only.
Permissions
- Client-side Permission Listing — Client-side permission sets.
- Permission Set Listing — Define and manage permission sets.
- User / Team / Role Permission Listing — Assign permissions by user, team, or role.
Use these to ensure only authorized supplier (and internal) users can access the applet and see the correct GRNs and line items.
Personalization
Default Selection (Personalization > Default Selection)
Users can set their own default Branch and Location for this applet to speed up use.
Sidebar (Personalization > Sidebar)
Customize which items appear in the sidebar and their order for a personalized navigation.
FAQ
Q: Why don’t I see any GRNs in the listing?
A: You may not have any GRNs where your user is linked as the supplier, or your access may be restricted by permissions. Only documents with posting status FINAL are shown. Confirm with the buyer or admin that your supplier account and permissions are set up for this applet.
Q: How do I filter GRNs by date range?
A: Click the search/filter icon above the grid to open Advanced Search. Use Transaction Date, Created Date, or Updated Date and set a From and To date. Apply the search to refresh the listing. This is useful to focus on last month’s GRNs or a specific delivery period.
Q: What is the difference between Purchase GRN and Line Items?
A: Purchase GRN is document-centric: you see one GRN at a time with its header and lines. Line Items is line-centric: you see a flat list of all GRN lines you can access across all GRNs, with search by Purchase GRN No., Item Code, Item Name, or Txn Amount—handy when you need to find a specific item or total by product.
Q: Can I edit or delete a GRN or line in this applet?
A: No. This applet is read-only for suppliers. Creating, editing, or voiding GRNs is done in the buyer’s internal purchase or GRN applets. Use this applet only to view and export information.
Q: How do I see attachments or export a GRN?
A: Open the GRN from Purchase GRN, then use the Attachments tab to list and open attachments (click to open View Attachment). Use the Export tab to generate or download an export (e.g. PDF) according to the configured printable format.
Q: Why can I see some GRNs but not others?
A: Visibility is controlled by (1) supplier link — you only see GRNs where your supplier account is the one on the document; (2) posting status — only FINAL GRNs appear in the listing; and (3) permissions — your user or role must have access to this applet and the relevant data. If a GRN you expect is missing, check with the buyer that it is finalized and that your account is set as the supplier.