Internal Purchase Self Billed Invoice Applet
Purpose and Overview
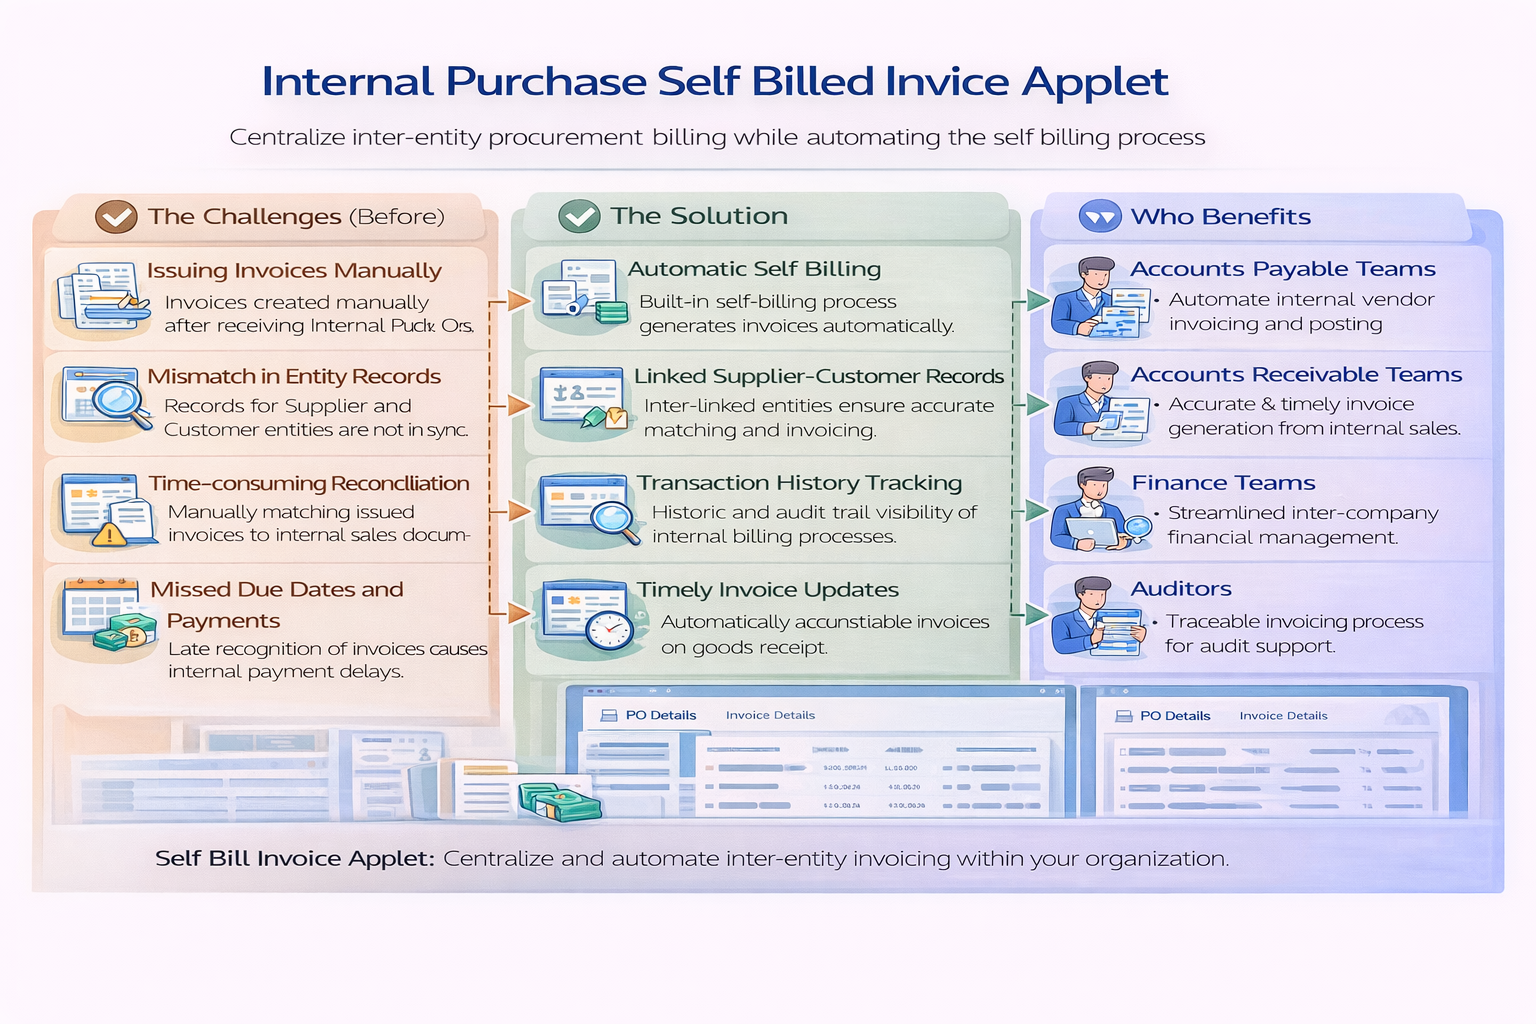
The Internal Purchase Self Billed Invoice Applet streamlines end-to-end self-billed invoice processing, from draft capture and source-document knock-off to posting, payment tracking, and compliance follow-up.
Key Features Overview
Who Benefits from This Applet?
AP Clerks and Invoice Processors:
- Create and finalize self-billed invoices in a guided tab flow
- Pull or reconcile lines from upstream documents using KO options
- Monitor status from draft to final without switching modules
Finance Reviewers and Controllers:
- Validate posting status, ARAP figures, and document totals
- Enforce FINAL, DISCARD, and VOID rules with audit traceability
- Review linked documents and posting checkpoints before close
Procurement and Operations Teams:
- Verify supplier, branch, and item-level details before posting
- Preserve quantity and source-document traceability at line level
- Reduce mismatch risk between procurement and finance records
System Admins and Applet Owners:
- Configure default branch/location/company and tab order
- Control feature visibility, field behavior, and printable setup
- Manage permissions and role-based access in one settings area
What Problems Does This Solve?
The Manual Processing Problem:
Without a dedicated workflow, teams usually rely on spreadsheets, email threads, and repeated key-in. That creates:
- Inconsistent supplier and invoice data
- Weak line-to-source traceability
- Posting delays caused by missing validations
- Hard-to-track settlement and outstanding balances
- Limited visibility of import and submission progress
The Applet Solution:
- Structured invoice lifecycle - Create, Save, Final, Discard, and Void with clear controls
- KO-driven data integrity - Link lines to GRN, PO, PR, and Supplier DO sources
- Operational visibility - Track posting status, ARAP figures, and document references
- Import acceleration - Use file import templates and monitor processing results
- Configurable governance - Apply settings, permission, and personalization controls
Key Features Overview
Key Concepts
Understanding the Self-Billed Invoice Framework
| Aspect | Component | Practical Example |
|---|---|---|
| Who is transacting? | Supplier + Purchaser + Branch | AP selects supplier, purchaser, and branch before line capture |
| What is billed? | Invoice lines + KO sources | Lines are added directly or linked from GRN/PO/PR/Supplier DO |
| How is it completed? | Posting + Payment + E-Invoice | Save draft, validate, Final, then monitor posting/submission progress |
Lifecycle Status Model
| State | Meaning | What You Can Do |
|---|---|---|
| DRAFT | Working version | Add/edit details, lines, payment, and attachments |
| FINAL | Posted for accounting workflow | Review posting and E-Invoice progress, controlled follow-up |
| VOID | Finalized document reversed | Retained for compliance and audit history |
| DISCARDED | Draft canceled | Preserved as inactive record |
Quick Start Guide
Get up and running with these role-specific flows.
For AP Clerks: Create and Finalize Your First Invoice
Goal: Create a valid self-billed invoice and move it to FINAL.
- Open Internal Purchase Self Billed Invoice from the sidebar.
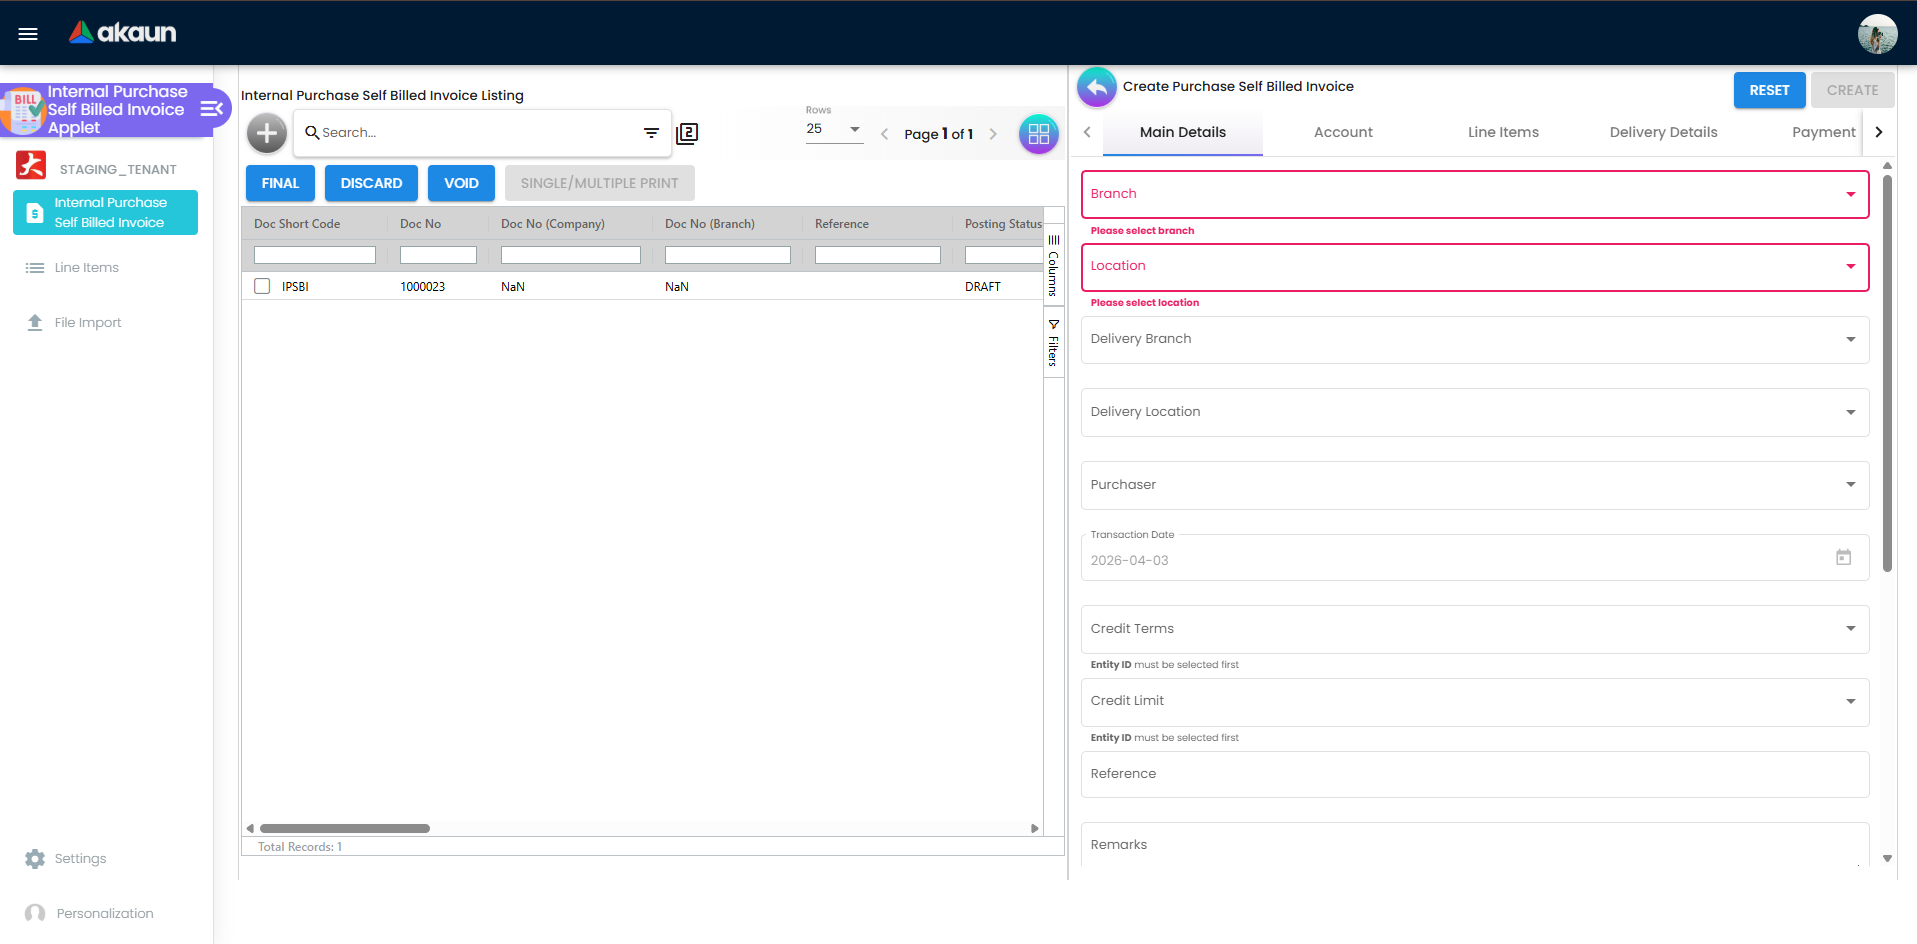
- Click Create from listing.
- In Main Details, set transaction date, branch/location, purchaser, and currency.
- In Account, select supplier and confirm billing and shipping information.
- In Line Items, add lines manually or via KO source lists.
- Review Delivery Details, ARAP, and Payment if required.
- Click Save first, then click Final after validation.
- Re-open the document and confirm Posting Status and Status are correct.
For Finance Reviewers: Validate Posting and Amount Integrity
Goal: Confirm the document is accounting-ready.
- Open a target invoice from listing filters.
- Check Posting Status, Status, and key references.
- Review line-level values, quantities, and tax-impacting fields.
- Validate ARAP figures and payment totals.
- Open Posting, TraceDocument, and Doc Link tabs for control checks.
- If correction is needed, use Discard for drafts or Void for eligible finals.
For System Admins: Configure a Safe Baseline
Goal: Prepare a controlled production setup.
- Go to Settings > Default Selection and set default branch/location/company.
- Configure Settings > Application Settings for field visibility and feature behavior.
- Set print behavior in Settings > Printable Format Settings.
- Configure KO toggles in Settings > Knock Off Settings if enabled in your tenant menu.
- Review Feature Visibility, Webhook, and permission listings.
- Set user-level overrides in Personalization > Default Selection.
Invoice Lifecycle Management
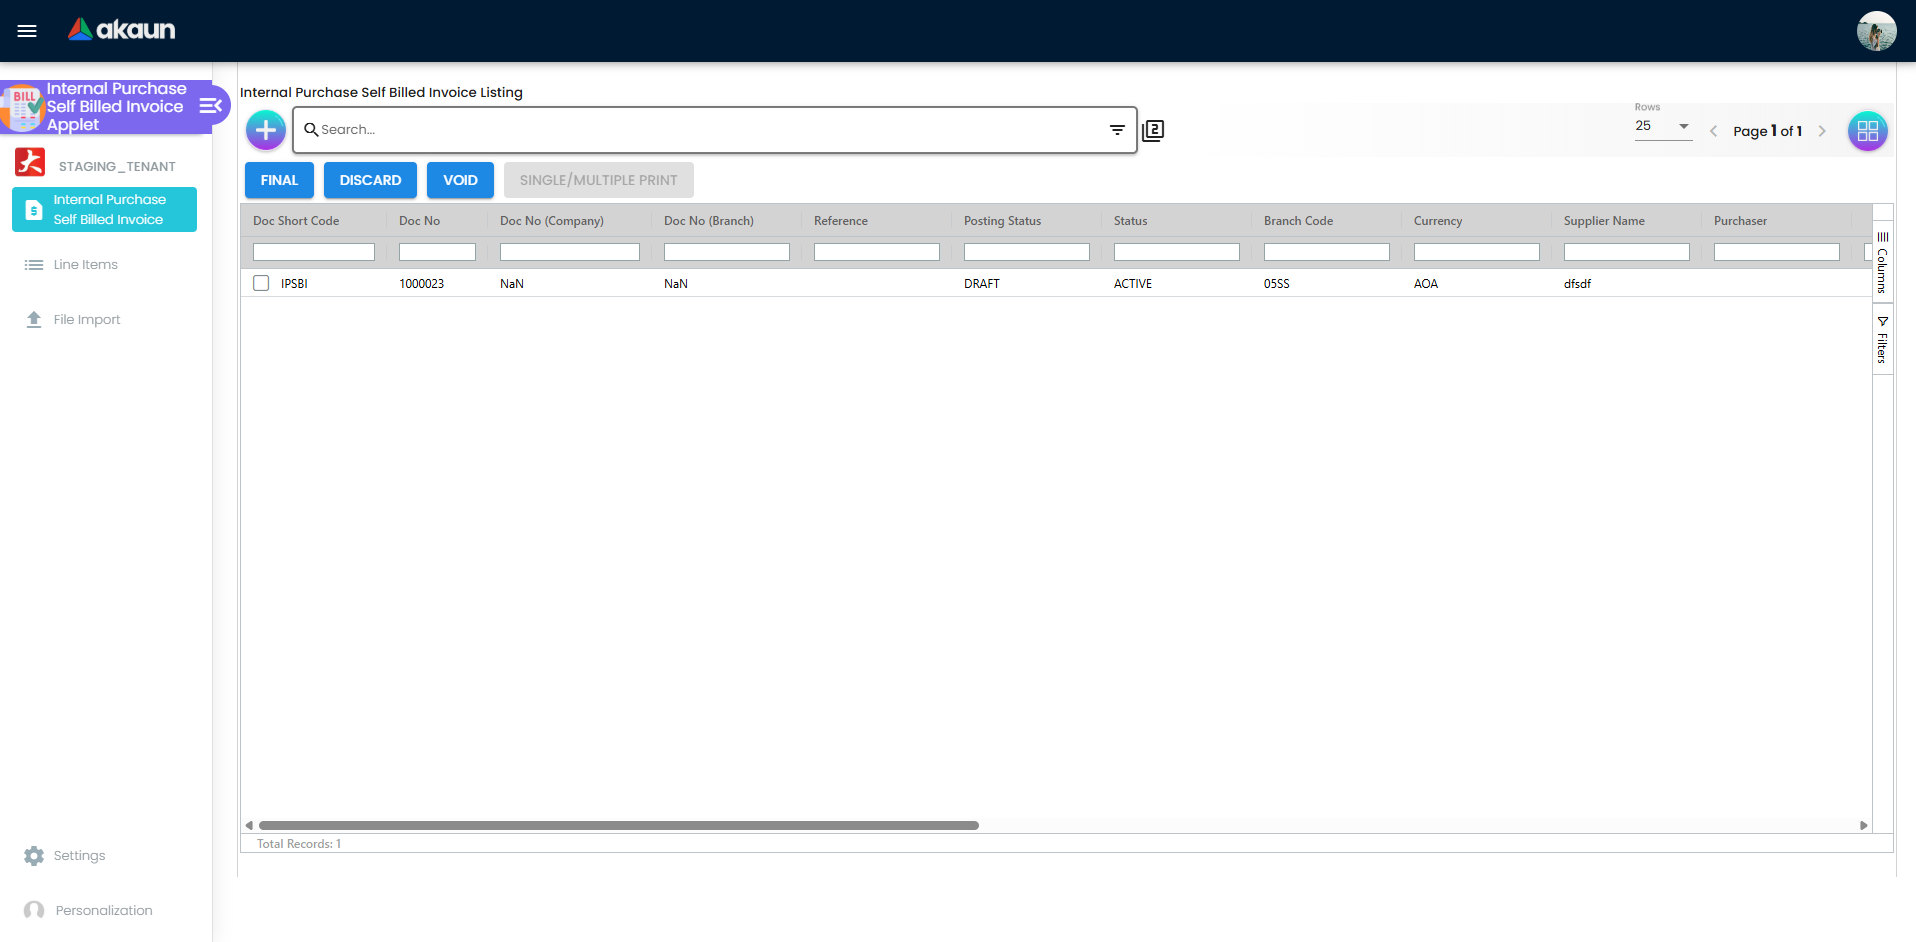
Listing and Search Controls
The listing supports day-to-day AP operations with:
- Status and posting status visibility per document
- Multi-column filtering for references, supplier, branch, and amounts
- Bulk operations such as Final, Discard, Void, and printing (permission dependent)
- ARAP-related columns for settlement and balance visibility
Create and Edit Workspace
The edit workspace is tab-driven and includes:
- Main Details
- E-Invoice
- Account
- Line Items
- Delivery Details
- ARAP
- Payment
- Department Hdr
- Posting
- TraceDocument
- Contra
- Doc Link
- Attachment
- Export
Action Rules
- Save requires valid core details and line conditions.
- Final is constrained by status and validation logic.
- Discard applies to eligible draft records.
- Void applies to eligible finalized records with control checks.
Knock-Off (KO) Linking
KO supports controlled line sourcing from:
- Purchase GRN
- Purchase Order
- Purchase Requisition
- Supplier Delivery Order
This reduces manual keying and improves source-document traceability.
Line Item Control
Line workflows provide:
- Item search and detailed line editing
- Serial scan/import and serial validation behaviors
- Batch and bin handling
- Costing and pricing detail sections
- Issue-link support (details, planning, comments, activity, worklog)
File Import Workbench
Use file import for bulk document loading:
- Open File Import.
- Choose delimiter (COMMA or PIPE).
- Download the sample template.
- Upload file and submit.
- Review process status and error message columns.
E-Invoice Workflow
The E-Invoice tab supports:
- Submission setup
- Queue/progress stages
- Communication history
- Cancellation handling
Typical progress stages include pending queue states and submitted state tracking.
Configuration & Settings

Application Settings (Settings > Application Settings)
Use this for field-level and behavior-level controls such as visibility toggles, action controls, and tab display settings.
Default Selection (Settings > Default Selection)
Set system defaults for:
- Branch
- Location
- Company
- Detail tab ordering
Printable Format Settings (Settings > Printable Format Settings)
Manage print templates and default printable behavior for document output.
Knock Off Settings (Settings > Knock Off Settings)
Configure KO by/for source-document behavior for GRN, PO, PR, and Supplier DO flows.
Feature Visibility, Webhook, and Permissions (Settings)
Govern applet access with:
- Feature Visibility
- Webhook configuration
- Client-side permission listing
- Permission wizard, set, user, team, and role pages
- Role pricing scheme link listing
Audit & Traceability
The applet supports audit readiness through:
- Listing-level status and posting checkpoints
- Posting tab visibility and document references
- TraceDocument and Doc Link relationship views
- Retained lifecycle history for Final, Void, and Discard flows
Personalization
Default Preferences
Users can set personal defaults under Personalization > Default Selection for faster day-to-day processing.
FAQ
Q: Why is the Create button missing in listing?
A: Create visibility is permission-driven. Check role permissions and feature visibility settings first.
Q: Why can I save but cannot click Final?
A: Final depends on status and validation rules, including line-level checks and serial-related validation constraints.
Q: Why is Void not available for my finalized document?
A: Void availability is governed by status eligibility, policy restrictions, and linked document conditions.
Q: Where do I troubleshoot failed file imports?
A: Open File Import listing and review the Process Status and Error Message columns for each uploaded file.
Q: Can I change tab order for the edit screen?
A: Yes. Configure tab order in Settings > Default Selection, then save to apply the new sequence.
Q: Where are localization labels maintained for this applet?
A: Most UI labels are defined in applet code (menu-items.ts, search model label objects, and component panel arrays). The repo only includes a shared i18n template, not dedicated per-language applet packs.