Workflow Design Applet
Purpose and Overview
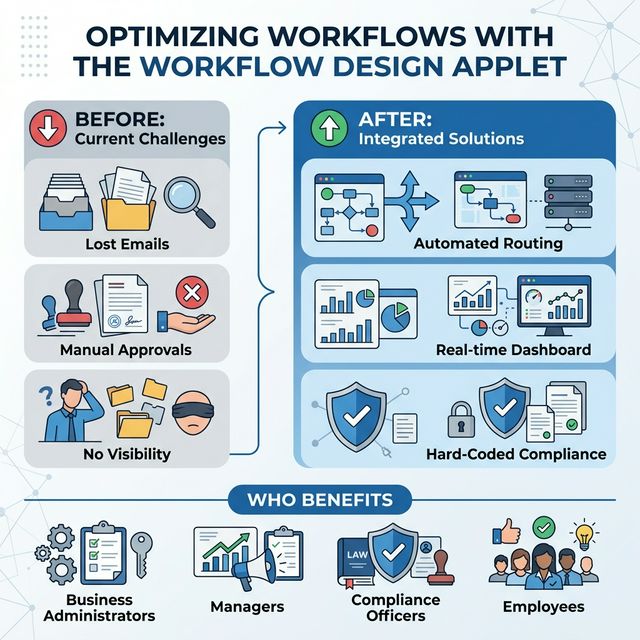
The Workflow Design Applet is the central engine of organizational efficiency in BigLedger. While all employees interact with the results of these workflows daily (by submitting documents or clicking “Approve”), this specific applet is an administrative workspace. It moves beyond simple task tracking by providing a robust framework to digitize manual processes, enforce strict compliance, and automate decision-making across all other applets. From simple expense approvals to complex multi-step procurement cycles, this tool configures the exact structure for auditable business activities.
Who Benefits from This Applet?
Business Administrators & Process Architects:
- Clear, code-free design of complex organizational workflows
- Centralized version control for all business processes
- Automated actions triggered by status changes (emails, webhooks)
- Standardized management of statuses and resolution types
Department Managers & Approvers:
- Clear visibility into pending approvals and team tasks
- Standardized rule enforcement holding all team members accountable
- Automated email/SMS notifications for pending actions
- Reduced manual followup on request statuses
Compliance & Audit Officers:
- 100% transparent and immutable audit trail for every business decision
- Enforced segregation of duties via permission sets
- Historical record of who, when, and exactly why a step was approved
- Identification of process bottlenecks through performance analytics
Employees & Requesters:
- Real-time visibility into the exact status of their requests
- Instant notifications when their requests are approved or rejected
- Clear understanding of the organizational chain of command
- Reduced need to manually chase managers for signatures
What Problems Does This Solve?
The “Approval Black Hole” Problem:
Traditional manual approvals rely on paper forms and email chains. Common issues include:
- Requests getting lost in crowded inboxes
- Documents sitting on a physical desk while someone is on leave
- Zero visibility for the requester on current status
The Workflow Applet Solution:
- Real-time visibility - Provides a Real-Time Dashboard for every process, showing exactly who is holding up the flow
- Automated routing - Intelligent notifications ensure the next person in line is immediately alerted
- Hard-Coded Compliance - A document physically cannot move to the next stage until the required digital approval is recorded
- Transition Automation - Use Transition Actions to automatically trigger the next step, like sending an API call or notification
Key Features Overview
Key Concepts
Understanding the Workflow Framework
Every effective workflow system must address fundamental operational aspects. The Workflow Design Applet provides structured handling:
| Aspect | Component | Practical Example |
|---|---|---|
| What is the goal? | Process | “Purchase Order Approval Process” |
| Where is it currently? | Status | “Pending Manager Approval”, “Reviewing” |
| How does it move? | Transition | “Manager clicks Approve to send to Finance” |
| What happens next? | Transition Action | “Send an automated email to Finance” |
Workflow Hierarchy Structure
Think of the workflow configuration as a structured conceptual flow:
Organization
│
├── Process ──→ The Overall Workflow Definition
│   │
│   ├── Statuses ──→ The Lifecycle Stages (Draft → Pending → Approved)
│   │
│   ├── Transitions ──→ The Rules of Movement (How to get from A to B)
│   │   │
│   │   └── Transition Actions ──→ The Automations (Emails, API calls)
│   │
│   └── Resolutions ──→ The Final Outcomes (Success, Failure)
Flow Through the Hierarchy:
- Process: The overarching business activity
- Statuses: The distinct stops along the journey
- Transitions: The authorized paths between statuses
- Transition Actions: Background events fired during movement
- Resolutions: The final state of the document
This structure enables:
- Precise control over business logic
- Flexible automation at any stage
- Clear accountability for approvals
- Standardized outcomes across enterprise modules
The “Golden Triangle” of Workflows
To effectively build paths in the system, it is crucial to understand how Statuses, Transitions, and Resolutions interact.
| Component | Analogy | Definition | Example |
|---|---|---|---|
| Status | The “Room” | A specific stage in the document lifecycle. | Pending Director Approval |
| Transition | The “Doorway” | The explicit rule allowing movement from one status to another. | Approve / Reject |
| Resolution | The “Destination” | The concluding state of the workflow path. | Successfully Approved, Cancelled |
How they link:
- You create Statuses (e.g., Draft, Review, Closed).
- You define the Resolutions (e.g., Approved, Rejected).
- You link Statuses using Transitions (e.g., To get from “Review” to “Closed”, the transition must be executed).
- A document can only travel through defined transition paths, ensuring absolute policy adherence.
Quick Start Guide
Get up and running quickly with these essential workflows.
For Employees: Track Your Requests (In Respective Applets)
Goal: Understand where your request is and what happens next.
- Submit Request: Create and submit your document in its respective module (e.g., Leave Request in HR, or Expense Claim in Claims).
- Check Status: In the document view, look at the Workflow Status badge at the top.
- View History: Click on the status to see the full audit trail (who approved it, when, and any comments).
- Action Required: If the status says “Queried” or “Pending Revision”, you may need to edit and resubmit your document.
What happens next? The system automatically notifies you via email or in-app notification when a final decision (Approved/Rejected) is reached.
Pro Tip: You don’t need to open the Workflow applet directly. Your workflow status is deeply integrated into whatever document you are currently viewing.
For Managers: Process Team Approvals
Goal: Review and approve pending tasks efficiently.
- Check Pending: Access your Pending Approvals dashboard (usually linked from your home screen or respective module dashboard).
- Review Details:
- Click on the document to open and review details (amounts, attachments, justifications).
- Check the workflow history log to see previous comments.
- Decide:
- Approve: Document moves to the next status (e.g., to Finance).
- Reject: Document is stopped. You must provide a rejection reason.
- Query / Revise: Send back to the requester for clarification without outright rejecting.
Going on Leave? Go to your personal settings and configure your Delegation period so workflows aren’t blocked while you are away.
For Admins: Design a Basic Approval Flow
Goal: Create a simple 2-step approval process from scratch.
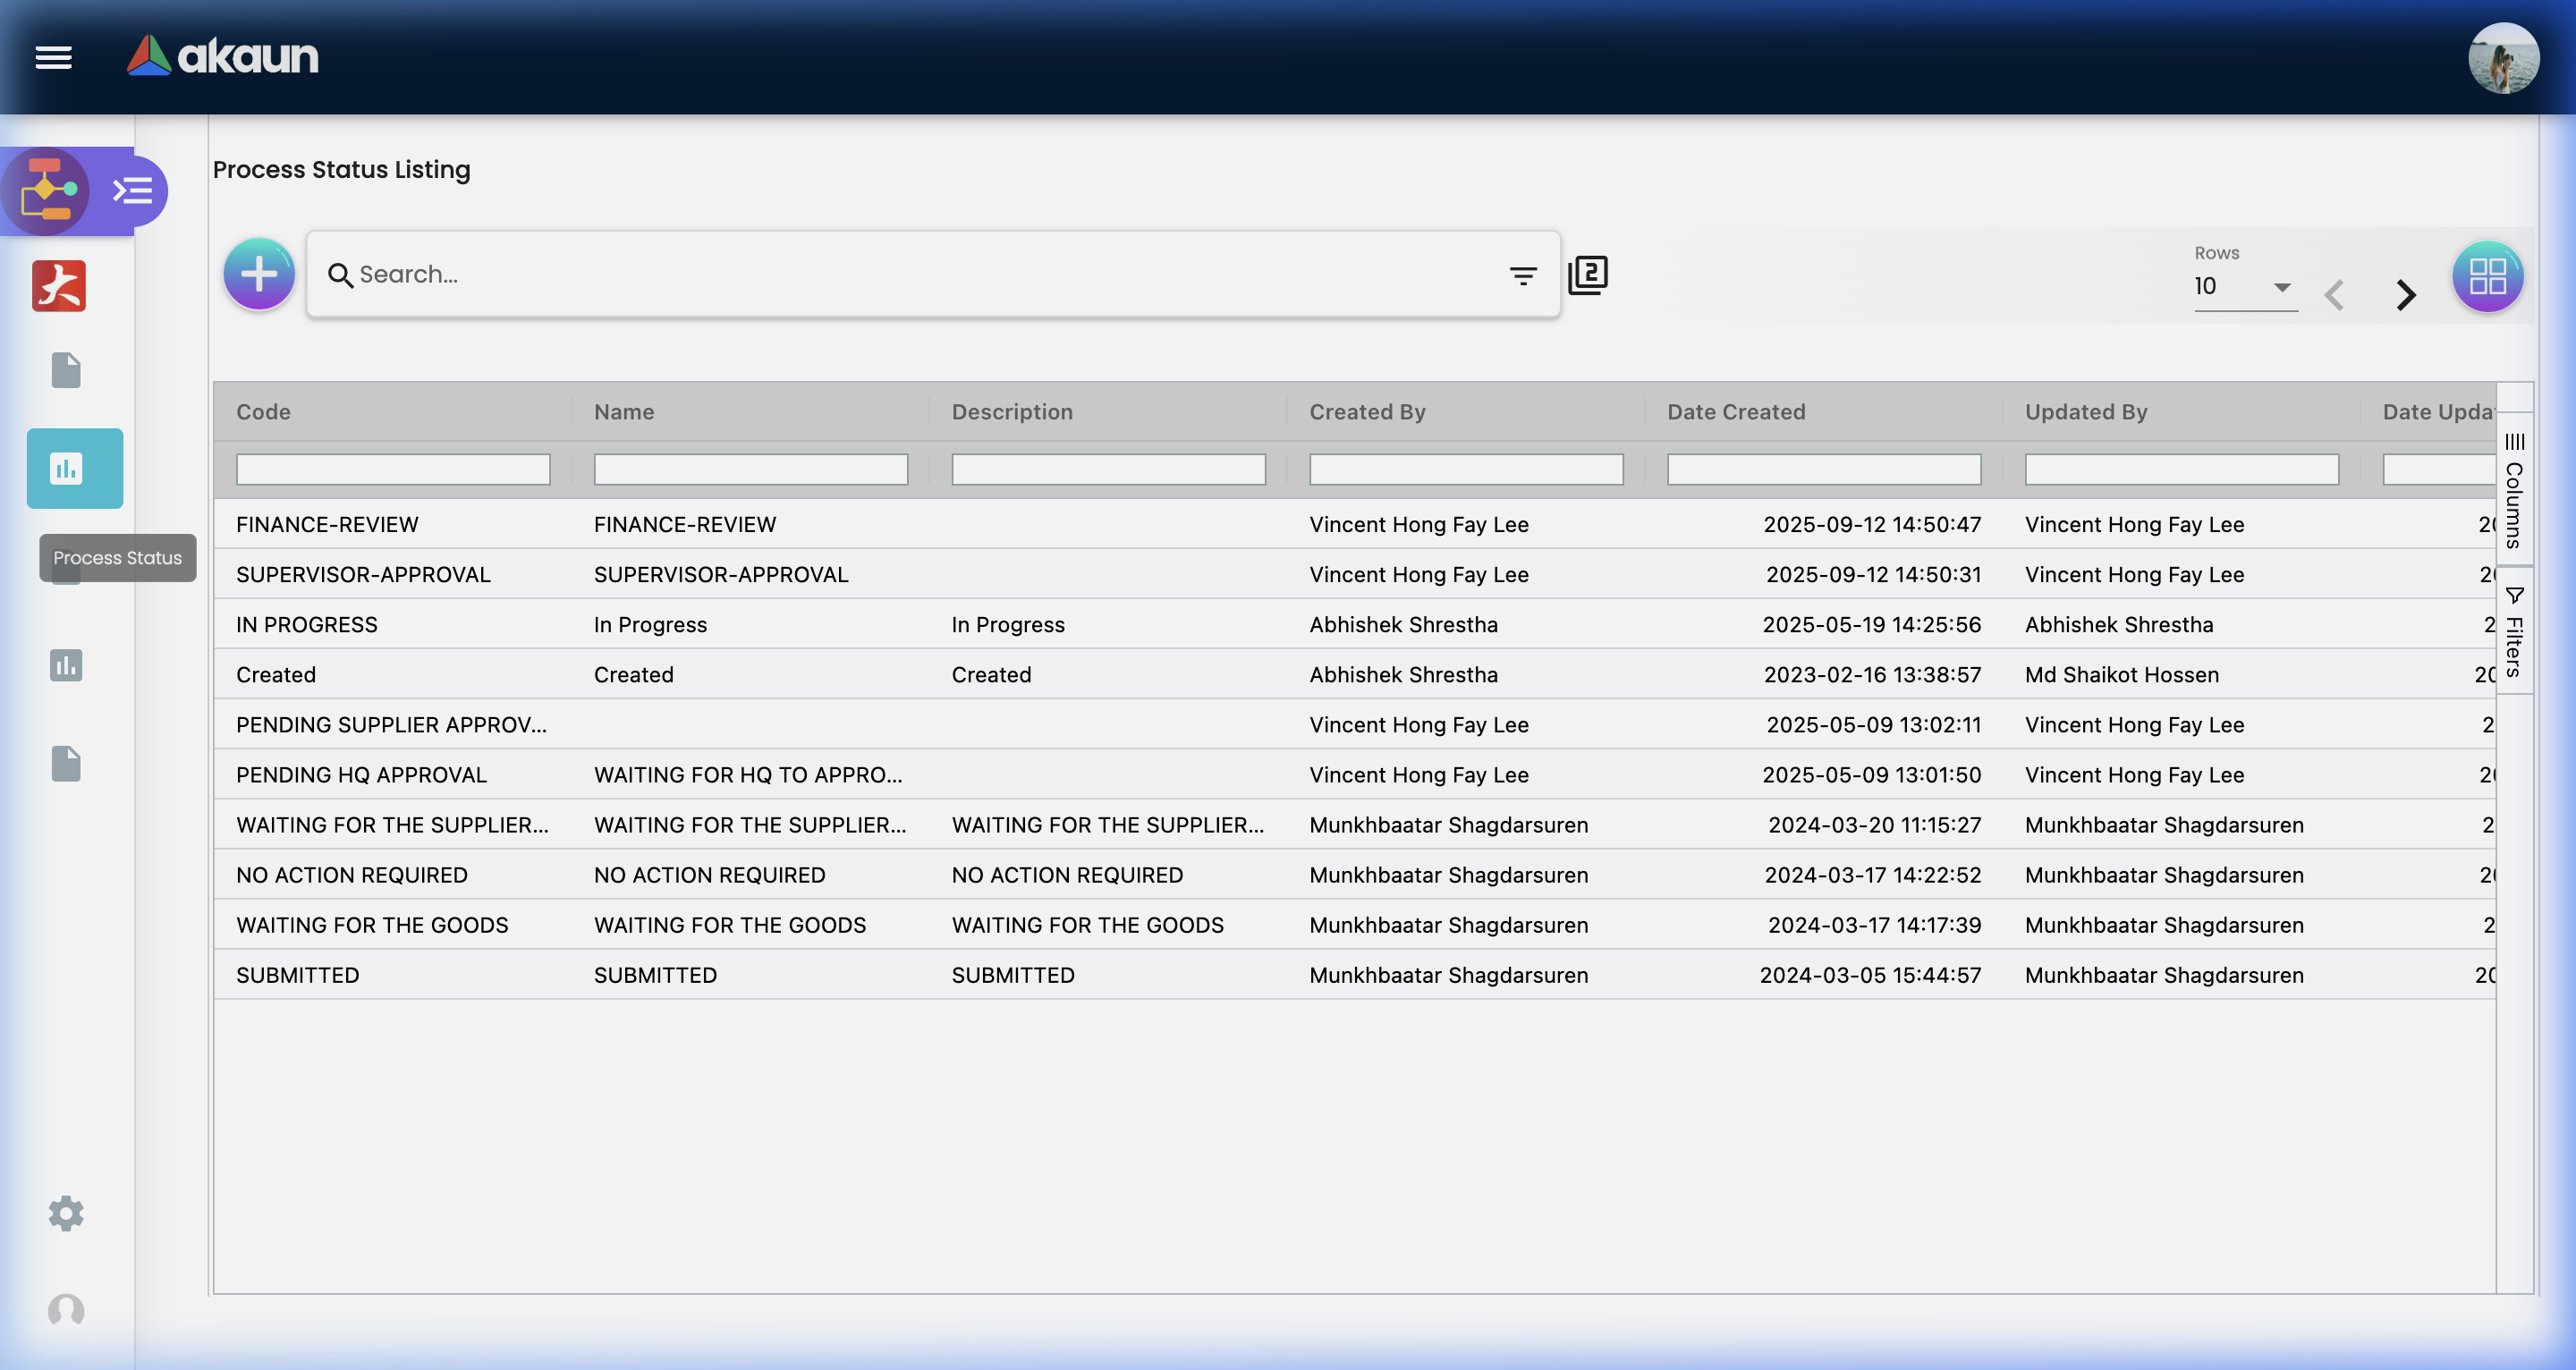
Step 1: Define Statuses (Workflow > Process Status)
- Click "+" (Add New).
- Create standard stops: “Draft” (Initial type), “Pending Manager” (Interim type), and “Approved” (Final type).
- Click “Create”.
Step 2: Assign Resolutions (Workflow > Process Resolution)
- Click "+".
- Create outcome classifications like “Success” or “Failure”.
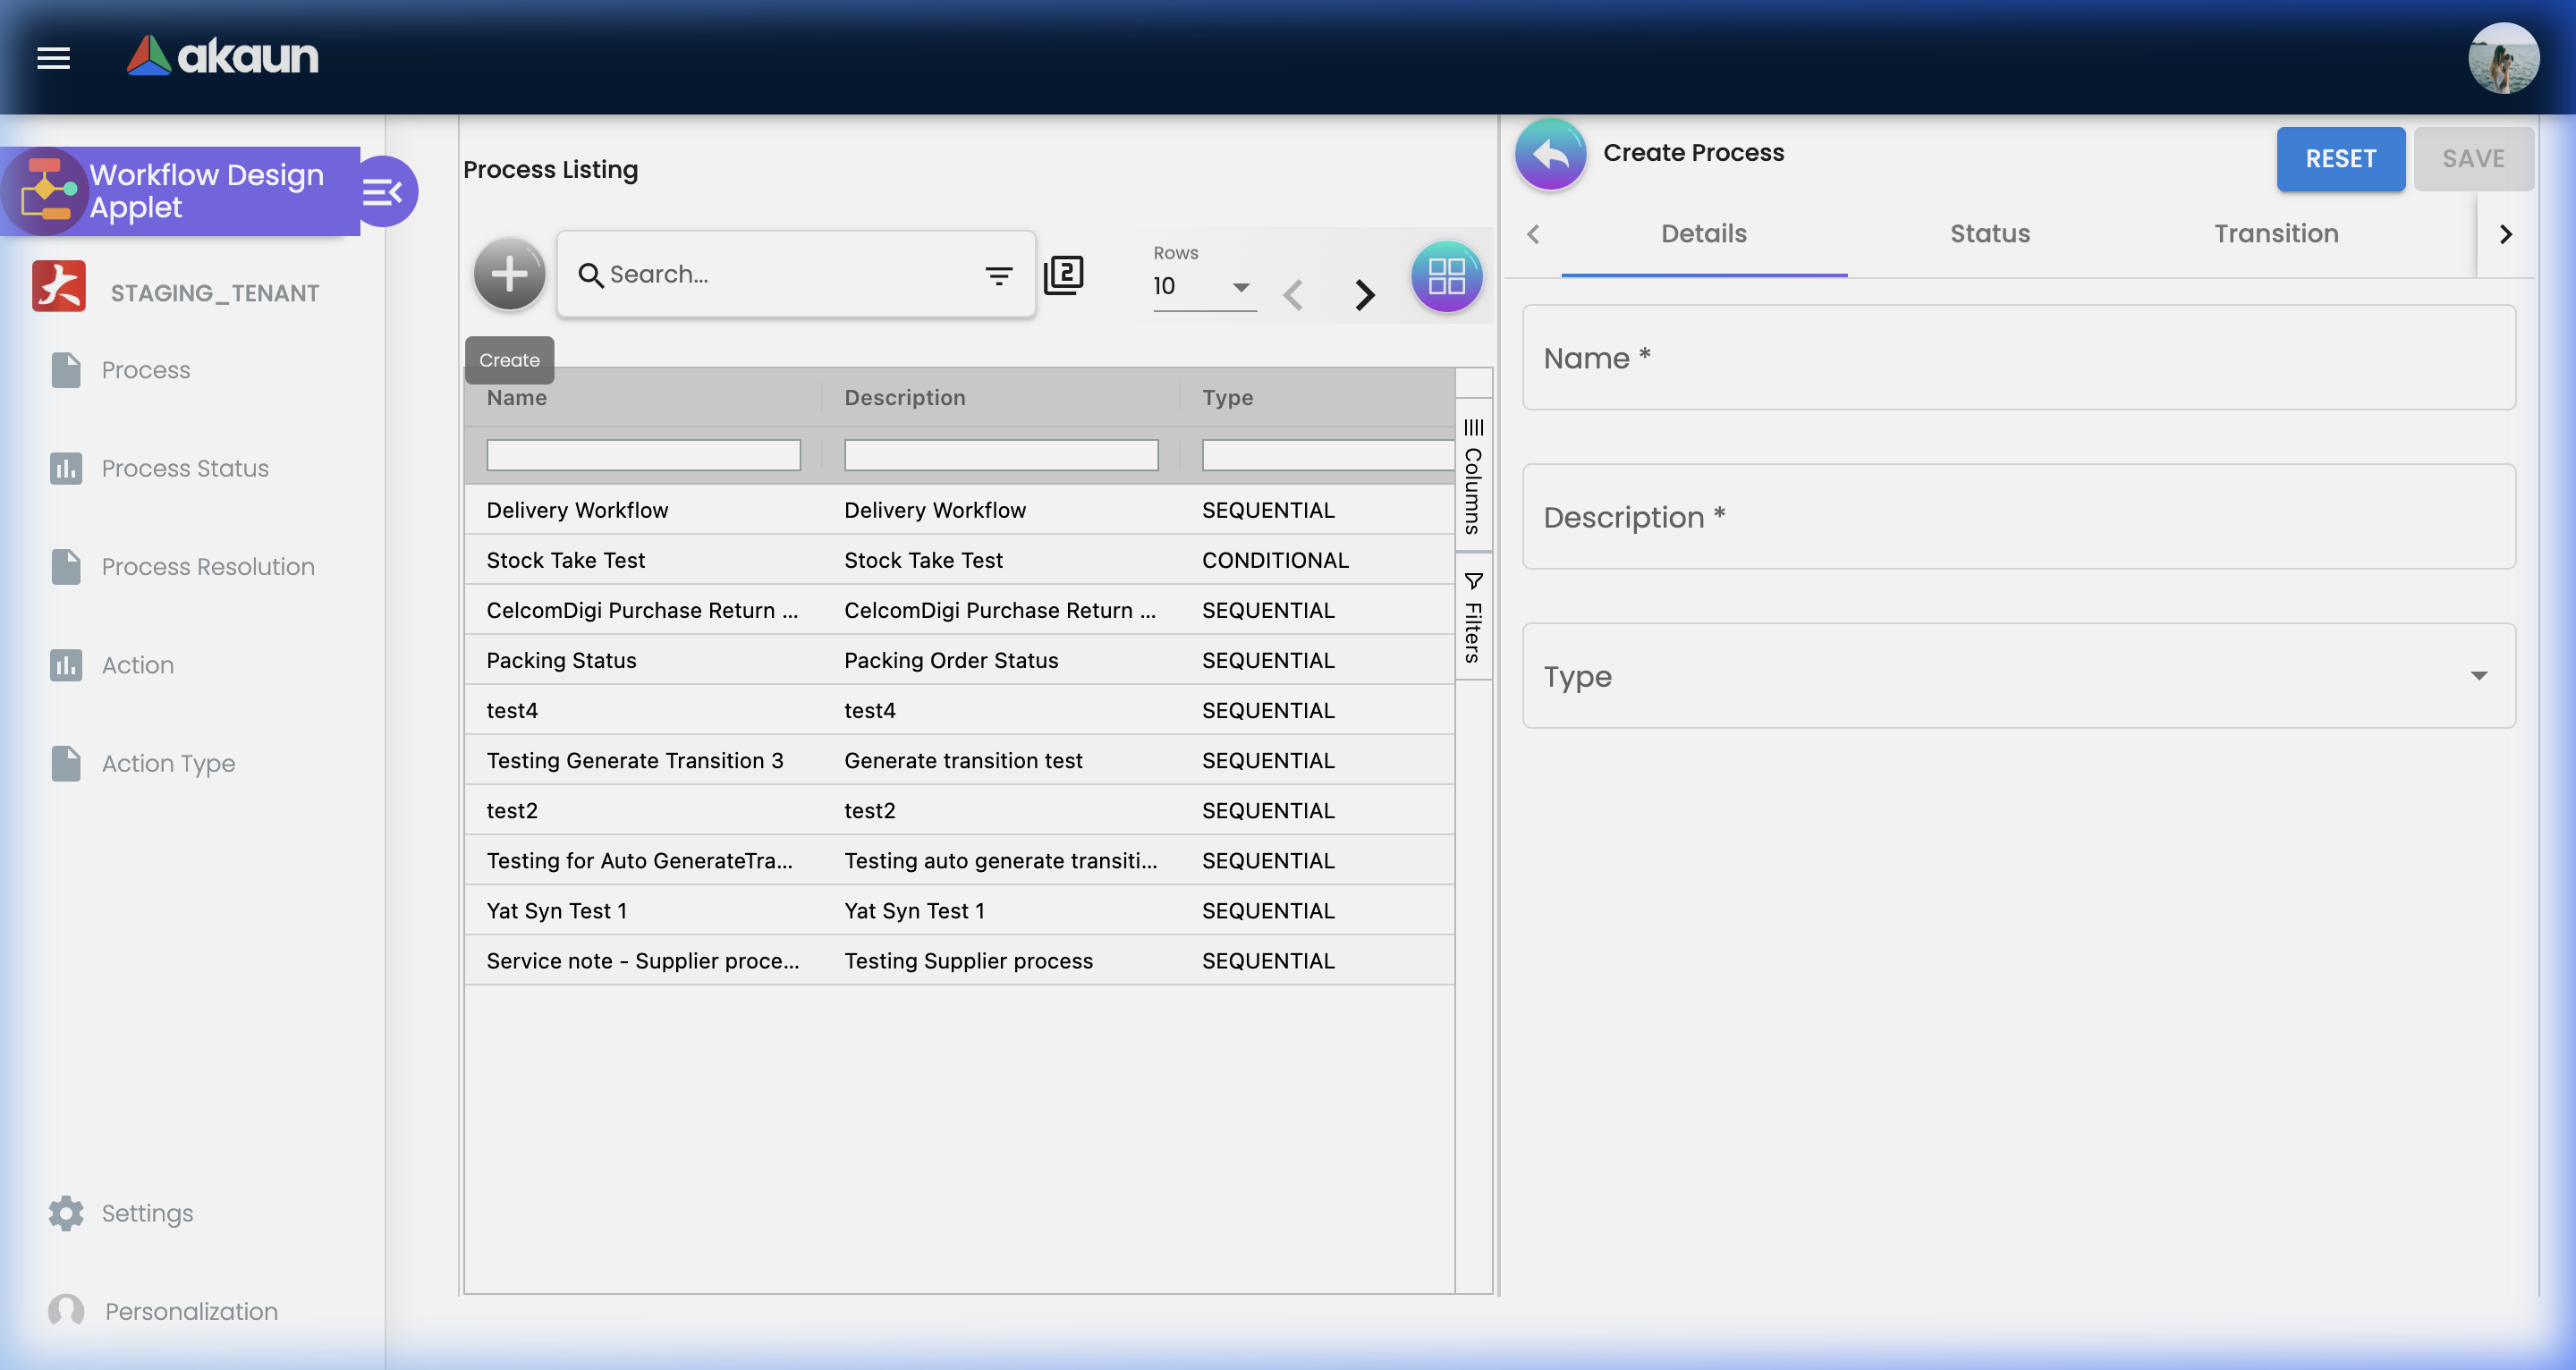
Step 3: Create the Process (Workflow > Process)
- Click "+".
- Enter a Name (e.g., “Standard PO Approval”).
- Add the statuses you created to this active process.
- Click “Create”.
Step 4: Map Transitions (Workflow > Process > Transitions)
- Open your newly created Process.
- Define the explicit rules: Set the trigger for moving from “Draft” (Status A) to “Pending Manager” (Status B).
- Set the trigger for moving from “Pending Manager” to “Approved”.
Step 5: Add Automations (Workflow > Transition Action)
- Navigate to Transition Actions.
- Select your Target Process and Target Status (e.g., “Approved”).
- Add an action type of “Email Notification” to alert the original requester that their document was successful.
Pro Tip: Test your new workflow using a dummy document in a staging environment before training employees on how to use it!
Process Architecture (For Admins)
This section details how to construct robust, enterprise-grade workflows.
Process
The Process screen is your master control room for all business logic.
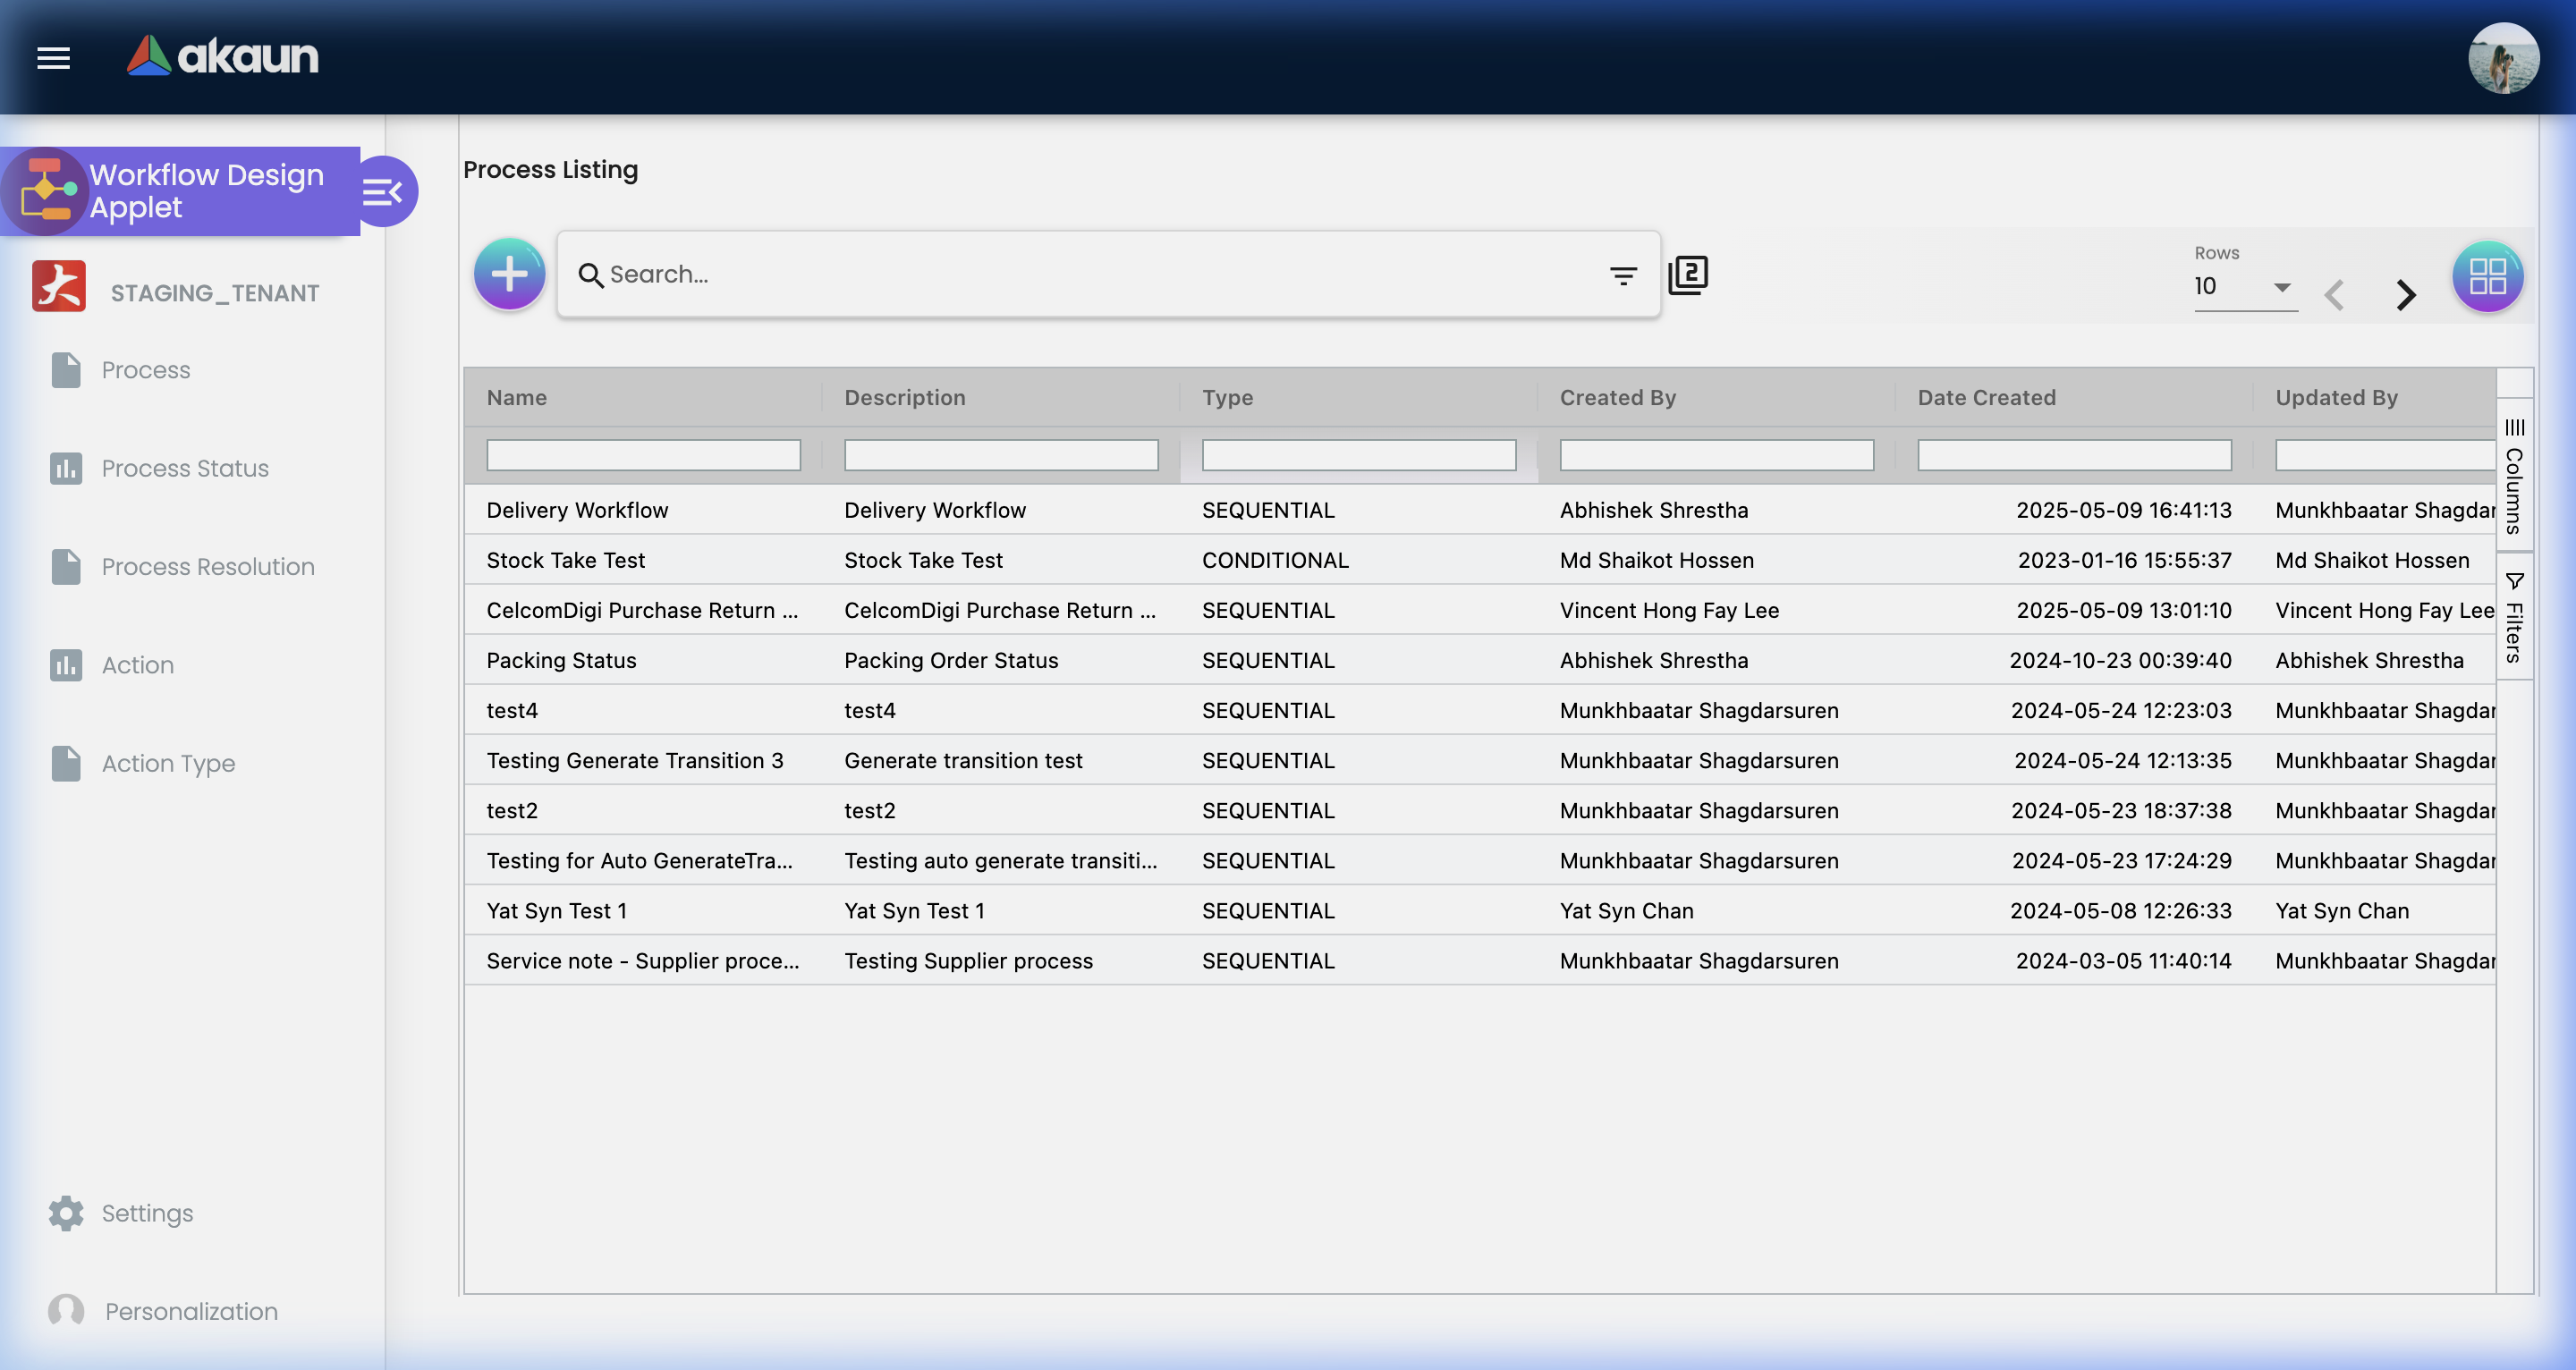
- Active Workflows: List of all operational processes with version control.
- Module Linking: Connecting a workflow to specific applets (e.g., linking the “PO Approval” process to the Purchasing Applet).
- Version Control: Edit workflows without breaking active documents by iterating process versions.
Process Status
Statuses are more than just labels; they dictate document security.
- Initial Status: The starting point (e.g., “Draft”). Users can typically edit documents freely here.
- Interim Status: The middle stages (e.g., “Pending Finance”). Documents are often locked for editing by the requester during these stages to ensure integrity during review.
- Final Status: The end of the road (e.g., “Closed”). The document is permanently locked as a historical record.
Process Resolution
Resolutions define the final outcome of a completed workflow path — the concluding state once a document has reached the end of its lifecycle.
- Success outcomes: e.g., Approved, Completed, Confirmed
- Failure outcomes: e.g., Rejected, Cancelled, Voided
- Pending outcomes: e.g., On Hold, Deferred

Transition Action
Transition actions turn static forms into an active, intelligent system. You can define custom Transition Action Types to categorize and manage the various automated events your organization uses.
Available Action Types:
- Email/SMS Notifications: Inform users of pending tasks or final decisions.
- In-App Alerts: Push notifications within the BigLedger interface.
- Database Updates: Automatically change a record value when a status is reached (e.g., deduct from inventory when “Delivery Approved”).
- Webhooks: Send data to external systems (e.g., trigger a shipment in a third-party logistics platform).
Conditional Logic: You can set actions to only fire under specific conditions. Example: Only send an email to the CEO if the Purchase Order value is > RM 50,000.
Configuration & Settings
Fine-tune your workflow engine with these administrative controls.
Advanced Permissions
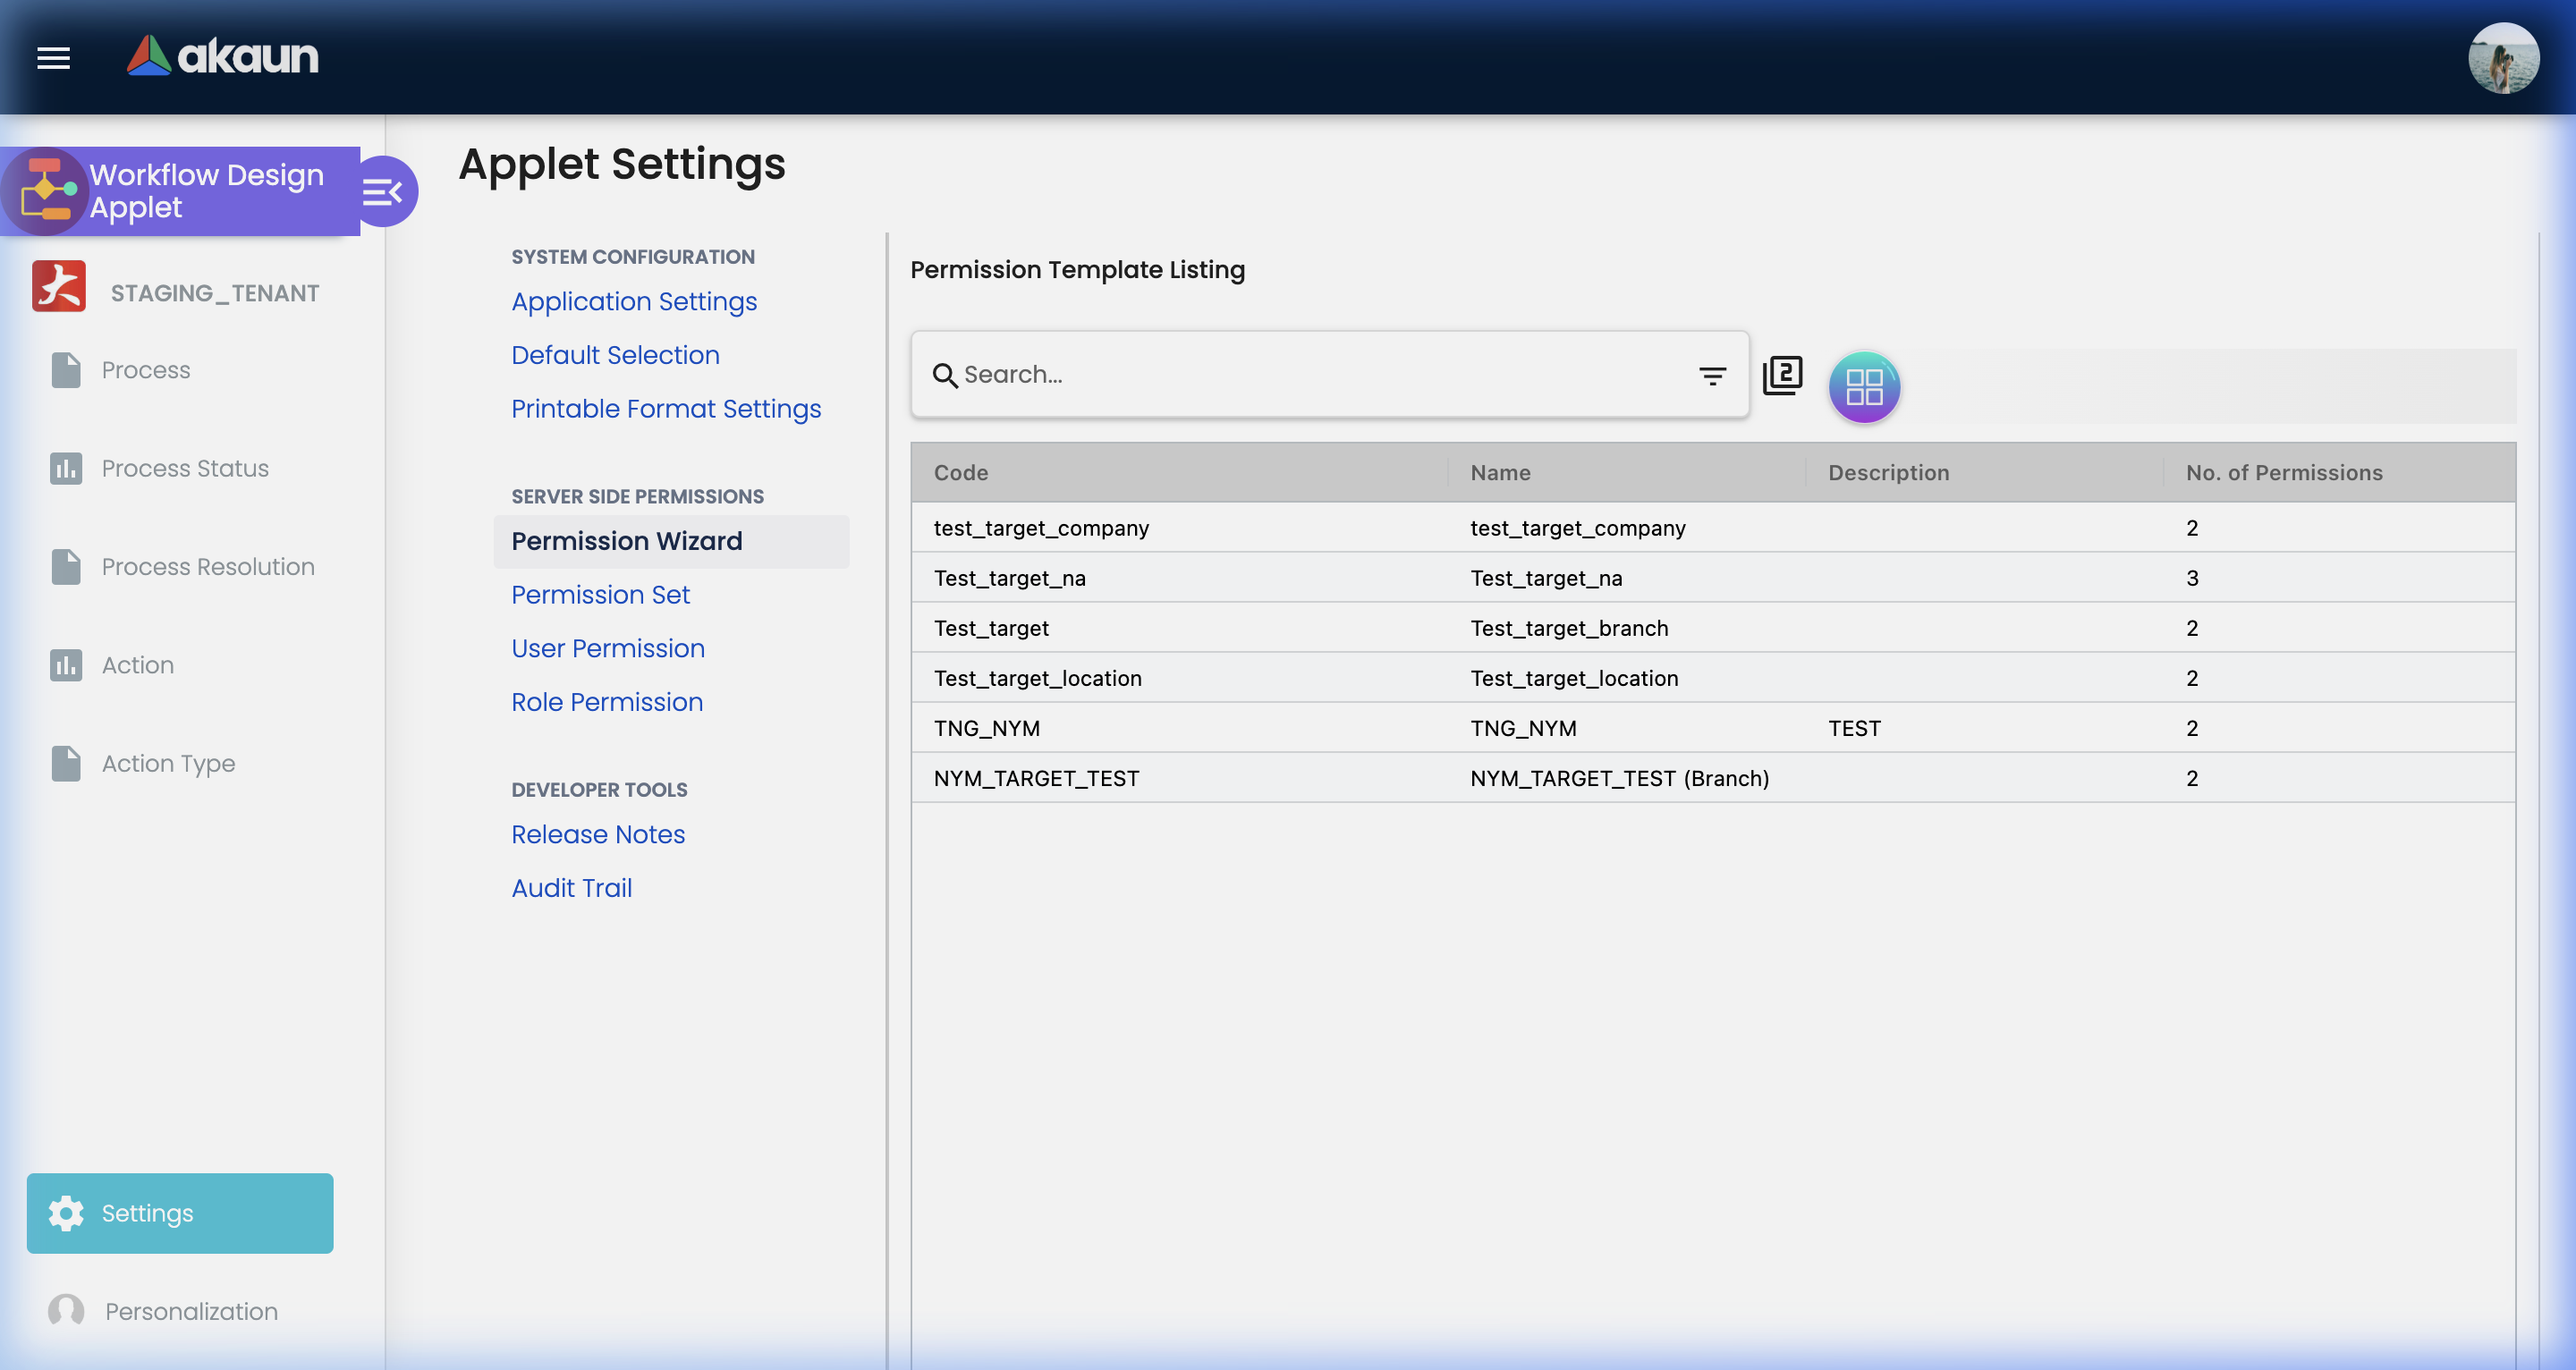
Path: Settings > Permission Wizard / Role Permission / Team Permission
A comprehensive suite to manage exact access rights at every level:
- Permission Wizard: A visual interface to graphically map roles to workflow steps.
- Granular Control: Use specific sub-menus like
User Permission Listing,Team Permission Listing, andRole Permission Listingfor exact access management. - Client-Side Permissions: Configure UI-level access controls for specific workflow views.
Field Configuration & Printable Formats
Path: Settings > Field Settings / Printable Format Settings
Control how and what users see.
- Customize the exact fields available during a workflow process.
- Design dynamic, automatically generated PDF/Printable formats for approved documents.
Feature Visibility
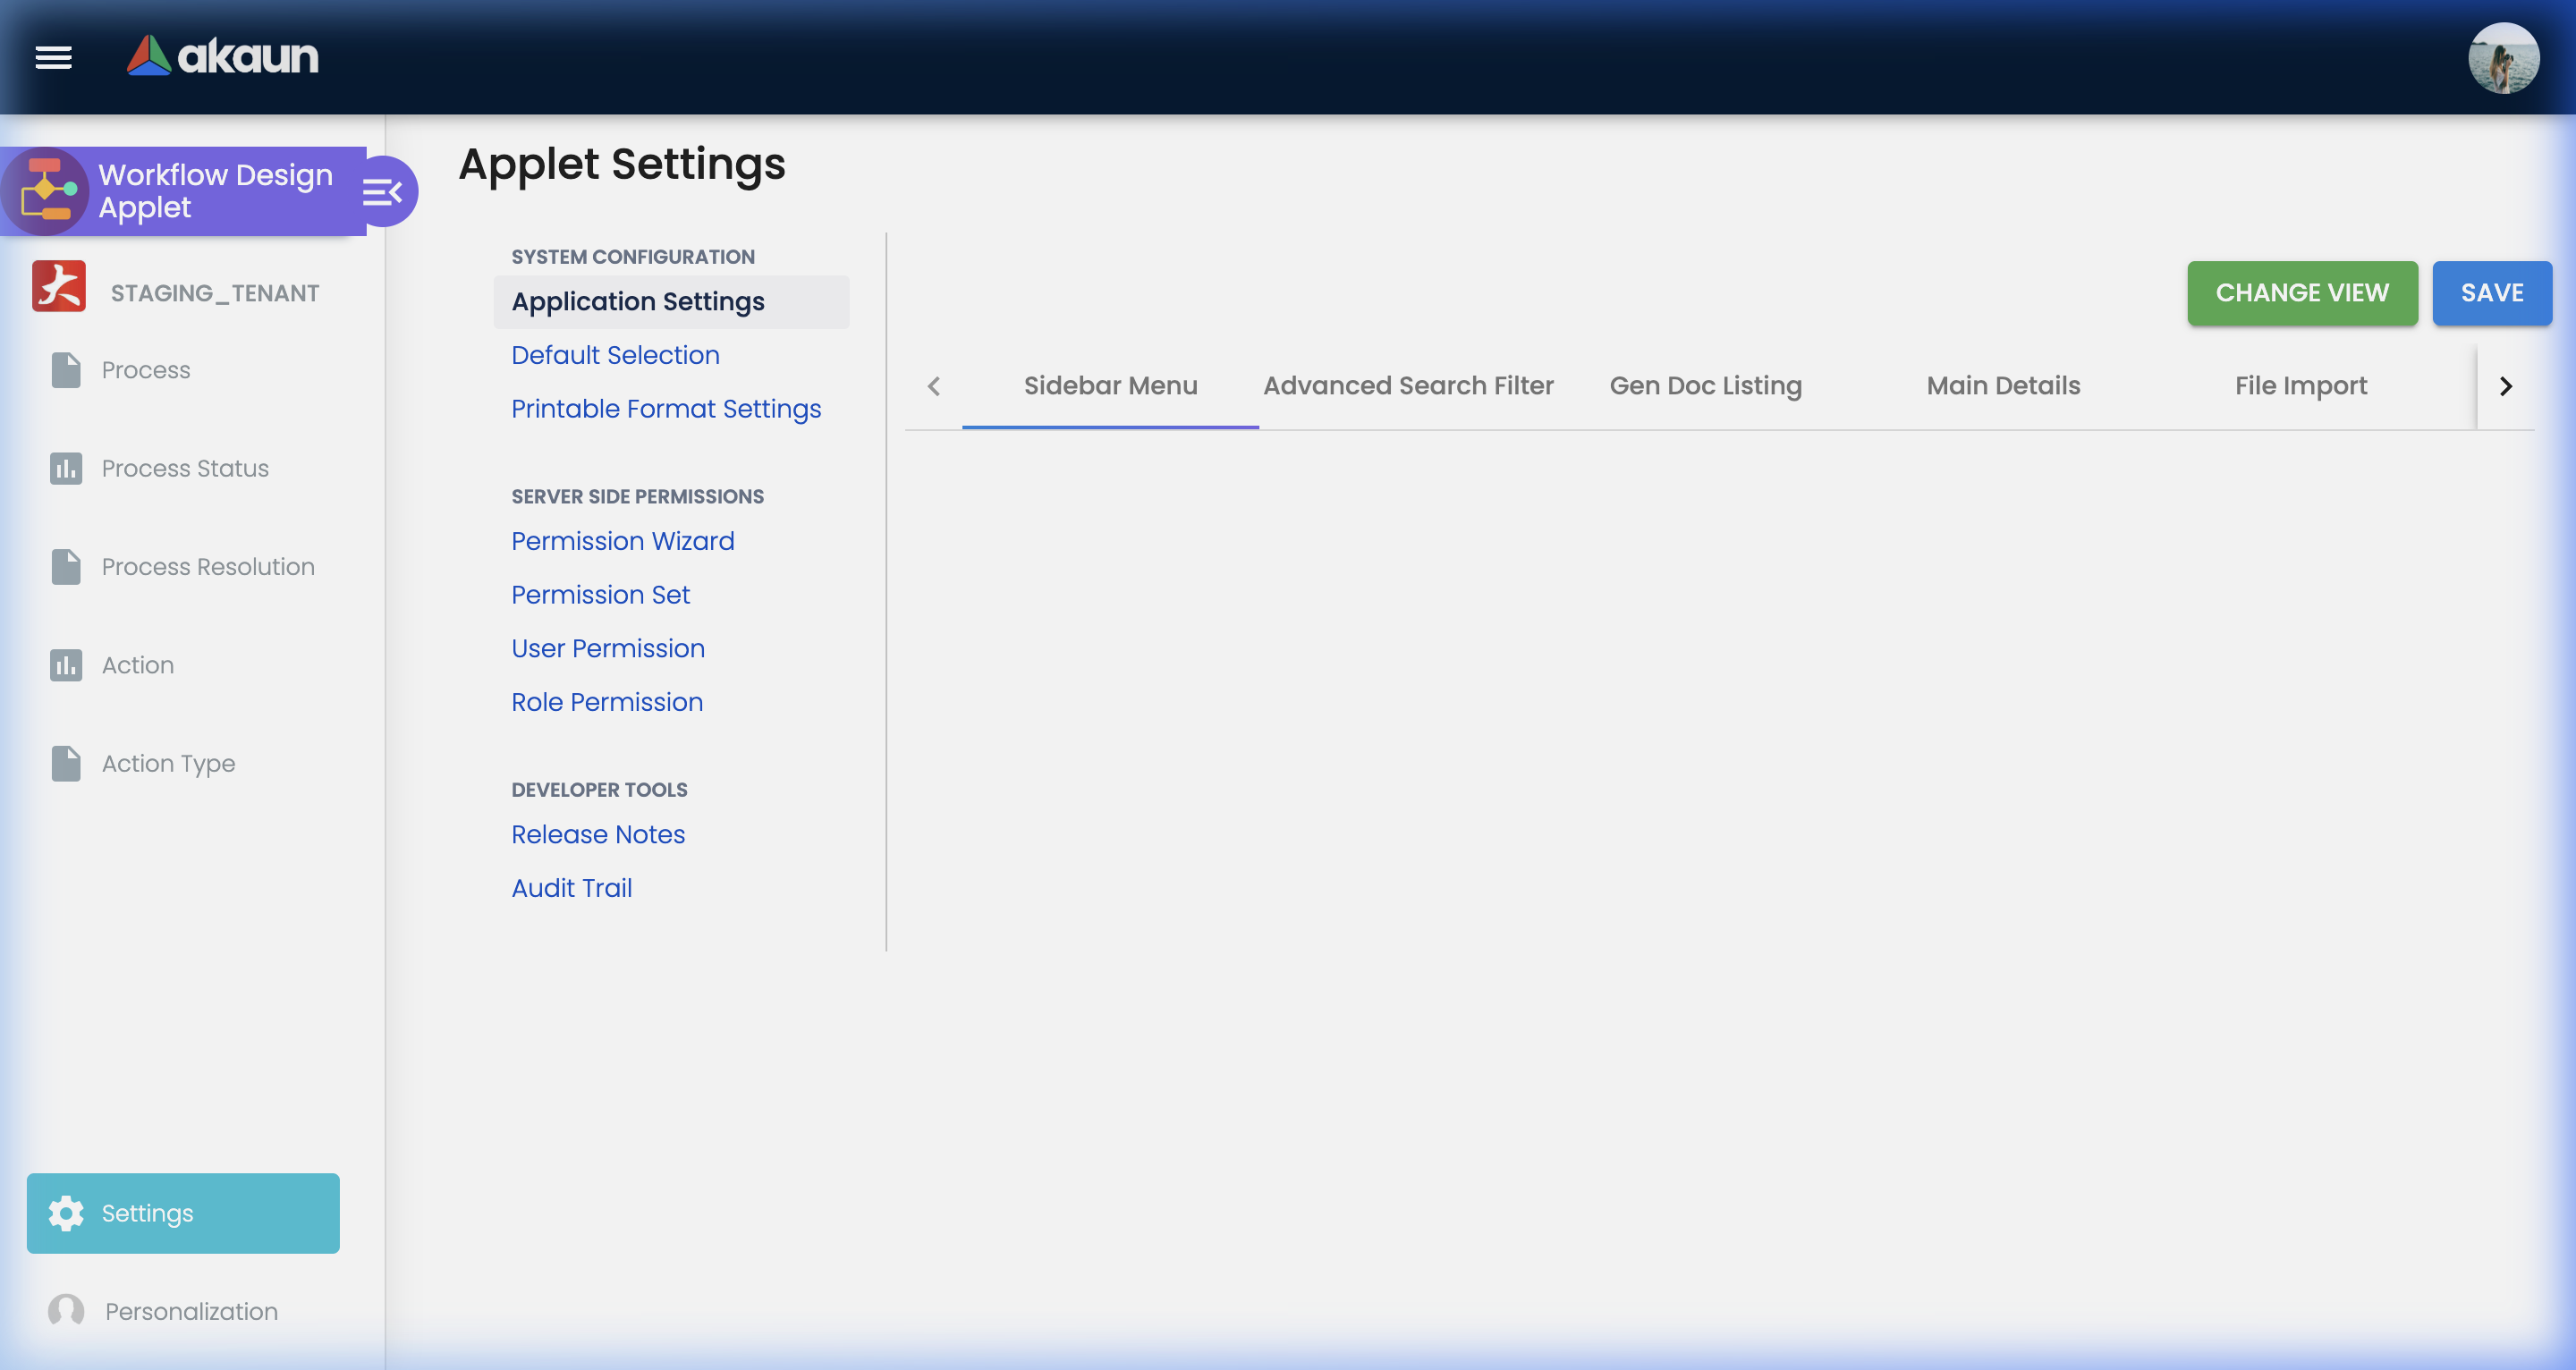
Path: Settings > Application Settings
Control the user interface layout via the Application Settings panel tabs.
- Sidebar Menu: Show or hide specific sidebar sections for different user groups
- Advanced Search Filter: Configure filters available on listing pages
- Gen Doc Listing / Main Details / File Import: Toggle UI components per module visibility requirement
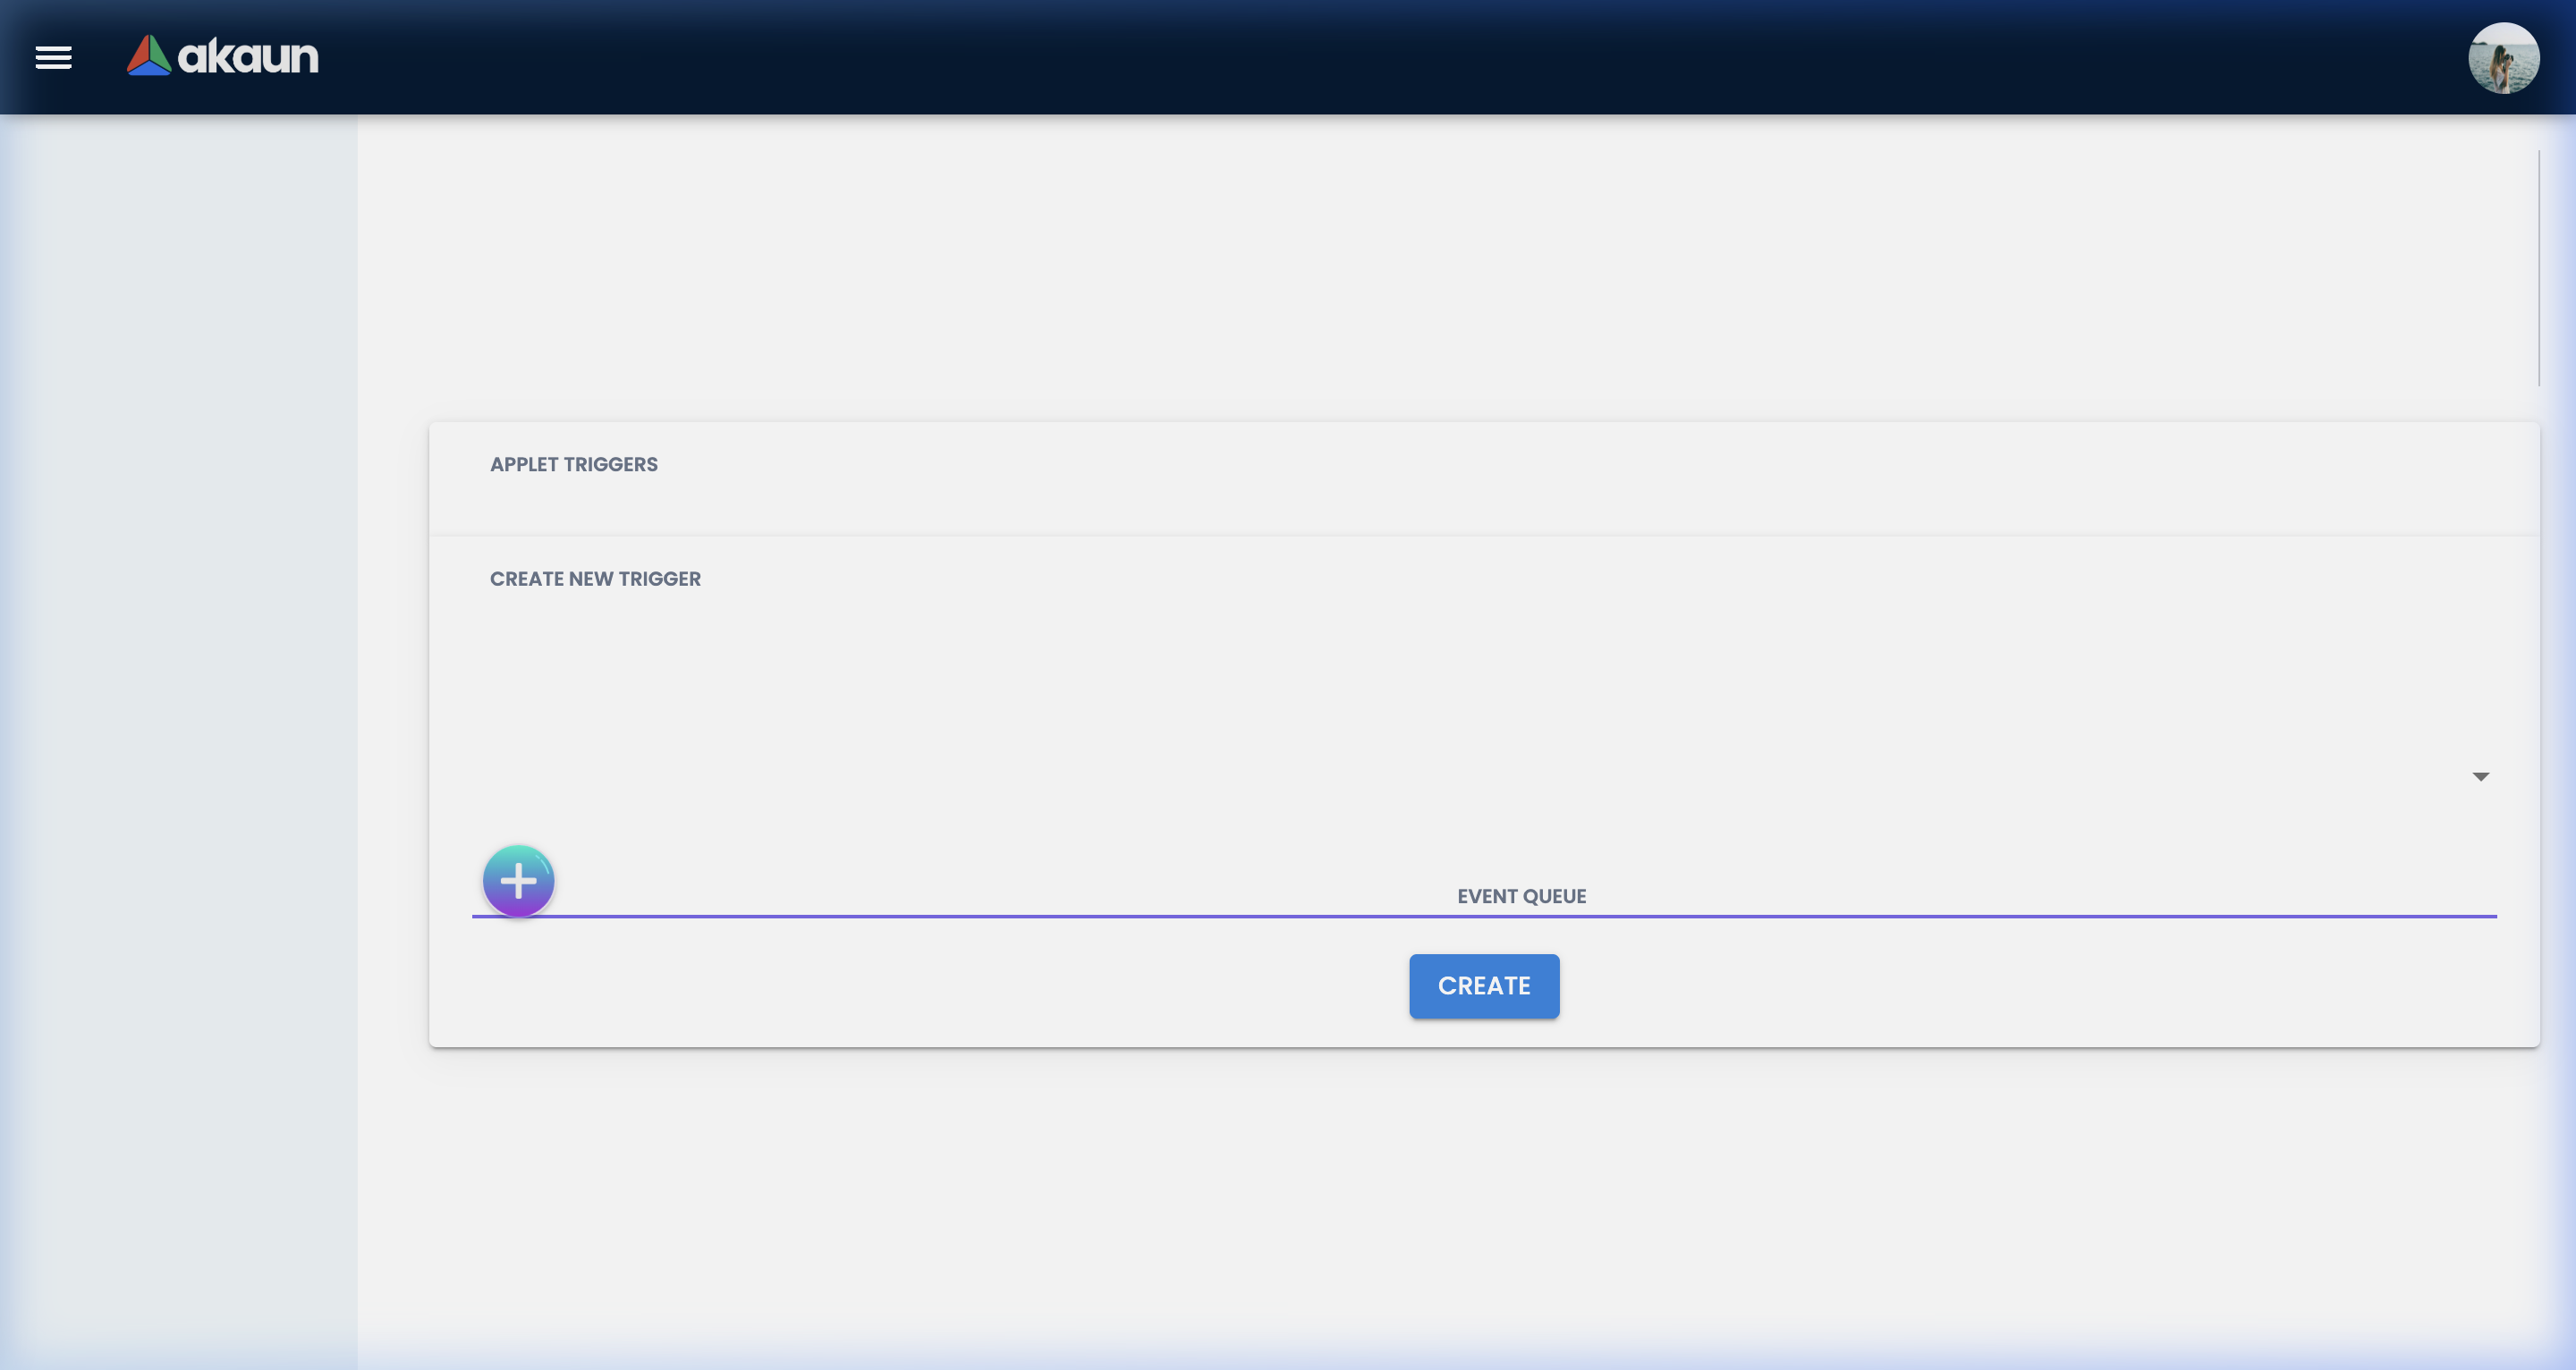
Webhook & API Connections
Path: Settings > Application Settings > Webhook
Configure external endpoints for enterprise integrations.
- Set up URL endpoints that listen for real-time status changes
- Secure data transmission with API keys and authentication headers
- Automate cross-platform business processes without manual data entry
Personalization
Tailor the Workflow Applet to match your specific working style.
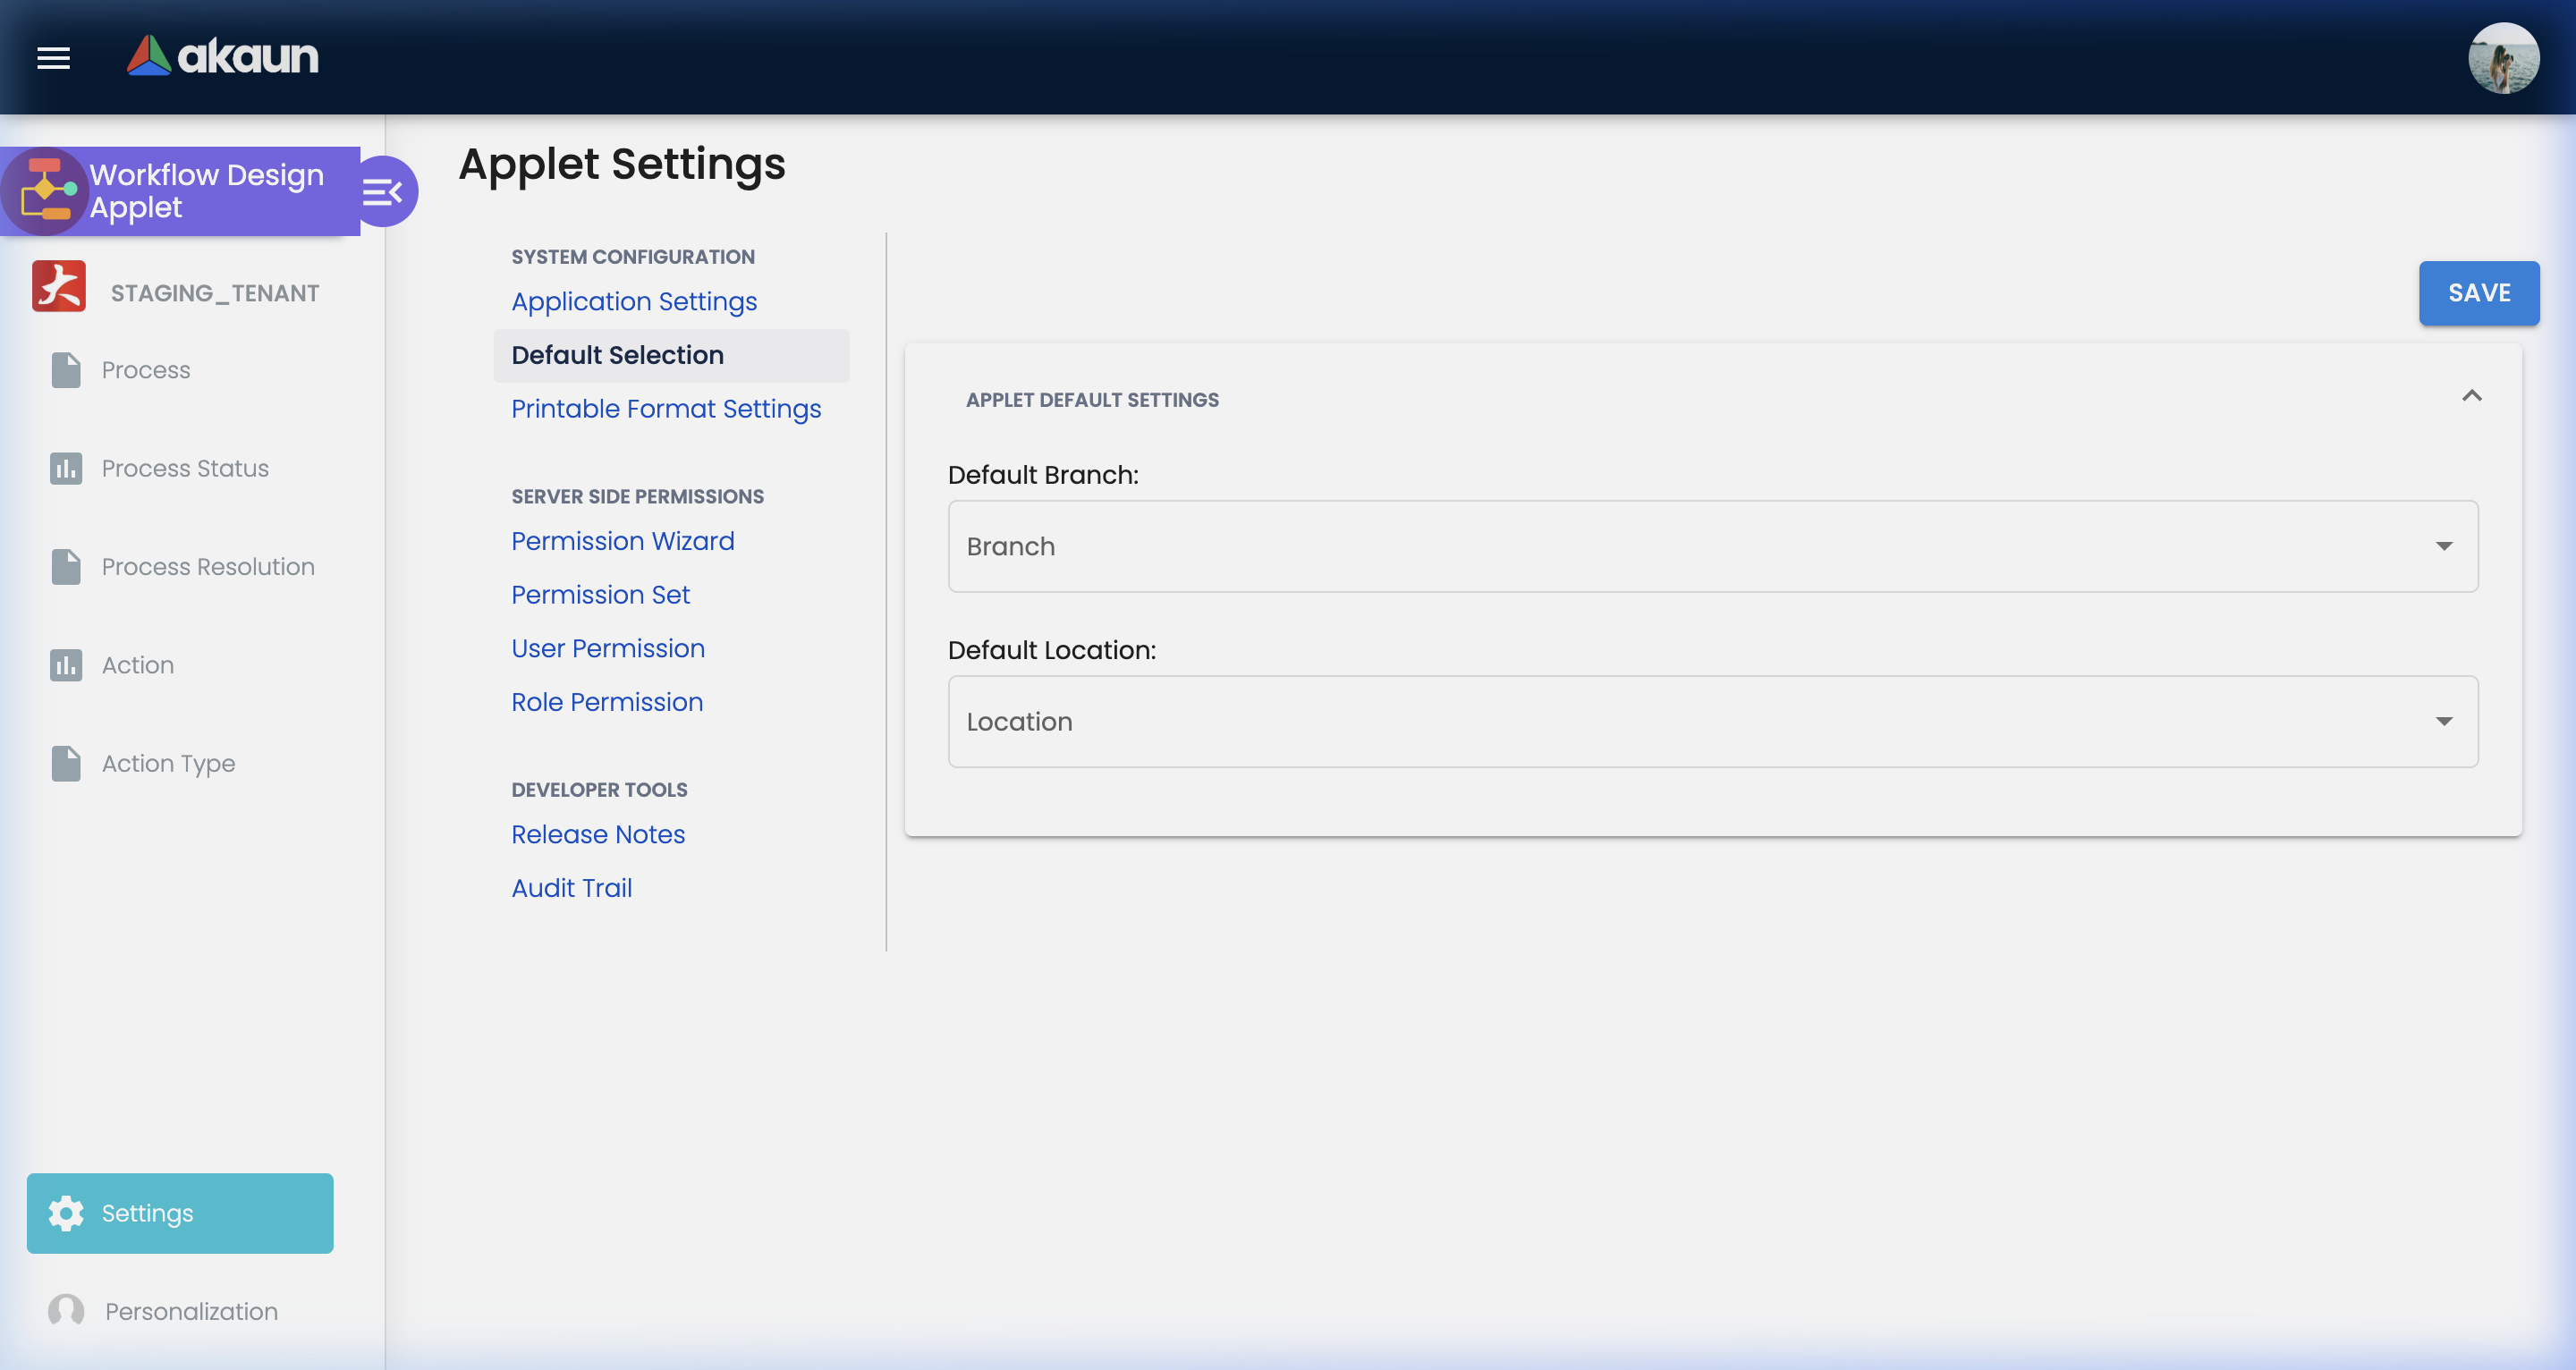
Path: Personalization > Sidebar / Personal Default Selection
- Sidebar Customization: Rearrange menu items so your most frequently used workflows are at the top.
- Personal Defaults: Set your own default parameters for standard processes, saving time on repetitive data entry.
FAQ
Q: Can a single process have multiple starting points? A: No. Every process has exactly one “Initial Status” (usually ‘Draft’ or ‘New’) to ensure a highly standardized, predictable entry point for all documents.
Q: What happens if I delete a status that is currently in use? A: The system actively prevents the deletion of any status linked to ongoing document instances. You must first resolve, re-route, or complete those active documents before structural deletion is permitted.
Q: Can I use conditional logic for approvals (e.g., only route to CEO if amount > RM 50,000)? A: Yes. While the fundamental statuses remain simple, the transitions between them can be governed by complex criteria based on document fields (like “Total Amount” or “Department”).
Q: Is there a history of workflow configuration changes? A: Yes. BigLedger maintains a comprehensive “Audit Trail” not just for individual documents, but also for administrative modifications to the workflow design itself, ensuring complete compliance with IT governance standards.
Q: How do we handle an approver who goes on extended sick leave? A: Approvers can use the Delegation feature to temporarily assign their approval rights to a colleague, or an Administrator can override and re-route the document from the backend if necessary.
Summary
The Workflow Design Applet is the most powerful “glue” in the BigLedger ecosystem. By creating a standardized, digital framework for business logic, it eliminates guesswork, dramatically speeds up decision-making, and provides the iron-clad accountability required for modern audit and compliance standards.