Sales Order (Internal)
Purpose and Overview
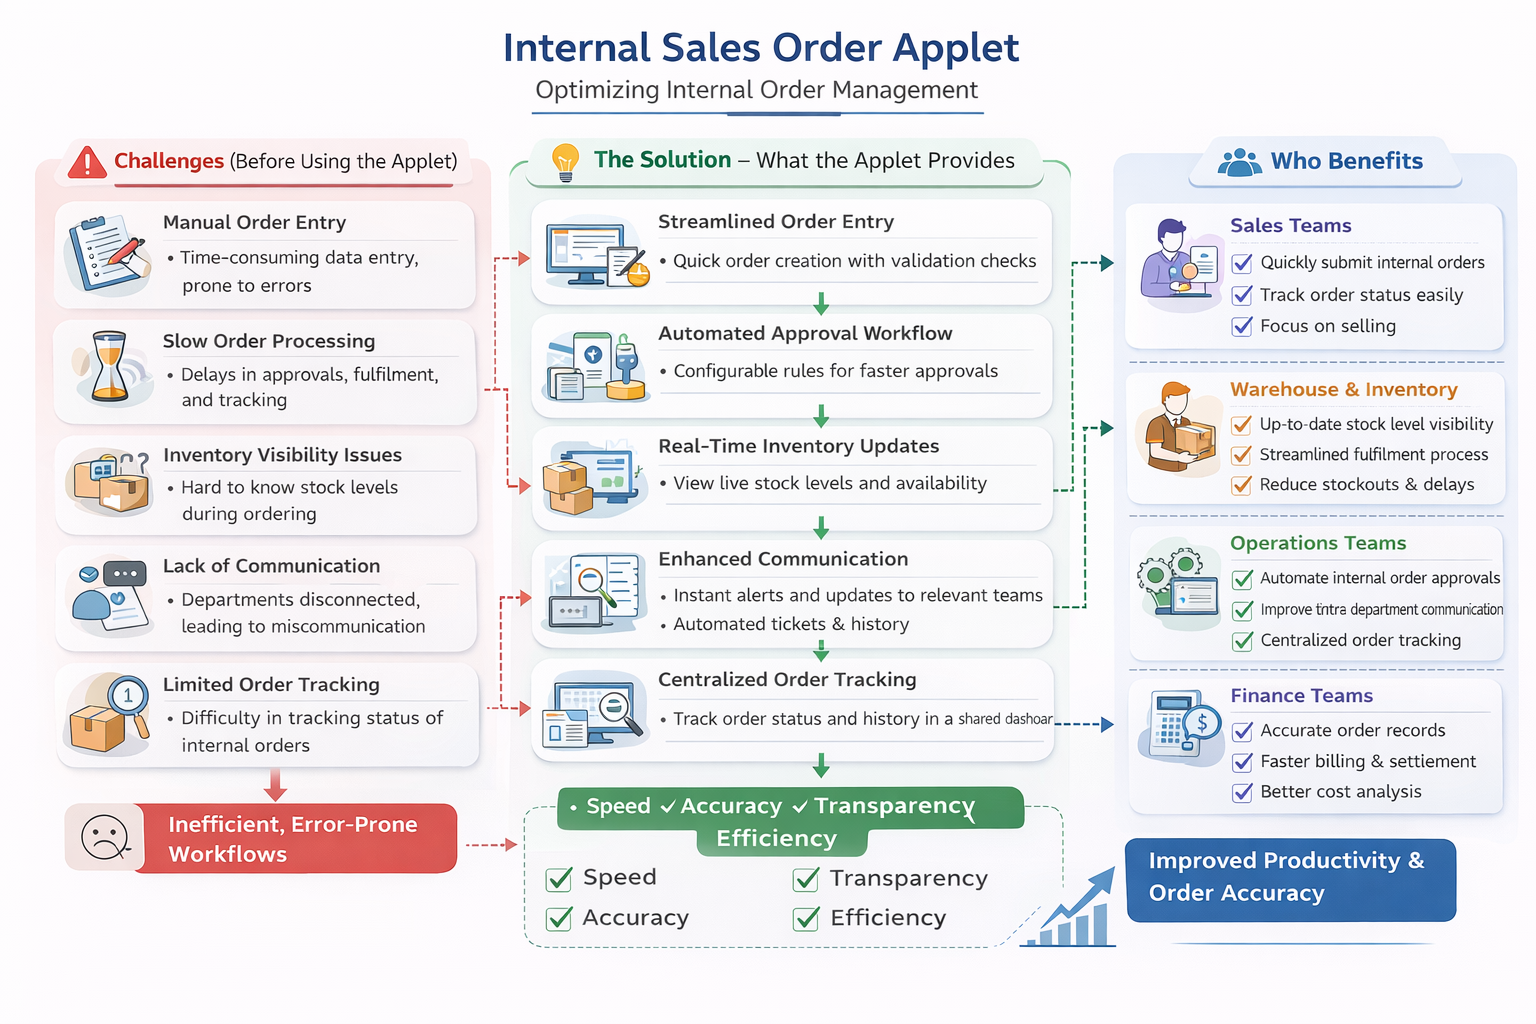
The Sales Order (Internal) Applet is a full lifecycle sales order management module for Wavelet ERP. It covers order creation, editing, approval, fulfillment, delivery planning, e-commerce synchronization, reporting, and file import/export. It is designed to centralize sales order data, enforce operational controls (credit limits, workflow status, posting status), and connect downstream processes such as pick/pack, delivery, invoicing, and accounting.
Key Features Overview
Who Benefits from This Applet?
Sales Operations and Order Entry:
- Structured sales order creation and editing
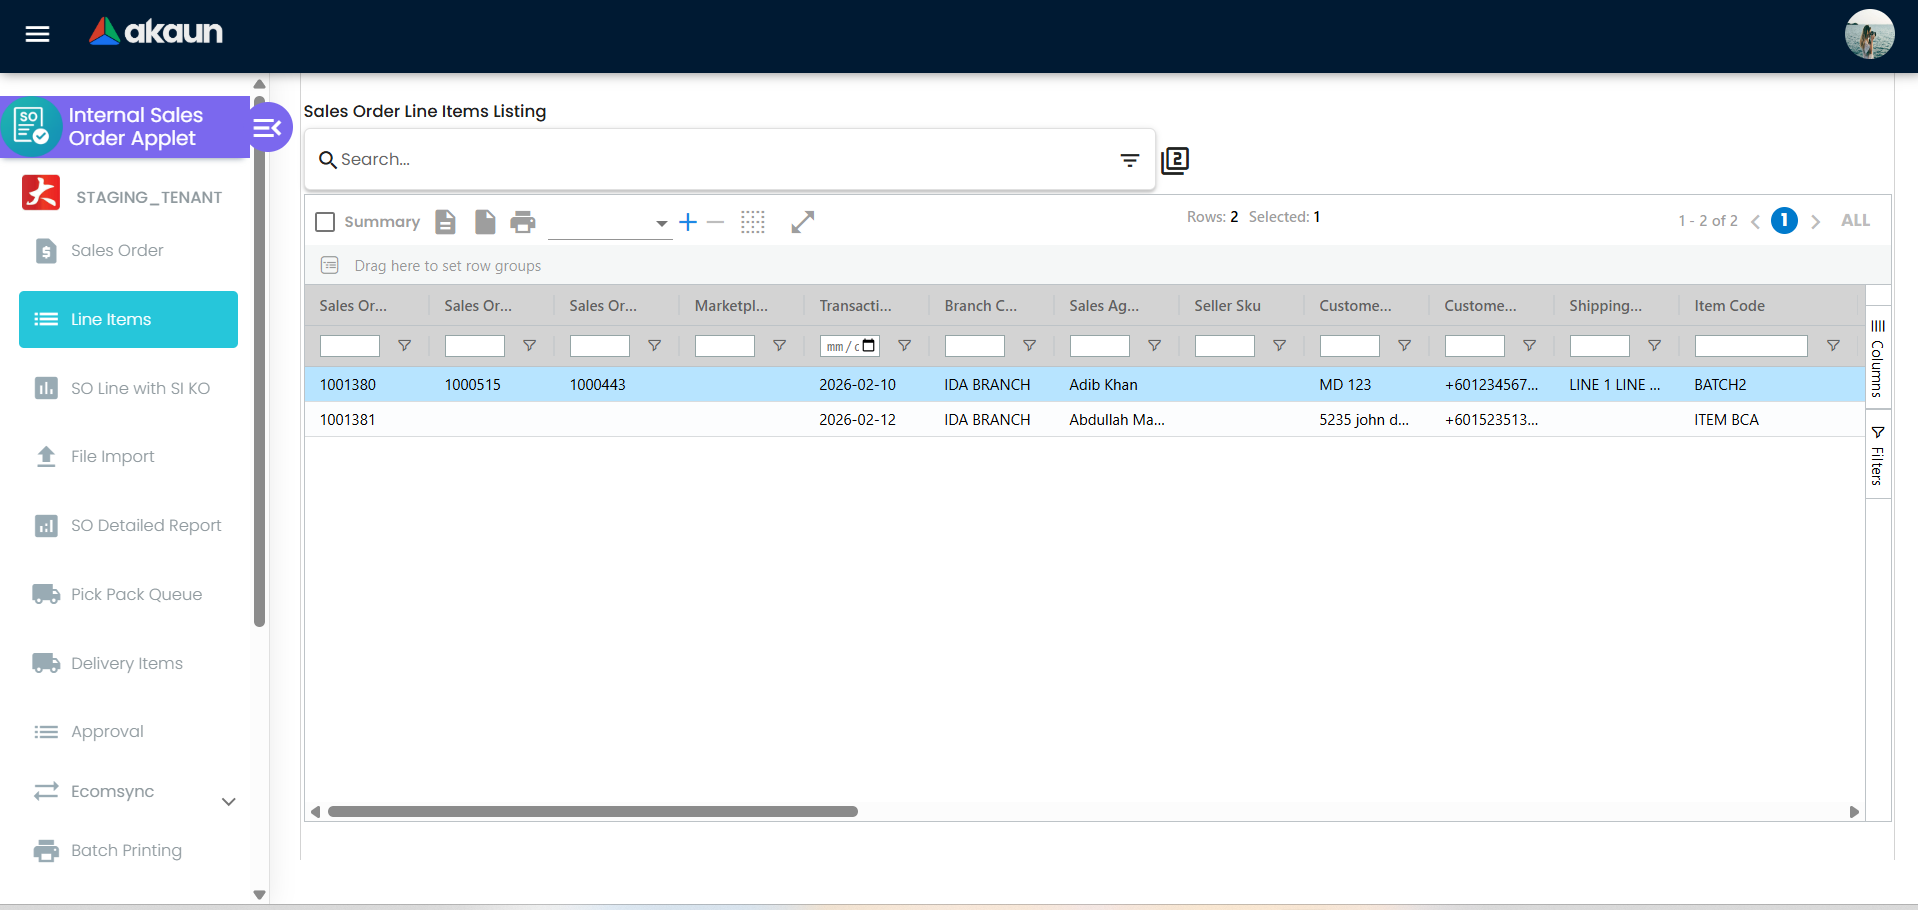
- Fast search and listing of orders and line items
- Customer, billing, and shipping details in one place
- Quick conversion to downstream documents
Warehouse and Fulfillment Teams:
- Pick Pack Queue with grouped sales orders
- Delivery Items listing and printing
- Delivery plans and calendar view
- Accurate stock and delivery status visibility
Finance and AR/AP Teams:
- Posting status control (DRAFT, FINAL, VOID, DISCARD, CLOSE)
- Credit limit enforcement
- Settlement, ARAP, receipt voucher, and contra visibility
- Audit-ready reporting and export
E-commerce Operations:
- Marketplace order visibility and sync status
- Ecomsync dashboard, scheduler, and review management
- Lazada and Shopee order handling
Management and Admins:
- Detailed reports and line-level analytics
- Configurable settings and permissions
- Clear audit trail and operational control
What Problems Does This Solve?
The Manual Sales Order Problem:
Traditional sales order handling is fragmented across spreadsheets, email threads, and disconnected systems. Common issues include:
- Duplicate data entry and inconsistent documents
- Delayed fulfillment due to missing delivery details
- Inaccurate stock and pricing updates
- Poor visibility into approval status and credit limits
- Difficulty tracking order history and changes
The Sales Order (Internal) Applet Solution:
- Single source of truth - One centralized sales order record across teams
- Controlled posting - DRAFT, FINAL, VOID, DISCARD, CLOSE with rules
- Integrated fulfillment - Pick/pack queue, delivery plans, and delivery items
- E-commerce ready - Marketplace integration and status visibility
- Financial control - Credit limit checks and settlement management
- Reporting and export - Detailed analytics and file exports
Key Features Overview
Key Concepts
Understanding the Sales Order Framework
| Aspect | Component | Practical Example |
|---|---|---|
| Who is buying? | Customer / Entity | Retail customer or wholesale account |
| What is sold? | Line Items | Item A (Qty 10), Item B (Qty 5) |
| How is it fulfilled? | Delivery / Pick Pack | Delivery plan with assigned branch and location |
| How is it settled? | Posting / Settlement | FINAL status with settlement lines |
Sales Order Lifecycle
Draft -> Final -> Fulfillment -> Delivery -> Settlement/Invoice -> Close
  |       |           |             |              |               |
  |       |           |             |              |               +--> Close (if enabled)
  |       |           |             |              +--> Receipt vouchers and ARAP
  |       |           |             +--> Delivery items and tracking
  |       |           +--> Pick/pack and warehouse posting
  |       +--> Credit limit and workflow validation
  +--> Edit and discard if required
Quick Start Guide
Get started fast based on your role.
For Sales and Order Entry: Create Your First Sales Order
Goal: Create a valid sales order and submit it for fulfillment.
Navigate: Go to Sales Order from the sidebar

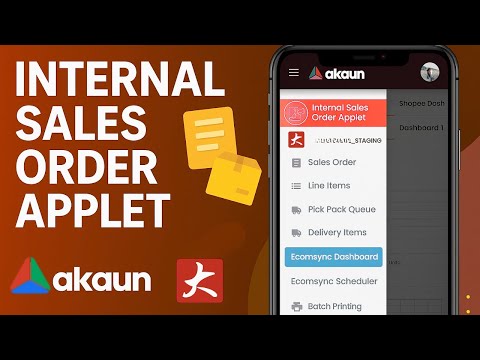
Sales Order in Sales Order Applet. Create: Click Create and fill in Main Details
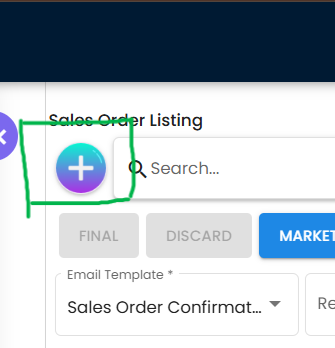
Create button for creating new sales order.

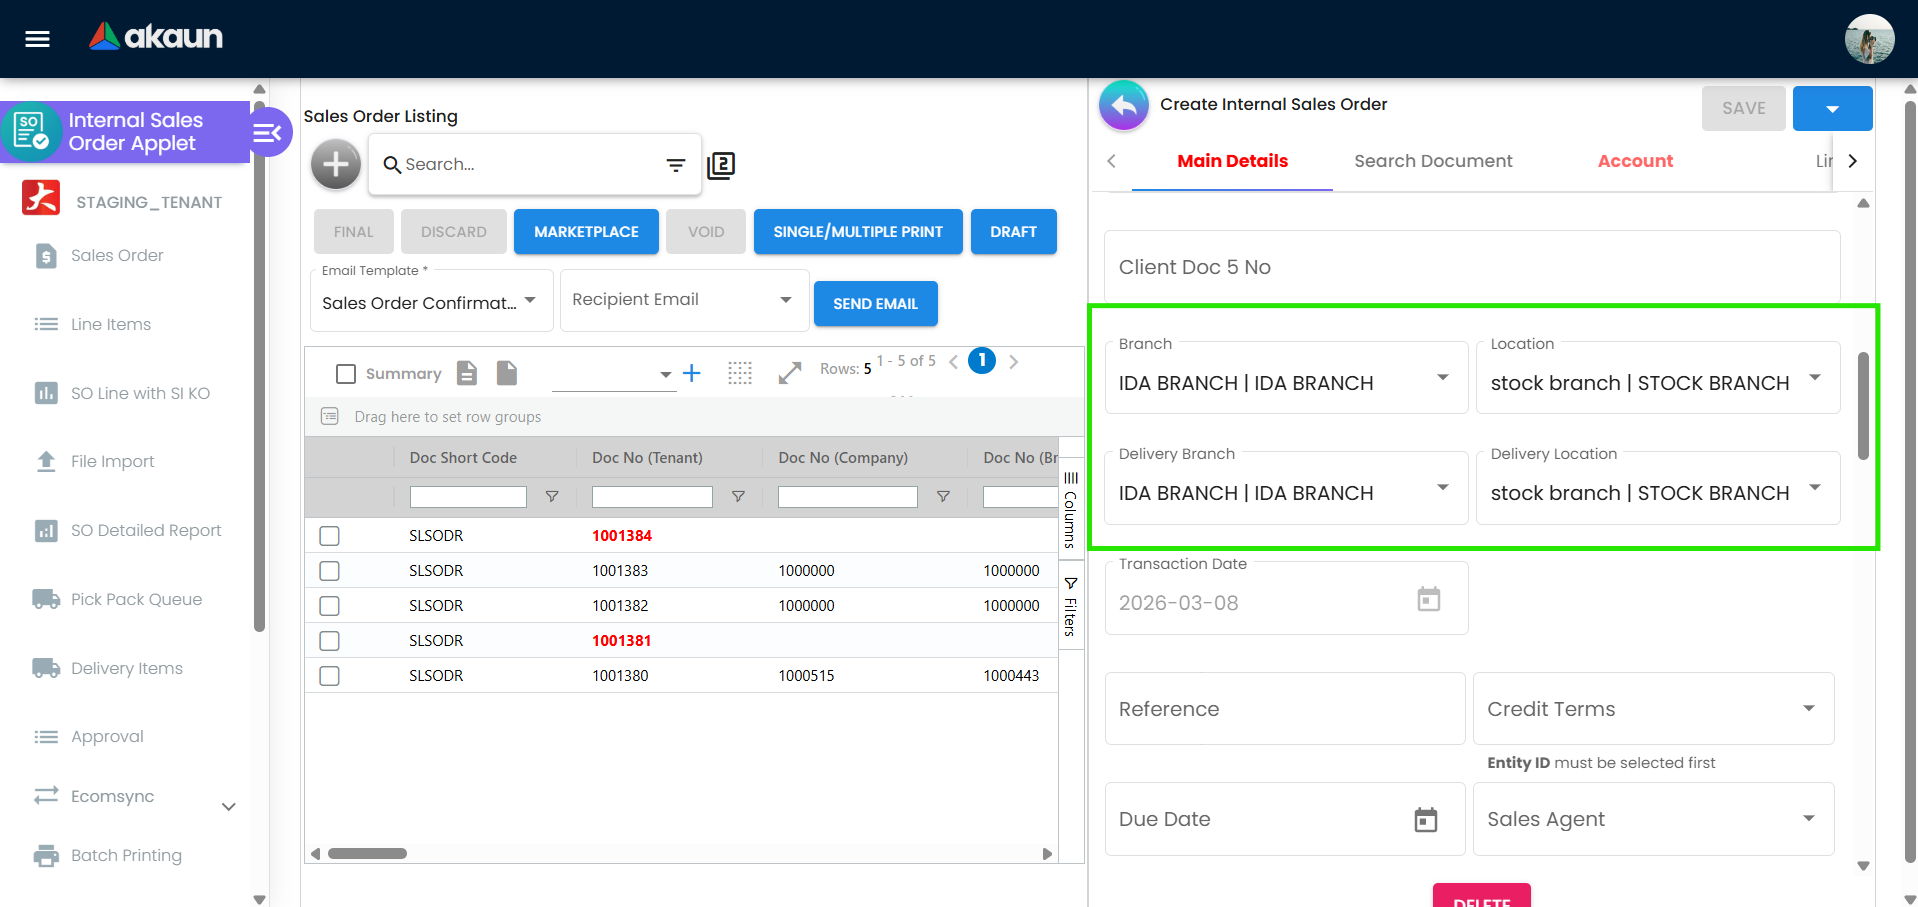
- Branch, location, transaction date
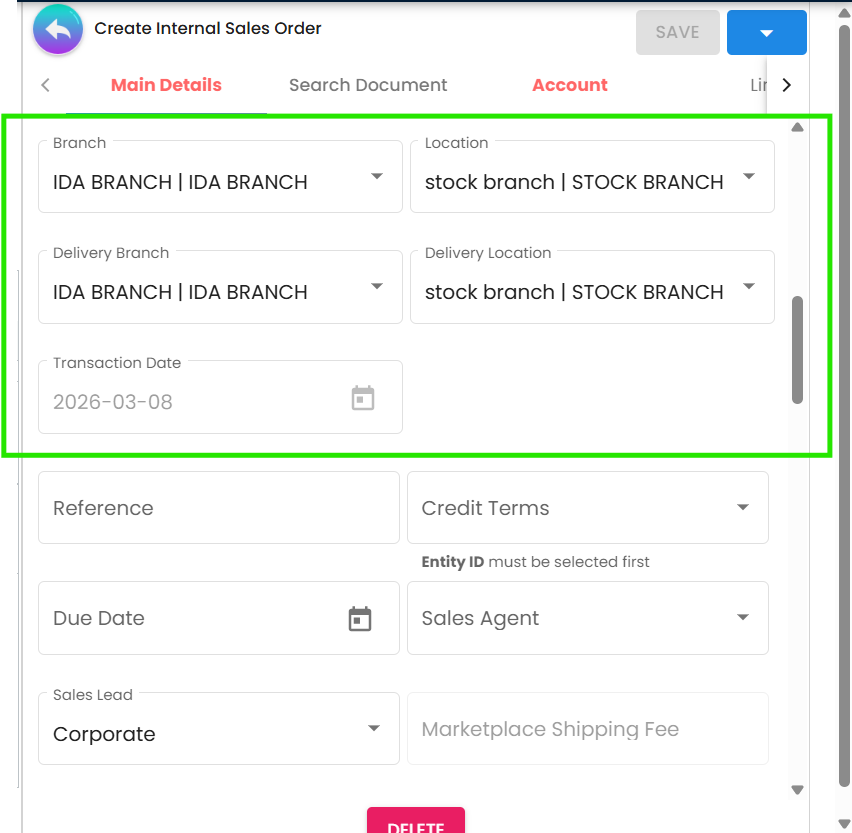
Dropdown for user to choose the branch, delivery location and also transaction date. - Customer/entity selection (from Customer Applet)
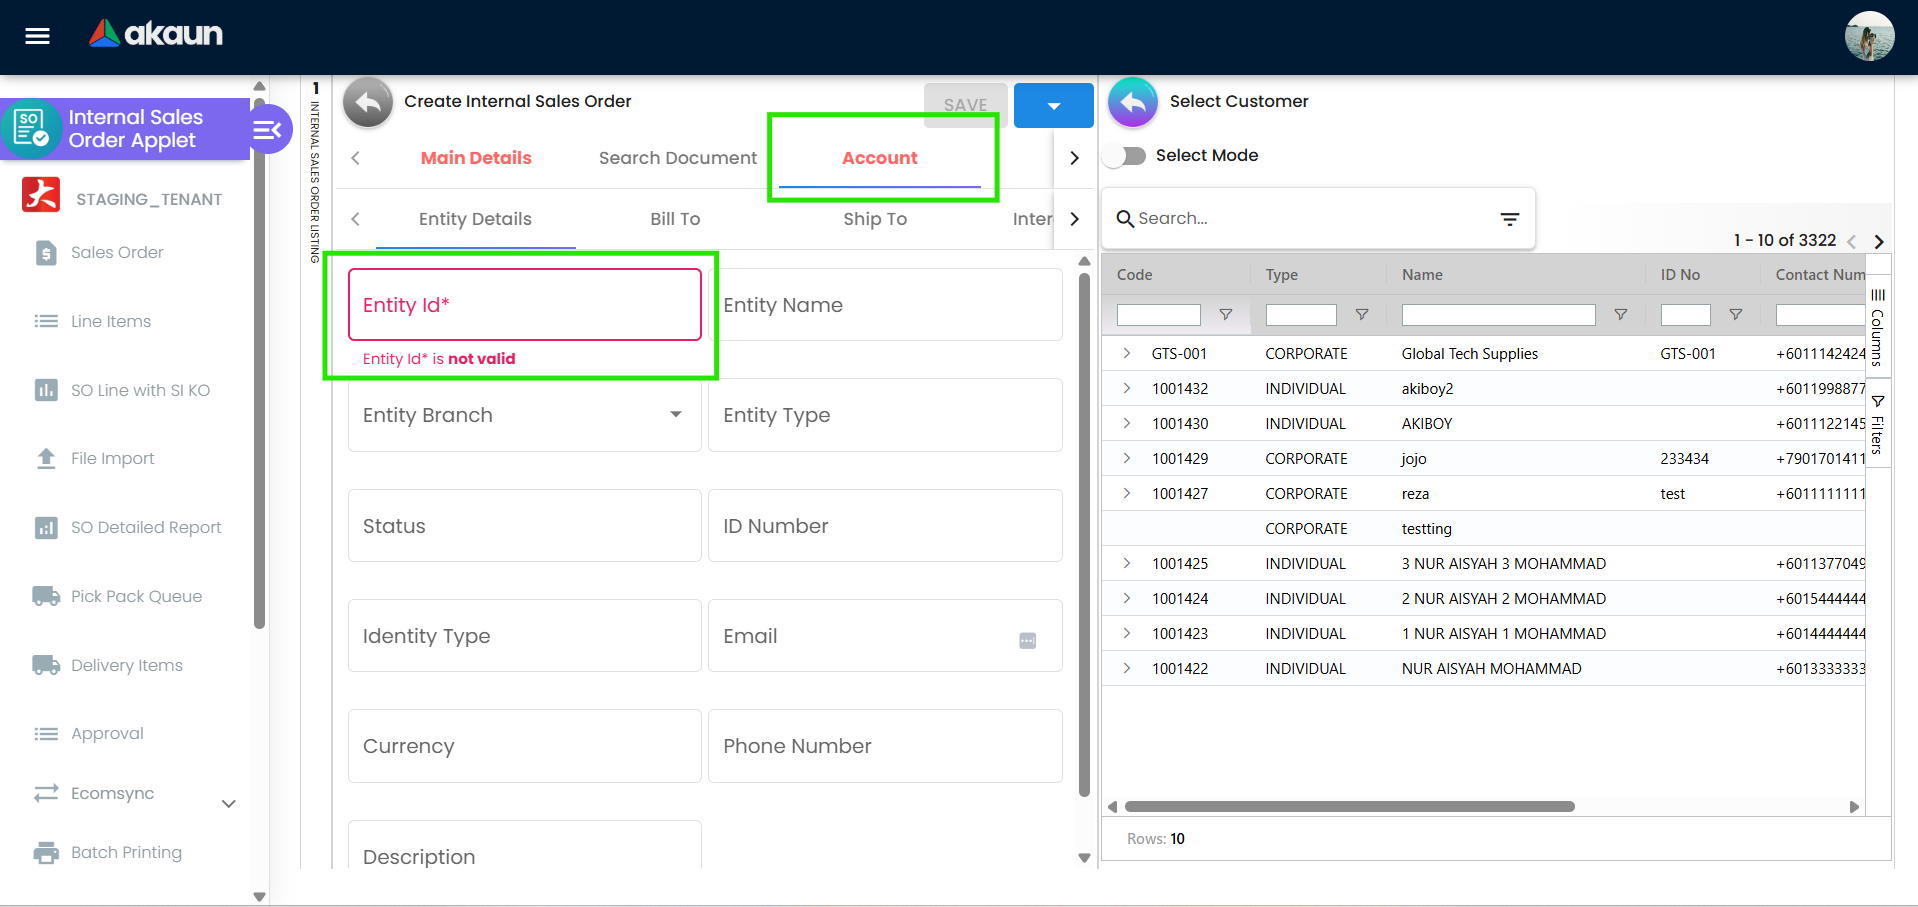
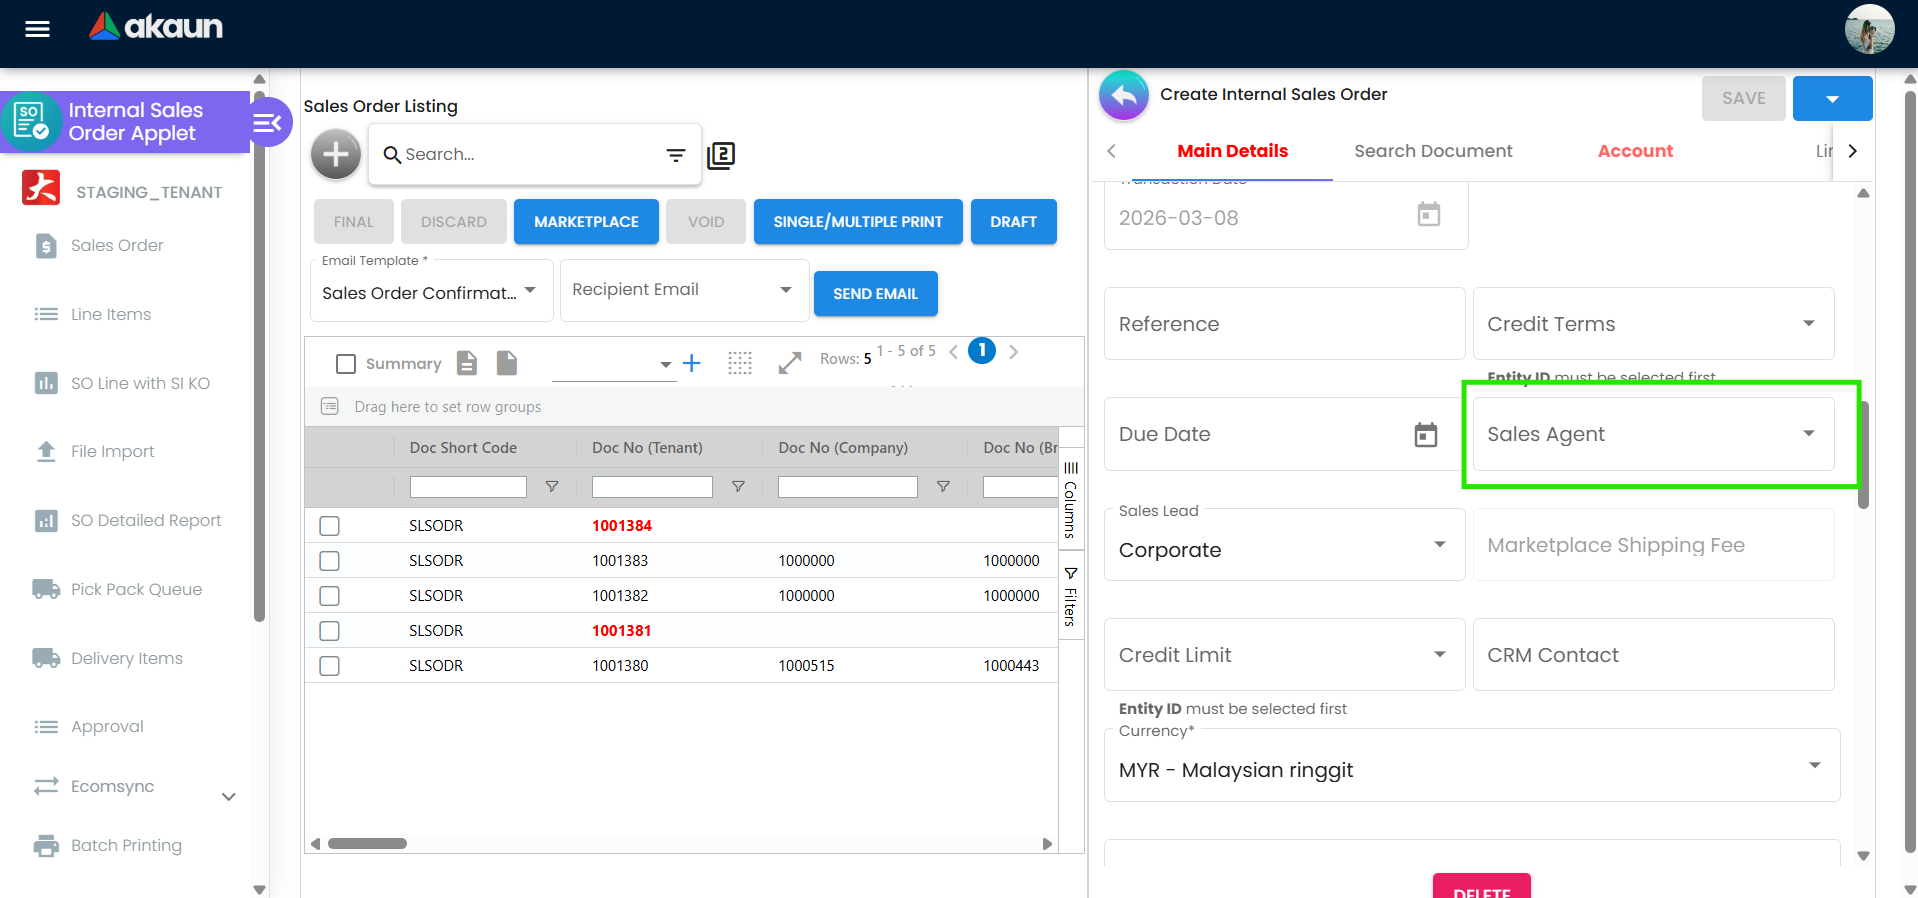
Entity Details for user to choose, which are created from Customer Applet. - Sales agent and reference
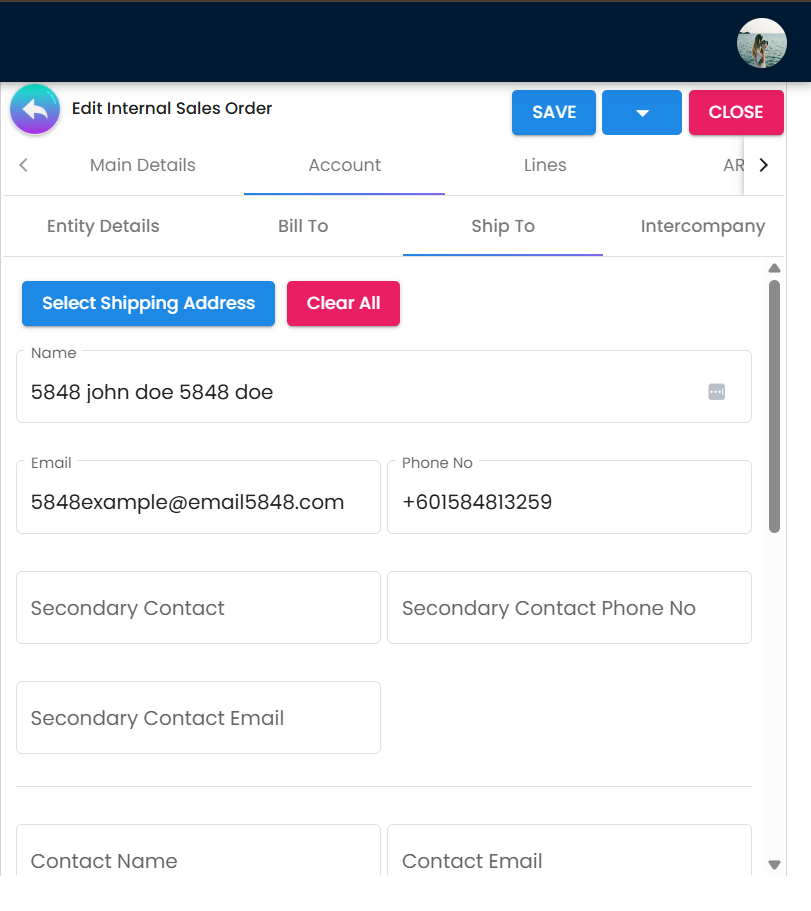
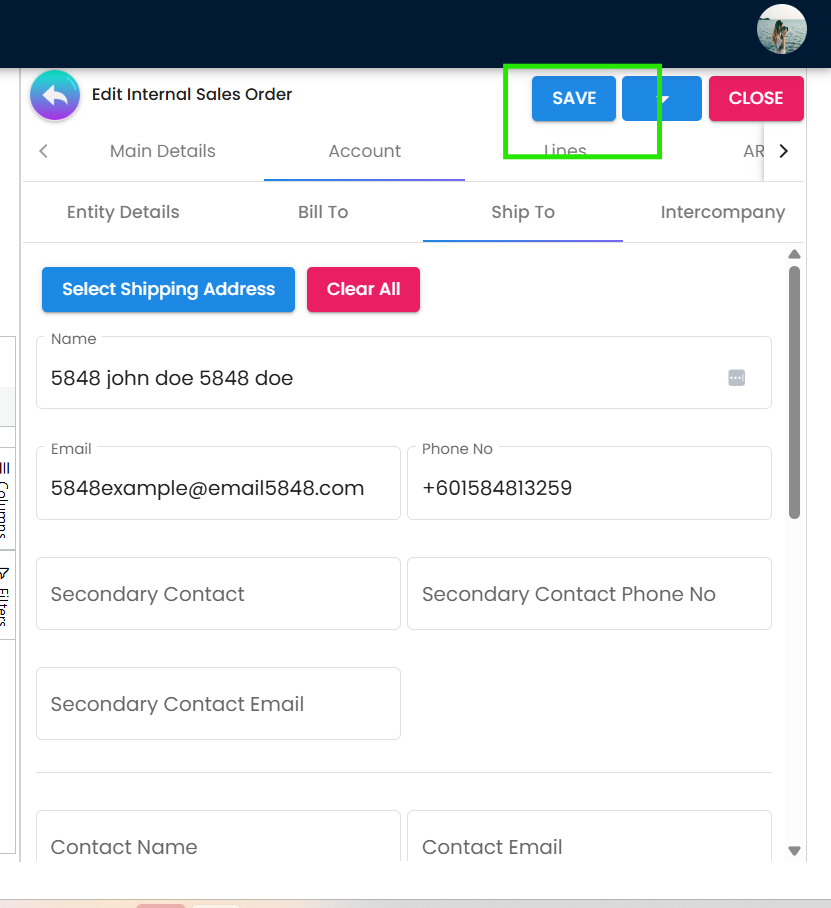
- Confirm Billing & Shipping:
- Select billing and shipping addresses
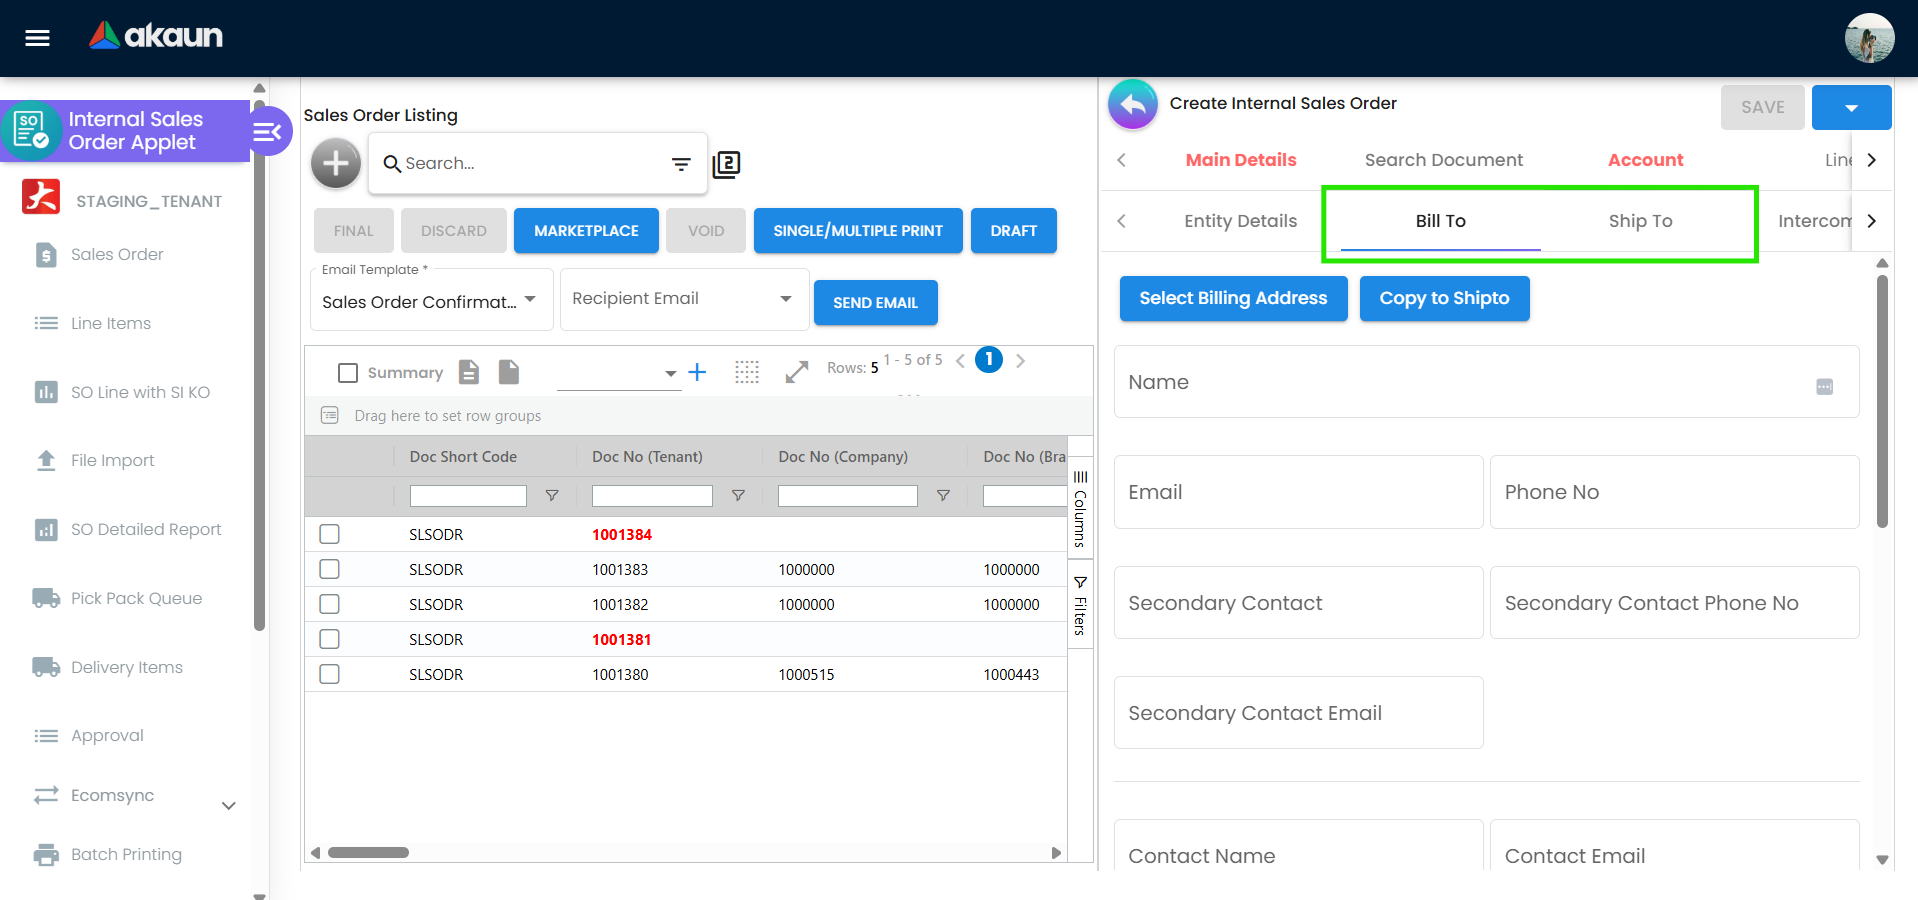
Billing address and Shipping address tab
- Select billing and shipping addresses
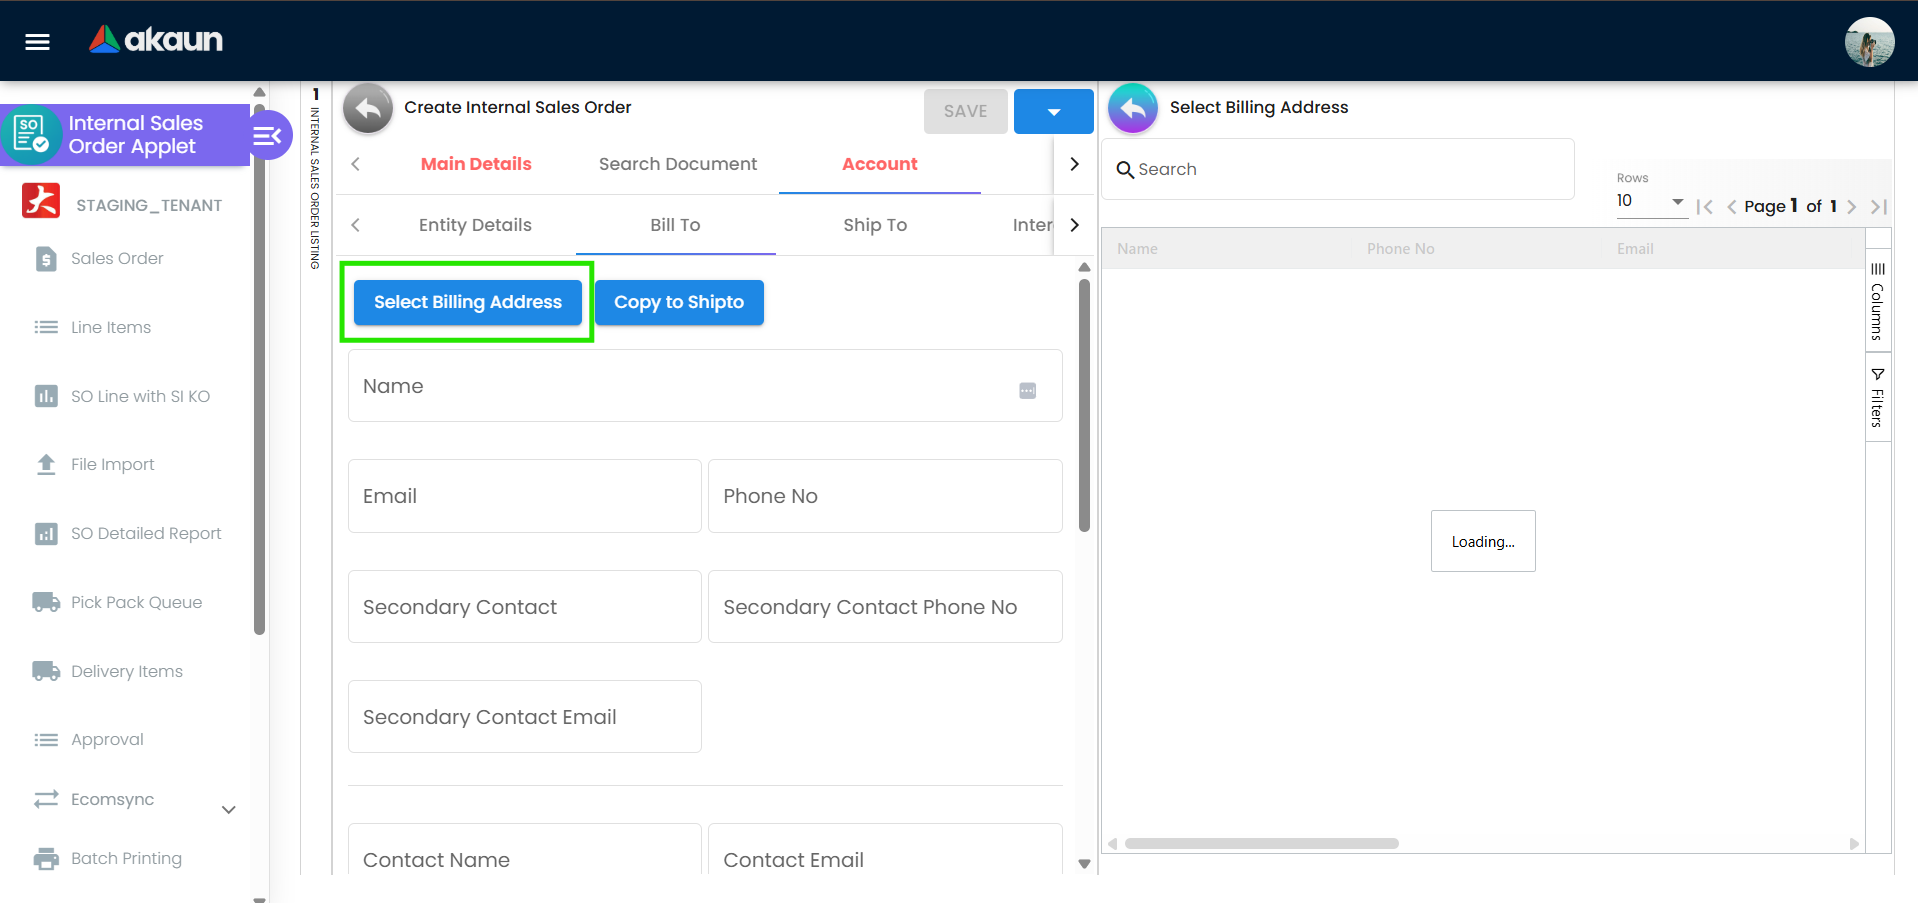
- Copy billing to shipping if applicable
Add Line Items:
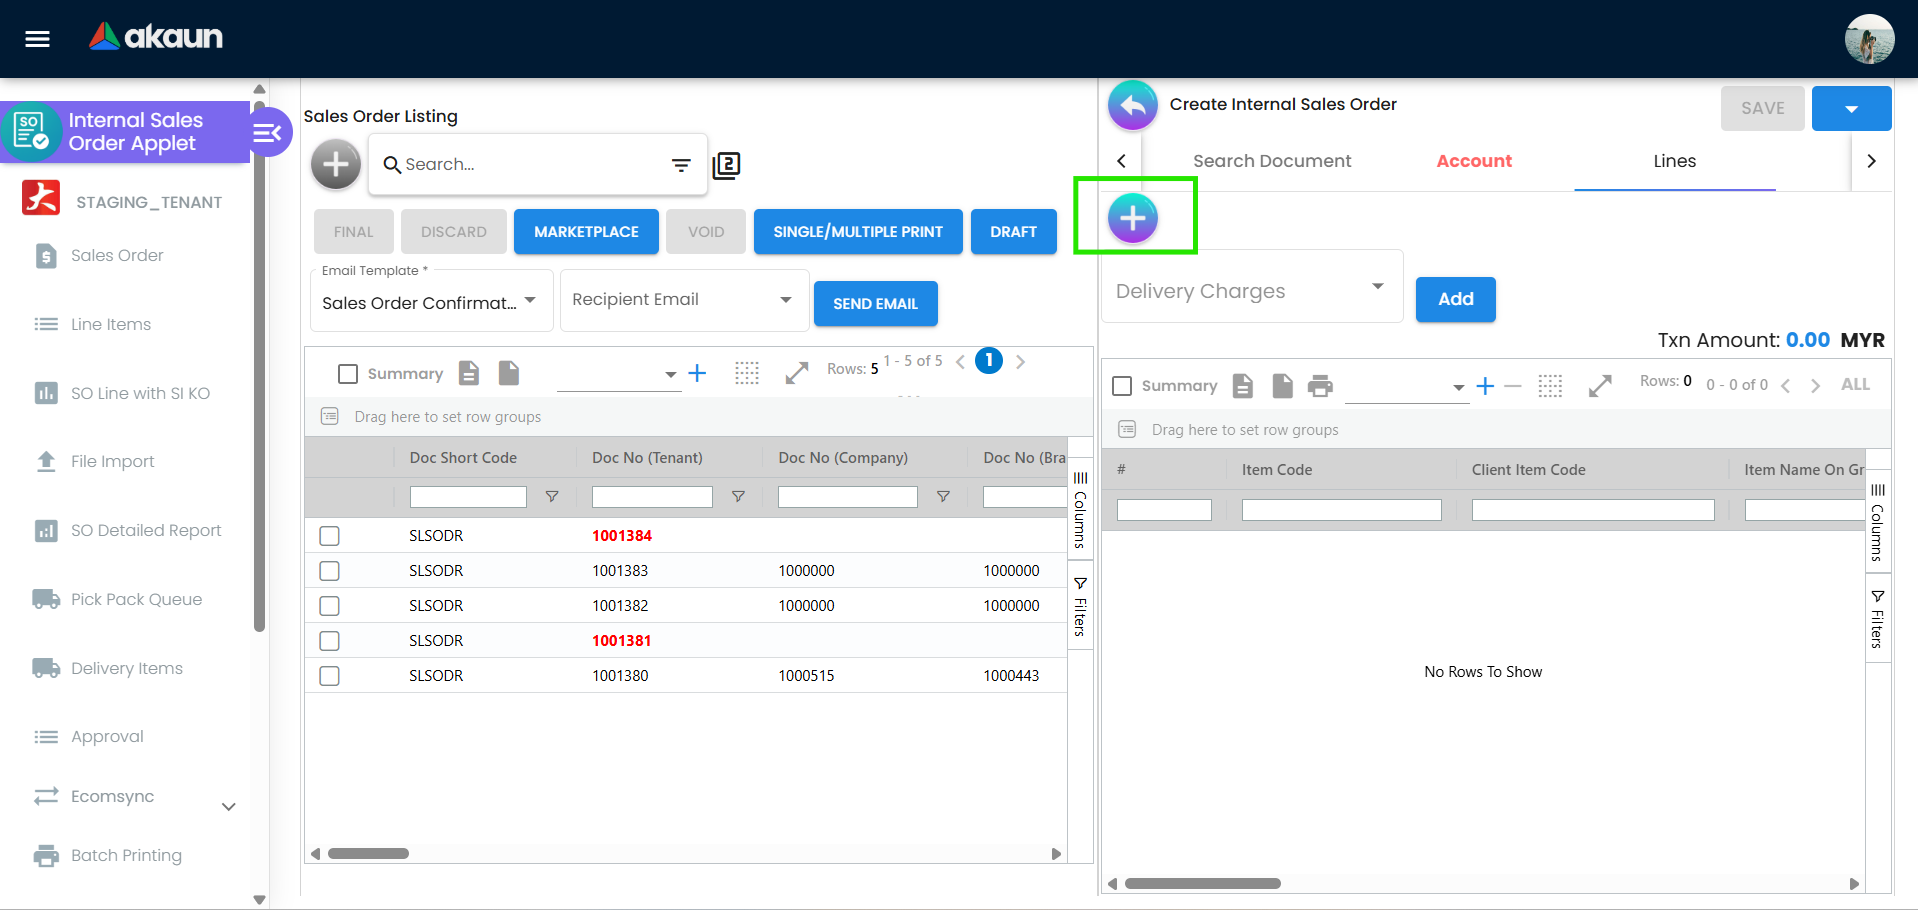
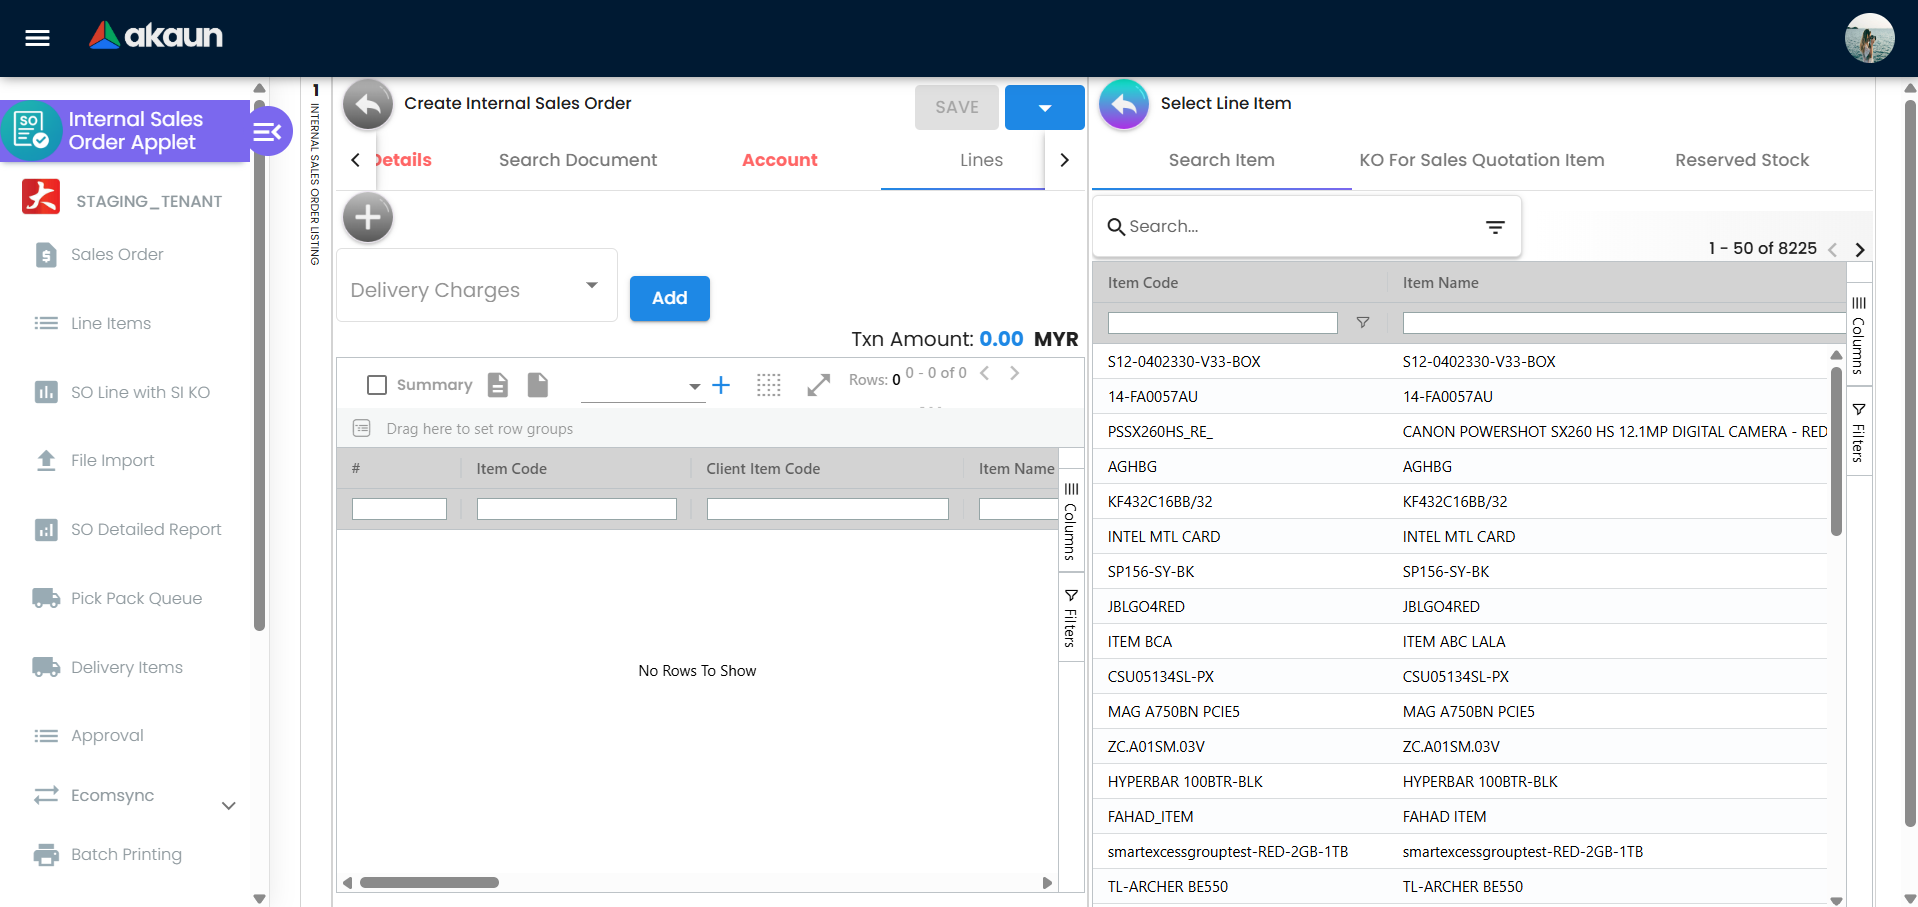
Add line items in the Sales Order - Search items or scan code
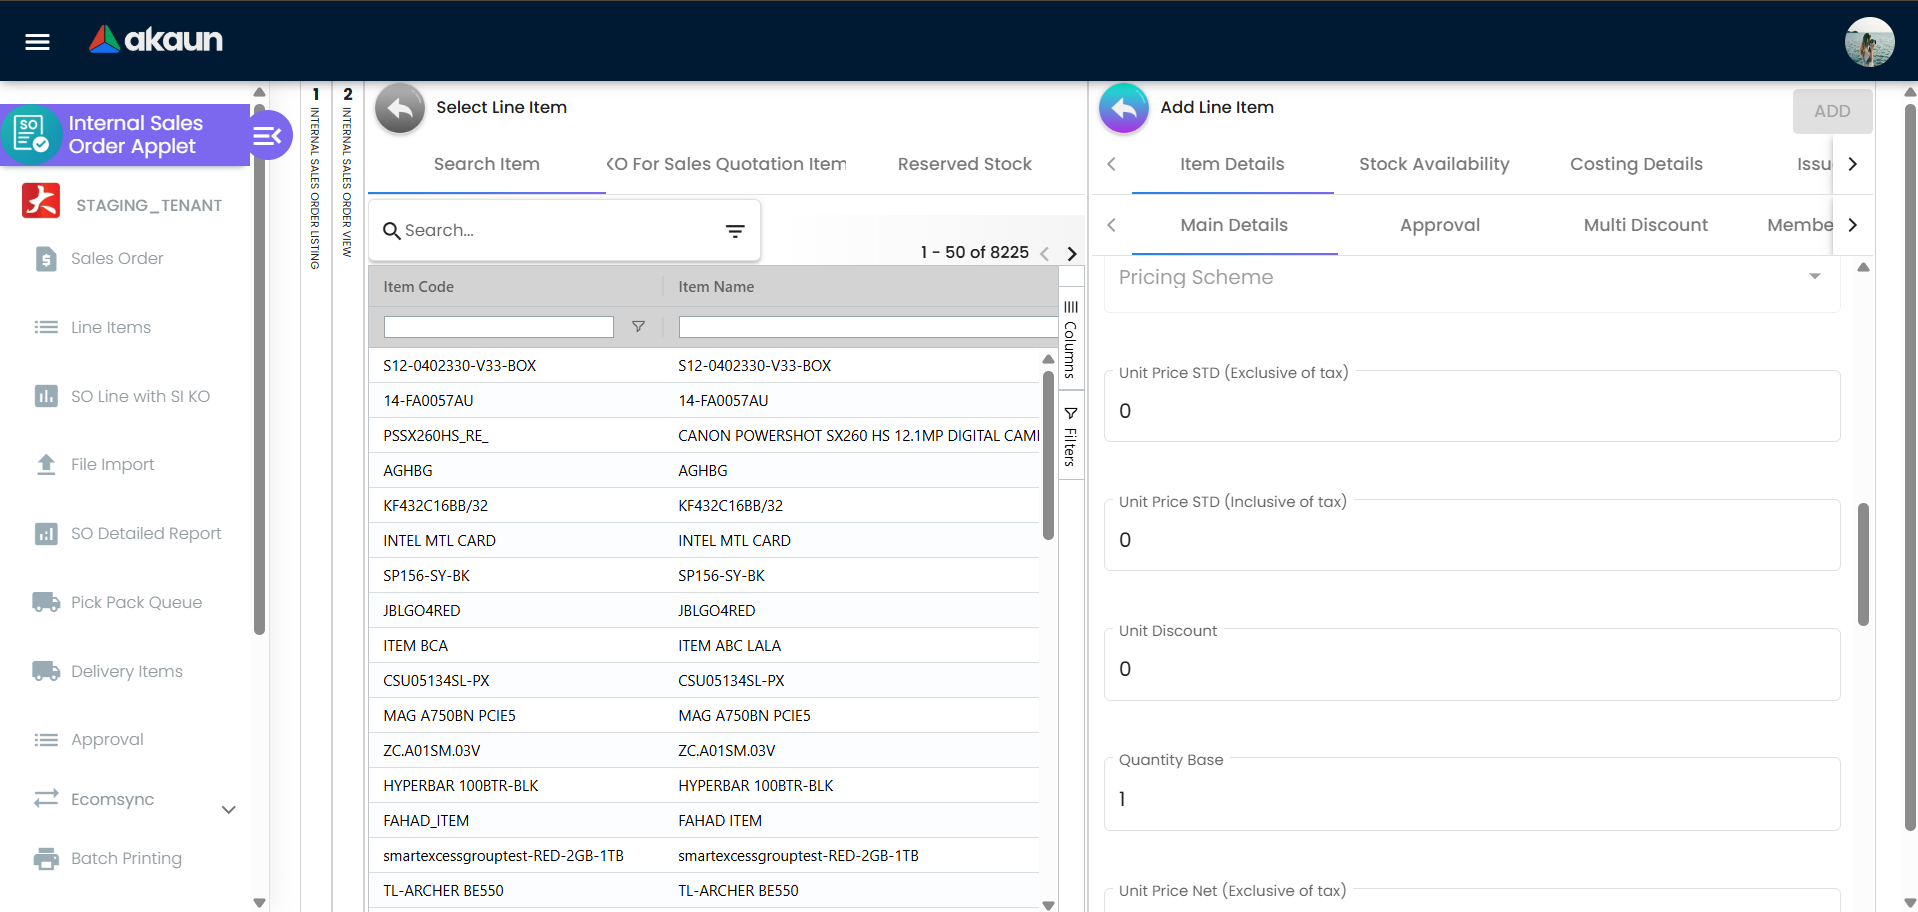
Search line items which will be added in the Sales Order - Set quantity, price, discounts
Set quantity, price, and discounts for the line item - Enter serial/batch/bin if required
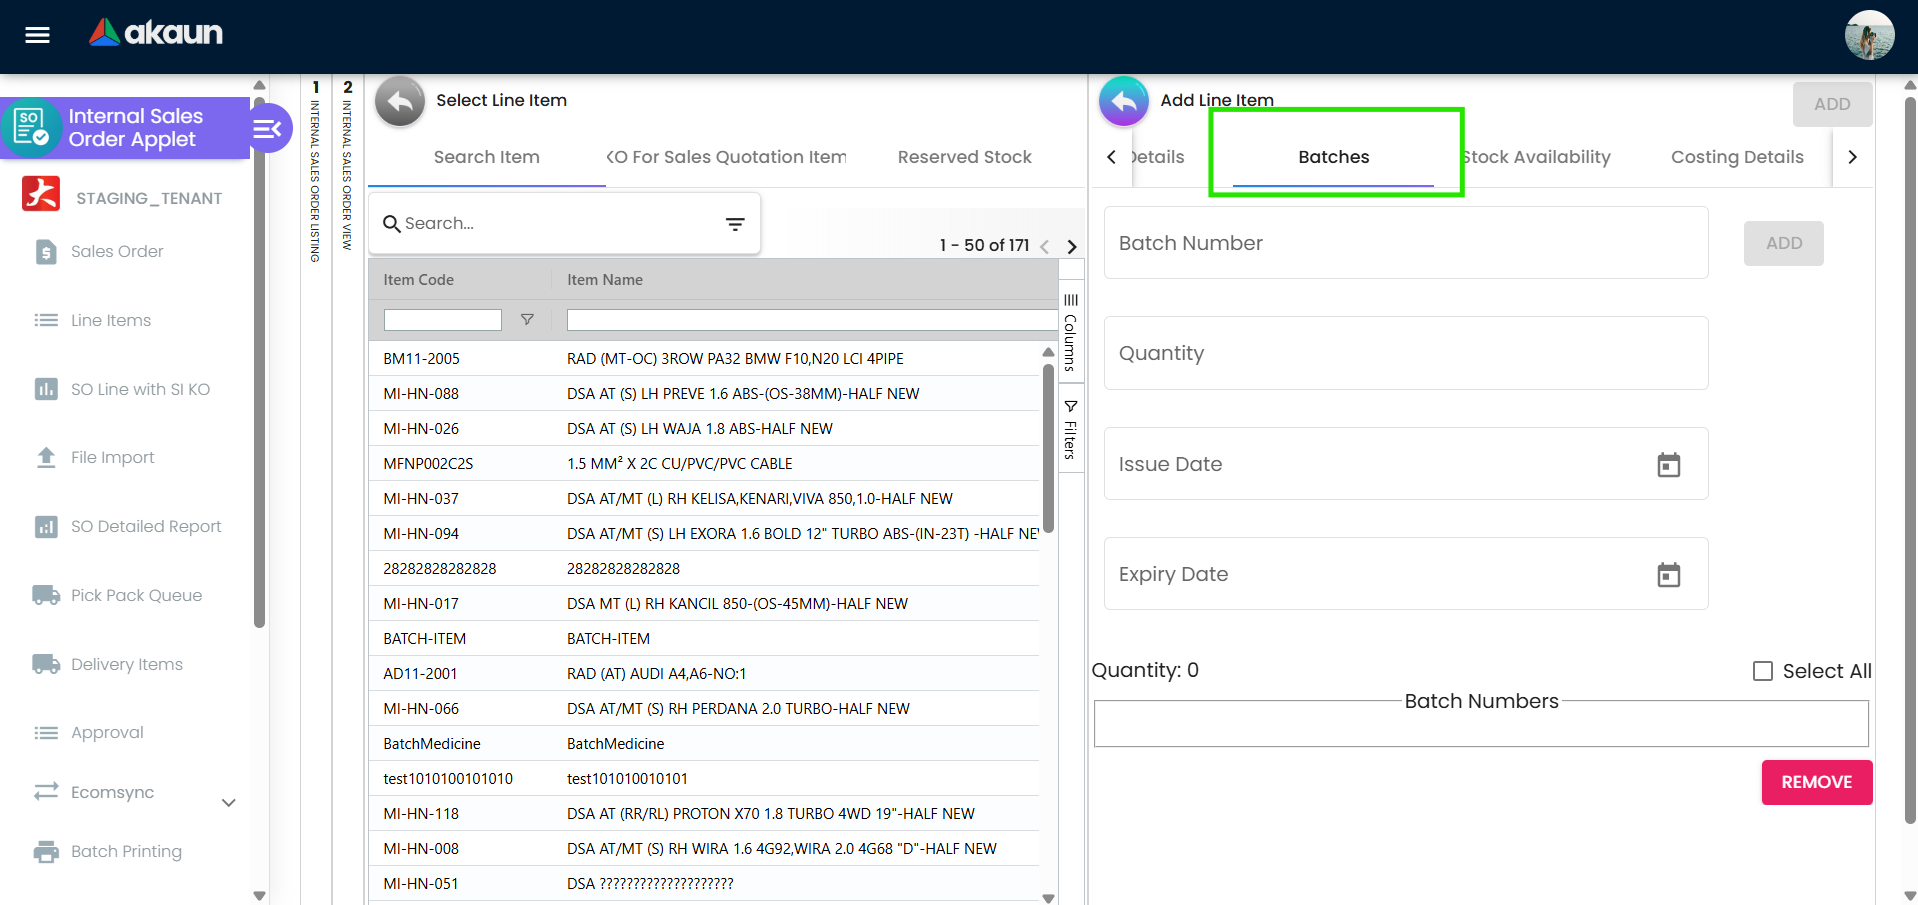
Set batch number, quantity, issue date, expiry date and quantity
- Search items or scan code
Delivery Details:
- Select delivery branch and location
User can choose the delivery branch and location from the drop down - Set requested delivery date and instructions
Fill up the Delivery Details in Ship To tab.
- Select delivery branch and location
Optional Add-ons:
- Add settlement lines or attachments if required
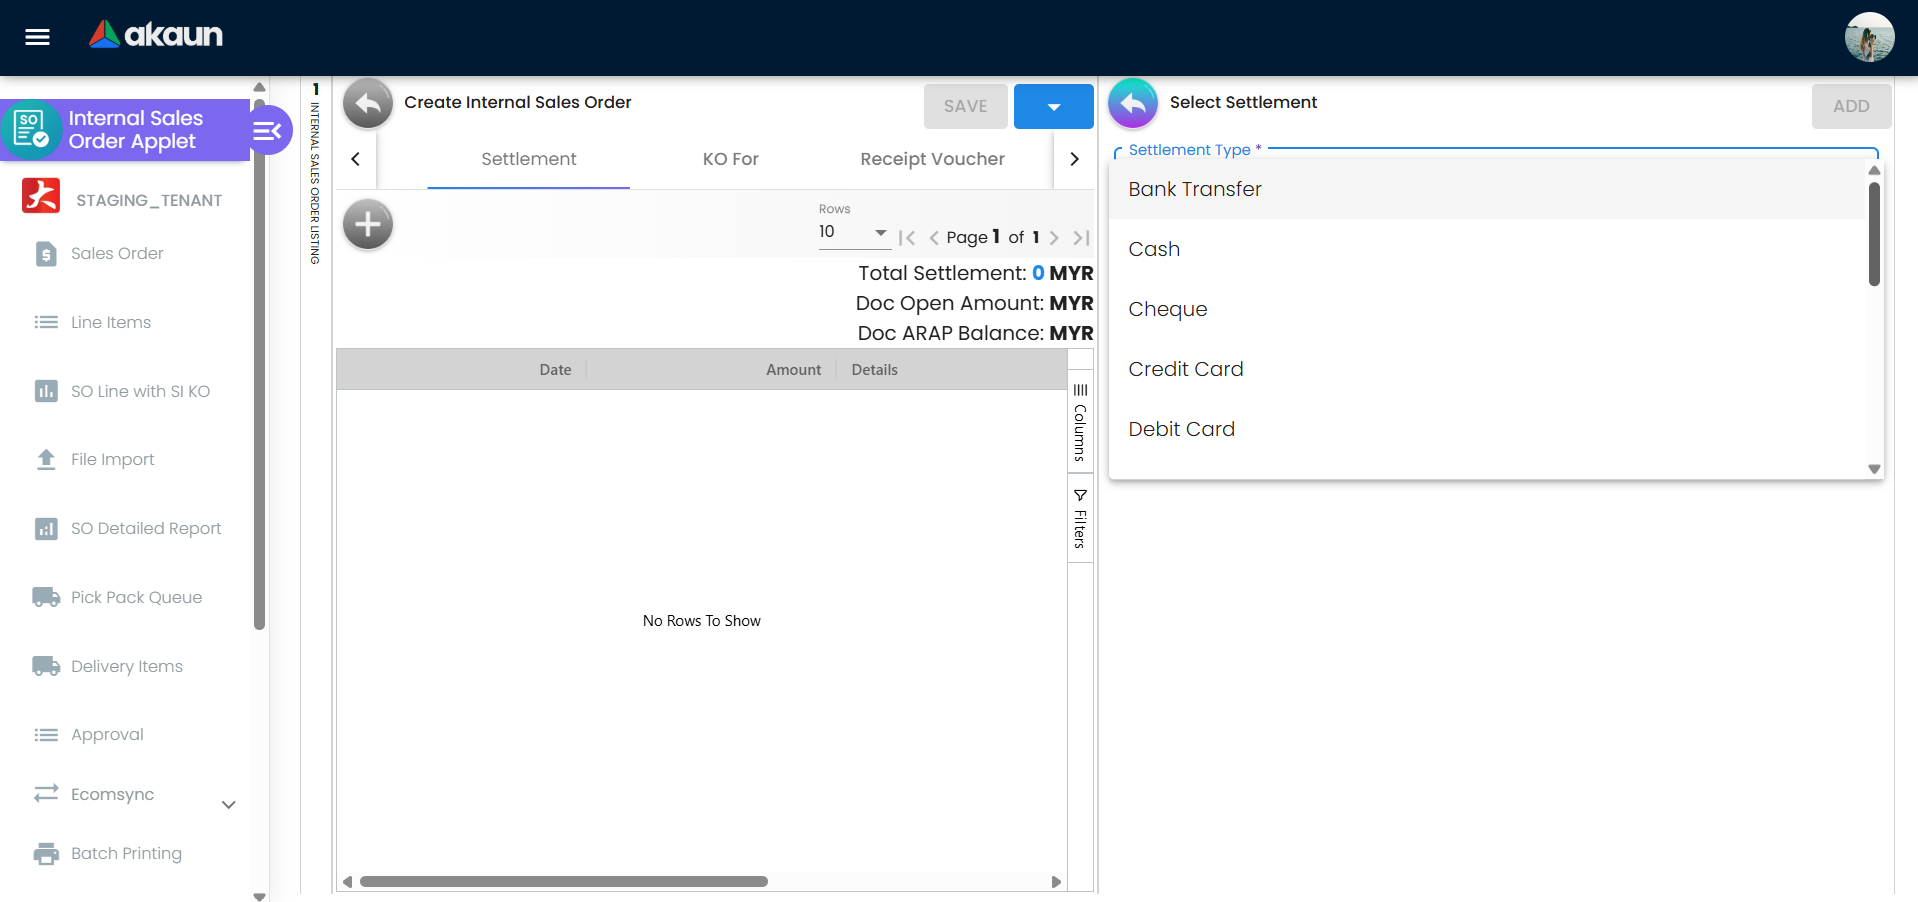
Add settlement type and choose the type from the dropdown
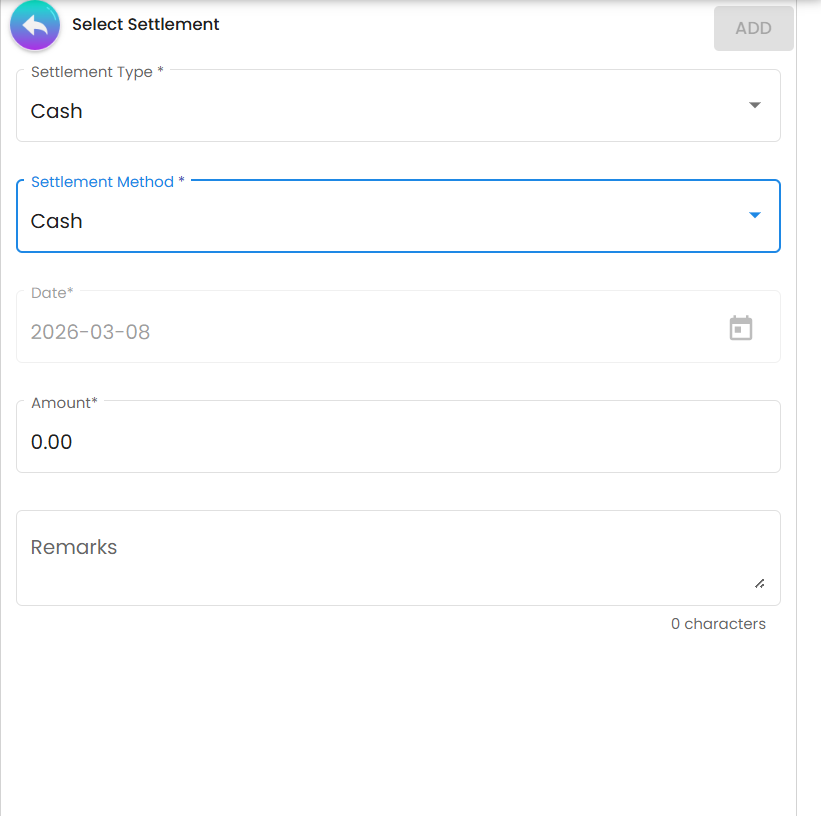
Example of Settlement type: Cash. - Add settlement lines or attachments if required
Review: Check totals, taxes, and any credit limit warnings
Save: Click Create to save as DRAFT
Save created sales order. Finalize and Verify: Click FINAL to post the order and confirm it appears in Pick Pack Queue or Delivery Items (if you have access)
For Warehouse and Fulfillment: Process Pick Pack Queue
Goal: Prepare and dispatch items for delivery.
- Navigate: Go to Pick Pack Queue
- Filter: Search by branch, date, or customer
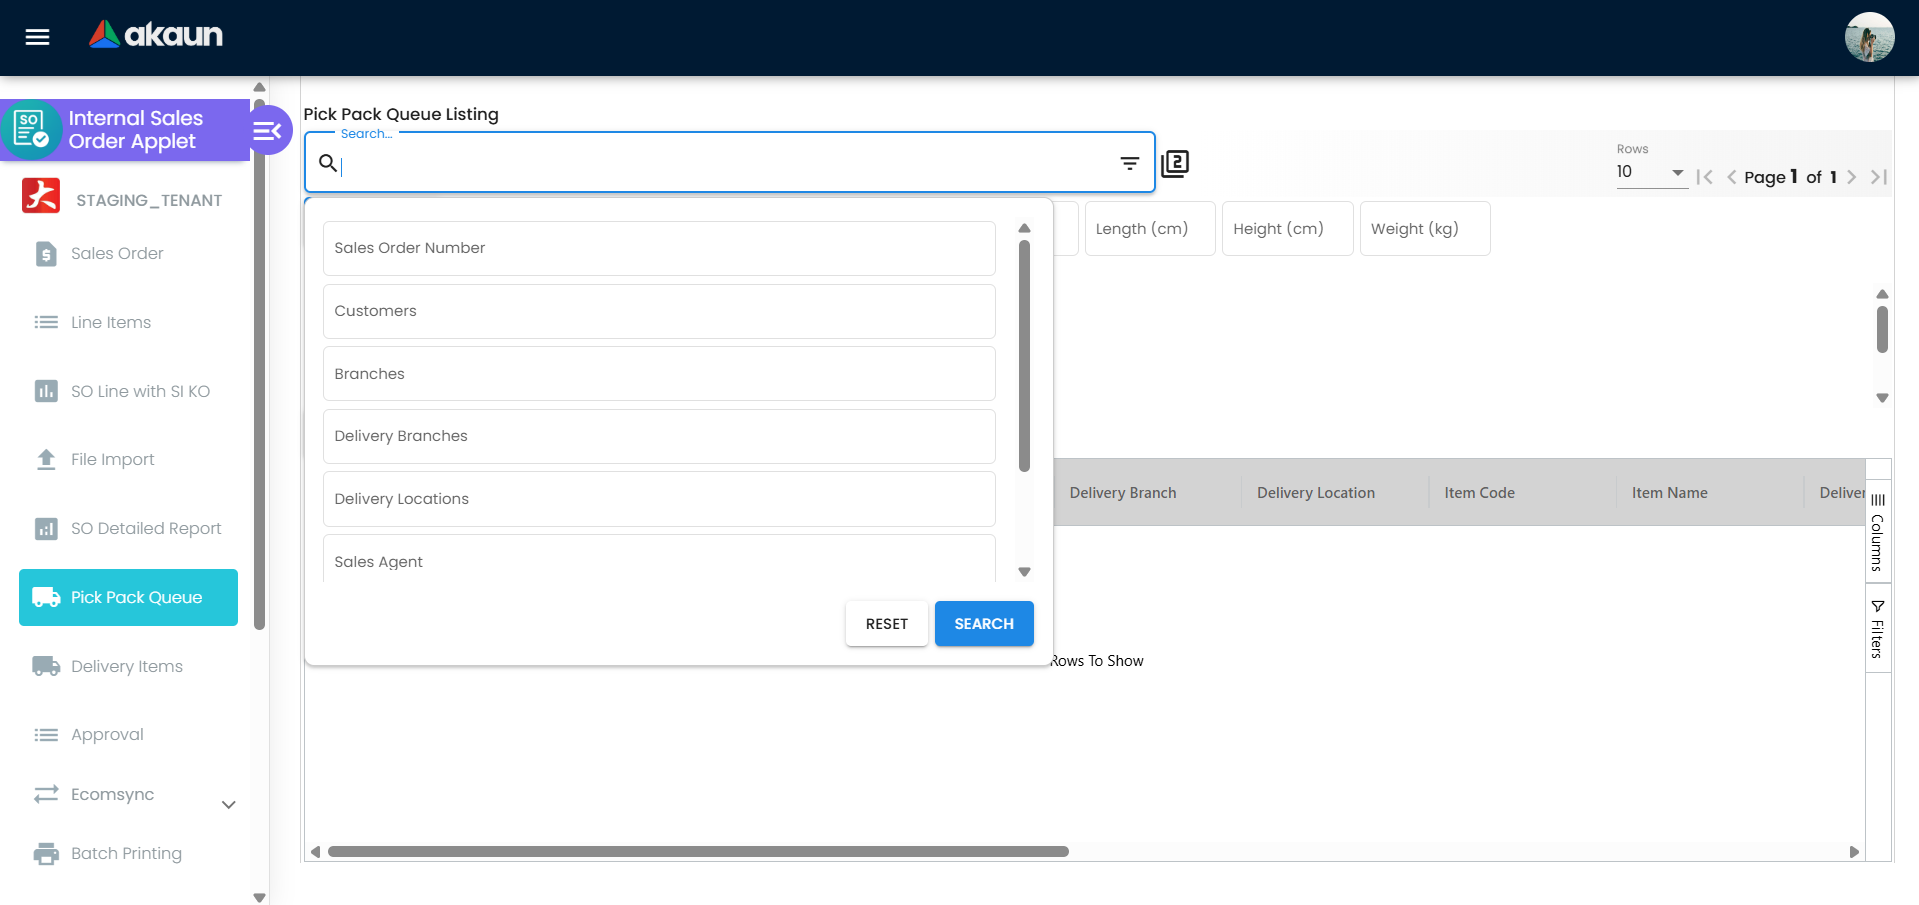
Search filter in Pick Pack Queue. - Select Orders: Grouped by Sales Order number
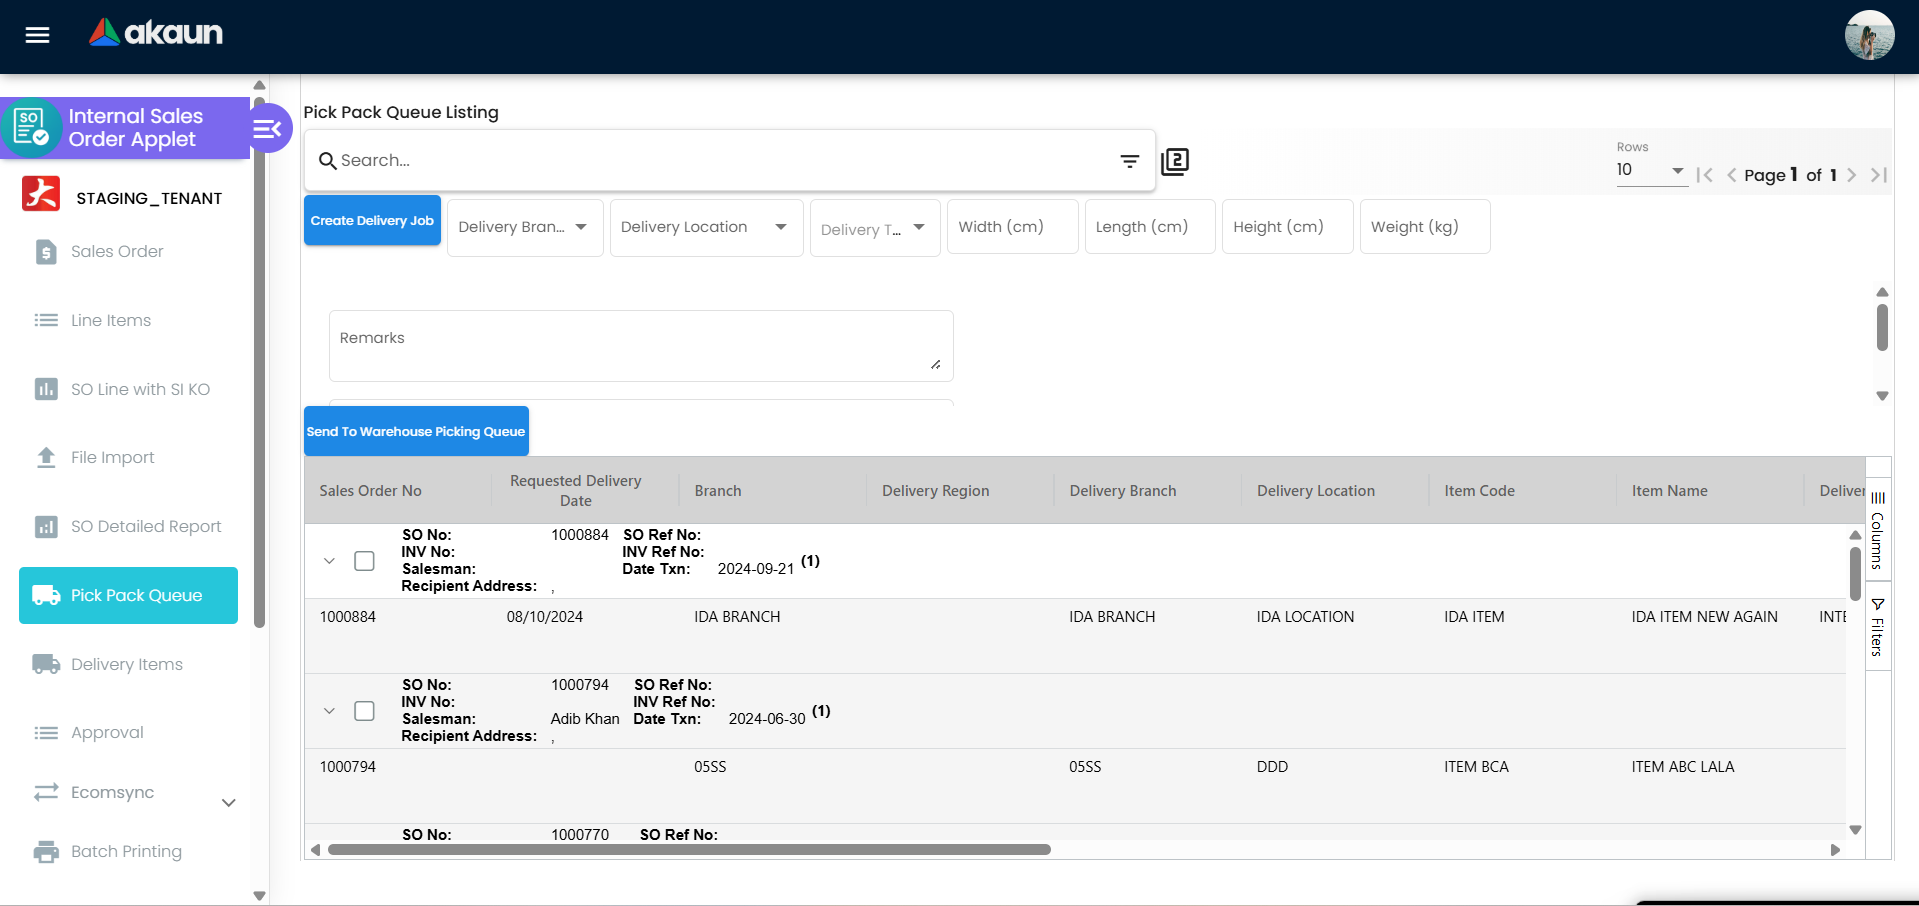
- Set Qty to Deliver: Confirm delivery quantities
- Confirm Delivery Details: Ensure delivery branch and location match
- Ready to Ship: Create delivery jobs
- Post to Warehouse Picking Queue: Send to WMS if enabled
- Print Delivery Items: Generate delivery documents for dispatch
- Update Delivery Status: Record delivered/partial status and remarks
Result: Orders move from sales entry to fulfillment and delivery execution.
For Finance and AR/AP: Finalize and Settle
Goal: Ensure orders are financially valid and settled.
- Review Final Orders: Ensure posting status is FINAL
- Check Credit Limit: Verify credit limit checks passed
- Settlement: Add settlement lines or receipt vouchers
- Generate Sales Invoice: Use Generate Sales Invoices if enabled
- Export: Use File Export or reports for reconciliation
- Audit: Review Events and Trace Document for status changes and downstream links
- Close: Set CLOSE when delivery and invoicing are complete (if enabled)
Result: Sales orders are financially closed and audit-ready.
For Admins: Initial Setup
Goal: Configure the applet for consistent order processing.
- Set Defaults: Branch, location, currency, posting status
- Configure Workflow: Approval routing and finalization rules
- Enable Key Tabs: Delivery, settlement, attachments, and ecomsync
- Define Printables: Sales order and delivery formats
- Configure Email Templates: Sales order email formats and recipients
- Set Permissions: Role and team access controls
- Test Flow: Create a test order and run through FINAL → Pick Pack → Delivery
Result: Users see the right menus, and orders follow a controlled lifecycle.
Sales Order Core
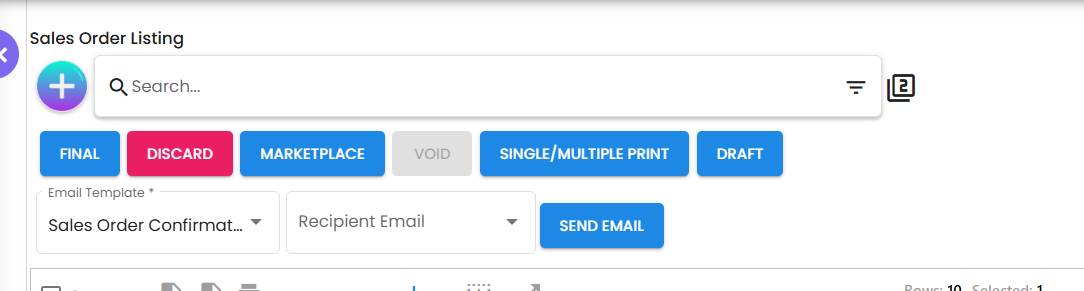
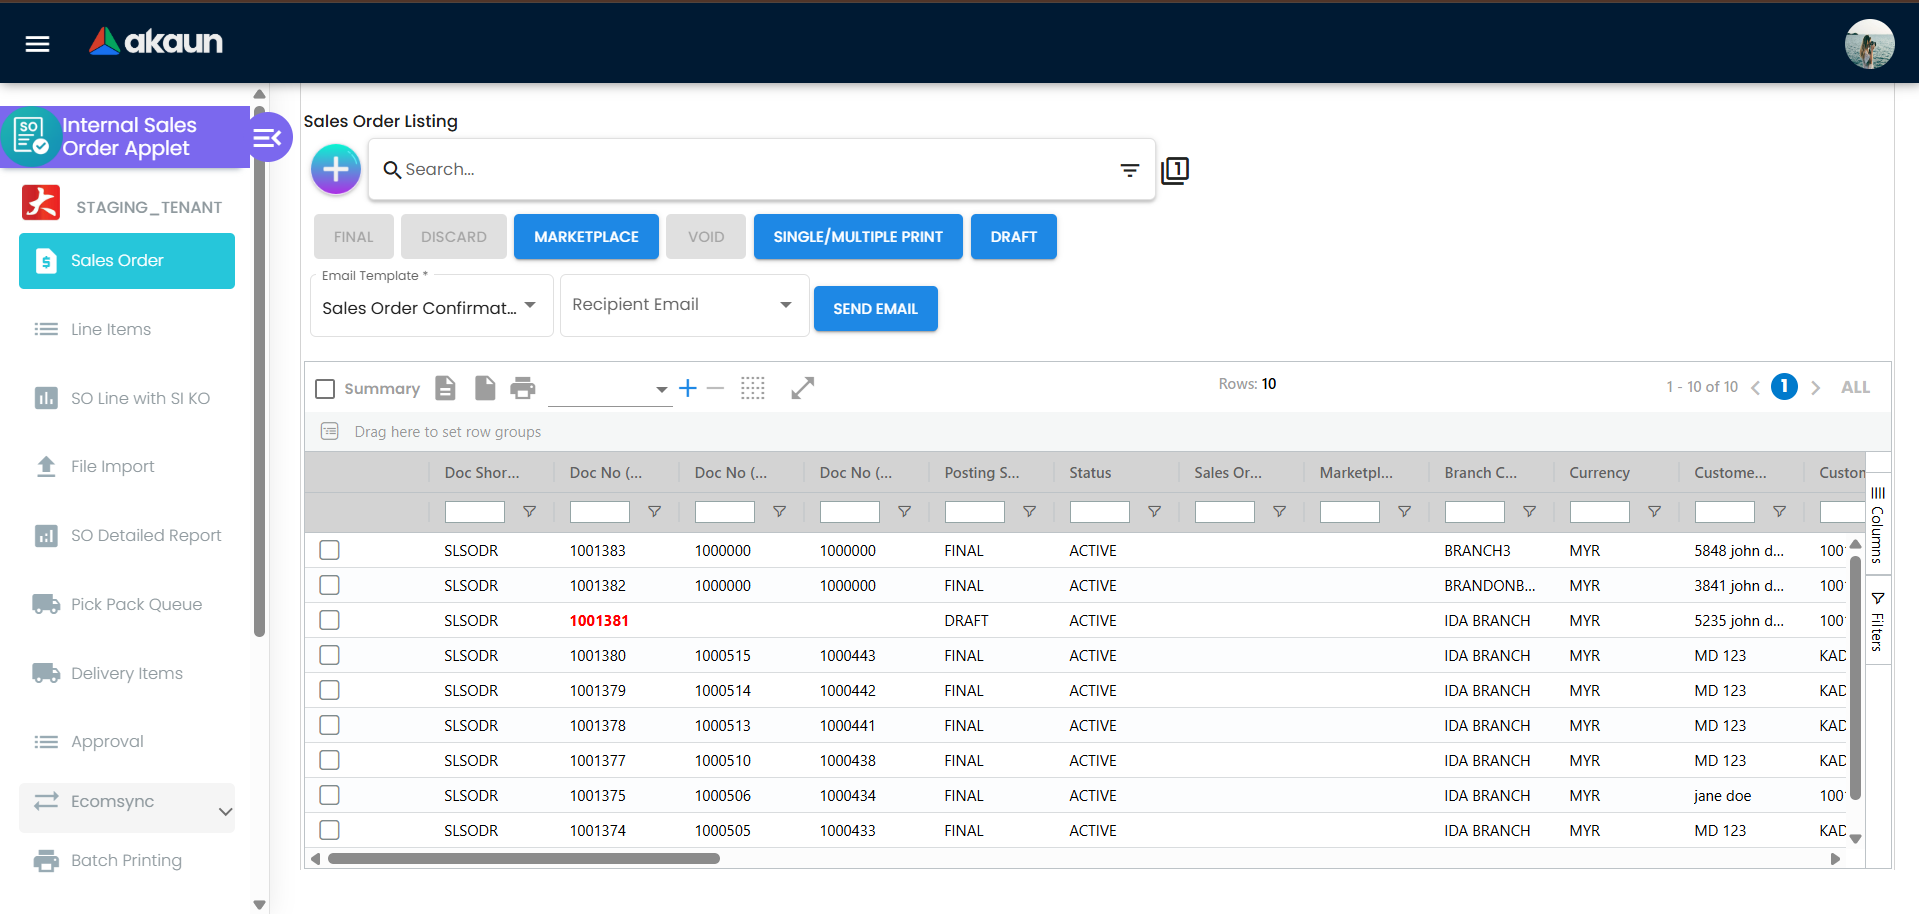
Sales Order Listing
The listing is the operational dashboard for sales orders. It provides advanced search and bulk actions:
- Search by document number, customer, date, or status
- Bulk actions: FINAL, DRAFT, DISCARD, VOID, PRINT
- Send email with template and printable format
- Marketplace bulk updates (if enabled)
Create and Edit Sales Orders
The edit screen uses tabs (or accordion panels in simplified UI). Tab order and visibility are controlled by settings and permissions, so some tabs may be hidden or re-ordered.
Edit Sales Order: Tabs and What They Do
| Tab | What it is for | Typical Actions |
|---|---|---|
| Search Document | Search and reference other documents during draft creation | Find a source document to base the order on (visible for TEMP/DRAFT only) |
| Main Details | Core header data for the sales order | Set branch, location, transaction date, customer, sales agent, currency, credit terms/limit, and posting actions (DRAFT/FINAL/VOID/CLOSE) |
| Account | Billing and shipping details | Manage bill-to/ship-to contacts and addresses, copy billing to shipping |
| Lines | Sales order line items | View and edit item lines, pricing, taxes, discounts, serial/batch/bin handling, line-level delivery fields |
| ARAP | Receivables/payables context | Review AR/AP balance or related financial info tied to the order |
| Delivery Details | Delivery-specific fields | Set delivery branch/location, requested dates, delivery logic, PIC details |
| Delivery Plans | Delivery scheduling | Create and view delivery plan entries and scheduling |
| Settlement | Payment/receipt entries | Add settlement lines, manage receipts, review settlement totals |
| KO For | Knock-off references | Match or import knock-off allocations (visible for TEMP/DRAFT only) |
| Receipt Voucher | Receipt voucher listing | View related receipt vouchers for this order |
| Department Hdr | Header-level department tagging | Apply department or cost center allocation at header level |
| Trace Document | Posting and traceability | Trace document flow, posting linkage, and downstream documents |
| Contra | Contra entries | View or add contra offsets linked to the order |
| Doc Link | Related documents | See linked documents (quotations, invoices, delivery docs, etc.) |
| Attachments | Supporting files | Upload and manage attachments for the order |
| Export | Export utilities | Export the order data when enabled |
| Ecomsync | Marketplace sync | View marketplace status, sync details, and printables for e-commerce orders |
| Status | Custom status tracking | Update configured custom status fields |
| Events | Activity history | View system events and status changes |
| Gross Profit | Profit visibility | View gross profit for the order (permission-based) |
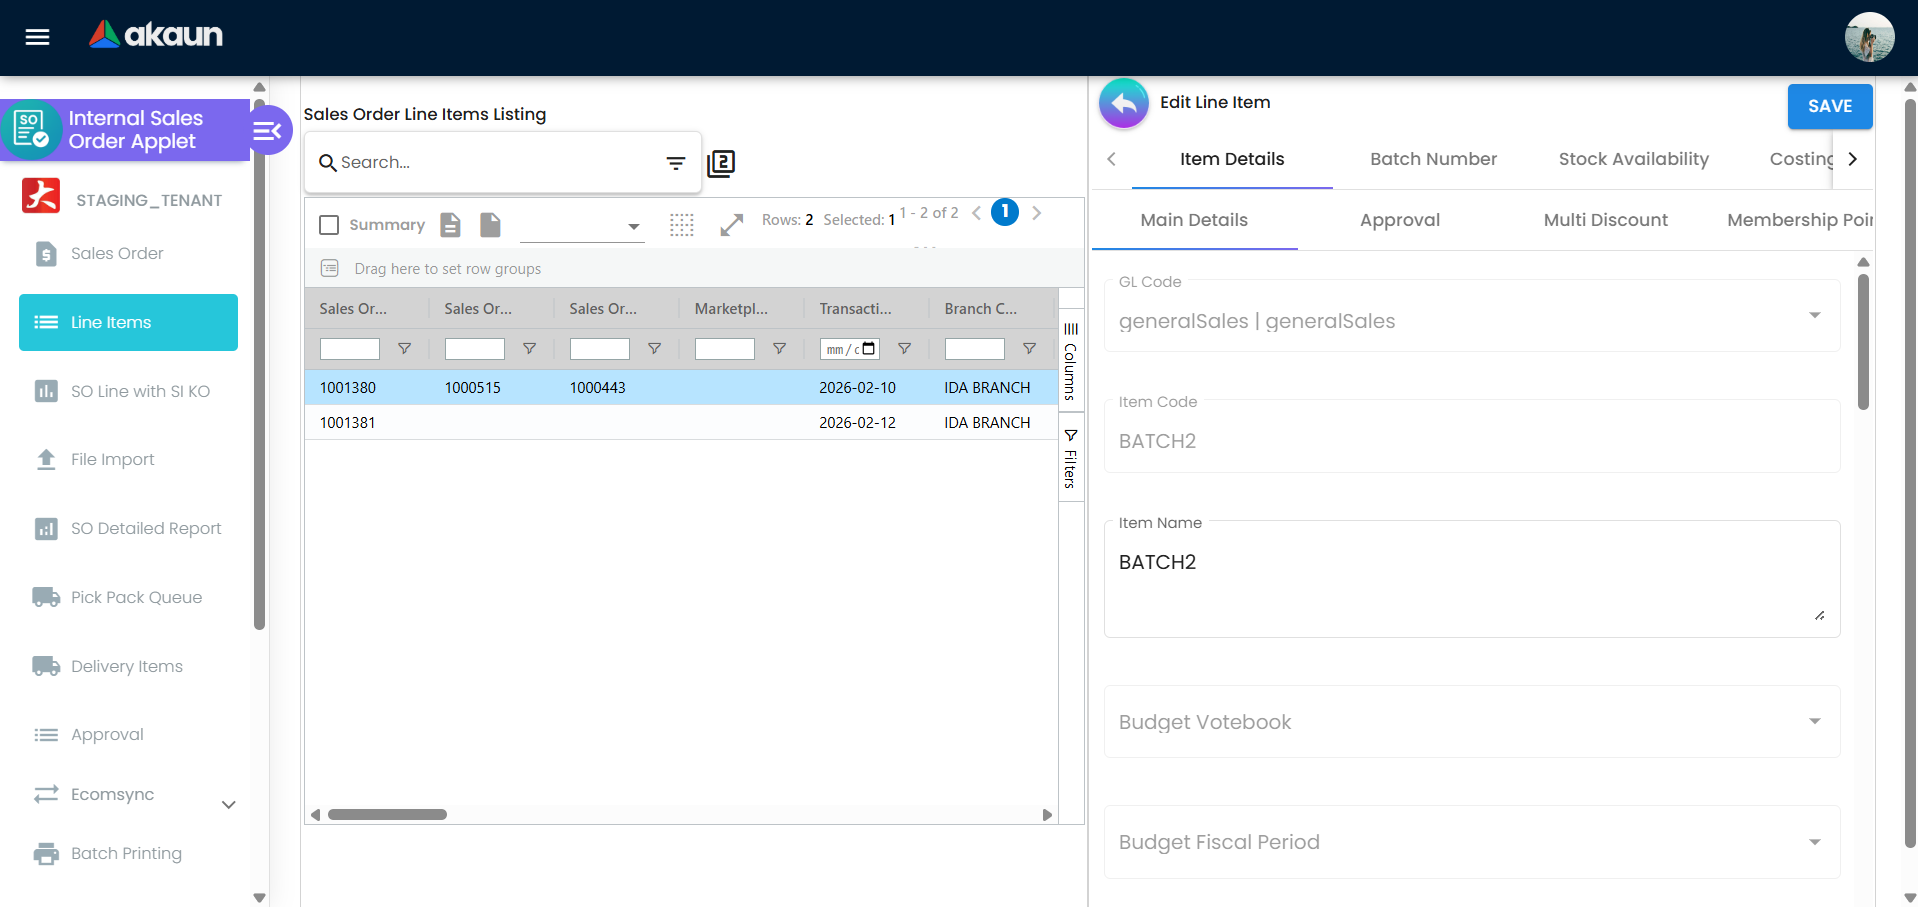
Line Item Editor Tabs (inside a line item)
| Tab | What it is for | Typical Actions |
|---|---|---|
| Item Details | Core line item data | Quantity, unit price, discount, tax, UOM |
| Grouped Item | Bundle contents | Review child items for grouped or bundle items |
| Serial Number | Serial-controlled items | Scan or select serial numbers |
| Batches | Batch-controlled items | Assign batches and quantities |
| Bin | Bin-controlled items | Assign bin locations |
| Stock Availability | Availability check | View stock balance and availability by location |
| MRP | MRP linkage | Link to job orders if enabled |
| Costing Details | Cost and margin context | Review costing values when enabled |
| Issue Link | Issue/task linkage | Link this line to an issue or task record |
| Sales History | Historical sales data | Review past sales for the item |
Posting Status Controls
| Status | Meaning | Typical Use |
|---|---|---|
| DRAFT | Draft document | Used during data entry and review |
| FINAL | Posted document | Approved and ready for fulfillment |
| VOID | Cancelled document | Cancelled after posting |
| DISCARD | Deleted draft | Removes draft before posting |
| CLOSE | Closed order | Prevent further processing |
Approval and Permissions
Use approvals and permissions to control who can finalize, edit, or void orders.
- Approval flow: Configure routing and FINAL rules in settings to enforce checks before posting.
- Credit limit control: FINAL is blocked when customer credit limits are exceeded (if enabled).
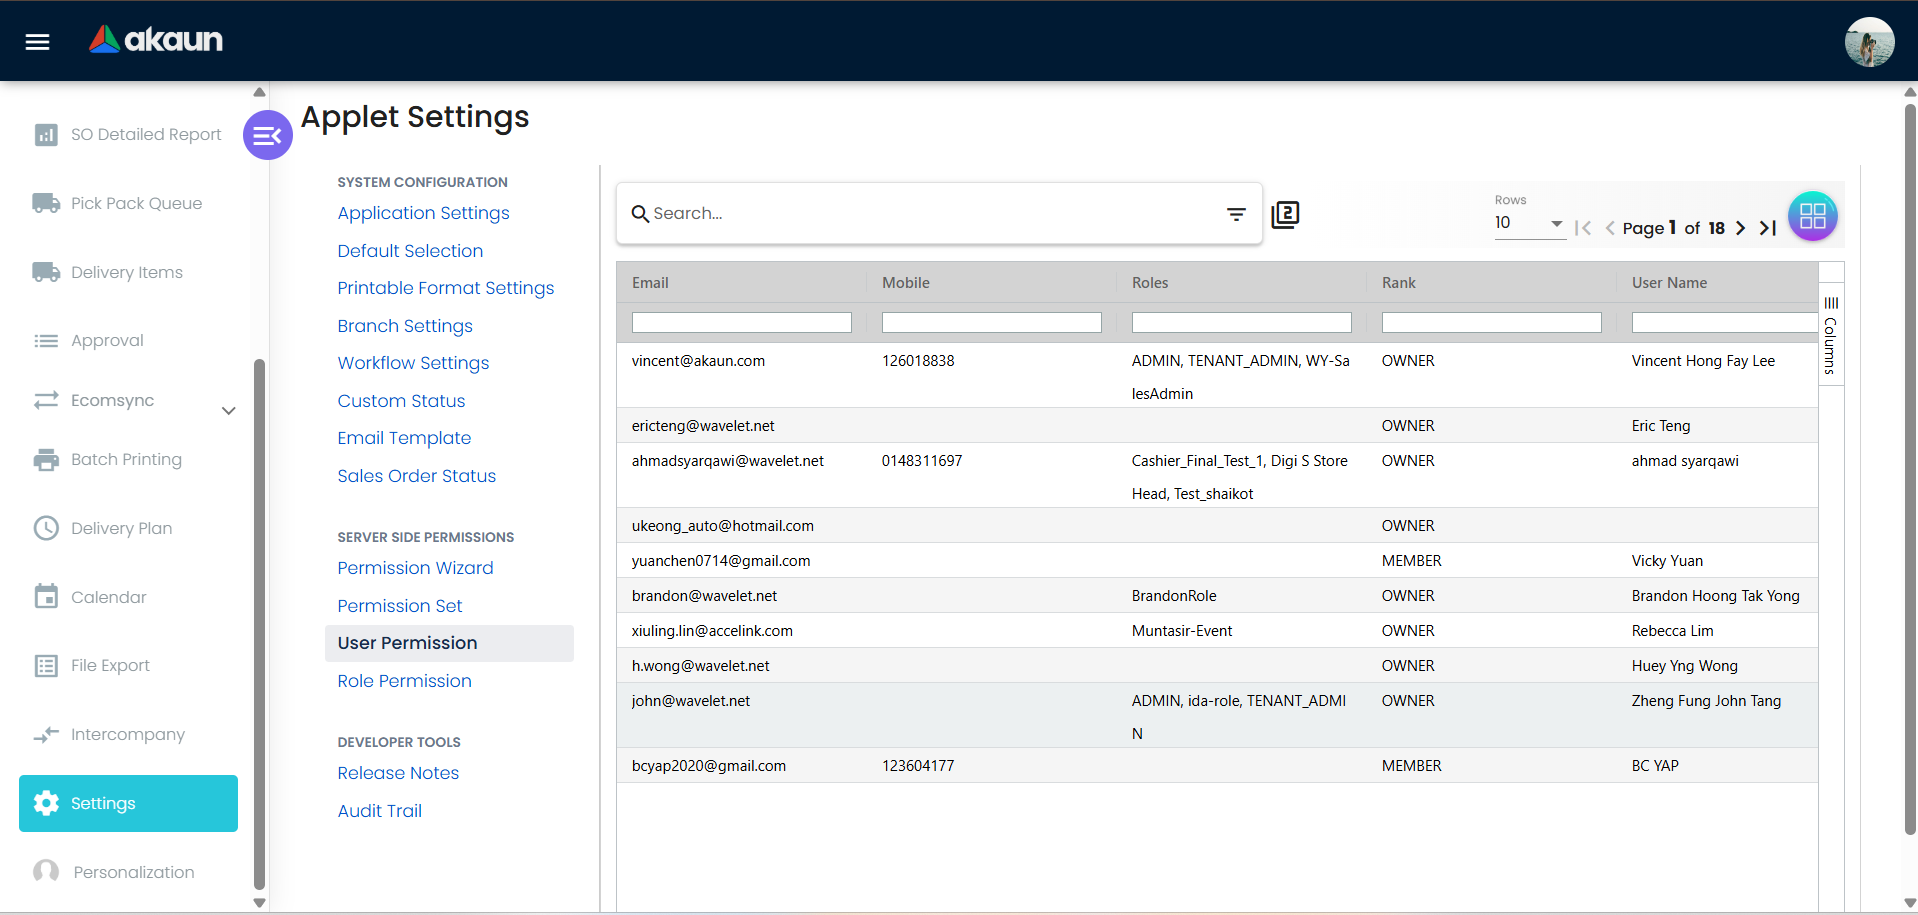
- Role permissions: Restrict access to sensitive tabs (Settlement, Gross Profit, Export) and actions (VOID, CLOSE).
- Audit visibility: Use Events and Status tabs to review status history and changes.
Line Item Management
Line items are the heart of the sales order. Use them to control pricing, fulfillment rules, and item-level validation:
- Edit existing line items; new lines are created in the Sales Order.
- Control pricing, tax, and discounts
- Group discount at document level
- Serial number validation
- Batch and bin handling
- Stock availability checks
- Costing details and sales history
- MRP job order linkage (if enabled)
Delivery and Fulfillment
Delivery Details
- Delivery branch and location
- Requested delivery dates
- Delivery instructions and tracking
Pick Pack Queue
- Grouped sales orders and line items
- Quantity to deliver vs balance
- Stock visibility at location and company level
Delivery Items
- Delivery item listing for shipment
- Printable delivery documents
- Quick visibility of delivery status and remarks
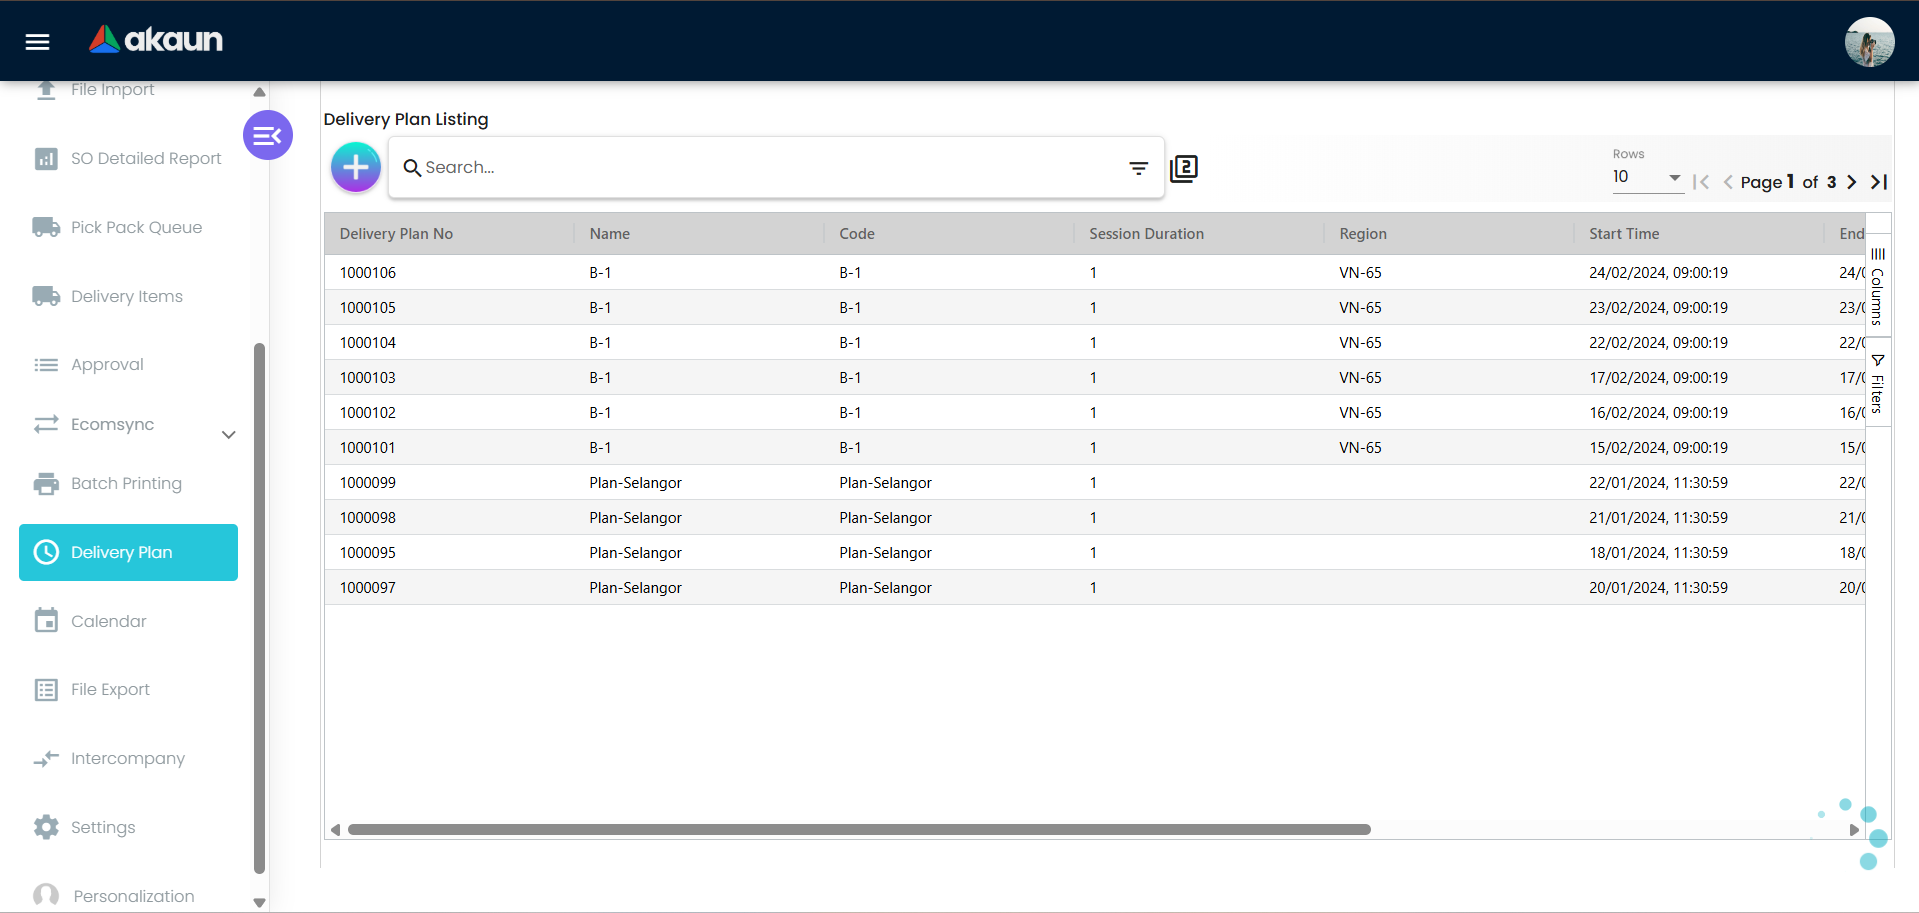
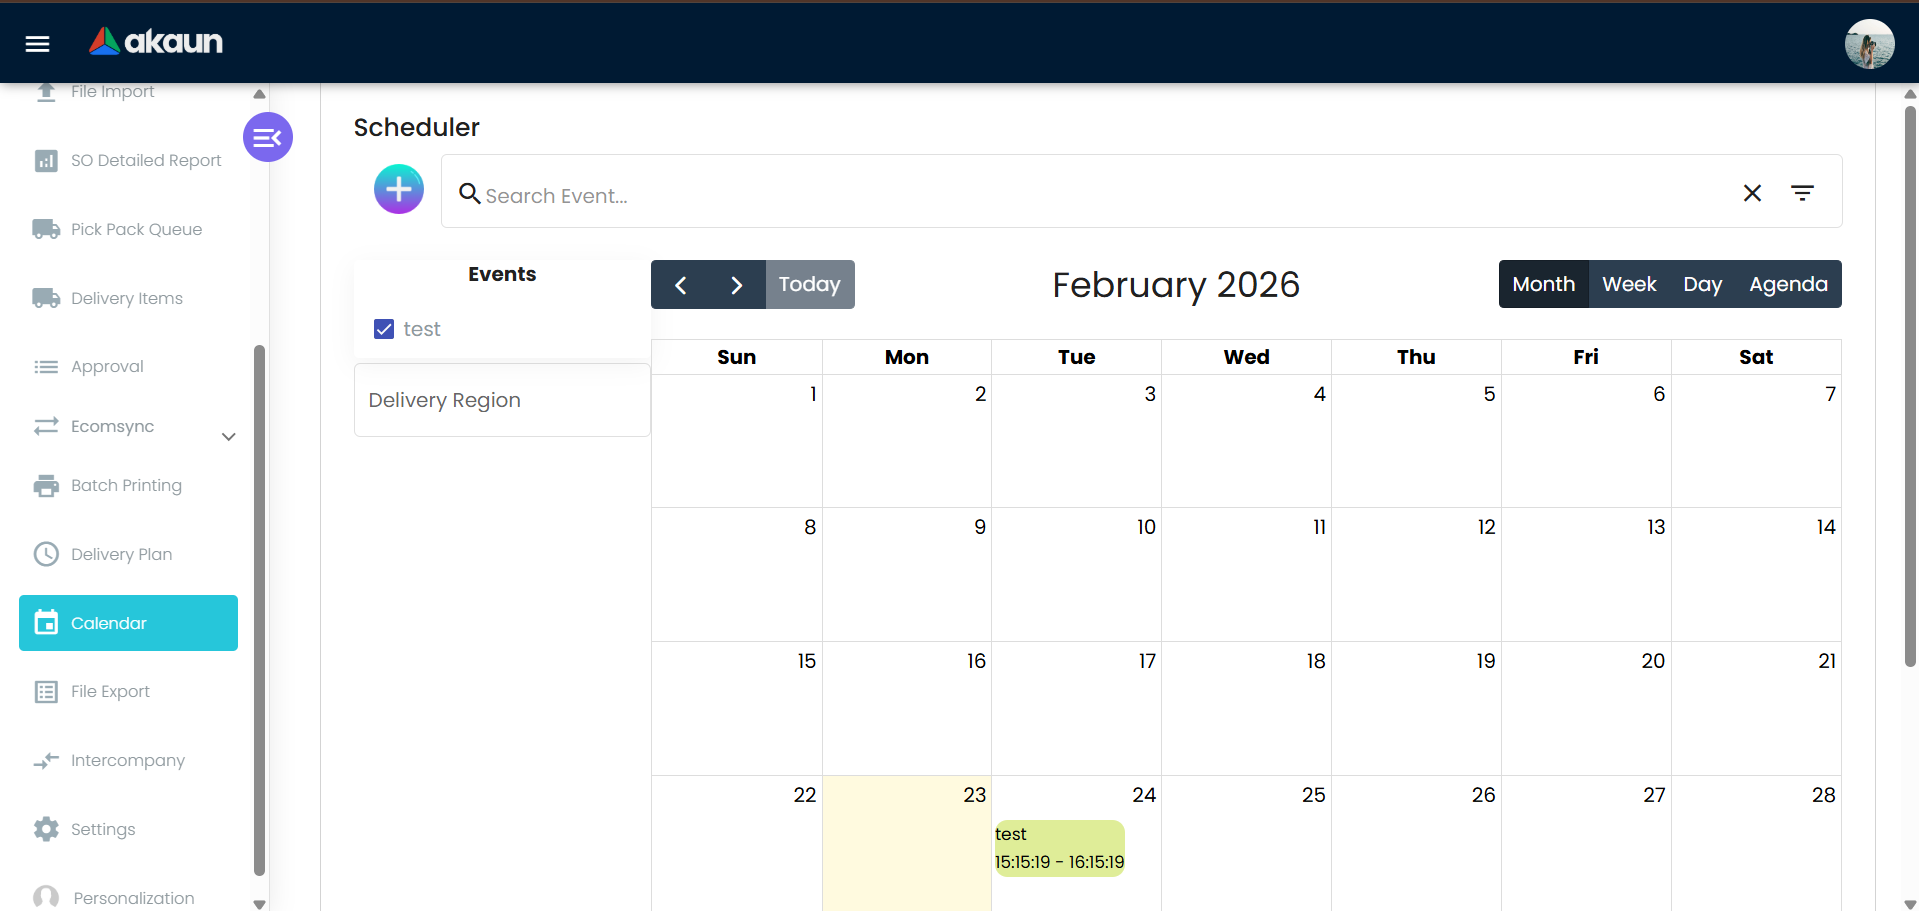
Delivery Plan and Calendar
- Plan delivery sessions and schedules
- Calendar view for dispatch planning
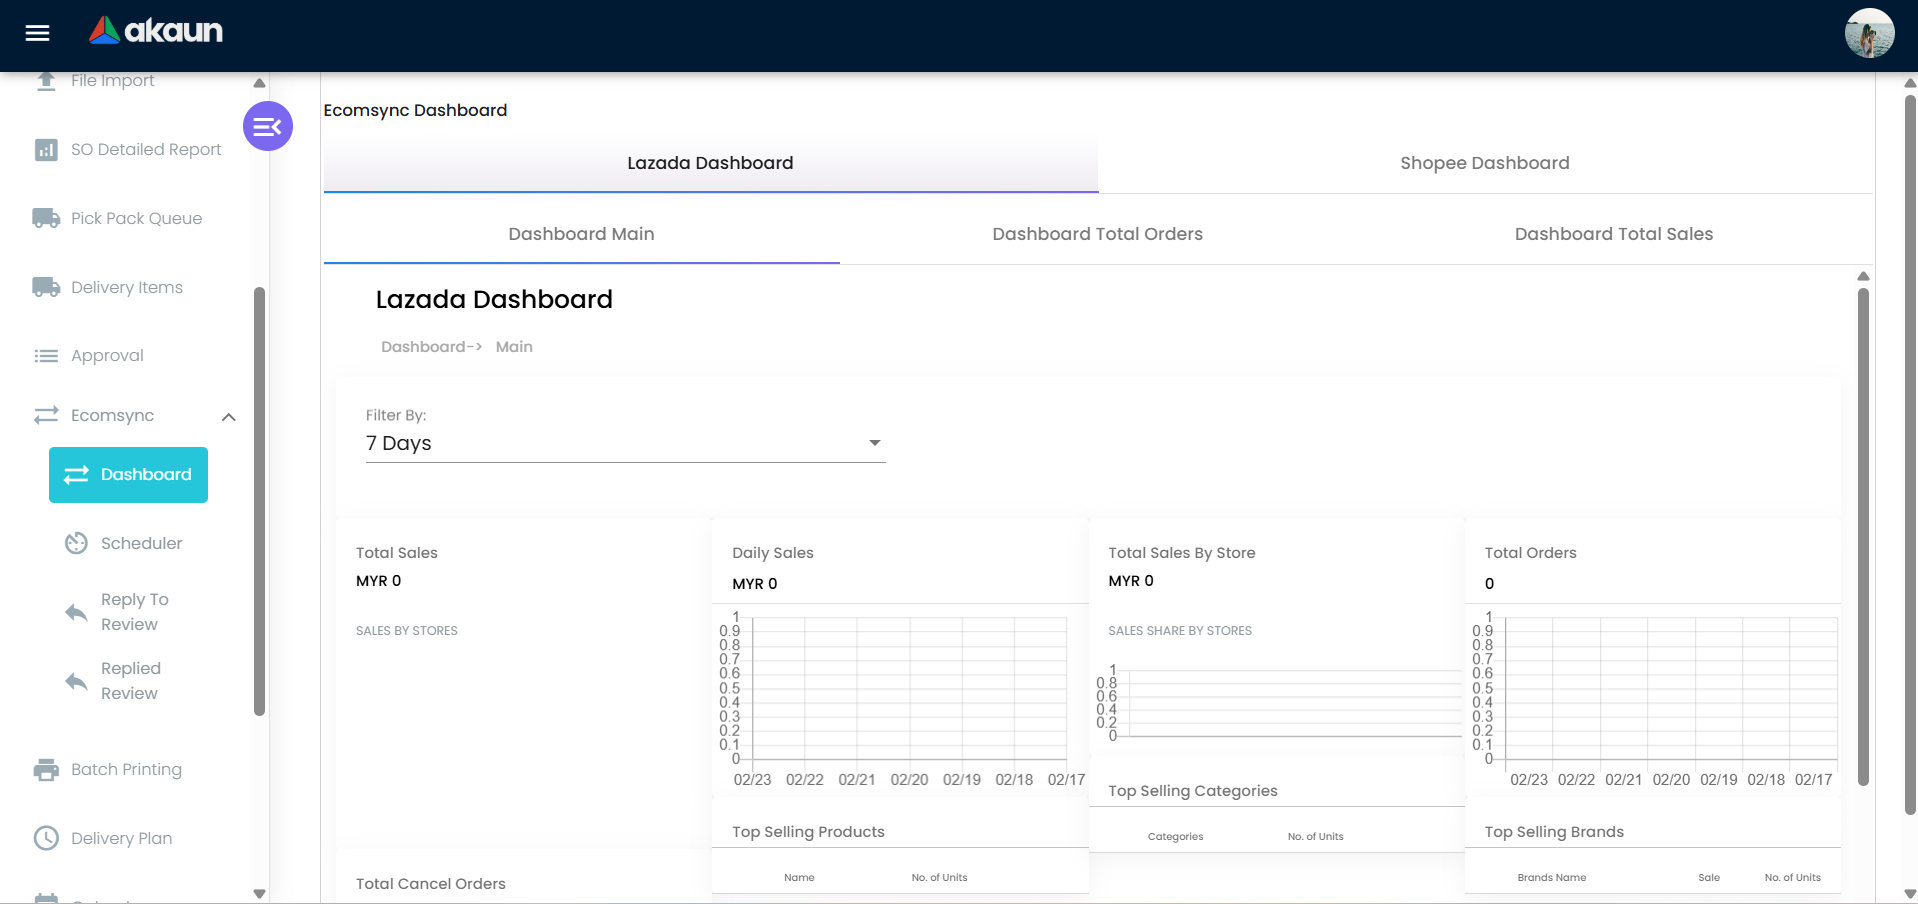
E-commerce Integration
- Ecomsync dashboard and scheduler
- Marketplace order visibility
- Reply to reviews and review tracking
- Lazada and Shopee order handling

Reports and Analytics
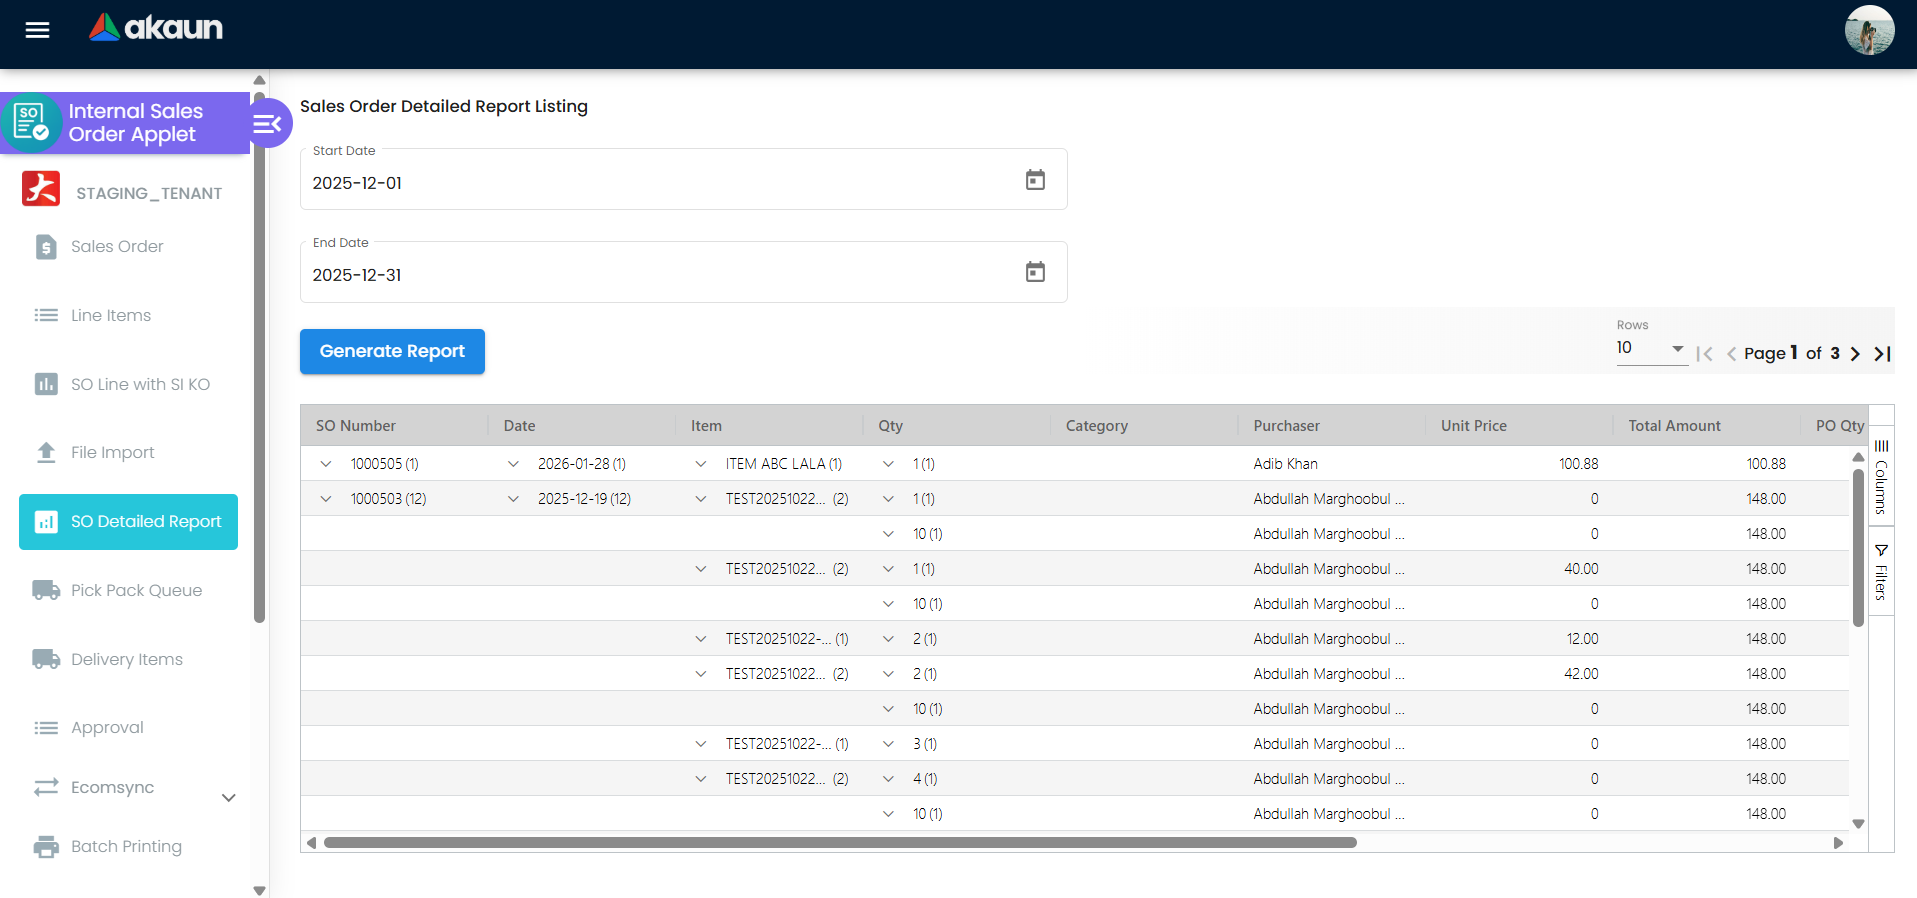
- Sales Order Detailed Report: Date range filtering
- SO Line with SI KO Report: Knock-off and outstanding tracking
- Line Items Listing: Open qty and line-level visibility
- Gross Profit View: Enabled in order view (if permitted)
File Import and Export
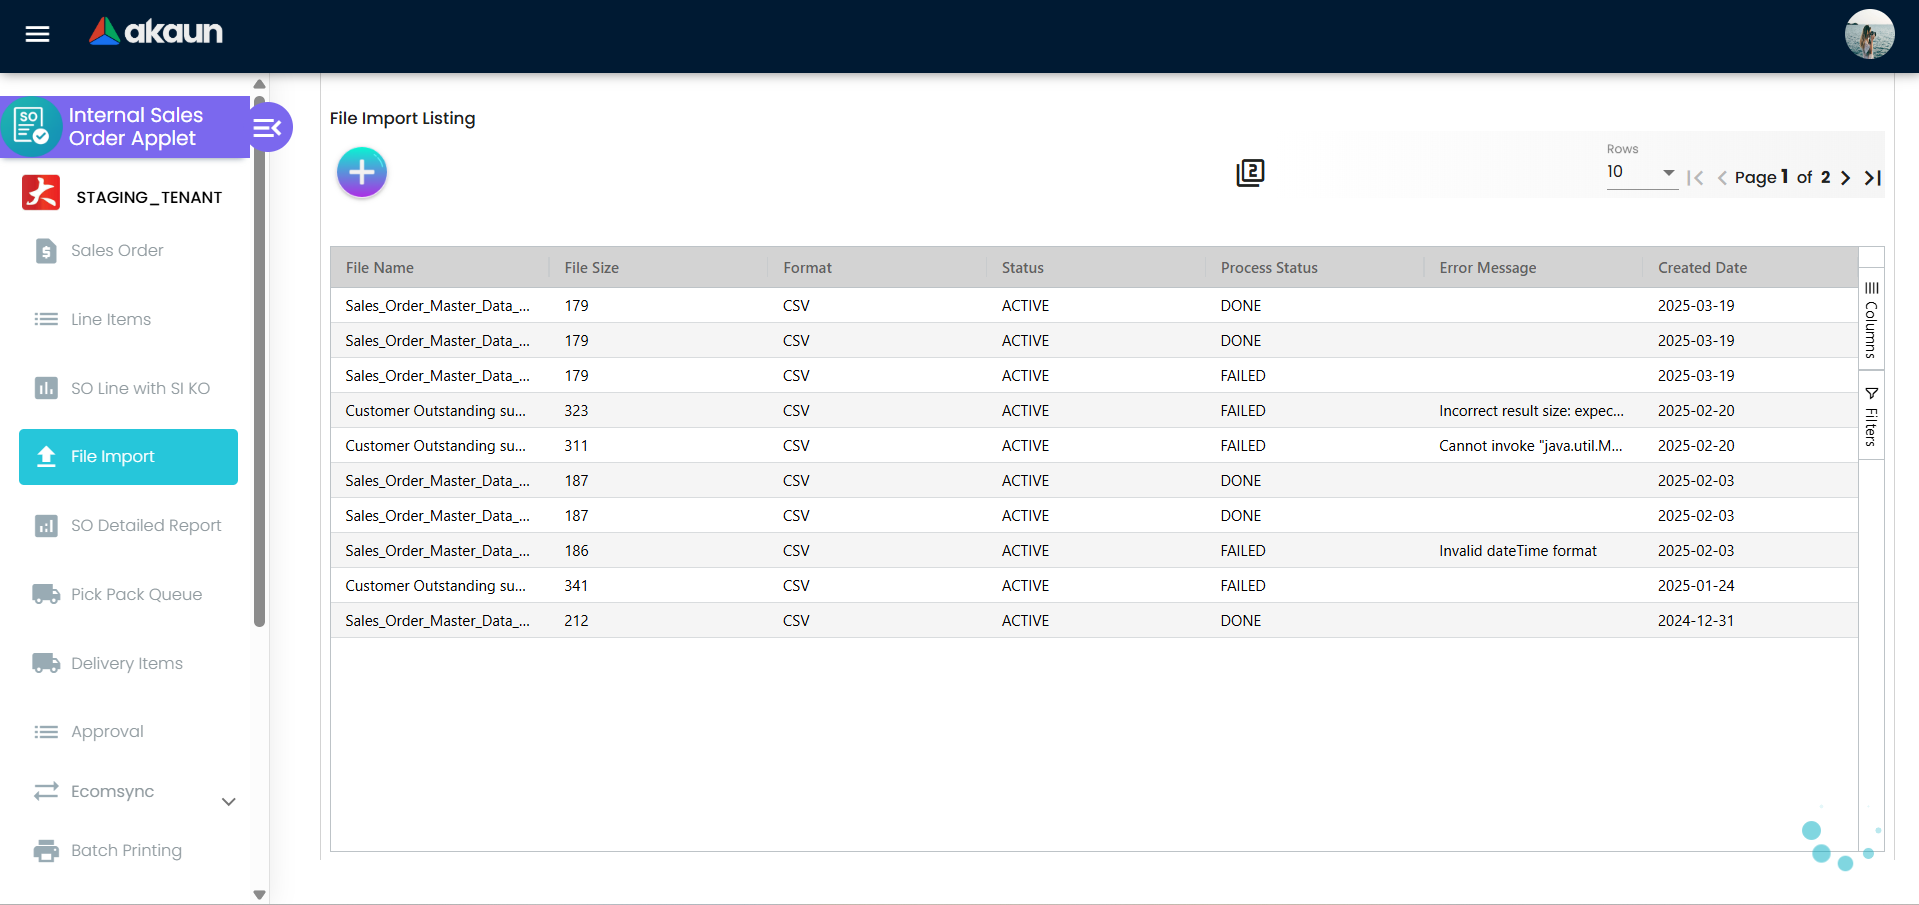
File Import
- Upload CSV file
- Select delimiter
- Validate with helper checking and error list
- Use sample format for correct template
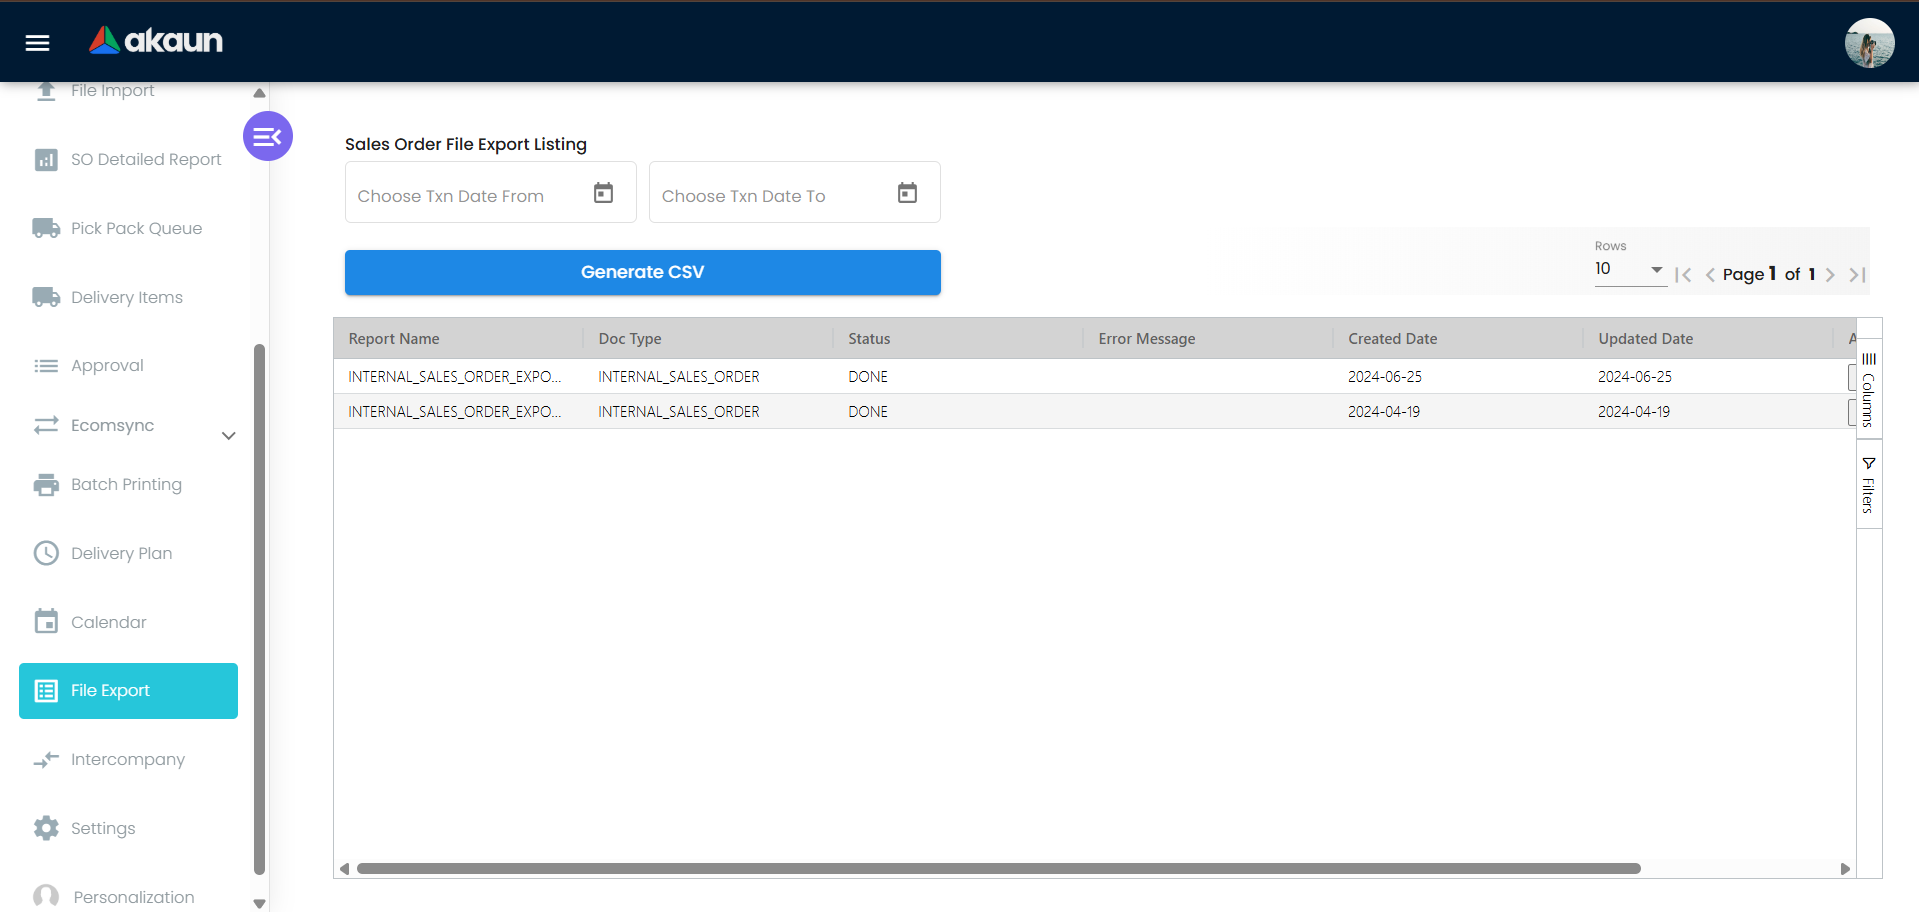
File Export
- Generate export by transaction date range
- Track generation status
- Download export files for reconciliation
Configuration & Settings
The Sales Order (Internal) Applet is highly configurable. Settings are accessed under:
Settings
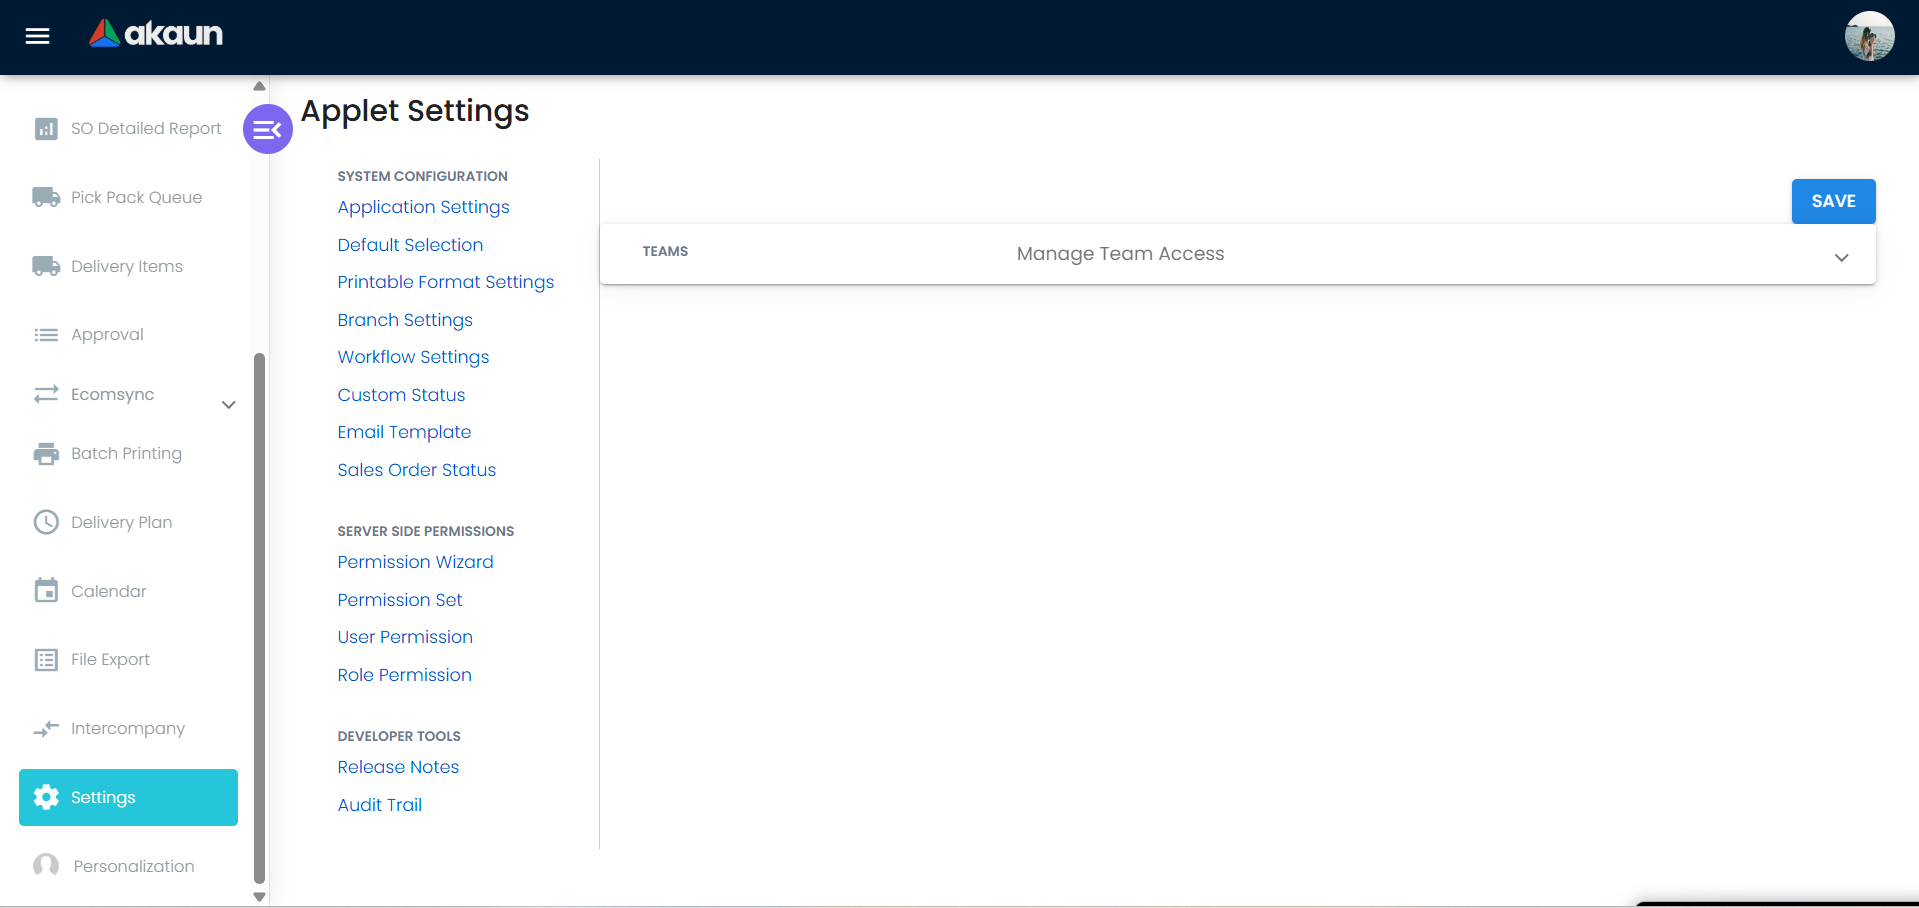
Application Settings
Common toggles and defaults:
- Default branch and location
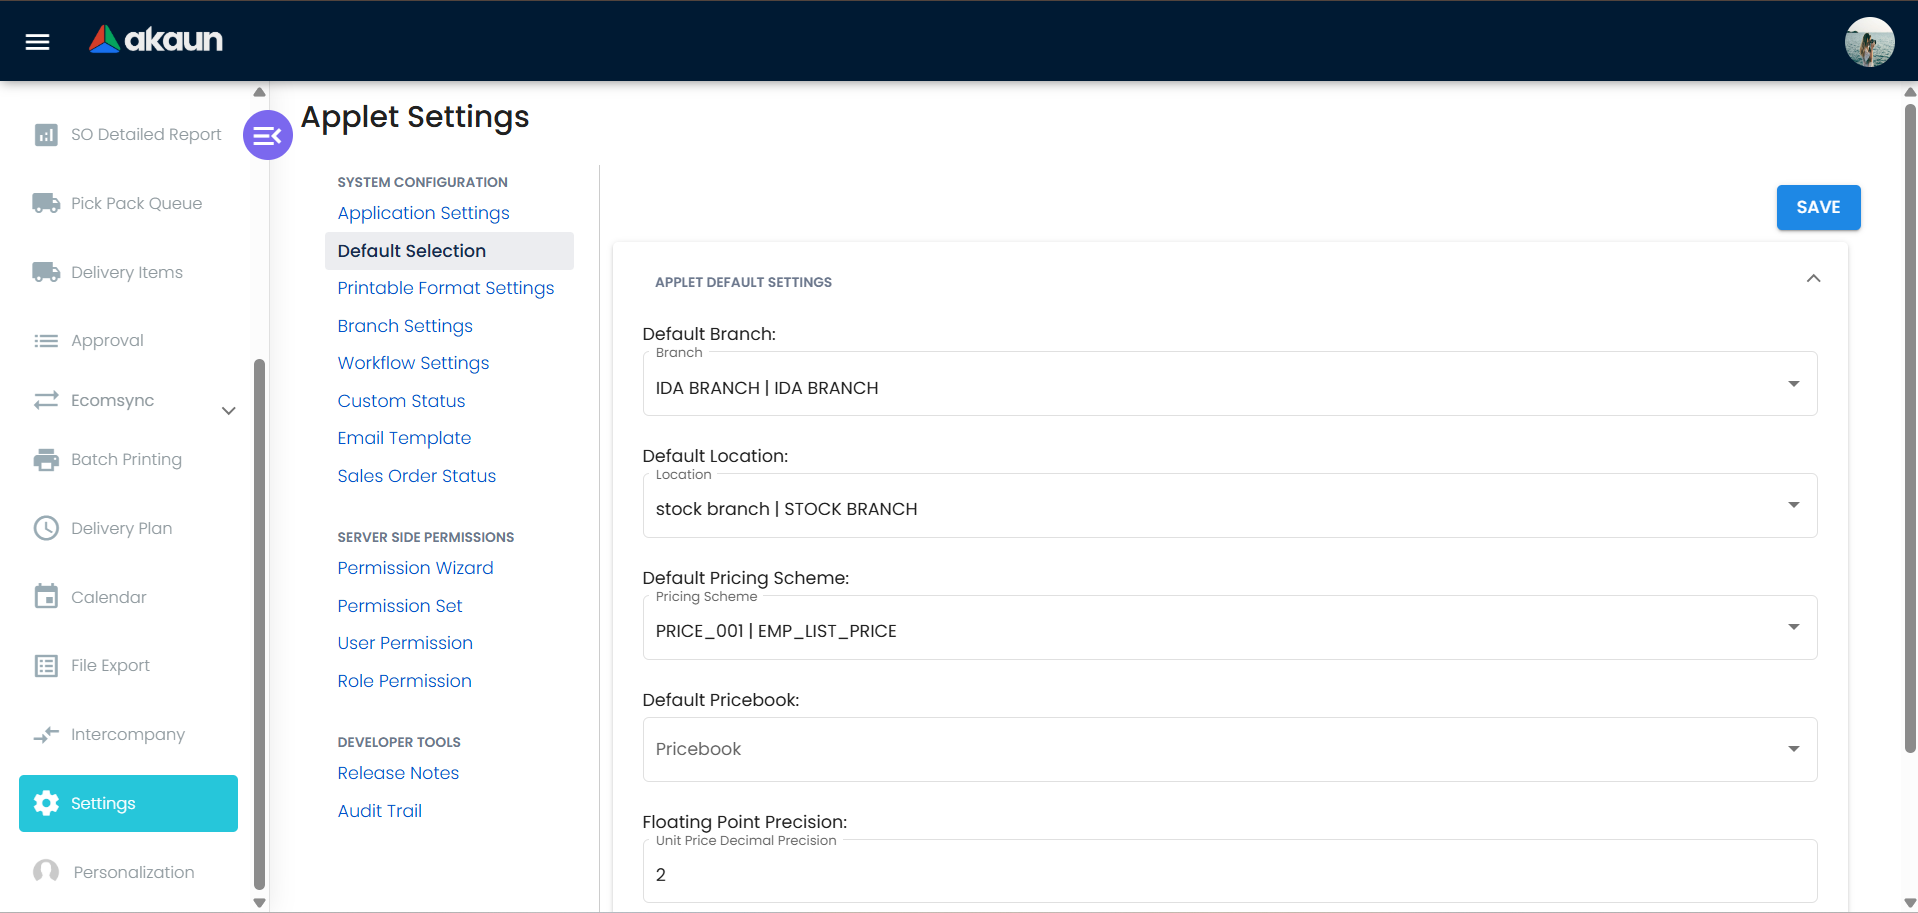
Settings: Configure default branch and location for the applet. - Column visibility and advanced search controls
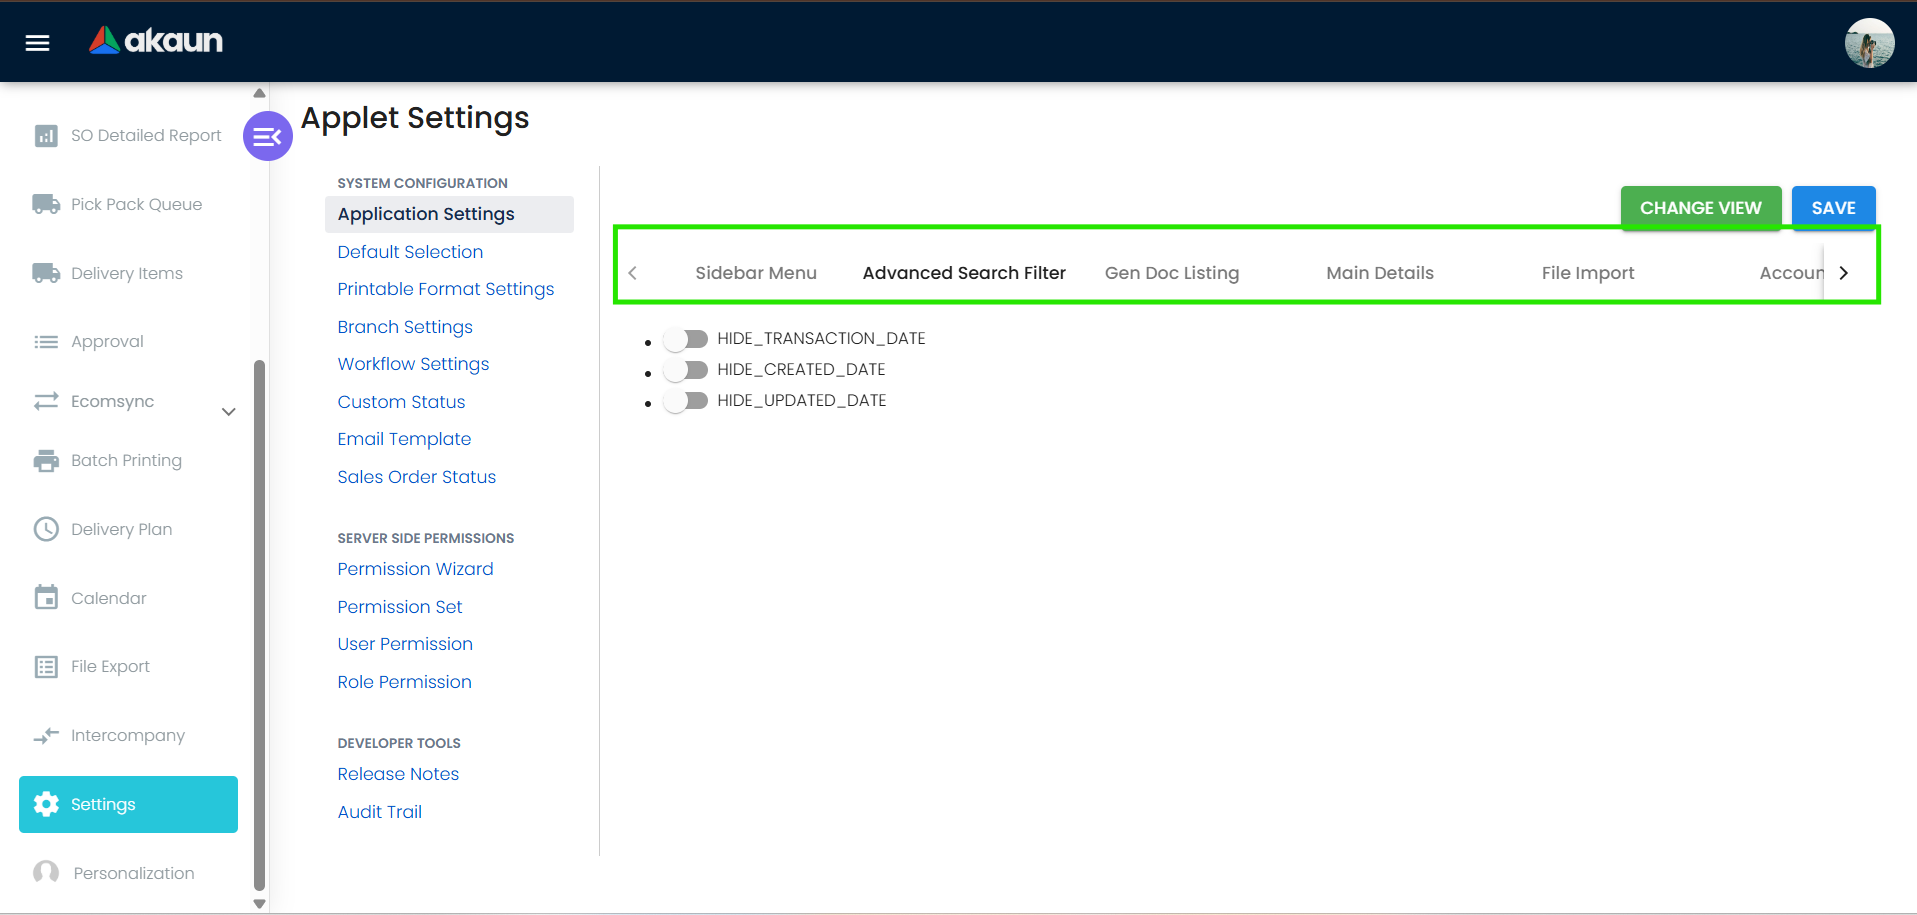
Settings: Configure feature visibility.
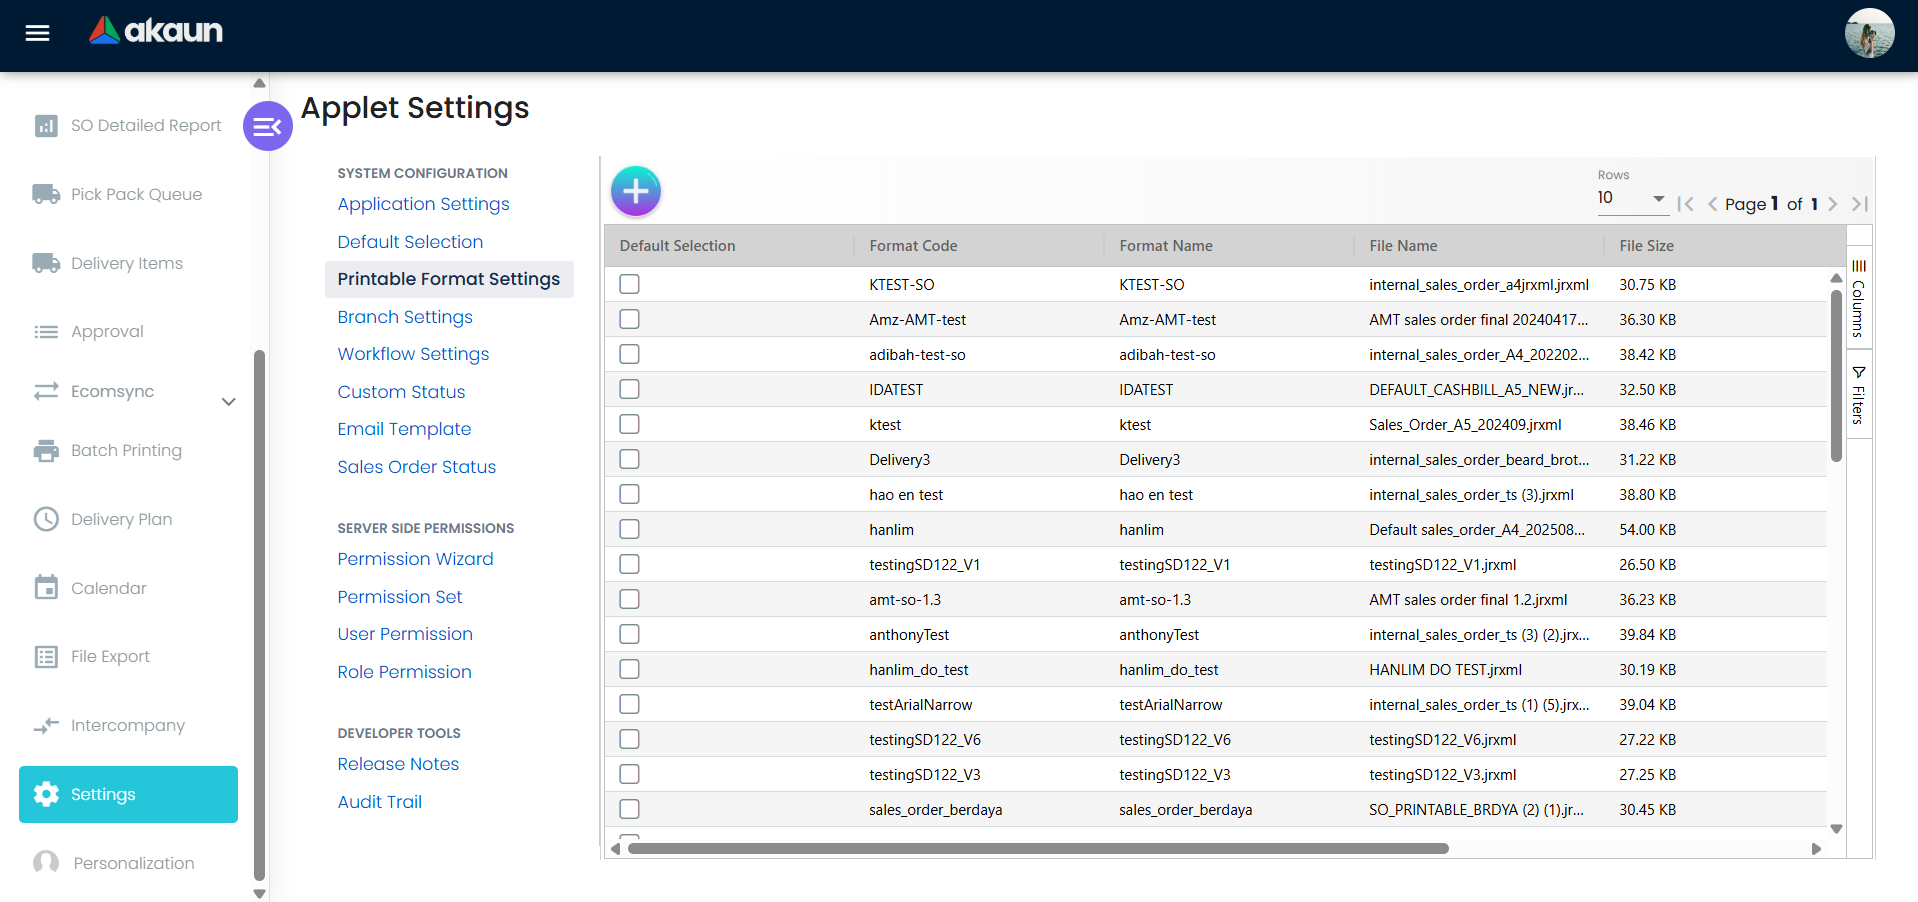
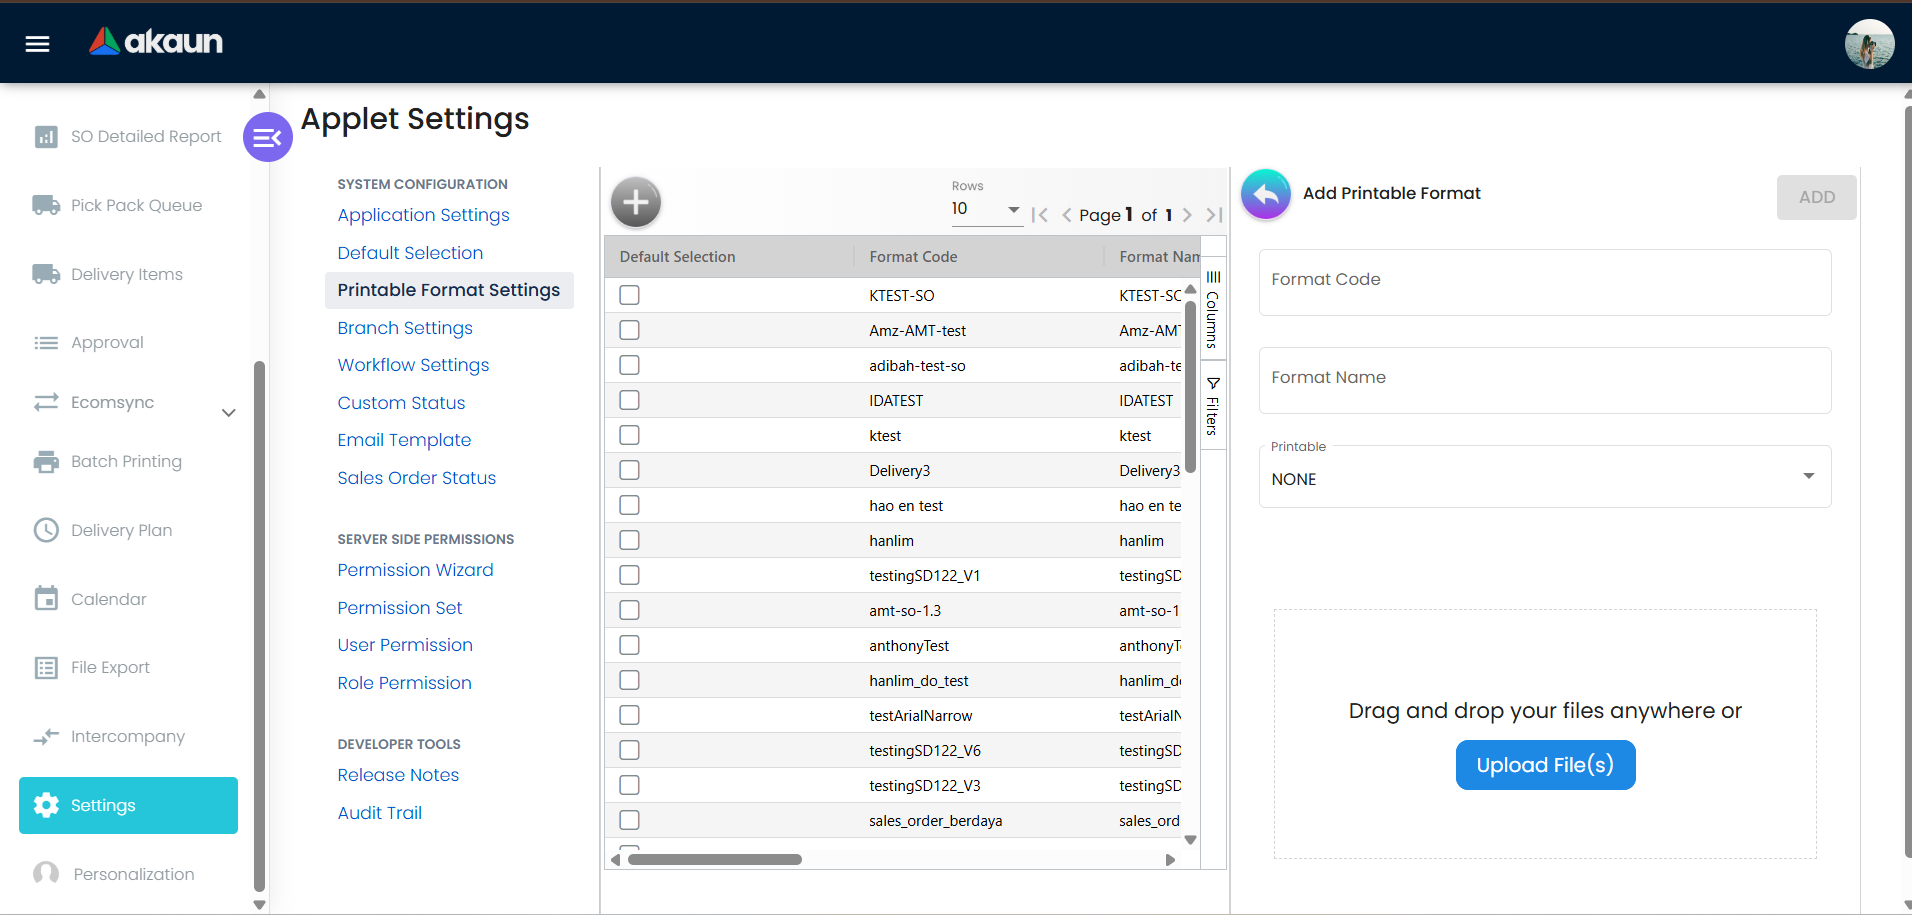
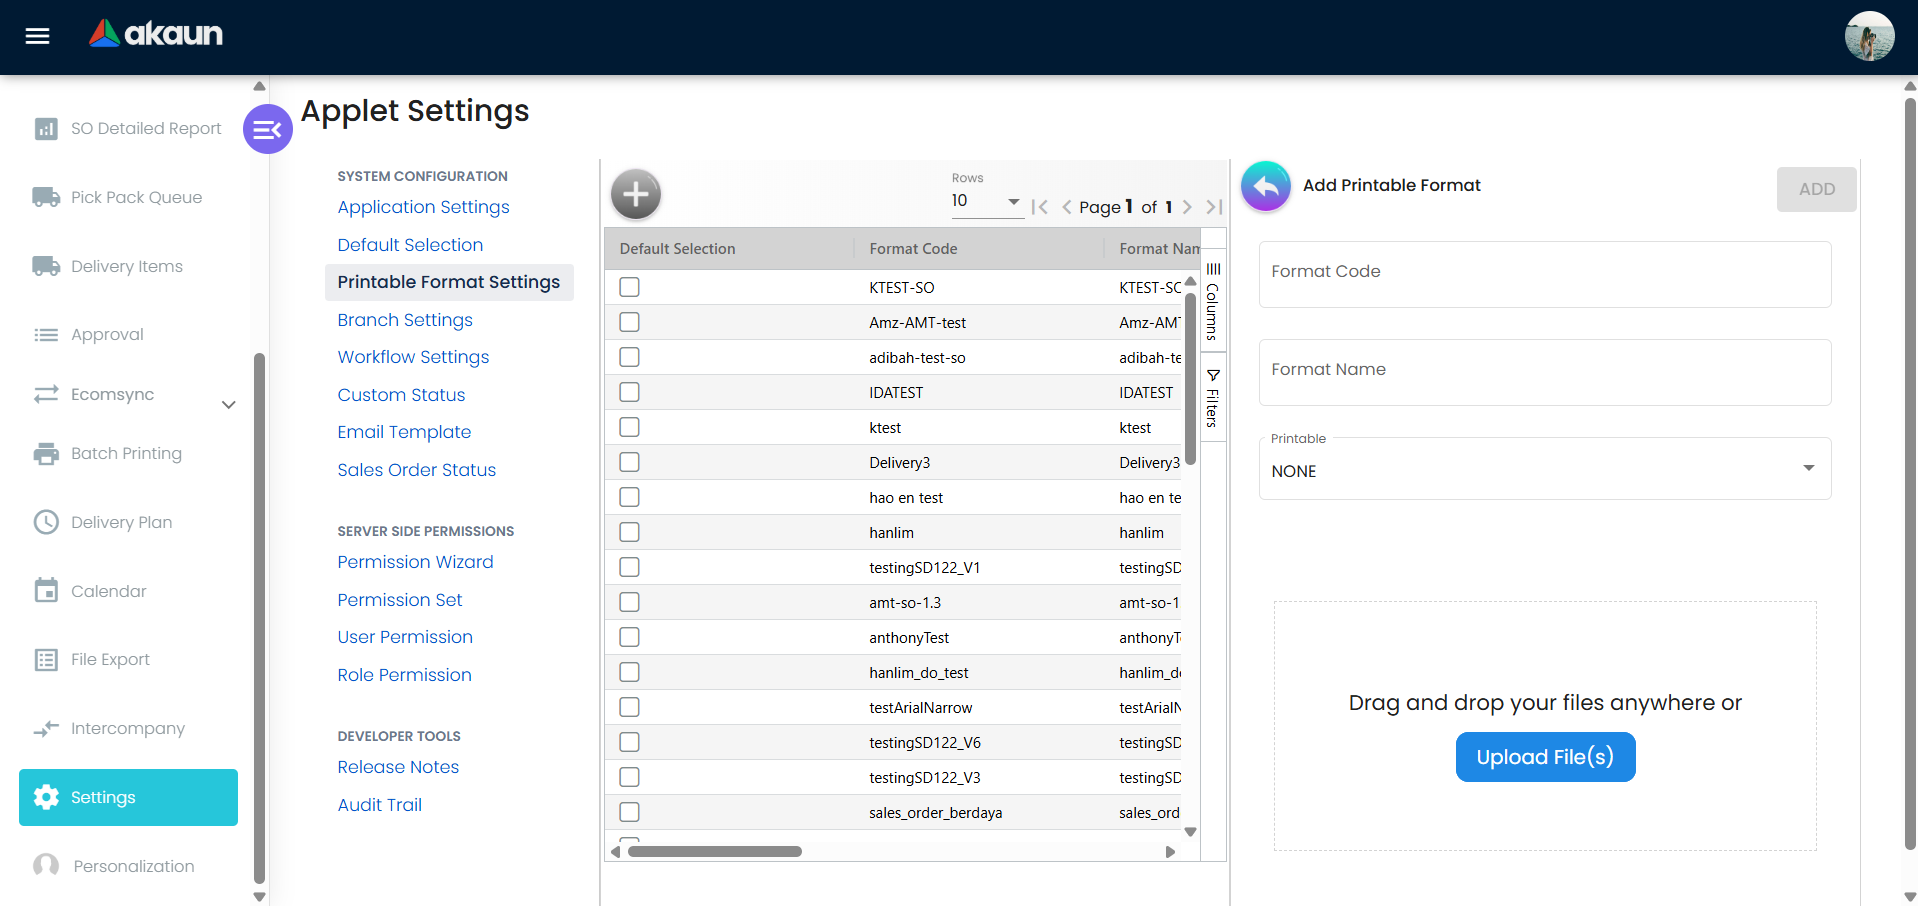
Printable Format Settings
- Configure sales order print layouts
- Enable auto preview and batch printing
Branch and Settlement Settings
- Branch-specific settlement behavior
- Payment and receipt voucher defaults
Email Templates
- Templates for sales order emails
- Configure recipients (billing, shipping)
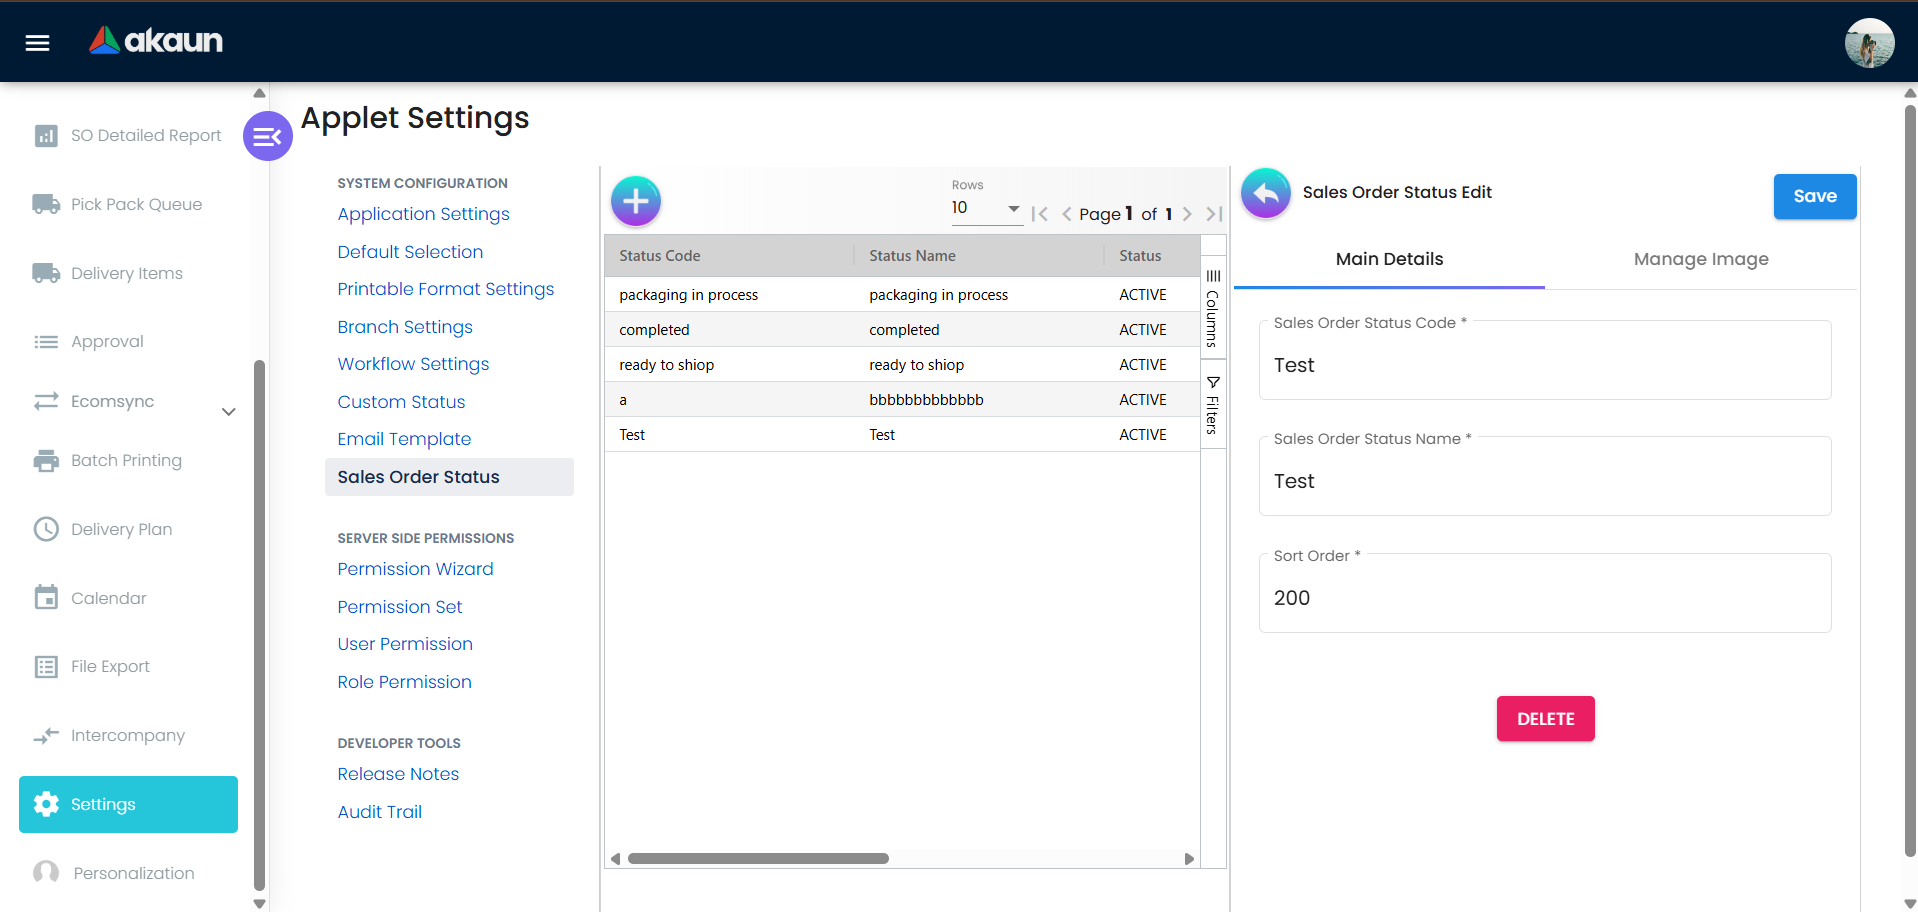
Sales Order Status
- Custom order status list
- Status tagging for reporting and tracking
Feature Visibility and Permissions
- Feature visibility configuration
- Role and team permission sets
- Client-side permission controls
Personalization
- Set default branch, location, and currency for faster order entry
- Customize visible columns and advanced search fields for your team
- Use role-based menus to simplify the UI for specific users
Recommended setup checklist:
- Set Defaults: Branch, location, currency, and posting status
- Enable Required Tabs: Delivery, settlement, and attachments
- Configure Approval Rules: Workflow and permission controls
- Define Printables: Sales order and delivery formats
- Validate Credit Limits: Enable credit limit checks if required
- Enable Ecomsync: For marketplace integration and tracking
Audit and History
Use built-in tracing and history tools to track changes and downstream documents.
- Events tab: Review status changes, edits, and system actions on the order
- Trace Document: Follow the document flow to delivery, invoices, and settlements
- Listing export: Export filtered orders for reconciliation or audit sampling
FAQ
Q: Why can I not see the FINAL button?
A: The FINAL action may be hidden by settings or restricted by your permissions.
Q: How do I enable delivery details on the order?
A: Enable Delivery Details in Settings > Application Settings.
Q: Why does the order fail credit limit checks?
A: The customer credit limit may be exceeded. Update credit limits or reduce order value.
Q: Can I edit a FINAL order?
A: In most setups, FINAL orders are locked. If changes are needed, use permitted actions (VOID/CLOSE) and re-create or issue a new order per your policy.
Q: Why can’t I change the delivery date after FINAL?
A: Delivery fields may be locked after posting. Update via Delivery Plan/Delivery Items or adjust settings if your workflow allows edits.
Q: Can I print multiple sales orders at once?
A: Yes. Use Batch Printing from the menu or SINGLE/MULTIPLE PRINT in the listing.
Q: How do I import sales orders in bulk?
A: Use File Import, upload CSV, and validate via helper checking.
Q: Why can’t I see Pick Pack Queue or Delivery Items?
A: These menus can be hidden by applet settings or restricted by permissions. Check Feature Visibility and role permissions.
Q: How do I send a Sales Order email to the customer?
A: From the listing, select the order, choose an email template, pick Billing or Shipping recipient, then click Send Email.
Q: How do I re-sync a marketplace order?
A: Open the order and use the Ecomsync tab to review sync status and re-run sync actions (if enabled).