Seller Admin Applet
Purpose and Overview
The Seller Admin Applet is a comprehensive solution designed to manage the end-to-end lifecycle of seller operations within the ERP. It centralizes sales order creation, merchant account administration, and fulfillment workflows into a single, intuitive interface.
Key Features Overview
Who Benefits from This Applet?
Sales Administrators:
- Rapid creation and management of Internal Sales Orders (ISO)
- Streamlined merchant account onboarding and configuration
- Real-time tracking of order statuses across different merchants
Operations & Warehouse Teams:
- Efficient order processing via a dedicated Pick-Pack Queue
- Optimized fulfillment with batch printing and delivery item management
- Reduced manual data entry through automated synchronization
Product & Inventory Managers:
- Centralized management of seller-specific products
- Precise control over marketplace synchronization via Ecomsync
- Visibility into stock levels and SKU mappings
Business Owners & Executives:
- Holistic view of multi-seller performance via dashboards
- Detailed audit trails for every transaction and setting change
- Data-driven decision making with advanced sales reports
What Problems Does This Solve?
The Fragmented Seller Management Problem: Traditional seller management relies on disconnected spreadsheets and manual fulfillment. Common issues include:
- Difficulty in tracking orders across different merchant accounts
- Inefficient picking and packing processes leading to delays
- Manual stock updates causing overselling risks on marketplaces
- Lack of centralized reporting for seller-specific performance
The Seller Admin Applet Solution:
- Unified Interface - Manage ISOs, merchants, and products in one place
- Automated Fulfillment - A specialized queue to move orders from “Pending” to “Delivered” faster
- Ecomsync Integration - Real-time synchronization of products and orders with external channels
- Advanced Batch Tools - Mass print labels and process multiple orders in seconds
- Granular Control - Detailed permission settings and field-level configurations
Key Features Overview

Key Concepts
Understanding the Seller Ecosystem
The Seller Admin Applet operates on a structured framework that connects four main components:
| Component | Definition | Practical Example |
|---|---|---|
| Internal Sales Order (ISO) | The core transaction representing a demand for products. Includes financial settlement and contra logic. | A bulk order for 50 units of “Wireless Mice” with a 10% downpayment. |
| Merchant Account | The entity responsible for fulfilling the order. Acting as a seller or fulfillment partner. | “TechDistro Inc.” acting as a regional fulfillment partner. |
| Pick-Pack Queue | The operational stage where items are prepared for shipping. | Warehouse staff selecting pending orders to pack. |
| Ecomsync | The engine that syncs data with marketplace platforms like Shopee and Lazada. | Automatically updating stock on Shopee or Lazada. |
The Order Lifecycle
Sales Order Created
│
├── Assigned to Merchant ──→ WHO fulfills it?
│   │
│   └── Verification ──→ Check stock and details
│       │
│       └── Pick-Pack Queue ──→ OPERATIONS workflow
│           │
│           └── Batch Printing ──→ Shipping labels & Invoices
│               │
│               └── Delivery/Sync ──→ SHIPPING & MARKETPLACE update
Quick Start Guide
Get your seller operations running smoothly with these essential workflows.
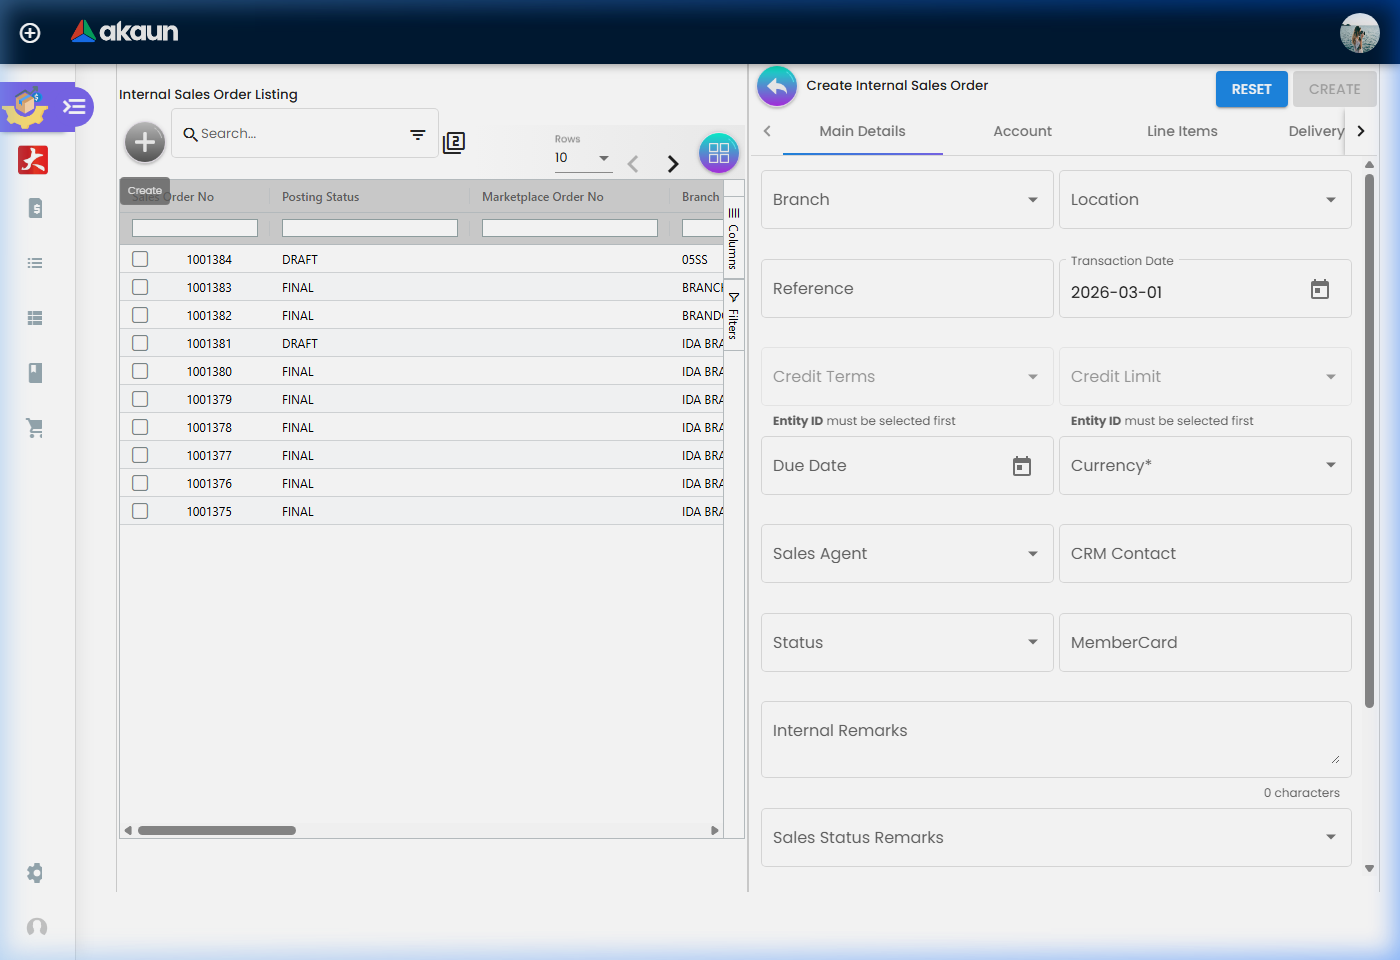
For Sales Admins: Create an Internal Sales Order
Goal: Generate a new order to be fulfilled by a merchant in 5 steps.
- Navigate: Go to Internal Sales Order from the sidebar.
- Initialize: Click "+" (Create New).
- Select Details: Choose the Merchant, Project, and Warehouse.
- Add Items: Click “Add Line”, select your products, and specify quantities.
- Finalize: Review the totals and click Submit. The order is now ready for fulfillment.
For Operations: Process the Pick-Pack Queue
Goal: Efficiently pack and ship pending orders.
- Check Queue: Go to Seller Order Listing to see all pending orders.
- Select & Print: Select the orders you wish to process and use Batch Printing to generate labels.
- Pack & Ship: Verify items are packed correctly.
- Update Status: Select the orders and click Process or Deliver to update the system.
- Verification: Check Delivery Items to ensure the fulfillment is recorded.
For Admins: Initial System Setup
Goal: Configure the applet for first-time use in 6 steps.
- Merchant Onboarding: Go to Merchant Account Admin → Create profiles for all fulfillment partners.
- Product Mapping: In Seller Product Management, link your internal stock items to marketplace SKUs.
- Configure Sync: Access Ecomsync Scheduler to set up automated stock and order update intervals.
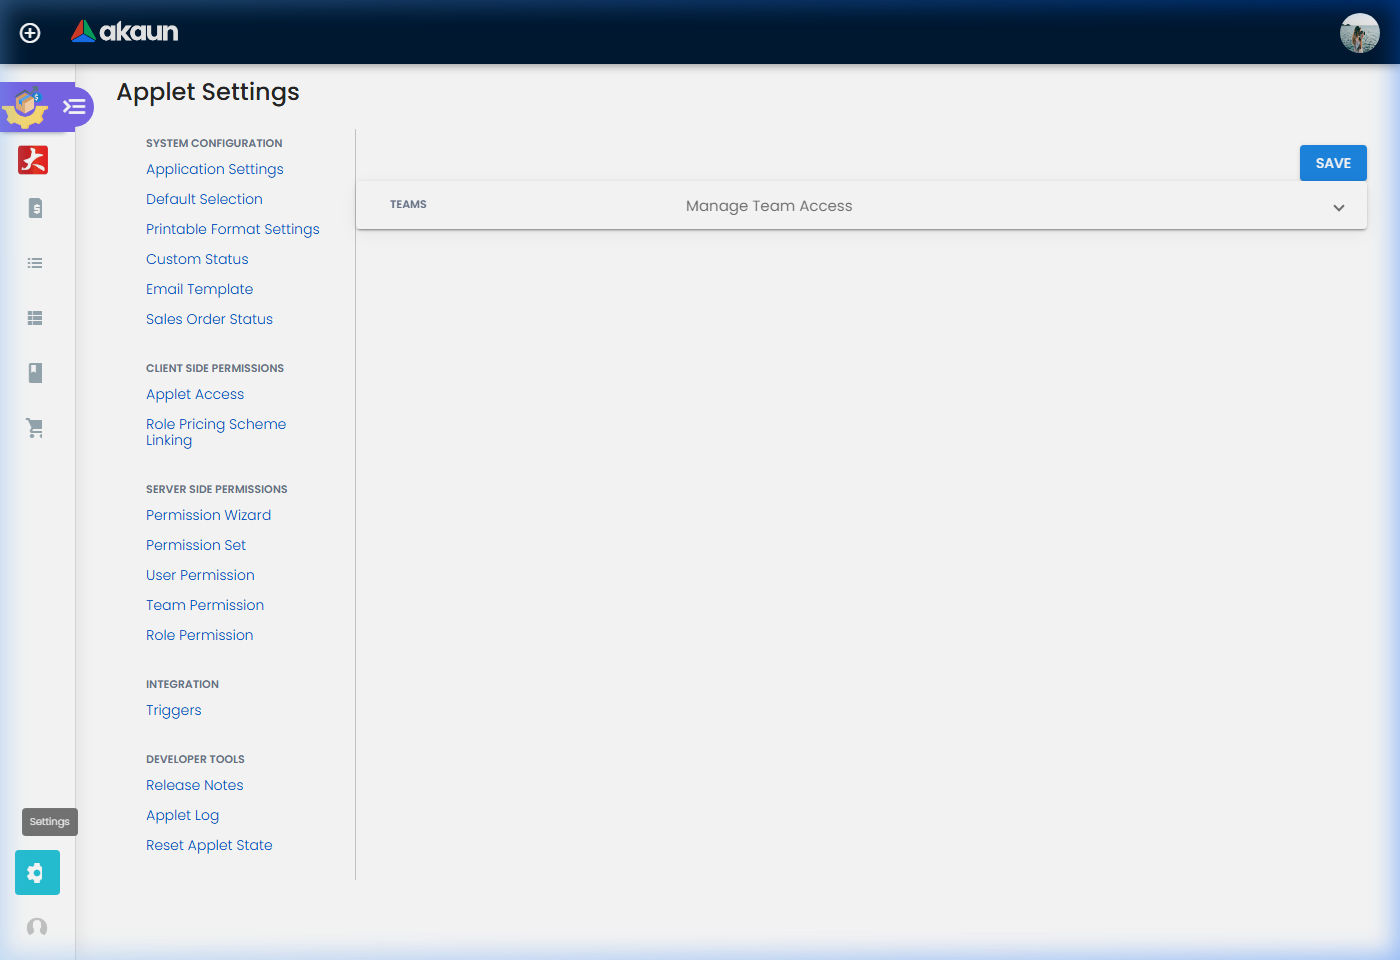
- Define Workflows: Go to Settings > Sales Order Status to customize the fulfillment stages (e.g., Picked, Packed, Dispatched).
- Set Permissions: Role-based access control in Settings > Role Permission Listing to define who can create ISOs vs. who can process the queue.
- Print Setup: Customize document layouts in Printable Format Settings for Invoices and Packing Slips.
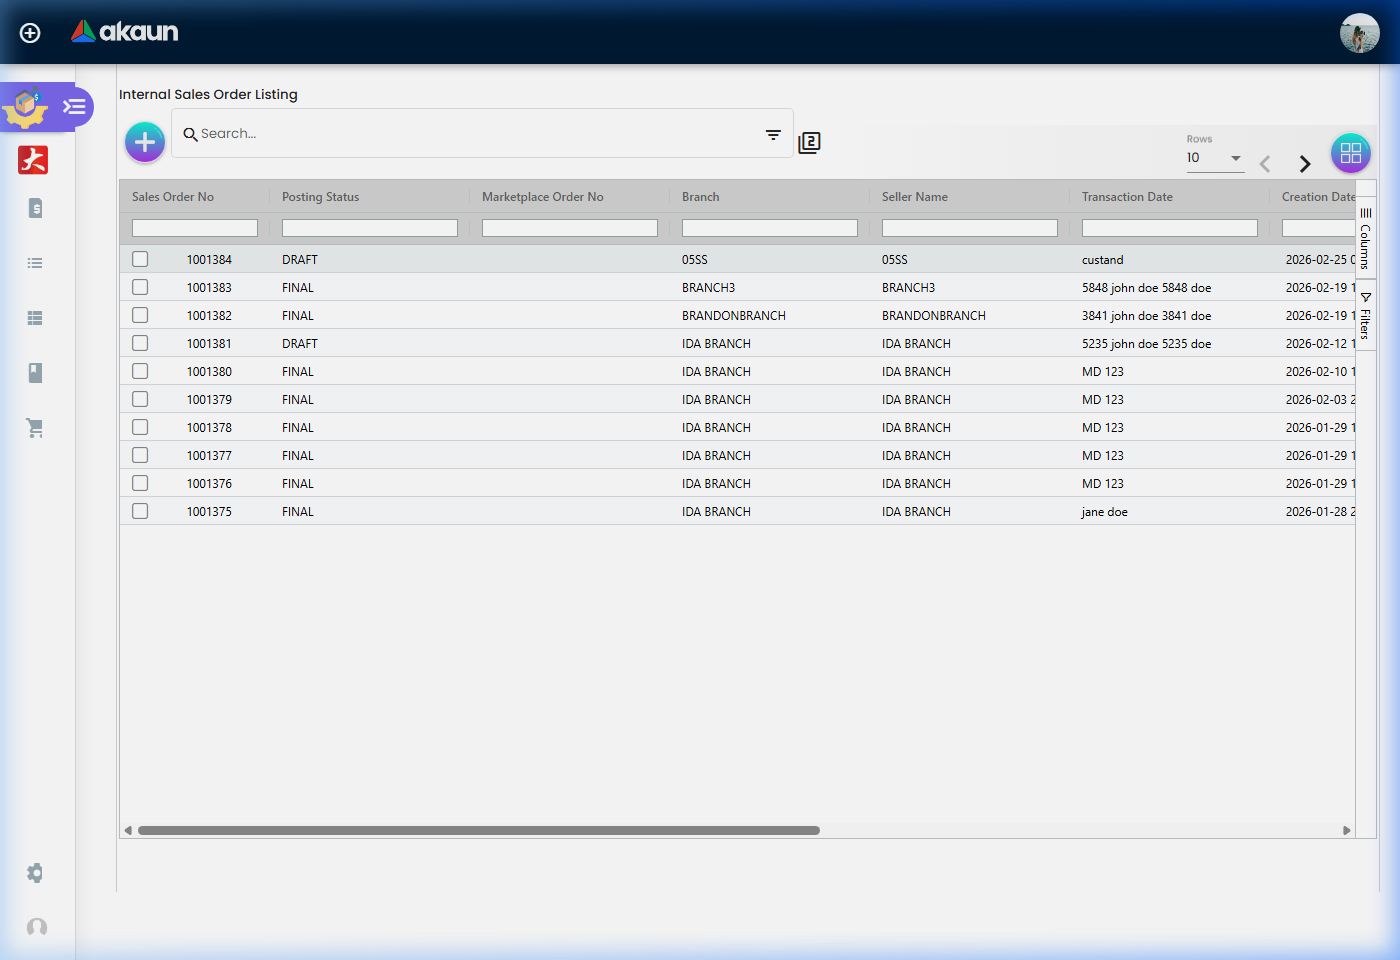
Internal Sales Orders
The Internal Sales Order (ISO) module is the primary entry point for transactions.
- Status Tracking: Monitor orders through various stages (Draft, Pending, Confirmed, Cancelled).
- Financial Controls: Manage Settlements (downpayments), Contra (offsetting), and Credit Terms/Limits directly within the order.
- Member Card Support: Integrate with loyalty systems to apply member-specific pricing or rewards.
- Logistics Integration: Track Permit Numbers and Tracking IDs for international or specialized shipping.
- Attachments: Securely store POs, receipts, and other critical documentation as part of the order audit trail.
- Detailed Reports: Export order data via the Sales Order Detailed Report for financial analysis.
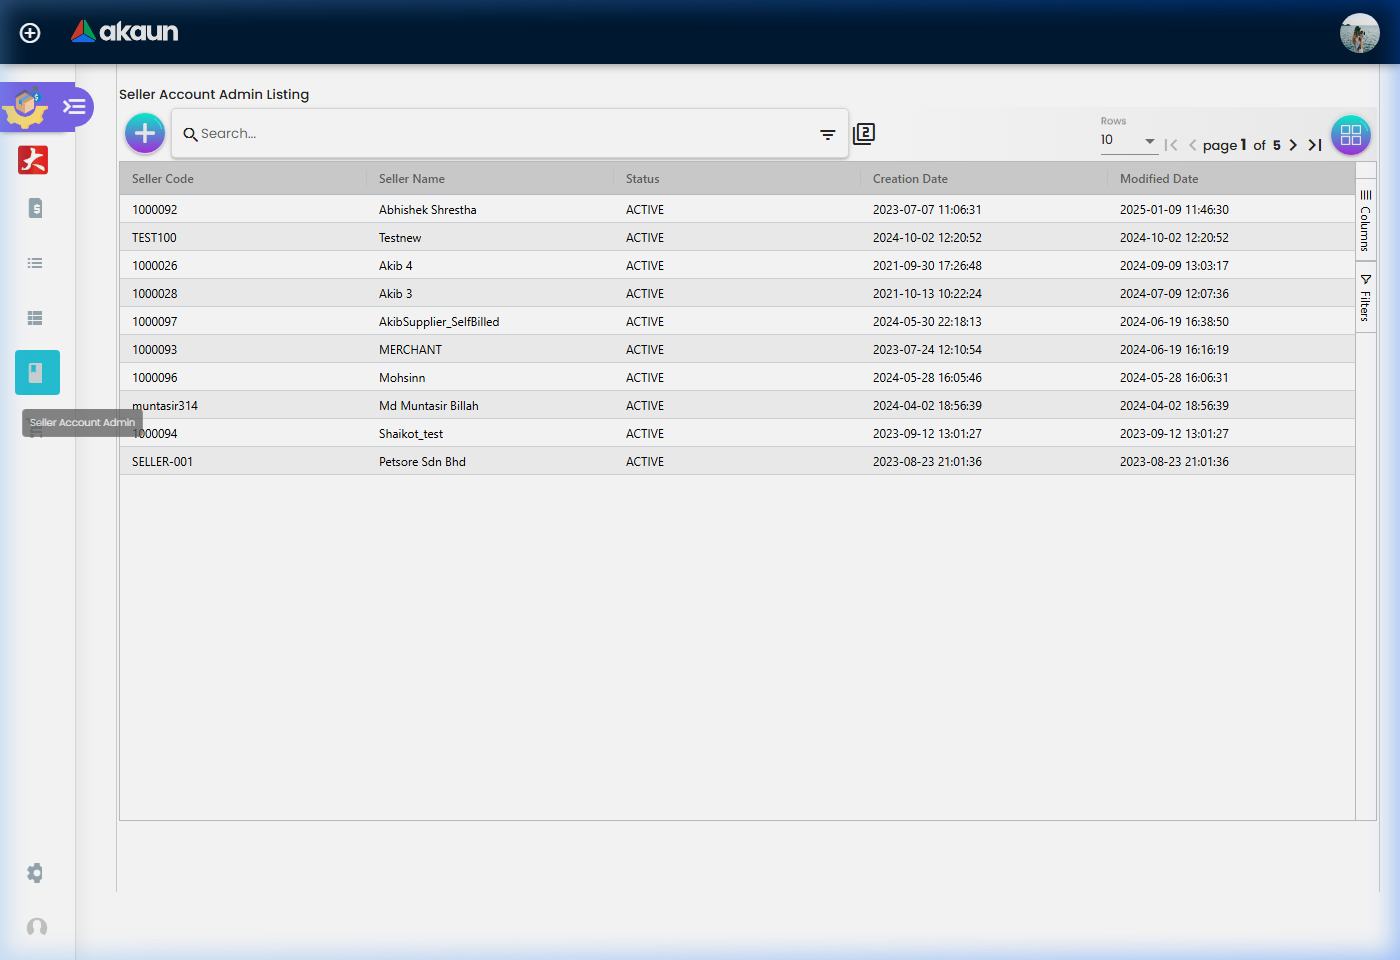
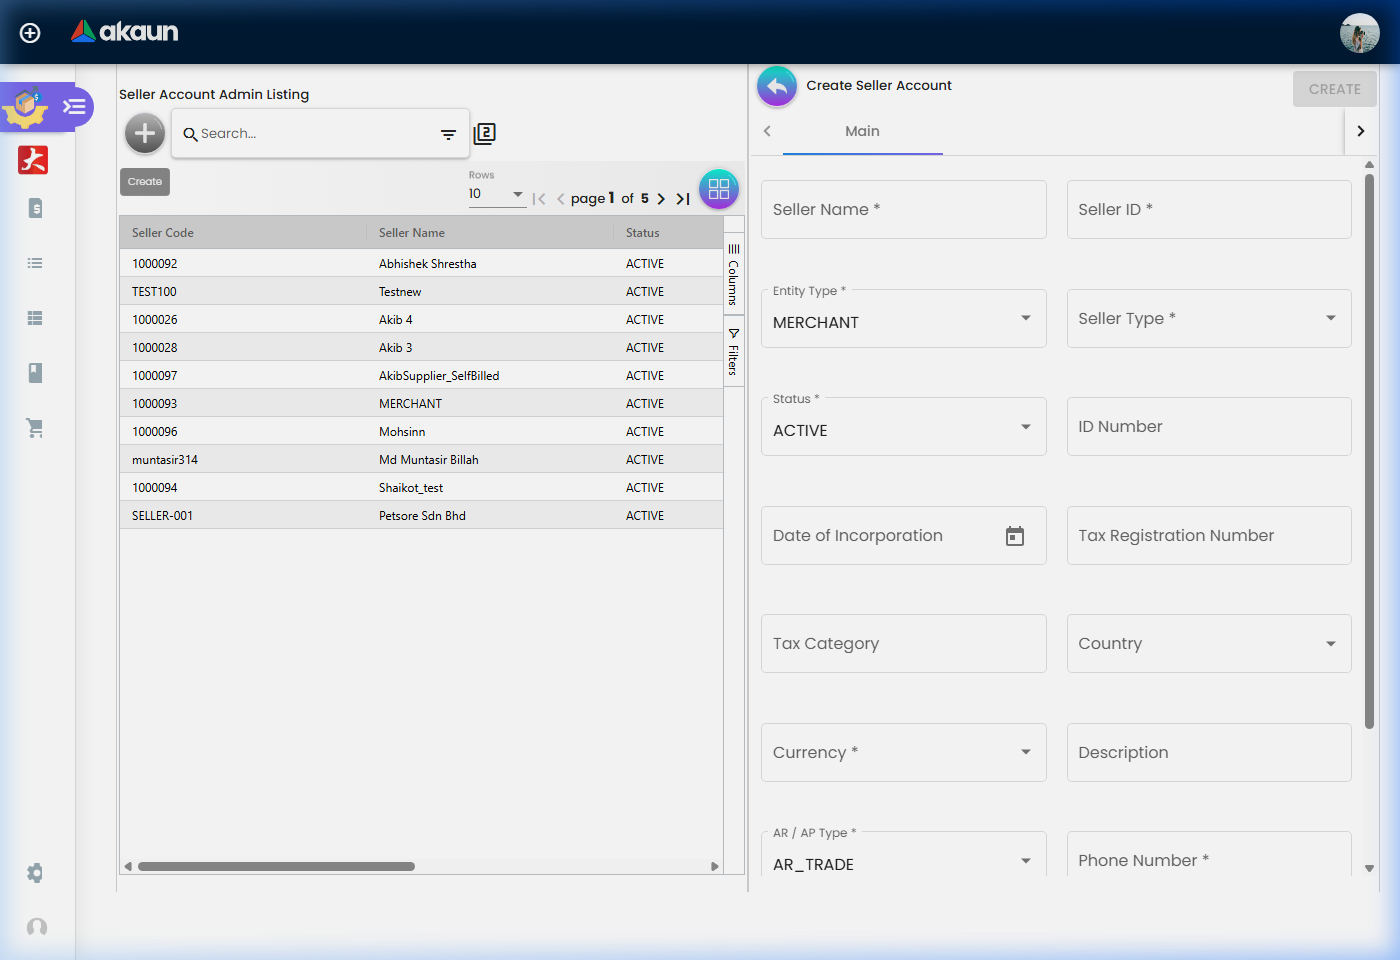
Merchant Account Admin
Manage the “Who” of your operations. The Merchant Account Admin section (also referred to as Customer/Merchant Container) allows you to:
- Profile Management: Maintain merchant contact info, business addresses, and branches.
- Financial Settings: Configure payment terms, credit limits, and branch-specific settings.
- Logistics Mapping: Link merchants to specific shipping locations and delivery regions.
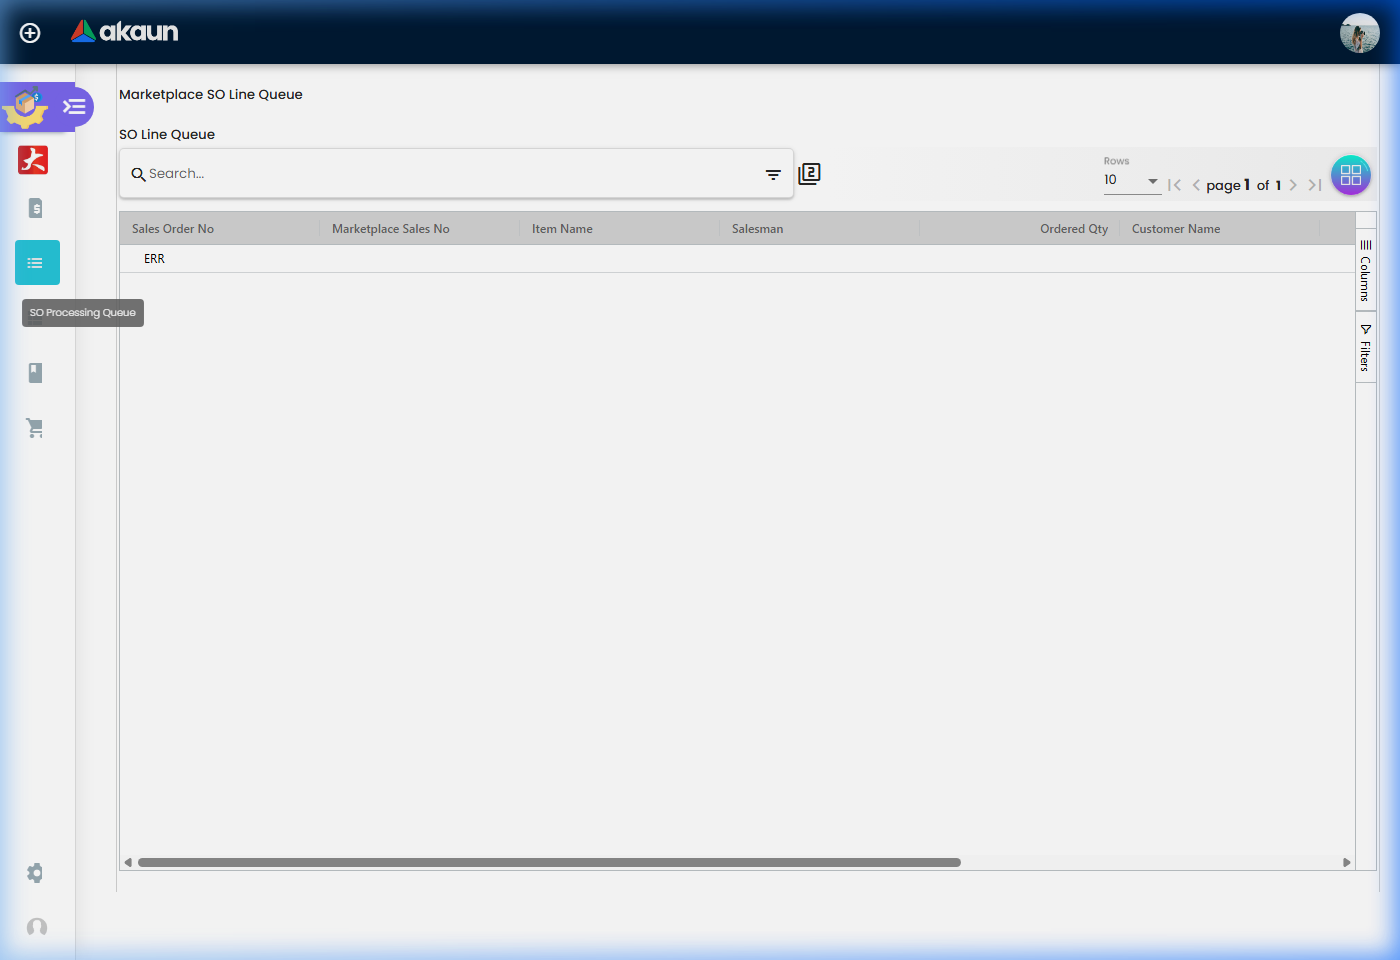
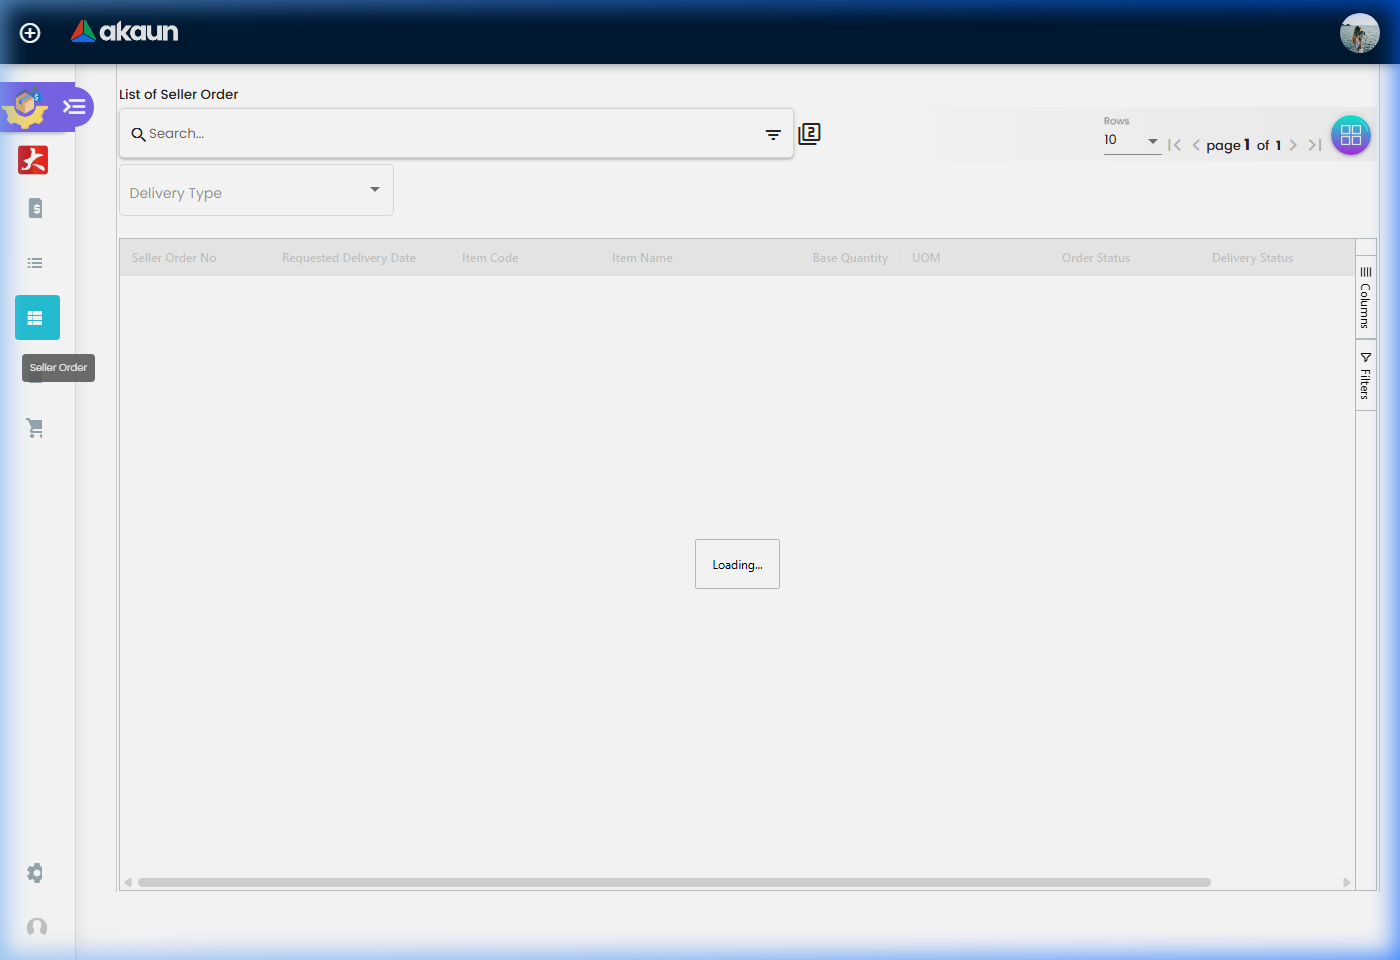
Seller Order Listing (Pick-Pack Queue)
This is the “Engine Room” of the applet. It provides a real-time queue of orders that need attention.
- Fulfillment States: Filter by “Need to Pick”, “Need to Pack”, and “Ready to Ship”.
- Batch Processing: Select multiple orders to update statuses simultaneously.
- Barcode Support: Integration with scanners for quick item verification (where applicable).
Ecomsync Dashboard & Scheduler
The Ecomsync module manages the digital bridge between your ERP and external marketplaces.
- Marketplace Dashboards: Specialized views for Shopee and Lazada to monitor platform-specific sales and sync performance.
- Sync Scheduler: Automate the timing of stock updates and order downloads.
- Status Monitoring: Identify and troubleshoot sync failures immediately to prevent stock discrepancies.
- Catalog Management: Monitor new catalog listings and map items to marketplace-specific SKUs.
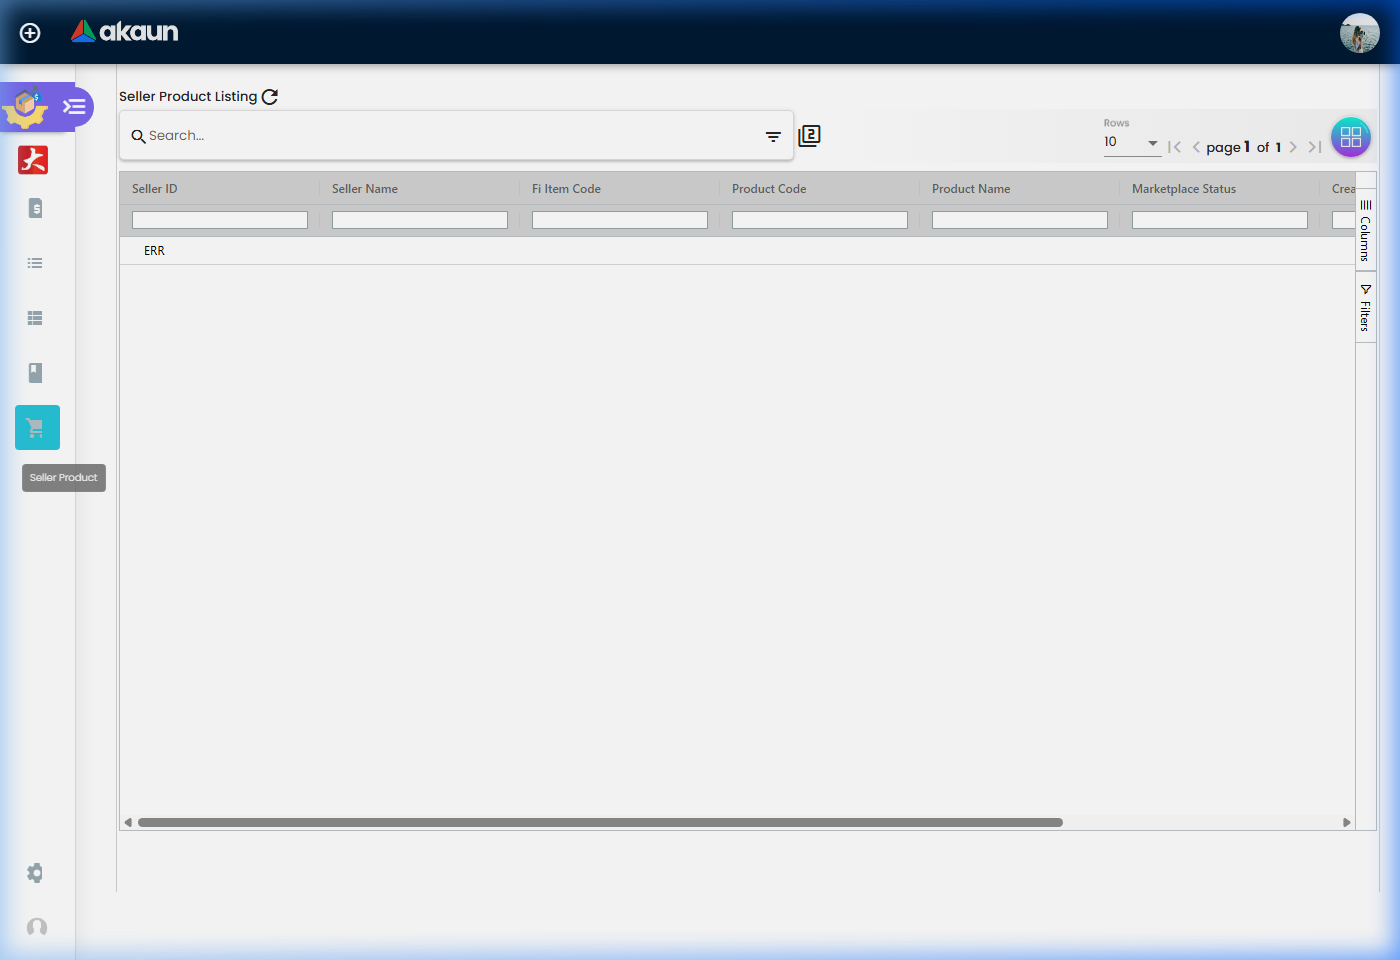
Seller Product Management
Configuration & Settings
Customise the applet to match your organizational needs.
Field Settings
Control what information is visible and required during order creation.
- Custom Fields: Add industry-specific data points to your Sales Orders.
- Visibility Rules: Hide complex fields from standard users to simplify UI.
Email Templates
Define the automated communications sent to merchants and customers.
- Order Confirmation: Sent when an ISO is created.
- Shipping Notification: Sent when an order is marked as delivered.
Printable Format Settings
Configure the layout of your physical documents.
- Invoices & Receipts: Customize logos, headers, and footers.
- Packing Slips: Optimize the layout for warehouse picking efficiency.
FAQ
Q: How do I handle a sync error in Ecomsync?
A: Navigate to the Ecomsync Dashboard, identify the failed task, and check the error message. Common issues include invalid SKU mappings or expired marketplace API tokens.
Q: Can I process orders from different merchants in a single batch?
A: Yes, as long as they are selected within the Seller Order Listing, you can trigger batch actions like printing or status updates across any number of merchants.
Q: What is the difference between an ISO and a standard Sales Order?
A: An ISO is specifically designed for internal routing to merchant accounts for fulfillment, often carrying additional metadata for Ecomsync and merchant-specific logistics.
Q: How do I add new seller-specific products?
A: Use the Seller Product module. You can link these directly to your internal product master while maintaining merchant-specific SKU identifiers.
Q: Why are my marketplace stock levels not updating?
A: Check if the Ecomsync Scheduler is active and that the Product Mapping is correctly configured. Also, verify that the warehouse inventory levels in the ERP have sufficient stock for sync.
Q: Can I customize the fields shown in the ISO creation form?
A: Yes, go to Settings > Field Settings to enable, disable, or make fields mandatory depending on your business requirements.
Q: How do I configure my printer for batch printing labels?
A: Printer name and format are managed in Settings > Printable Format Settings. Ensure your local print service is running and correctly linked to the applet’s output.
Q: Can I track who modified a merchant’s settings?
A: Yes, refer to the Audit Trail section under Settings to see a full history of changes, including the user, timestamp, and specific field modifications.