Teams and Permissions
If you need to make sure that only the right people in your business can see — and especially export — your customer and membership records, this is the page you want. By the end of it you will have a team set up, its members added, and a permission set that lets those members look up a customer without being able to download the customer list. It takes about 20 minutes the first time.
This matters for more than tidiness. Under Malaysia’s Personal Data Protection Act 2010 (PDPA), your business is the data user, and the Act’s Security Principle expects you to put real technical controls around personal data. Separating “may view” from “may export” is one of the clearest controls you can demonstrate to an auditor. This guide shows you how to configure it.
Meet GadgetSphere Sdn Bhd
Throughout this guide we use GadgetSphere Sdn Bhd, a Malaysian consumer electronics retailer with 22 branches across Klang Valley, Penang, Johor Bahru, Kota Kinabalu and Kuching, and around 85,000 customer records in BigLedger. Most of those customers are walk-in retail shoppers who joined the loyalty programme — so their names, mobile numbers and email addresses are all sitting in the system. GadgetSphere’s cashiers need to look customers up at the counter. They absolutely do not need to download all 85,000 of them to a spreadsheet.
The four ideas you need
Just four terms, then we start clicking.
A permission is one specific thing a person is allowed to do — “read a customer record”, “export customer records”. Each permission has a technical code behind it, like TNT_API_CUSTOMER_READ. You will see those codes on screen; you don’t need to memorise them.
A permission set is a bundle of permissions you group together and name, so you can hand out the whole bundle at once instead of ticking boxes one by one. Think of it as a bag of tools.
A role is a job title — “Cashier”, “Branch Manager”, “HQ Marketing”. You put permission sets into a role, then give the role to people. This is how you avoid configuring 400 staff individually.
A team is a group of people. You can attach roles to a team, so everyone in the team inherits the same access. Teams are how GadgetSphere gives all 18 cashiers at GS-KV-01 the same rights in one move.
The important part, and the reason you are probably here: a permission can be scoped to a target — a specific company, branch or location. A cashier at GS-KV-01 scoped to that branch simply does not see customers belonging to GS-PEN-01. Out-of-scope records don’t appear at all.
Before you start
You will need:
- An account with Owner or Admin rank in the Tenant Admin applet. Member rank can look at permission settings but cannot change them.
- Your staff already signed up at akaun.com — a person only becomes selectable once their email exists on the platform.
- A rough idea of your roles. Even a scribble on paper helps: who views, who edits, who exports. There is a worked example in Step 3 you can copy.
Step 1: Create the team
The outcome of this step is a named container you can drop people into.
Navigate to: Tenant Admin applet → Team → +
Fill in the compulsory fields, marked with an asterisk:
- Team Name — plain English, because you will read this in a list six months from now. GadgetSphere uses Retail Cashiers — Klang Valley.
- Team Code — short and unique.
TEAM-CASHIER-KV. Pick a convention now and stick to it; the code is awkward to change later. - Team Email — a contact address for the team.
- Team Visibility — choose from the list. This controls who can find the team.
- Team Joining — choose from the list. This controls whether people can join on their own or must be added by you. For anything touching personal data, do not leave joining open.
Click Create. The team now appears in the main listing. Click it to open it for editing.
TEAM1 today, you will be looking at TEAM1 in the audit trail three years from now, wondering what it was. Spend the extra ten seconds.Step 2: Add the people
The outcome is a team with the right humans in it.
Navigate to: the team → Edit Members tab
Click + to add someone. Search by their email address — this is why they must have signed up at akaun.com first. Then choose their rank within the team (this differentiates ordinary members from those who can administer the team itself) and set their status. Click Add.
Once someone is in the list, click their row to edit or remove them.
Adding a whole branch at once? Use the Import Users tab instead. Download the sample format shown on that tab, fill it in, and click Upload file. GadgetSphere loaded all 18 Klang Valley cashiers this way rather than typing 18 email addresses.
You can also correct the team’s own details — name, description, visibility, joining, status — from the Edit general info tab at any time. Note that the Team Code is not in that list.
Step 3: Split view, edit and export
This is the step that answers the PDPA question, so it gets the most detail.
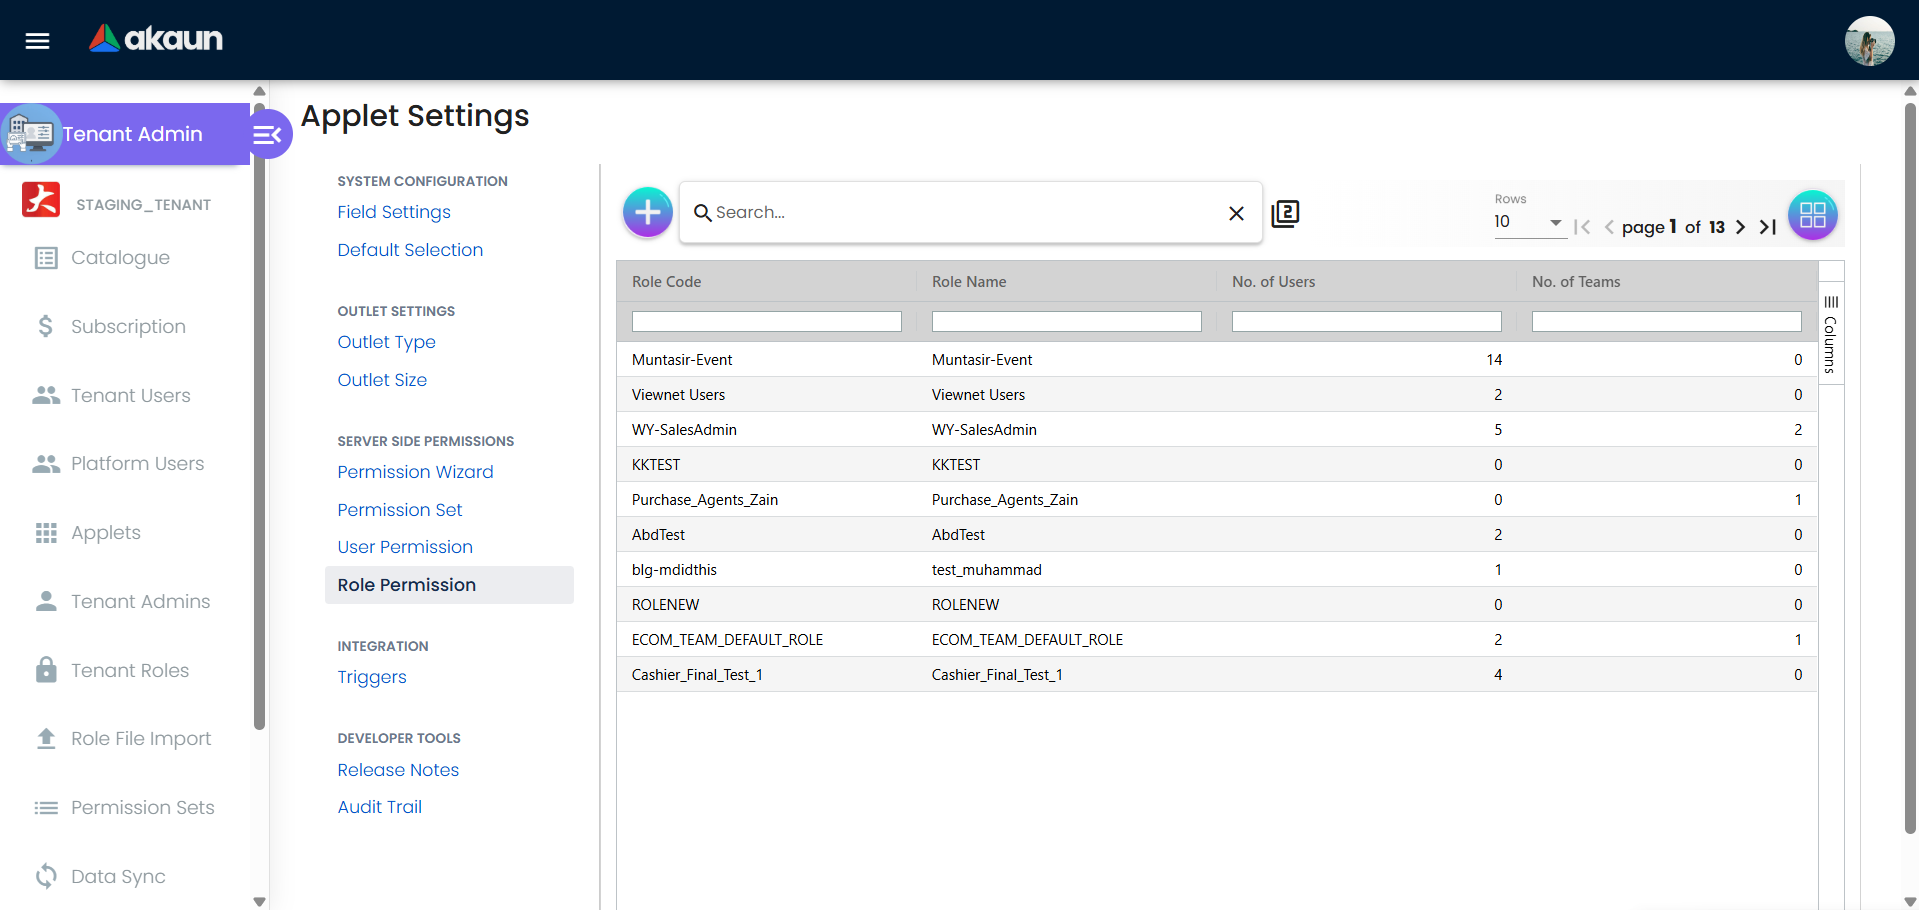
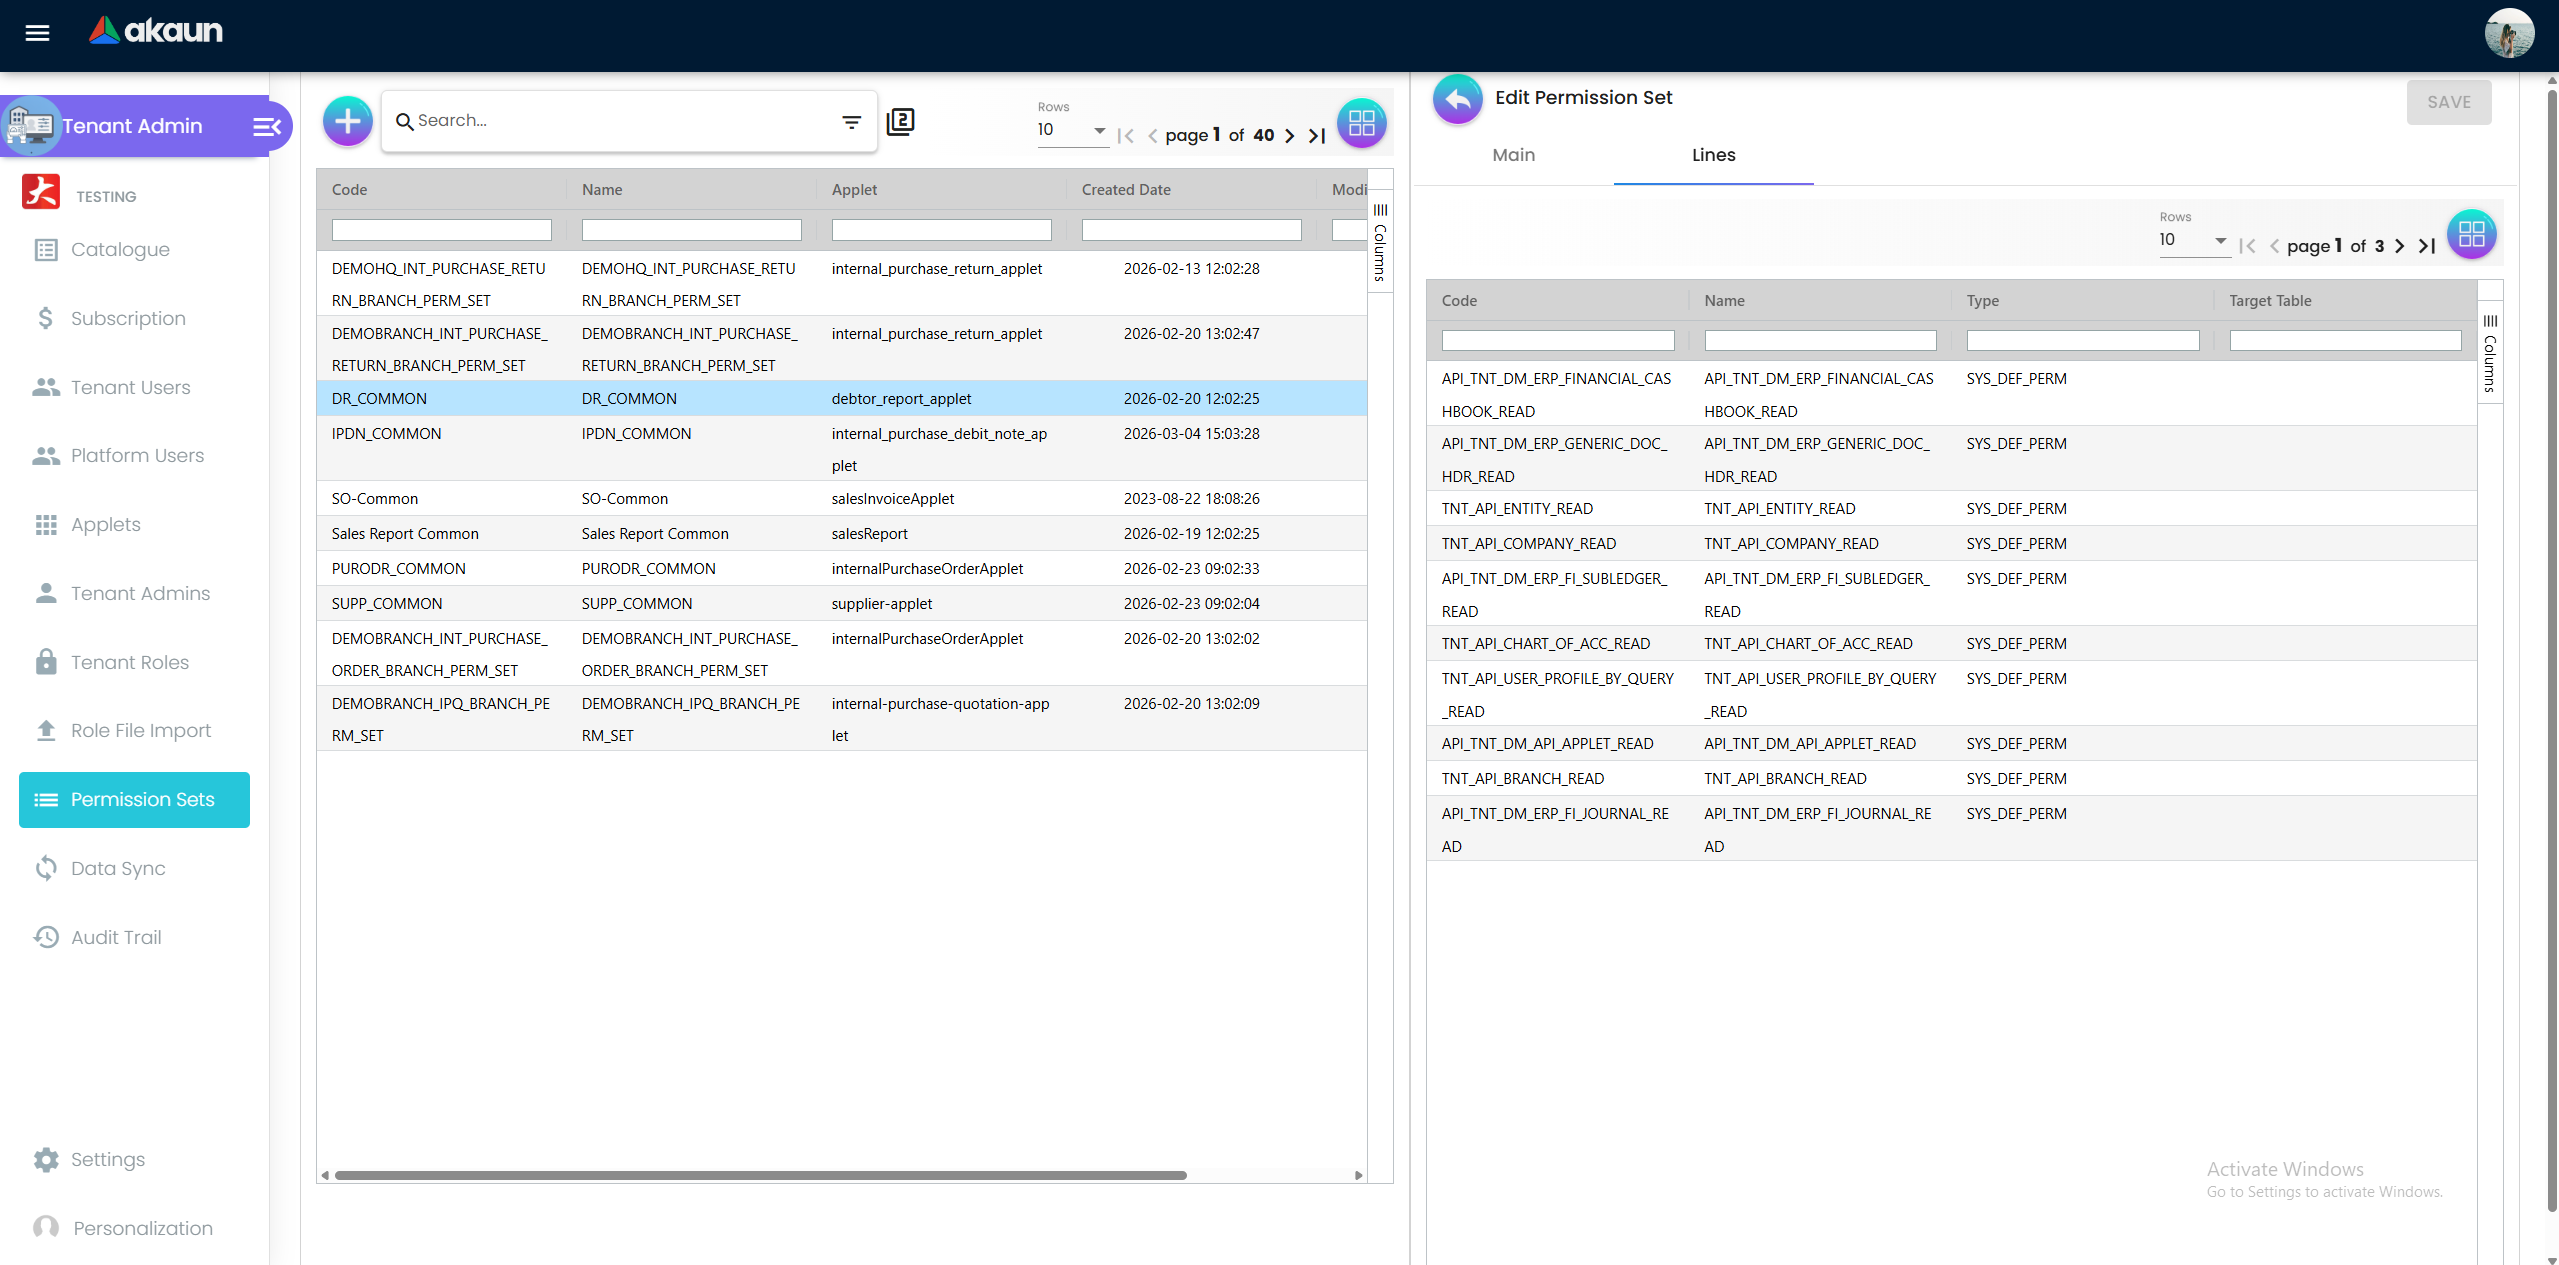
Navigate to: the team → Edit Permission tab, or build a reusable role in Tenant Admin → Roles & Permissions.
Click Select permission to add a permission, and use the same tab afterwards to edit or remove it.
Here are the permissions that govern customer and membership personal data. The plain-English description is what matters; the code is what you will see in the picker.
| What you want to control | Permission to grant |
|---|---|
| Look up and view a customer | TNT_API_CUSTOMER_READ, TNT_API_ENTITY_READ |
| Create, change or remove a customer | TNT_API_ENTITY_CREATE / _UPDATE / _DELETE |
| Export customer data to a file | API_TNT_DM_ENTITY_EXPORT_CREATE / _READ |
| View or change membership cards | API_TNT_DM_CRM_MEMBERSHIP_CARD_HDR_READ / _UPDATE |
| Run and export membership reports | MEMBERSHIP_REPORT_READ / _CREATE |
| See who changed a customer record | ENTITY_AUDIT_TRAIL_READ |
Three things worth knowing about how this behaves:
Export really is a separate right. Granting someone the ability to view a customer does not give them the ability to export customers. They are different permissions and you grant them independently. This is exactly the control most businesses are looking for when they ask about PDPA.
The check happens on the server, not in the browser. BigLedger does not merely hide the export button. The API refuses the request. Someone who knows their way around a browser’s developer tools, or who calls the service directly, still gets nothing.
Changes are recorded. Every create, update and delete on a customer record stores the old value, the new value, who did it and when. Your auditor can review this in the applet with ENTITY_AUDIT_TRAIL_READ.
A role table you can copy
GadgetSphere settled on four roles. Yours will look similar:
| Role | View customer | Edit customer | Export customer | View membership | Edit membership | Export membership |
|---|---|---|---|---|---|---|
| Cashier | Own branch | No | No | Own branch | No | No |
| Branch Manager | Own branch | Yes | No | Yes | Yes | No |
| HQ Marketing | All | No | Yes | All | No | Yes |
| Administrator | Yes | Yes | Yes | Yes | Yes | Yes |
Notice that only two of the four roles can export anything, and only one of those two can edit. That is the shape you are aiming for.
Step 4: Scope each permission to a branch or company
The outcome is a cashier who can only see the customers of the branch they actually work at.
When you configure a permission line, you assign it a target. Depending on the permission, the target is a company, a branch or a location. Click Select Target, tick the one you want, and save.
Leaving a permission with no target means full access across everything. That is fine for your administrator. It is almost never right for a cashier.
For GadgetSphere, the Retail Cashiers — Klang Valley team gets TNT_API_CUSTOMER_READ scoped to branch GS-KV-01. A cashier there searching for a customer who only ever shopped in Penang gets no result — not an error message, just nothing. The record is outside their scope.
Step 5: Test it on one person before rolling it out
Do not skip this. Configure a single test user with the new role, log in as them, and try to do the thing they should not be able to do.
For GadgetSphere the test was: open the Customer applet as the test cashier, search a customer from GS-KV-01 (should appear), search a customer from GS-PEN-01 (should not appear), then attempt an export (should be refused). Three checks, two minutes.
Roll out to real users only once all three behave as expected.
Step 6: Turn on multi-factor authentication
Access control is only as strong as the login behind it. BigLedger supports multi-factor authentication (MFA) on user login, and we recommend it for every account that can see customer personal data — and treat it as non-negotiable for accounts that can export.
What success looks like
Thirty seconds to confirm you are done. Log in as one ordinary member of the team and check all three:
- You can find a customer at your own branch. ✅
- You cannot find a customer at another branch. ✅
- The export function is either absent or refuses you. ✅
If all three hold, your view / edit / export separation is live and enforced.
Common mistakes
Granting the role but forgetting the scope. The most frequent one. A permission with no target is unrestricted — your “branch-only” cashier quietly has all 85,000 records. Symptom: the test in Step 5 returns customers from every branch. Fix: open the permission line and select a target.
Locking down the applet but leaving the reports open. Any report that includes customer contact columns is governed by that report’s own permission. Restricting the Customer applet alone does not restrict a membership report that lists mobile numbers. Review your report list alongside your applet permissions, every time.
Assuming view permission covers export. It does not, and that is deliberate — but the reverse trips people up too. If your marketing team genuinely needs a mailing list and reports “the export button does nothing”, they are missing API_TNT_DM_ENTITY_EXPORT_CREATE, not the view permission.
Adding people to the team before the permissions are set. They inherit whatever the team currently holds, which for a brand-new team may be nothing at all — or, if you built it by copying an existing role, considerably more than you intended. Configure permissions first, add people second.
Never reviewing it again. Staff move branches and leave. A quarterly pass over who holds export rights takes fifteen minutes and is exactly the sort of evidence a PDPA review asks for.
What BigLedger does not do today
We would rather you plan around the real limits than discover them later:
- No field-level masking. There is no built-in option to show a customer’s IC number, phone or email as
****to someone who holds view permission. Access is controlled at record and function level, not column by column. - Views are not logged. Creates, edits and deletes are fully recorded with the user’s identity. Reading a record is not. The system cannot currently tell you who looked at a particular customer.
- Reports need reviewing separately. As above — each report carries its own permission.
- Screenshots and manual copying cannot be prevented by any ERP. Those belong to your internal policy and staff undertakings, not to software.
If your organisation needs field masking or read-access logging for a compliance programme, these are development enhancements rather than configuration. Raise it with your BigLedger contact and we will scope it as a formal request.
How this maps to your PDPA obligations
Under the PDPA, your business is the data user. The policy side stays with you: the purpose and consent notice you give customers, how long you keep their data, who you decide is authorised to see what, and how you handle a breach.
What BigLedger supplies are the technical and organisational security measures the Act’s Security Principle calls for:
- Access control by role and by team
- Separation of view, edit and export rights
- Scoping by company, branch and location
- Multi-factor authentication on login
- A change audit trail showing old value, new value, user and timestamp
Configure the steps above and you have something concrete to point at when someone asks how personal data is protected in your system.